Why Is My RV AC Leaking Water? Common Causes
Imagine settling into your RV at sunset after a long drive, ready to relax, only to spot a damp patch under the ceiling unit. The moment you ask why your RV AC is leaking water, it means that comfort has quietly turned into a problem that can’t be ignored.
Many RV owners experience this frustrating issue during hot or humid seasons. In most cases, the leak results from clogged drains, weak sealing, or condensation management problems. Studies show that even a small leak can lead to ceiling damage, mold growth, and ruined insulation if left unchecked.
What starts as a few drops of water can become a major repair job if the root cause remains hidden. This guide explains how an RV AC system handles water, why leaks occur, how to fix them, and how to prevent them in the future.
How an RV AC Unit Is Designed to Handle Water
An RV air conditioner removes humidity from the air and channels the condensation safely outside the vehicle. The evaporator coil cools warm air, creating moisture that collects in a drip tray before draining through a small outlet on the rooftop.
When everything functions correctly, this process remains invisible and harmless. Water exits through the drain line and evaporates naturally without affecting the RV interior. Problems arise when the path becomes blocked or the gasket seal around the unit deteriorates.
Nearly 40 percent of RV AC water leaks start with drainage or gasket issues that go unnoticed until interior damage appears.
Why does my RV AC drip water outside?
It’s normal; condensation drains out through the outlet when the evaporator coil removes humidity.
What happens when the drainage path is blocked?
Water overflows the tray and leaks into vents or the ceiling.
Is dripping from the roof onto the ground safe?
Yes, it indicates proper condensation discharge on humid days.
Which parts control the drainage?
The evaporator coil, condensate tray, drain hole, and gasket work together to manage moisture flow.
How does leveling affect drainage?
If the RV tilts, water pools in one side of the tray, leading to overflow or dripping indoors.
Common Causes of Why Is My RV AC Leaking Water
Several conditions can make an RV air conditioner leak. Identifying the exact cause ensures the problem is fixed correctly.
A blocked drain line is the most common culprit. Dust, insect nests, or algae can clog the outlet, forcing water to back up. Damaged gaskets, loose bolts, and poor installation are also frequent offenders.
Could a clogged drain cause the leak?
Yes, when the drain tray or hole is blocked, condensation builds up and spills into the RV.
What about a bad gasket or loose bolts?
A cracked or misaligned gasket lets rain and condensation enter the ceiling area.
Can frozen coils be a factor?
Yes, ice forms on the evaporator when airflow is restricted, then melts and floods the tray.
Does improper installation matter?
Absolutely — incorrect torque, poor sealant, or misaligned mounts lead to leaks.
Can leveling issues cause leaks?
Yes, if the RV or AC is tilted, drainage fails and water accumulates where it shouldn’t.
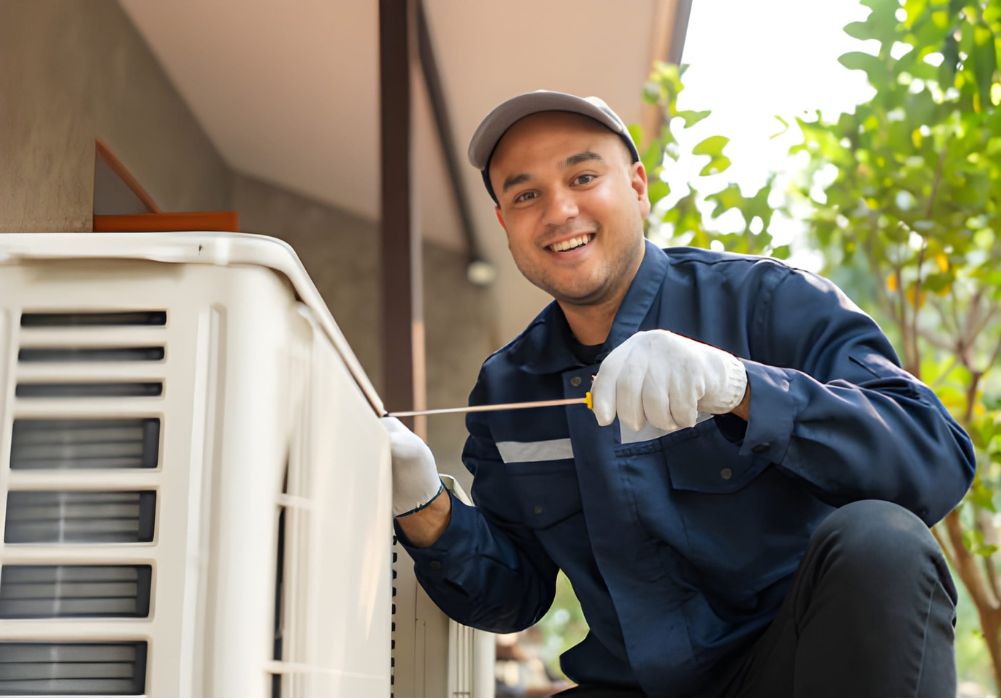
Diagnosing the Leak — Step-by-Step Inspection
To stop a leak, begin by tracing where the water originates. A careful inspection helps determine whether the issue lies in the drain, seal, or coils.
Turn off power before removing the shroud of the rooftop unit. Look for standing water, debris, or corrosion around the drip tray.
Where should you inspect first?
Check the drip tray and drain outlets for clogs or algae buildup.
How to test the gasket and bolts?
Inspect the base for cracks or loosened fasteners, then tighten bolts evenly without compressing the gasket too much.
How to detect coil freezing?
Remove the air filter and observe the coil. Frost or ice means airflow problems or low refrigerant.
Should you check the RV’s level?
Yes, a small tilt can cause drainage to pool on one side and leak inside.
When should you call a technician?
If refrigerant issues, severe gasket damage, or persistent leaks appear despite cleaning, professional service is needed.
Solutions and Maintenance to Stop Leaks
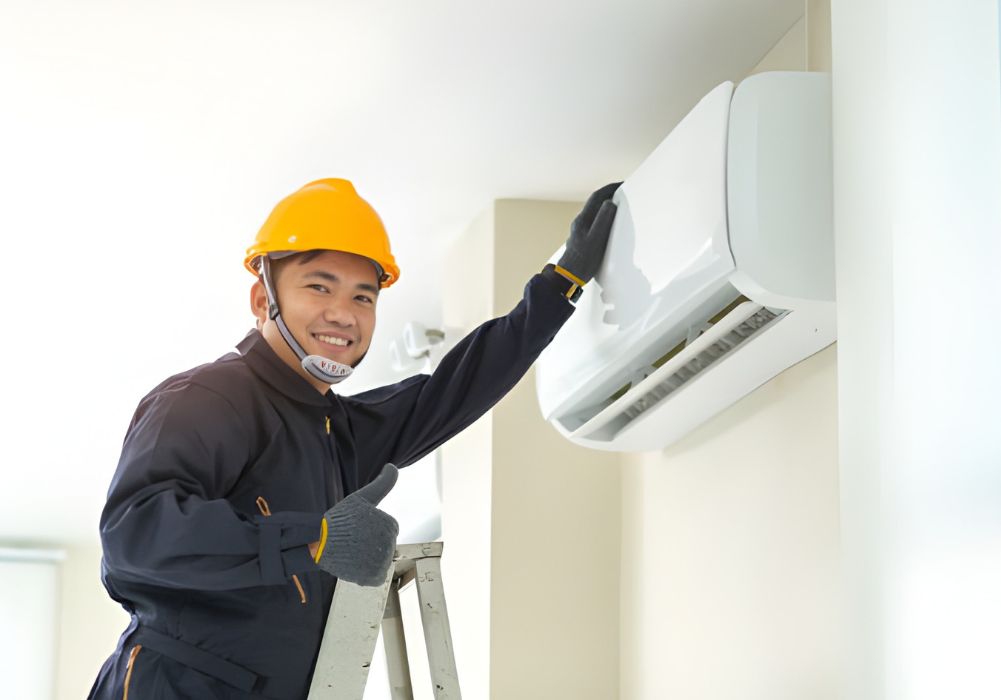
After identifying the cause, apply the proper fix. Most RV AC leaks can be solved with cleaning and preventive upkeep.
Clean the drain line using compressed air or a pipe cleaner to remove blockages. Replace damaged gaskets and tighten bolts evenly around the unit.
How to clear a clogged drain hole?
Flush it with warm water or vinegar, then dry it to prevent future buildup.
What if the gasket is damaged?
Replace the gasket and tighten bolts to manufacturer specifications.
How to fix coil icing?
Clean filters, maintain steady fan speed, and ensure airflow is unobstructed.
What routine maintenance helps most?
Clean filters monthly, inspect gaskets every season, and verify the RV sits level when parked.
When should you replace parts instead of repairing?
If trays crack or gaskets crumble, replacement ensures lasting protection against water intrusion.
Preventive Tips and Best Practices
Preventing water leaks is easier than dealing with the aftermath. Simple habits keep your RV AC working efficiently for years.
Always keep filters clean to ensure airflow and reduce coil icing. Verify that the RV is level when parked for proper drainage.
How often should filters be maintained?
Clean or replace them monthly during heavy use.
Should you keep the RV level during AC operation?
Yes, it maintains consistent drainage from the drip tray.
Are fan settings important?
Yes, use high-speed fan mode during humid weather to prevent condensation buildup.
Is inspection after travel useful?
Yes, vibration can loosen bolts, so inspect the unit after long trips.
Can sealant cause problems?
Yes, incorrect sealant blocks drainage or traps moisture, so use manufacturer-approved types only.
When to Call a Professional
Some leaks are simple, others need trained technicians. Knowing when to get help prevents expensive structural damage.
If you spot water near electrical fixtures or repeated leaks after cleaning, don’t delay repairs. These may indicate refrigerant issues or roof seal deterioration.
What signs show a serious problem?
Persistent leaks, ice buildup, or weak cooling are red flags.
Can refrigerant problems cause leaks?
Yes, low refrigerant triggers coil icing, which later melts and floods the drip tray.
Should roof repairs be DIY?
Only if you are confident on the roof and follow safety rules; otherwise, hire a professional.
What happens if water damage is ignored?
It can destroy ceiling panels, cause mold, and corrode internal wiring.
How to find a good RV AC technician?
Choose certified HVAC professionals familiar with rooftop RV systems and water-seal diagnostics.
Conclusion
When you wonder why your RV AC is leaking water, remember it’s usually a sign of drainage or sealing failure, not just humidity. Most issues start small but grow quickly if ignored.
Regular maintenance — cleaning drains, replacing gaskets, and checking level — prevents costly interior damage.
If leaks persist despite basic cleaning, schedule a professional inspection to protect your RV’s comfort and structure.
Stay proactive, keep your unit dry, and ensure your next road trip remains worry-free.
I’m David R. Coleman, the founder, lead writer, and lifelong tool enthusiast behind GarageToolPro.com. With years of experience in automotive repair, woodworking, and home DIY projects, I created this platform to share practical tips, detailed tool reviews, and step-by-step guides that help mechanics, hobbyists, and homeowners get the job done right the first time.