What Size Socket for RV Hot Water Heater Is Needed
Every RV owner eventually faces the same problem — draining or flushing the hot water heater and realizing the socket doesn’t fit. You try one size, then another, until frustration sets in. Using the wrong tool doesn’t just waste time — it can strip the plug, crack threads, or even damage your tank.
The socket size for RV hot water heaters may seem like a small detail, but it’s one of the most important parts of routine maintenance. Whether you’re replacing the anode rod in a Suburban unit or removing the nylon plug from an Atwood heater, using the correct socket ensures a tight seal and safe removal every time.
Most modern RVs come equipped with either Suburban or Atwood water heaters, and each requires a different socket size. Knowing this difference before you start prevents frustration and helps keep your heater running efficiently for years.
This guide explains exactly what size socket fits your RV hot water heater, why it matters, and how to remove or replace the plug without causing damage. You’ll also learn a few expert maintenance tips to make every service smoother and safer.
Let’s dive in — because sometimes, the difference between a five-minute fix and a broken fitting is just one sixteenth of an inch.
Why Socket Size Matters for RV Water Heater Maintenance
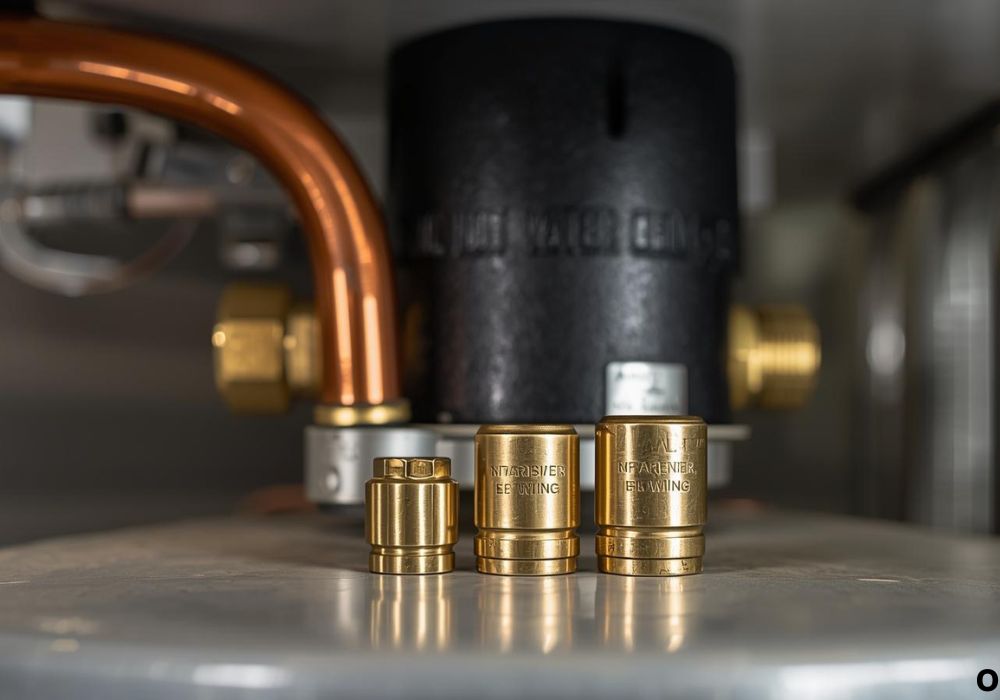
Inside every RV water heater is a simple but vital component: the drain plug or anode rod. This plug is your access point for draining water, flushing sediment, and protecting the tank from corrosion.
But here’s the catch — these fittings are made from soft metals or nylon, and the tank threads are even more delicate. Using the wrong socket can quickly deform or strip the hex head, causing leaks or forcing a tank replacement.
The socket’s job is to distribute torque evenly across the plug’s surface. A properly sized, six-point socket grips the flat sides rather than the corners, preventing slippage. If the socket is too large, it wobbles; if it’s too small, it won’t fit.
Using a socket that fits perfectly ensures proper torque transfer, maintains seal integrity, and allows you to apply consistent pressure without damaging threads. In short — the right socket doesn’t just make the job easier; it keeps your water heater safe and long-lasting.
What Size Socket for RV Hot Water Heater
Let’s get straight to the answer every RV owner needs:
- Suburban RV water heater: requires a 1-1/16 inch (27mm) deep well socket for the anode rod/drain plug.
- Atwood (now Dometic) RV water heater: requires a 7/8 inch (22mm) socket for the nylon drain plug.
The reason these sizes differ comes down to construction:
- Suburban tanks are steel with a porcelain enamel lining and use a sacrificial anode rod to prevent corrosion.
- Atwood tanks are made of corrosion-resistant aluminum, so they use a simple nylon plug instead.
Always use a six-point deep socket instead of a twelve-point. Six-point sockets grip more securely, especially if the plug is corroded or overtightened.
If you’re outfitting a basic RV maintenance kit, include:
- 1-1/16” deep socket
- 7/8” socket
- 3” ratchet extension
- 3/8” or ½” drive ratchet
- Roll of Teflon tape
- Replacement plug or anode rod
These few tools cover nearly every water heater model found in travel trailers, fifth wheels, and motorhomes.
Understanding the Anode Rod and Drain Plug

Before you grab your wrench, it helps to know what you’re removing.
The anode rod (found in Suburban heaters) is a long magnesium or aluminum rod designed to corrode instead of your tank. It “sacrifices” itself by reacting with minerals and preventing rust from eating through the steel lining.
The nylon drain plug (found in Atwood heaters) is lightweight, corrosion-resistant, and easier to remove — but it doesn’t offer protection like an anode rod does.
That’s why maintenance schedules differ:
- Suburban anode rods: replace every 12–18 months or when 75% consumed.
- Atwood drain plugs: replace yearly, since nylon threads can wear or warp over time.
Knowing which component you have determines which socket fits — and how much torque to apply during installation.
Step-by-Step Guide to Removing the RV Water Heater Plug
Draining and inspecting your heater takes less than 20 minutes, but proper technique matters.
Step 1: Turn Off Power and Fuel Sources
Switch off both electric and propane heating modes. Unplug your RV from shore power, or shut down your generator. Turning the heater on while empty can destroy the element in seconds.
Step 2: Let the Water Cool Down
If you’ve recently used hot water, let the tank sit for at least 45 minutes. Opening a hot pressurized tank is dangerous and can result in severe burns.
Step 3: Relieve Pressure
Lift the T&P (temperature and pressure) valve lever outside the heater panel to vent steam. You’ll hear air hiss as pressure equalizes.
Step 4: Position the Bucket
Place a large bucket, pan, or short hose under the drain opening to catch several gallons of water. Most RV heaters hold between 6 and 10 gallons, depending on model.
Step 5: Remove the Plug or Anode Rod
Fit the correct socket firmly onto the plug. Keep the ratchet square to the fitting and turn counterclockwise. If it resists, apply steady pressure — not jerks. For extremely tight plugs, use a breaker bar instead of forcing the ratchet.
Once loose, water will gush out quickly. Allow the tank to drain completely before proceeding.
Step 6: Inspect and Clean
Check the anode rod for pitting, thinning, or exposed steel core. If 75% consumed, replace it. For nylon plugs, look for warping or cracks. Clean the drain threads with a small brush to remove any mineral deposits.
Step 7: Reinstall
Wrap threads with two or three layers of Teflon tape in a clockwise direction. Insert the plug by hand first to prevent cross-threading, then tighten with the socket until snug.
For anode rods: torque to 7–10 ft-lbs. For nylon plugs: hand-tight plus ¼ turn.
Expert Tips for Proper Tightening
- Start by hand: Always thread the plug manually for 3–4 turns before using a wrench.
- Use a torque wrench if possible: This prevents overtightening.
- Recheck after filling: Once the tank refills, check for small leaks and tighten slightly if necessary.
- Avoid sealant paste: Stick to Teflon tape — it’s cleaner and less likely to clog threads.
- Replace the plug yearly: Even if it looks fine, refreshing the plug helps prevent surprises later.
Following these best practices ensures a perfect seal every time.
Difference Between Suburban and Atwood (Dometic) Water Heaters
Suburban Water Heaters
- Tank Type: Steel with porcelain enamel coating
- Protection Method: Sacrificial anode rod
- Socket Size: 1-1/16″ deep socket
- Thread Type: Steel-to-steel
- Maintenance: Replace anode annually, flush every 6 months
- Weight: Heavier but more durable
Atwood / Dometic Water Heaters
- Tank Type: Aluminum alloy
- Protection Method: Natural corrosion resistance (no anode)
- Socket Size: 7/8″ socket
- Thread Type: Nylon plug into aluminum threads
- Maintenance: Replace nylon plug yearly
- Weight: Lightweight and faster heating
The main mistake new owners make is buying the wrong part. A Suburban plug won’t fit an Atwood tank — and vice versa. Before ordering replacements, confirm your brand and model from the heater’s exterior data plate.
Safety Precautions Before Removing the Plug
An RV water heater is a pressurized vessel. Even when powered off, it can store dangerous heat and pressure.
Follow these rules:
- Cool before draining: Let it rest at least 45 minutes after last use.
- Wear gloves and goggles: Hot sediment and steam can spray unexpectedly.
- Depressurize first: Always open the relief valve before loosening the plug.
- Stand aside: Never face the drain directly; open from the side.
- Check circuit breakers: Before refilling, ensure the electric element is OFF to prevent dry firing.
These precautions ensure safe, injury-free maintenance.
Common Mistakes to Avoid
Even experienced RVers can make simple errors that cause big problems. Avoid these:
- Running the heater empty: The number one cause of burned-out elements.
- Using the wrong socket: Rounding off the plug leads to permanent damage.
- Overtightening nylon plugs: Causes thread cracks and leaks.
- Skipping Teflon tape: Unsealed threads lead to dripping after refill.
- Using a 12-point socket: Slips easily on rounded fittings.
- Forgetting to inspect the anode: Corroded rods stop protecting the tank.
A bit of patience and the right tool are all it takes to do this job right.
Maintenance Schedule for RV Water Heaters
Keeping your water heater in top shape requires regular attention — especially before and after long trips.
Every 3–6 Months
- Drain and flush the tank with clean water or a vinegar-water solution.
- Inspect the plug or anode rod for corrosion or mineral buildup.
- Tighten fittings and check for leaks.
Every 12 Months
- Replace the anode rod (Suburban) or nylon plug (Atwood).
- Inspect the T&P valve for free movement.
- Clean the heating element if you have hard water.
- Check wiring and electrical terminals for corrosion.
Every 2 Years
- Remove the heating element to inspect for scale buildup.
- Reapply sealant or Teflon tape to all threaded connections.
- Replace rubber gaskets and O-rings if cracked.
Routine maintenance extends the heater’s life by years and keeps water quality fresh.
Advanced Tips: Deep Sockets, Torque, and Materials
Not all sockets are created equal. The best results come from deep chrome vanadium steel sockets rated for impact use.
A deep socket gives more clearance, allowing the plug to sit fully inside without scraping surrounding trim. This is especially useful on recessed Suburban models where the plug sits behind a lip.
When tightening, always apply 7–10 ft-lbs torque — enough to seal without deforming threads. For nylon plugs, use less (hand-tight + ¼ turn).
Avoid impact guns or power drivers. They deliver uncontrolled torque that can crack nylon plugs or strip aluminum threads.
Pro tip: carry a small 3-inch extension bar — it keeps your knuckles clear of the heater panel when loosening stubborn plugs.
Signs It’s Time to Remove and Check the Plug
- Rust-colored water from the hot tap — anode rod is spent.
- Reduced hot water flow — sediment buildup at the tank base.
- Hissing or rumbling noise — trapped scale boiling inside.
- Leaking from the plug area — threads worn or sealant gone.
- No hot water — heating element burned out from sediment.
Inspecting the plug twice a year prevents 90% of these problems.
How to Flush Your RV Water Heater
Flushing keeps your water heater clean and efficient. After removing the plug, insert a tank rinser wand into the opening and spray until the water runs clear. Move the wand in all directions to dislodge scale.
For stubborn mineral deposits, fill the tank with a vinegar and water solution (1:1 ratio) and let it sit for 2–3 hours before draining. This dissolves calcium buildup around the heating element and thermostat probes.
After flushing, reinstall the plug with fresh tape, fill the system, and run hot water for 5–10 minutes to remove any residue.
Winterizing and Storage Care
Freezing water inside the heater can split the tank or crack fittings. Here’s how to protect it before storage:
- Turn off power and propane.
- Drain all water from the heater.
- Open the bypass valve to keep antifreeze out of the tank.
- Pump RV antifreeze through the rest of the plumbing system.
- Leave the drain plug or anode rod slightly loose during storage to prevent thread sticking.
In spring, reinstall the plug, fill the tank, and test for leaks before reactivating the heater.
Troubleshooting Common Socket-Related Problems
Problem: Socket slips or rounds the plug
Fix: Use a six-point deep socket; clean corrosion before turning.
Problem: Plug leaks after reinstalling
Fix: Reapply Teflon tape (clockwise only) and retighten slightly.
Problem: Plug cross-threaded
Fix: Clean threads with a tap-and-die set or thread chaser; replace if damaged.
Problem: Anode rod stuck in place
Fix: Spray penetrating oil, let sit 10 minutes, and use a breaker bar for steady leverage.
Problem: Plastic plug melts or cracks
Fix: Replace with new nylon plug; never use metal plugs in Atwood tanks — they can seize and cause galvanic corrosion.
FAQs About Socket Sizes for RV Water Heaters
1. What size socket fits a Suburban RV water heater?
A 1-1/16-inch deep socket fits perfectly on the Suburban anode rod.
2. What size socket fits an Atwood water heater?
A 7/8-inch socket is correct for Atwood’s nylon drain plug.
3. Can I use a metric socket?
Yes, 27mm works for Suburban, and 22mm fits Atwood — though SAE sizes are preferred.
4. Should I use a deep socket?
Absolutely. A deep socket gives better reach and prevents contact with trim.
5. Do I need an impact wrench?
No. Manual ratchets give more control and prevent thread damage.
6. My plug is stuck — what now?
Use penetrating oil, tap lightly with a mallet, and apply steady pressure.
7. Can I replace a nylon plug with brass?
Not recommended — brass reacts with aluminum and can corrode the tank.
8. How often should I replace the plug?
Once a year or anytime it shows cracks, wear, or leakage.
9. What happens if I use the wrong socket?
You can strip the head, ruin threads, or cause leaks — leading to tank failure.
10. Why is my anode rod corroded so quickly?
Hard water accelerates corrosion; flush the tank more frequently to extend life.
Conclusion – The Right Socket Makes Every Job Easier
The humble socket wrench may seem insignificant, but when it comes to maintaining your RV water heater, it’s your most valuable ally. Knowing what size socket for your RV hot water heater means you can drain, inspect, and reseal with confidence — no damage, no leaks, no guesswork.
Keep these simple takeaways in mind:
- Suburban heaters: 1-1/16″ deep socket for the anode rod.
- Atwood/Dometic heaters: 7/8″ socket for nylon drain plug.
- Always relieve pressure, cool the tank, and hand-thread before tightening.
- Replace the rod or plug every year for optimal performance.
The next time maintenance day rolls around, you won’t waste time searching for tools or worrying about stripping a plug. With the right socket and a few preventive steps, your RV’s hot water system will deliver reliable comfort for years — no leaks, no surprises, just peace of mind every mile of the journey.
I’m David R. Coleman, the founder, lead writer, and lifelong tool enthusiast behind GarageToolPro.com. With years of experience in automotive repair, woodworking, and home DIY projects, I created this platform to share practical tips, detailed tool reviews, and step-by-step guides that help mechanics, hobbyists, and homeowners get the job done right the first time.

