How to Tell if an RV Has Water Damage: Signs to Watch For
You’re browsing RVs online or inspecting a new purchase when your eyes catch faint stains on the ceiling. A musty odor near the kitchen or bathroom hints at possible hidden water damage.
Water damage in an RV is a common and costly problem. Leaks can originate from the roof, plumbing, windows, or slide-outs, often hidden behind panels or under flooring.
Ignoring water damage can reduce resale value, create health hazards due to mold, and compromise the structural integrity of your RV. Early detection is essential to prevent small issues from escalating.
Many buyers and owners fail to inspect thoroughly, missing subtle signs that indicate long-term water intrusion. Timely evaluation ensures safety, reduces repair costs, and preserves your RV investment.
This guide will provide a comprehensive, step-by-step approach to identifying water damage in RVs. From visible stains to hidden leaks, you’ll learn how to inspect, what tools to use, and preventive strategies to avoid future damage.
By following these methods, you can confidently evaluate any RV for water damage. Proper inspection ensures your RV remains safe, comfortable, and ready for all adventures.
Common Signs of Water Damage in an RV
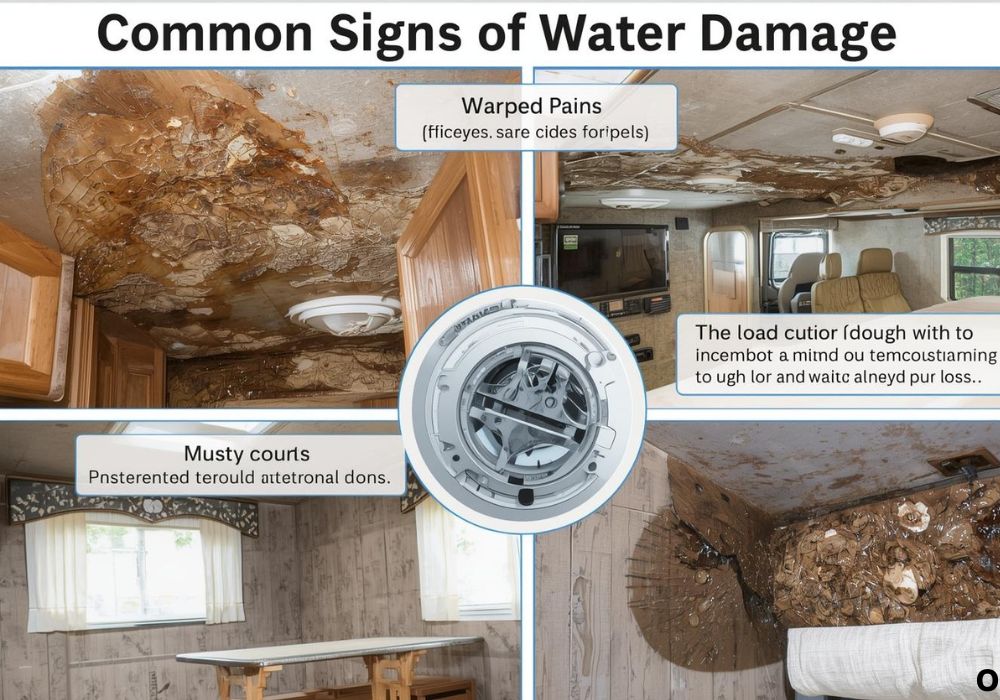
Visible stains and discoloration on ceilings, walls, or floors are often the first signs of water damage. Brown, yellow, or dark streaks indicate moisture intrusion.
Soft spots or sagging panels reveal compromised insulation or structural material. Pressing gently with your hand can help detect these weak points.
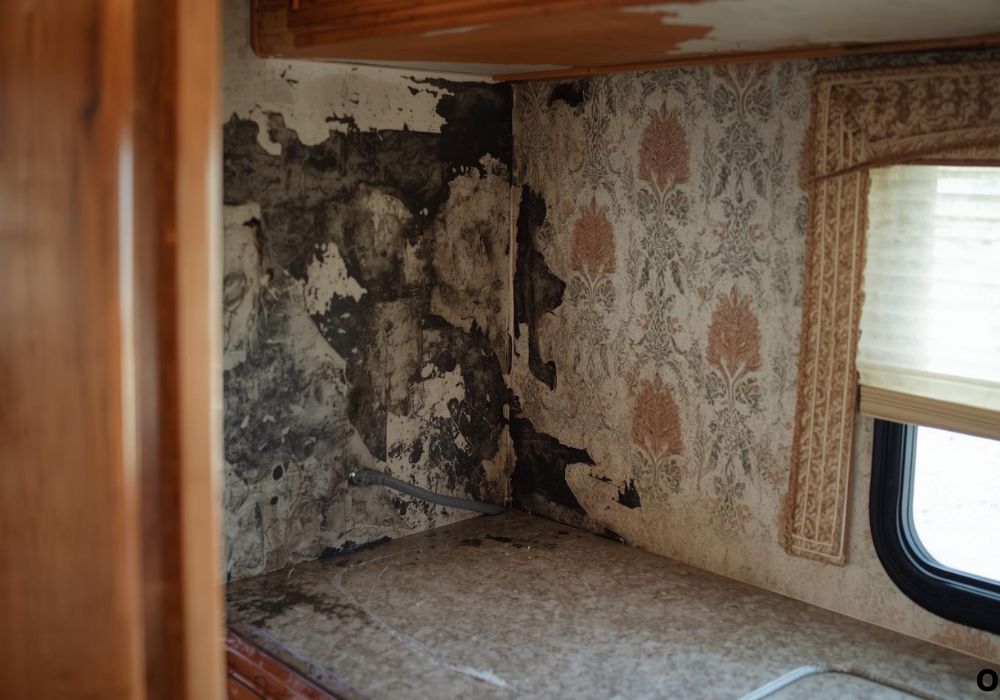
Bubbling paint or wallpaper indicates moisture trapped beneath the surface. This may worsen over time if left untreated.
Musty or moldy odors are strong indicators of hidden water damage. Even without visible stains, a lingering smell suggests moisture accumulation.
Warping, cracking, or holes in the walls or floors indicate ongoing water problems. Prolonged exposure weakens panels and flooring materials.
Small patches of visible mold or mildew streaks confirm active fungal growth. Prompt treatment is essential to prevent health risks and further structural deterioration.
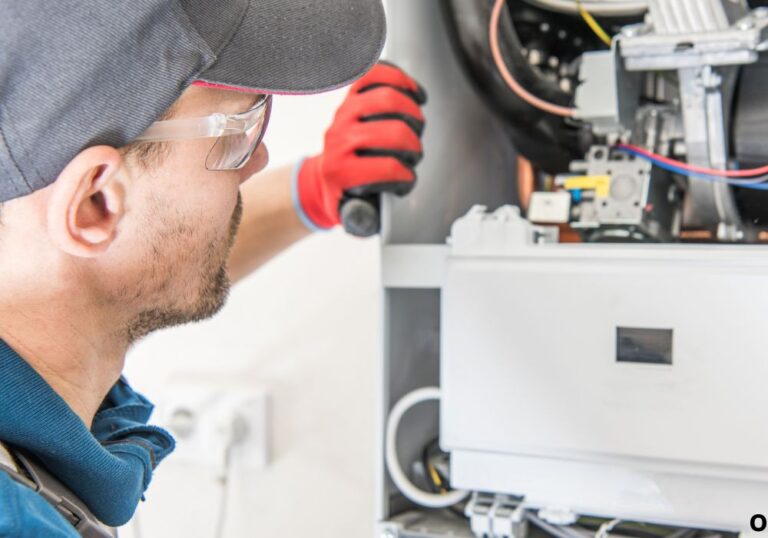
Frequent pilot or water heater malfunctions may hint at water intrusion affecting plumbing or electrical components. Early recognition ensures timely repairs.
Regular observation and testing of surfaces after storms or heavy rain help detect minor leaks before they escalate. Preventive checks save money and effort in the long run.
Hidden Areas to Inspect for Water Damage
Roof seams, skylights, and air conditioning units are common entry points for water. Inspect these areas closely for gaps, rust, or corrosion.
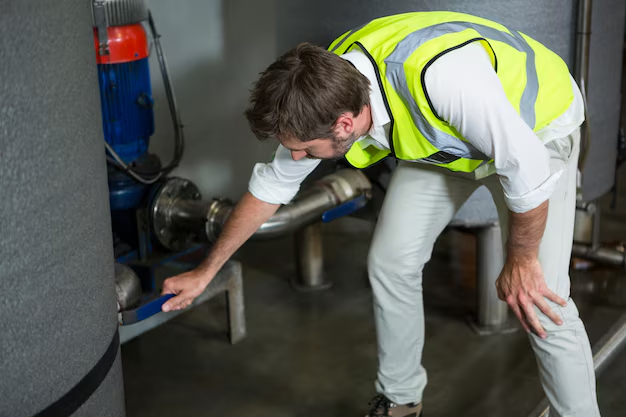
Plumbing connections and the water heater area are prone to leaks. Look for corrosion, loose fittings, or damp surfaces around pipes.
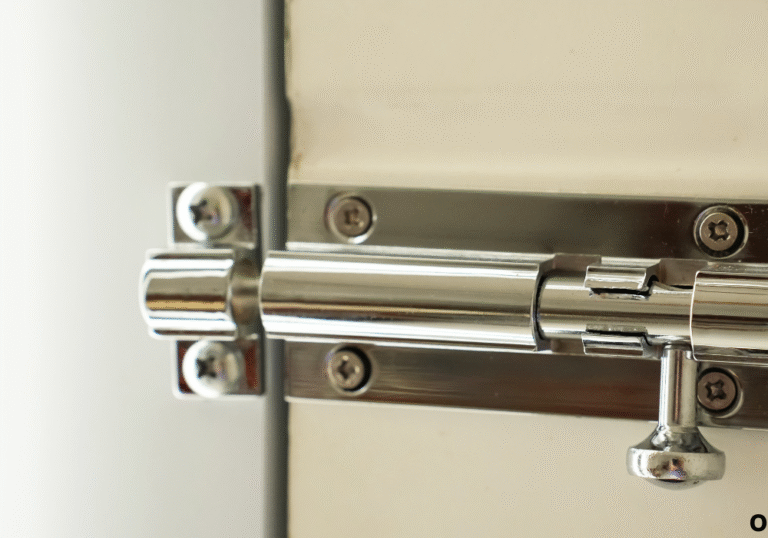
Windows, doors, and slide-outs may allow water to seep into walls or flooring. Check seals, caulking, and weatherstripping for damage or gaps.
Under cabinets, behind appliances, and inside storage compartments often conceal water accumulation. Inspect for wet insulation, mold, or soft panels.
Floor seams and under flooring are critical inspection areas. Use a moisture meter to detect hidden dampness that could lead to rot.
Electrical wiring areas can be affected by leaks. Ensure no water is compromising safety near outlets or wiring.
Dark corners or behind furniture often hide early signs of damage. A flashlight and careful probing can reveal subtle problems.
Regular inspection of these hidden areas helps catch leaks before they cause major structural or health issues. Comprehensive evaluation ensures the RV remains safe and durable.
Tools and Materials Needed for Inspection
A moisture meter is the most effective tool for detecting hidden water. It measures dampness in walls, floors, and ceilings.
A flashlight helps inspect dark corners, behind panels, or under furniture. Bright light reveals discoloration, mold, and water streaks.
Small tools like screwdrivers or pry bars allow removal of panels or flooring for deeper inspection.
Safety gloves and masks protect against mold exposure during probing. Protective eyewear adds additional safety.
A camera or smartphone can document potential damage. Photos provide evidence for repair or insurance claims.
Cleaning cloths help test moisture by lightly wiping surfaces or checking for residue.
Optional: a small mirror or inspection camera can help view inaccessible areas. Organized tools make inspection faster and safer.
Step-by-Step Process to Inspect for Water Damage
Step 1: Perform a visual inspection of all interior and exterior surfaces. Look for stains, discoloration, and surface warping.
Step 2: Press ceilings, walls, and floors to detect soft spots or sagging areas. Note all areas of concern.
Step 3: Use a moisture meter on suspected areas. Check behind panels, flooring, and under furniture.
Step 4: Inspect plumbing lines, water heater, and slide-outs for leaks or corrosion. Look for wet insulation or puddles.
Step 5: Look for mold or mildew behind panels and under flooring. Use gloves and mask to avoid exposure.
Step 6: Test for odors in enclosed spaces. Musty smells indicate ongoing moisture problems.
Step 7: Document all findings with photos and notes. This helps evaluate the extent of damage and plan repairs.
Step 8: Determine severity: minor leaks may be DIY fixable; extensive damage may require professional assessment.
Extra tips: check after storms, lift carpets or mats to inspect floors, and use a flashlight to examine hidden spaces. Proper methodical inspection prevents missing hidden damage.
Preventing Water Damage in Your RV
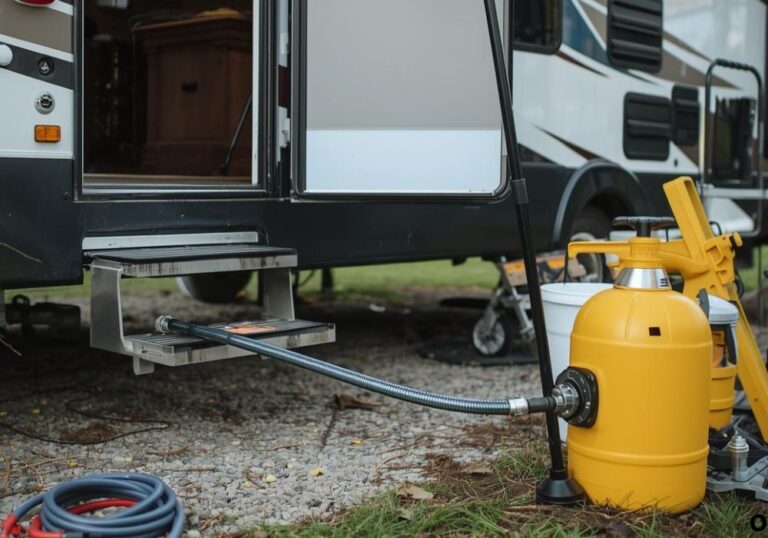
Regular inspection of the roof, windows, slide-outs, and plumbing prevents leaks. Address gaps or damaged seals immediately.
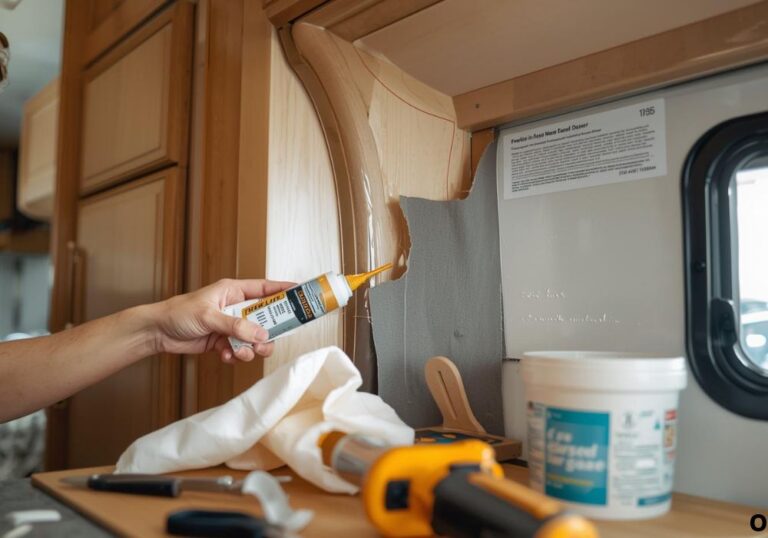
Seal windows, vents, and seams with high-quality caulking or weatherproofing. Avoid standing water inside or under the RV.
Control interior humidity with vents, fans, or dehumidifiers. Moisture accumulation accelerates wall and floor damage.
Seasonal maintenance is essential. Check seals, roofs, and plumbing before winter or rainy seasons.
Protective coatings or waterproof barriers on the roof or walls reduce water penetration.
Minor leaks should be repaired immediately. Proactive measures prevent extensive damage.
Store your RV properly when not in use. Covers, awnings, or garages help reduce water exposure.
Educate all RV users on early signs of water damage. Prompt attention preserves the RV’s structural integrity and value.
Cost Implications of Water Damage
Minor water damage repairs are affordable if caught early. DIY fixes include sealing leaks, replacing damaged panels, and mold treatment.
Major water damage requires professional repair, including panel replacement, mold remediation, and structural fixes. Costs can run into hundreds or thousands of dollars.
Hidden damage often increases expenses. Moisture behind panels or flooring can worsen over time, necessitating more extensive repairs.
Insurance may cover some repairs depending on your RV policy. Always review coverage before purchasing or repairing.
Investing in preventive maintenance reduces long-term costs. Regular checks and minor repairs save money over time.
Material quality affects repair longevity. Using water-resistant panels and sealants minimizes future problems.
Cost planning and careful inspection help avoid unexpected financial strain during repairs.
Frequently Asked Questions (FAQ)
How can I tell if my RV has water damage?
Look for stains, sagging, peeling paint, bubbling, musty odors, and mold streaks.
Can I detect water damage myself?
Yes, with visual inspection, pressing surfaces, and using a moisture meter.
What areas are most prone to water damage?
Roof seams, slide-outs, windows, plumbing areas, and under cabinets.
What tools do I need for inspection?
Moisture meter, flashlight, screwdriver, gloves, mask, and optional inspection camera.
What are hidden signs of water damage?
Soft panels, damp insulation, mold behind walls, and water pooling under flooring.
How often should I inspect my RV for water damage?
Before and after each season, and after storms or long trips.
Can water damage affect resale value?
Yes, it lowers value and can indicate expensive future repairs.
What causes water damage in RVs?
Leaking roof, faulty plumbing, condensation, slide-outs, or damaged seals.
Can mold develop from water damage?
Yes, untreated water creates a breeding ground for mold.
How can I prevent water damage?
Seal all seams, maintain plumbing, control humidity, and perform seasonal inspections.
Is minor water damage fixable DIY?
Yes, small leaks and surface stains can often be repaired by owners.
When should I call a professional?
If there is structural damage, mold growth, or extensive hidden leaks.
What materials help prevent water damage?
Waterproof sealants, caulking, moisture-resistant panels, and protective coatings.
Can water damage affect electrical systems?
Yes, leaks near wiring can cause shorts or electrical hazards.
How do I check for leaks in hidden areas?
Lift floor mats, open cabinets, inspect behind panels, and use a moisture meter.
Conclusion
Water damage in an RV can escalate quickly if ignored, causing structural issues, mold growth, and costly repairs. Early detection and thorough inspection are crucial to preventing long-term damage.
Following a systematic step-by-step inspection ensures you identify both visible and hidden water damage. Regular maintenance, proper sealing, and preventive care reduce the risk of future leaks.
Whether purchasing a new RV or maintaining your current one, spotting water damage early saves money, protects your health, and preserves structural integrity. Timely action ensures your RV remains safe, comfortable, and ready for adventure.
By understanding the signs, using proper tools, and performing routine checks, you can confidently identify water damage and maintain your RV for years to come.
I’m David R. Coleman, the founder, lead writer, and lifelong tool enthusiast behind GarageToolPro.com. With years of experience in automotive repair, woodworking, and home DIY projects, I created this platform to share practical tips, detailed tool reviews, and step-by-step guides that help mechanics, hobbyists, and homeowners get the job done right the first time.