Test RV Hot Water Heater Element Safely
You step into your RV after a long trip and turn on the hot water, only to find the faucet delivers cold or lukewarm water. Showers take longer, dishes don’t get hot, and the inconvenience quickly becomes frustrating.
The heating element in an RV water heater is responsible for converting electricity into heat to warm your water efficiently. A malfunctioning element can cause inconsistent water temperatures, trip breakers, or prevent your heater from working entirely.
Ignoring a faulty element may lead to further damage in the water heater, electrical components, or wiring. Timely testing and maintenance are critical to ensure safety and proper operation.
Fortunately, testing the heating element is a straightforward DIY task when you have the right tools and follow safety procedures. You can identify whether the element is functional or needs replacement before spending money on unnecessary repairs.
This guide will walk you through identifying signs of a failing element, gathering tools, testing the element safely, interpreting results, and taking preventive measures to avoid future problems. Proper maintenance also extends the lifespan of your RV water heater.
By the end of this guide, you’ll have the knowledge and confidence to safely test your RV hot water heater element and ensure reliable hot water for all your trips. Preventive care keeps your system functional and avoids costly emergency repairs.
Signs Your RV Hot Water Heater Element May Be Faulty
One of the most common signs is inconsistent or insufficient hot water. Your heater may take longer than usual to reach the desired temperature, or water may remain lukewarm.
Unusual noises, such as humming, popping, or sizzling from the tank, often indicate sediment build-up or a failing element. These sounds may worsen over time if left unchecked.
A tripped circuit breaker or blown fuse may point to electrical issues within the water heater. Repeated breaker trips when using the heater usually signal a short or faulty element.
Visible corrosion or burnt spots on the heating element suggest wear and reduced functionality. Rust or mineral build-up can prevent the element from heating properly.
A burning smell near the water heater during operation may indicate overheating caused by a malfunctioning element. Ignoring this could be dangerous.
If your pilot light is dim or the water heater fails to maintain temperature consistently, the element may not be drawing power correctly. Early identification of these signs prevents further damage.
Frequent need to reset or relight the water heater may also indicate that the heating element is failing. Taking action early ensures the system remains safe and efficient.
Tools and Materials Needed
A multimeter or continuity tester is essential to determine whether the element is functioning properly. It measures electrical continuity and resistance to identify faults.
You’ll also need screwdrivers, an adjustable wrench, and pliers to remove panels and access the element safely. Cleaning cloths are useful to wipe away debris or sediment.
Safety gear such as gloves and goggles protects against burns, electrical shock, or debris while handling the element.
Optional tools include a replacement heating element if the existing one is faulty. Having a backup part allows you to fix the system immediately if testing reveals a failure.
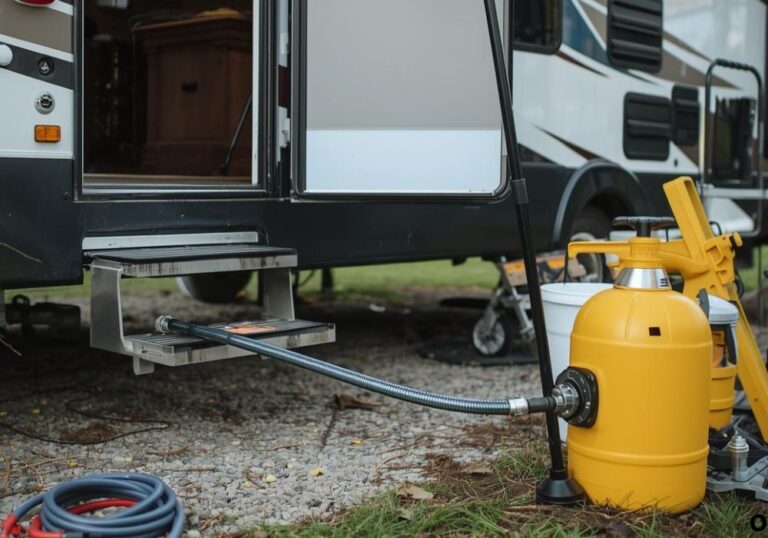
Workspace preparation is important. Turn off all power sources, ensure proper ventilation, and drain water if necessary to avoid spills or burns.
Using high-quality tools and replacement parts ensures a safe, effective, and durable repair. Planning ahead reduces the risk of mistakes during testing.
Organization is key: gather all tools and materials before starting to streamline the process. This also ensures nothing is forgotten mid-repair.
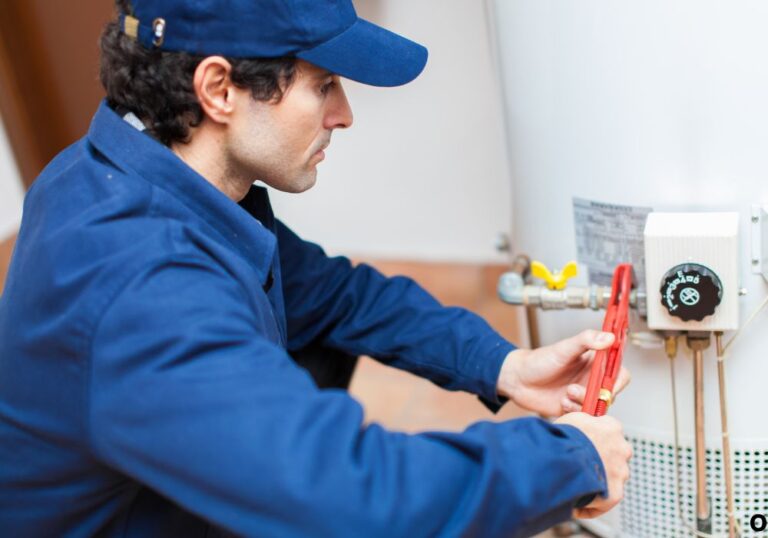
Step-by-Step Process to Test the RV Hot Water Heater Element
Step 1: Disconnect the RV from shore power or turn off the breaker to the water heater. Safety is paramount before handling electrical components.
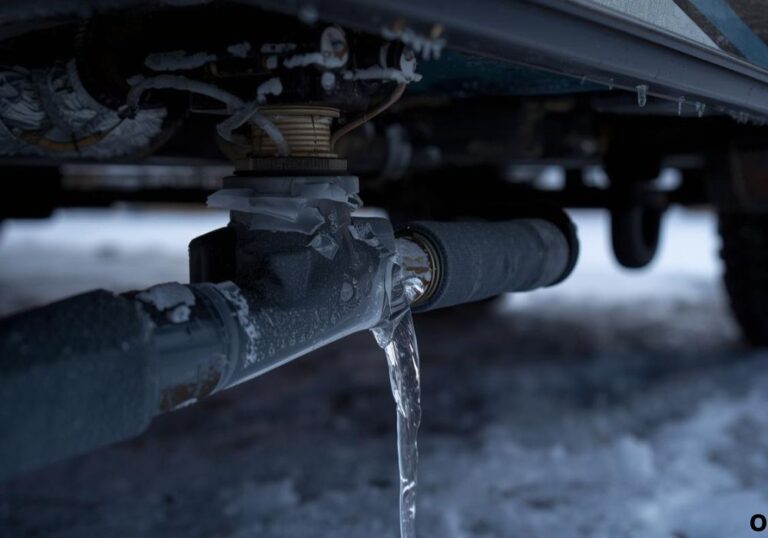
Step 2: Drain the water heater tank to prevent burns or water spillage. This step makes testing safer and easier.
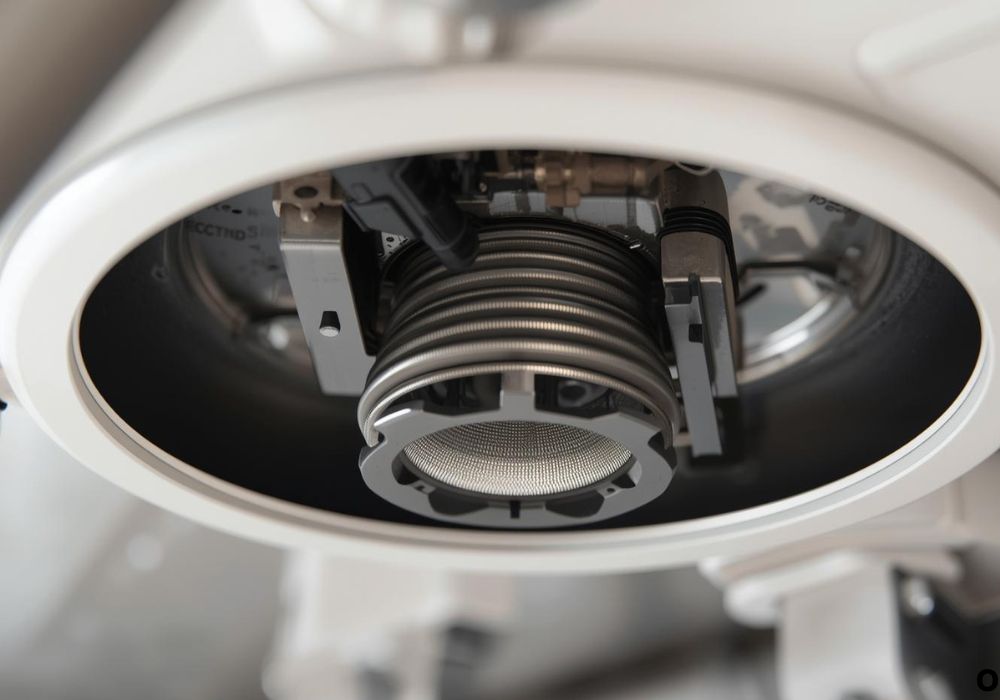
Step 3: Remove the access panel to expose the heating element and associated wiring. Use a flashlight to see clearly and avoid damaging surrounding components.
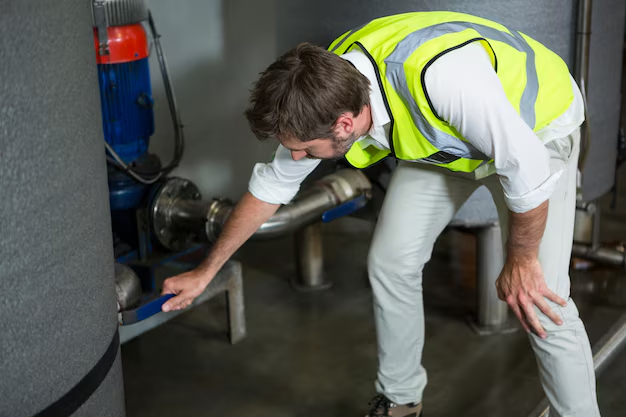
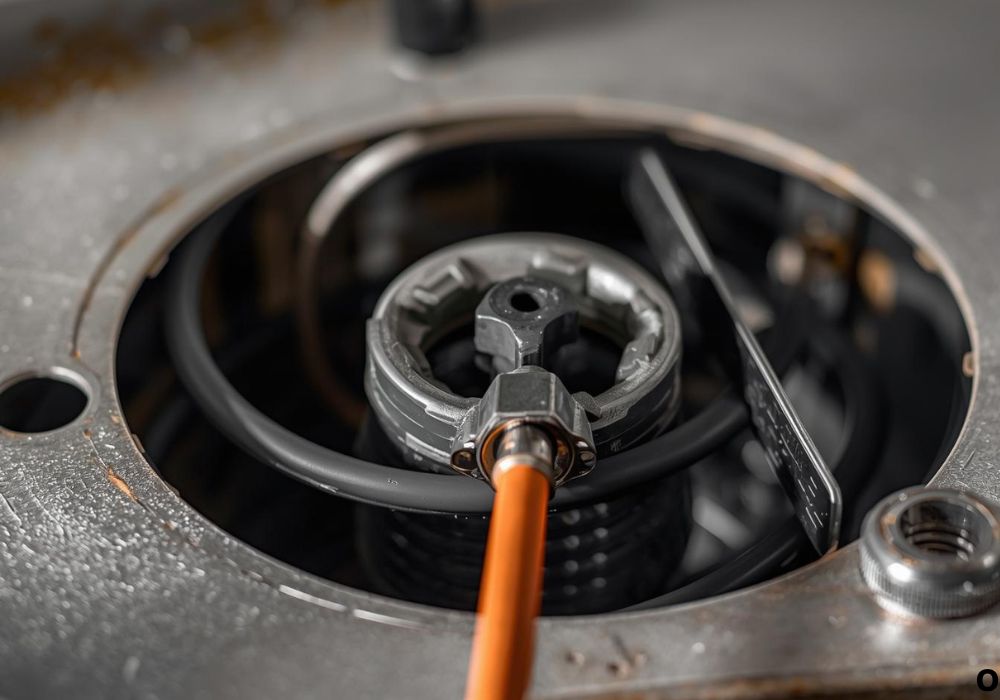
Step 4: Inspect the element visually for corrosion, mineral deposits, or burn marks. Damage to the element usually indicates a need for replacement.
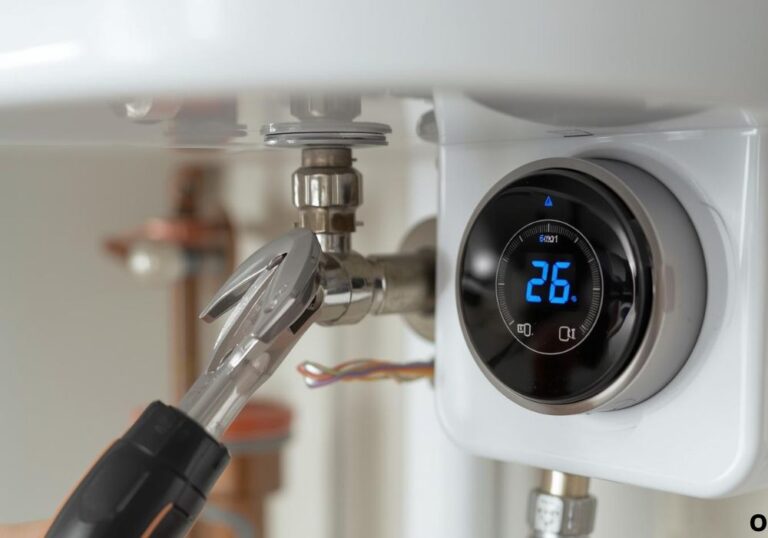
Step 5: Set your multimeter to continuity or resistance mode. Place the probes on the terminals of the heating element.
Step 6: Test the heating element for continuity. A working element will show a low resistance reading; an open circuit indicates a faulty element.
Step 7: Interpret the results and determine whether the element is functional or needs replacement. Document readings for future reference.
Step 8: Reassemble the access panel, reconnect the wiring, restore power, and test the water heater by turning it on. Verify the element heats water correctly and that no breakers trip.
Extra tips: use insulated tools, avoid bending the element, and ensure no moisture is present during testing. Following these steps ensures safe, accurate results.
Safety Tips While Testing the Heating Element
Always disconnect the RV from power before starting any testing. Live electricity can cause serious injury or death.
Wear protective gloves and goggles to avoid burns, debris, or electrical hazards.
Avoid touching water or damp surfaces while testing the element. Electrical components should always be dry.
Use insulated tools to reduce the risk of shock.
Test your multimeter on a known circuit before starting to ensure it works properly.
Double-check all wiring connections before restoring power. Loose wires can lead to shorts or damage.
Keep a fire extinguisher nearby as a precaution when working with electrical components.
Do not rush the process; careful attention ensures safety and prevents further damage.
Preventing Future Heating Element Issues
Regularly flush the water heater tank to remove sediment and mineral build-up. Sediment can reduce element efficiency and lifespan.
Inspect the element periodically for corrosion, damage, or wear. Replacing a worn element early prevents complete failure.
Avoid running the water heater continuously without maintenance. Excessive heat cycles shorten element life.
Use high-quality replacement elements to ensure longevity. Cheap or incompatible parts may fail prematurely.
Maintain consistent water pressure and avoid introducing hard water without filtration. Hard water accelerates mineral buildup.
Document all maintenance and replacements for easy reference. Keeping a log helps anticipate future replacements.
Test the system periodically to ensure the element and thermostat are functioning correctly.
Cost Considerations
A multimeter costs $10–$30 and is reusable for ongoing maintenance.
Replacement RV water heater elements range from $20–$50 depending on model and brand.
DIY testing avoids labor costs, which can exceed $100 if performed by a professional.
Hidden costs may include damage from corrosion, wiring issues, or tank leaks if neglected.
Professional repair guarantees safety and accuracy but at a higher cost. Labor charges vary based on location and complexity.
Investing in quality tools and parts reduces future repair expenses. Preventive maintenance is always more cost-effective than emergency replacement.
Budgeting for both DIY and professional scenarios ensures preparedness for any repair situation.
Frequently Asked Questions (FAQ)
How do I know if my RV water heater element is bad?
Pilot won’t stay lit, water remains lukewarm, or breaker trips frequently.
Can I test it myself?
Yes, with a multimeter, safety precautions, and proper instructions.
What tools are required?
Multimeter, screwdriver, wrench, pliers, gloves, and goggles.
Do I need a specific replacement element?
Yes, ensure compatibility with your RV water heater model.
How often should I test the element?
Check annually or if water heater performance declines.
Can sediment affect heating element function?
Yes, mineral buildup reduces heating efficiency and lifespan.
Is professional testing necessary?
Not for minor issues, but professionals are recommended for complex electrical or plumbing concerns.
How do I interpret multimeter readings?
Continuity or low resistance indicates a working element; an open circuit indicates failure.
Can I clean a corroded element?
Light surface cleaning is fine, but heavily corroded elements should be replaced.
How do I drain the RV water heater safely?
Turn off power, close water supply, and open drain valve slowly to prevent splashing.
What safety gear is essential?
Gloves, goggles, insulated tools, and working in a dry, ventilated area.
Can hard water damage the element?
Yes, it accelerates mineral buildup and reduces efficiency.
What if the water heater still doesn’t heat after replacement?
Check wiring, thermostat, and breaker connections; professional help may be needed.
Should I flush the tank regularly?
Yes, flushing reduces sediment buildup and extends element life.
Can I leave the water heater on while testing?
No, always disconnect power before handling the element to avoid electrical hazards.
Conclusion
Testing your RV hot water heater element is a straightforward DIY task with proper tools and safety precautions. Following a step-by-step method ensures accurate results and prevents electrical hazards.
Regular inspection and maintenance of the heating element extend its lifespan and ensure reliable hot water. Using high-quality replacement parts and preventive measures reduces the likelihood of failure.
Whether performed yourself or with professional guidance, timely testing ensures your water heater operates safely and efficiently. Proper care guarantees hot water availability and peace of mind on every RV trip.
With these steps, your RV water heater element will remain functional, safe, and ready for all your adventures. Consistent maintenance prevents future issues and keeps your RV comfortable and reliable.
I’m David R. Coleman, the founder, lead writer, and lifelong tool enthusiast behind GarageToolPro.com. With years of experience in automotive repair, woodworking, and home DIY projects, I created this platform to share practical tips, detailed tool reviews, and step-by-step guides that help mechanics, hobbyists, and homeowners get the job done right the first time.