Should You Drain RV Water Heater After Every Trip?
After a weekend of camping, many RV owners pack up and hit the road home without giving their water heater a second thought. The dishes are washed, showers are done, and the tank sits quietly, still full of warm water. Days later, when the RV is opened again, a sour odor creeps from the faucets, and the heater sounds like it’s boiling gravel.
This is the unseen cost of skipping one of the simplest maintenance steps: draining your RV water heater after each trip. While it might feel unnecessary after a short weekend, stagnant water inside a hot tank quickly becomes a breeding ground for bacteria, mineral buildup, and corrosion. In colder months, that leftover water can even freeze and crack the tank—leading to costly repairs.
According to long-term RV maintenance surveys, draining the water heater regularly can extend its lifespan by more than five years. It keeps heating elements clean, prevents odor, and ensures your next trip starts with a fresh, efficient hot water supply.
The good news? Draining an RV water heater takes less than ten minutes and requires no special tools. It’s one of the easiest habits that separates well-maintained rigs from repair-prone ones.
In this guide, you’ll learn when and how to drain your RV water heater, why it matters, and how to keep your hot water system in top condition season after season.
Understanding How an RV Water Heater Works

Before we discuss draining, it helps to understand what’s happening inside that metal tank every time you turn on your RV’s water heater.
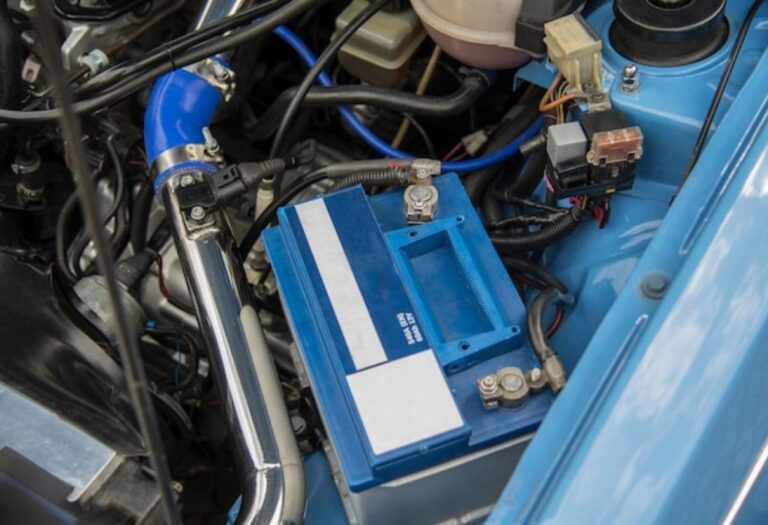
An RV water heater—whether electric, propane, or combination-powered—works by heating a small storage tank, typically between 6 to 10 gallons. The heater uses either electricity or propane flame to warm the water, which is then delivered to faucets and showers through the plumbing system.
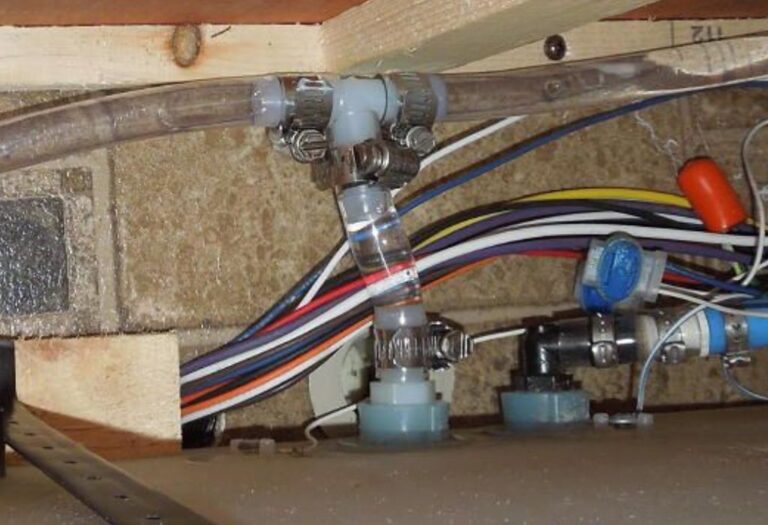
Main Components of an RV Water Heater
- Tank – Holds the water that will be heated.
- Heating Element or Burner – Generates heat using electricity or propane.
- Anode Rod – Protects the tank by attracting corrosive minerals.
- Pressure Relief Valve – Prevents excess pressure buildup during heating.
- Drain Plug – Allows you to empty the tank completely when needed.
When your RV isn’t used, that hot water cools and sits still. Minerals in hard water settle to the bottom of the tank, forming sediment. This sediment not only reduces heating efficiency but also corrodes the inner lining. Over time, it can create odors, clog valves, and shorten the heater’s lifespan.
Why You Should Drain Your RV Water Heater Regularly
Draining your RV water heater isn’t just about cleanliness—it’s a vital part of preventive maintenance. Let’s look at the main reasons experts recommend it.
1. Prevent Sediment Buildup
When water is heated, minerals like calcium and magnesium separate and settle at the bottom. Over time, this turns into a hard crust that can cause:
- Reduced heating performance
- “Popping” or “crackling” noises
- Shortened heating element life
Draining after trips flushes out sediment before it hardens.
2. Stop Rust and Corrosion
Even stainless-steel or aluminum tanks have internal coatings that can wear down if water sits too long. The longer the tank stays filled, the greater the risk of corrosion—especially if the anode rod is worn out.
3. Prevent Bacteria and Odors
Stagnant water quickly develops bacteria, especially in warm climates. You might notice a sulfur or “rotten egg” smell when you turn on the hot water. This is hydrogen sulfide gas—a byproduct of bacteria reacting with minerals inside the tank.
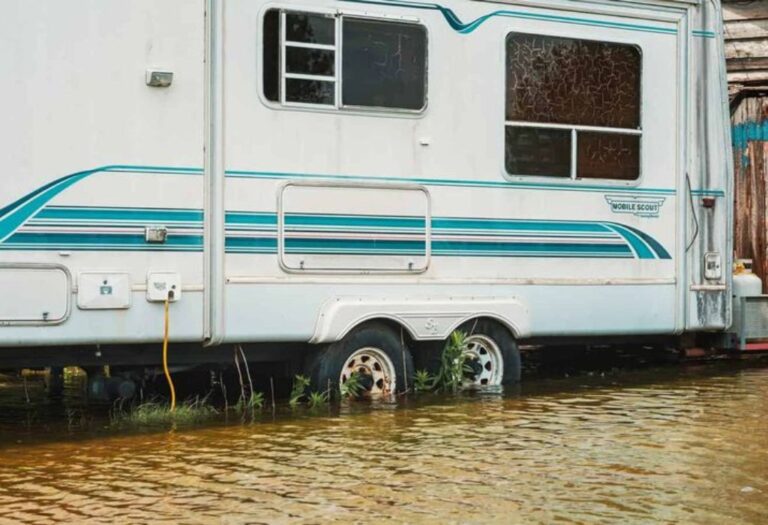
4. Avoid Freezing and Cracking
In cold weather, trapped water expands as it freezes. Even a small amount can split seams or burst fittings. Draining eliminates this risk before winter storage.
5. Extend the Water Heater’s Life
Regular draining keeps your heating element efficient, the anode rod intact, and the water fresh. Many RV technicians estimate that draining can add 3–5 extra years to the life of your heater.
Should You Drain It After Every Trip or Only Sometimes?
Not every RV outing requires an immediate drain—but it depends on your usage pattern and climate. Here’s a breakdown:
After Short Trips (1–3 Days):
If you’ll be using your RV again within a week and temperatures are mild, you can leave the water in the tank. However, if the weather is hot or humid, it’s safer to drain—it prevents bacterial growth and stale water odor.
Between Longer Gaps (2 Weeks or More):
Yes, drain it. When water sits for more than a week, minerals begin settling and bacteria can multiply, especially in warm tanks.
Before Winter or Cold Storage:
Always drain it completely. Freezing water expands with enough pressure to crack the heater tank, leading to costly repairs. This is one of the most important winterizing steps.
When Using Hard Water:
If you camp in areas with mineral-heavy water, drain the heater more often. Sediment buildup happens faster and can damage the heating element if left unattended.
Bottom line:
If your RV will sit unused for more than 5–7 days, drain the water heater. It’s a five-minute task that can prevent big problems later.
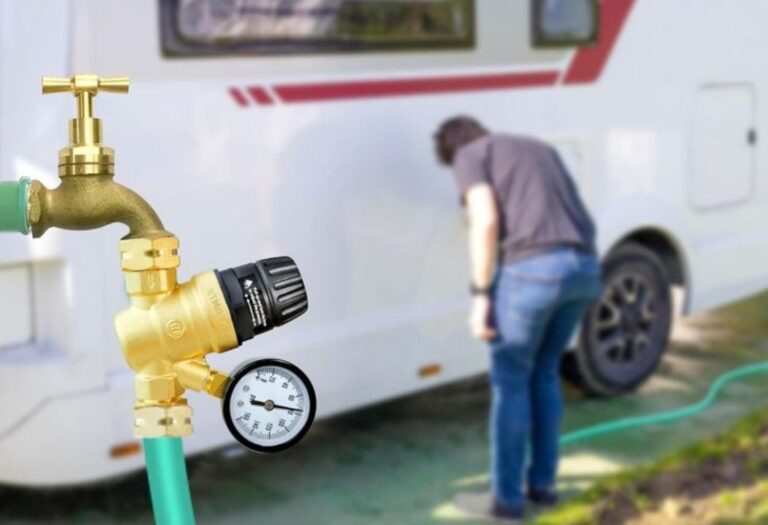
Step-by-Step Guide to Draining Your RV Water Heater
Draining an RV water heater is simple—you don’t need special tools, just a few minutes of patience. Follow these safe steps:
Step 1: Turn Off Power and Propane
Always switch off both the electric and gas supply before working on the heater. Turn off the breaker or unplug the RV if necessary. This prevents dry firing the element or igniting the burner accidentally.
Step 2: Let the Water Cool
Wait 1–2 hours after your last use. Hot pressurized water can cause severe burns if drained too soon.
Step 3: Release Pressure
Open a hot water faucet inside your RV and the pressure relief valve on the water heater. This equalizes internal pressure and prevents splashing when you remove the drain plug.
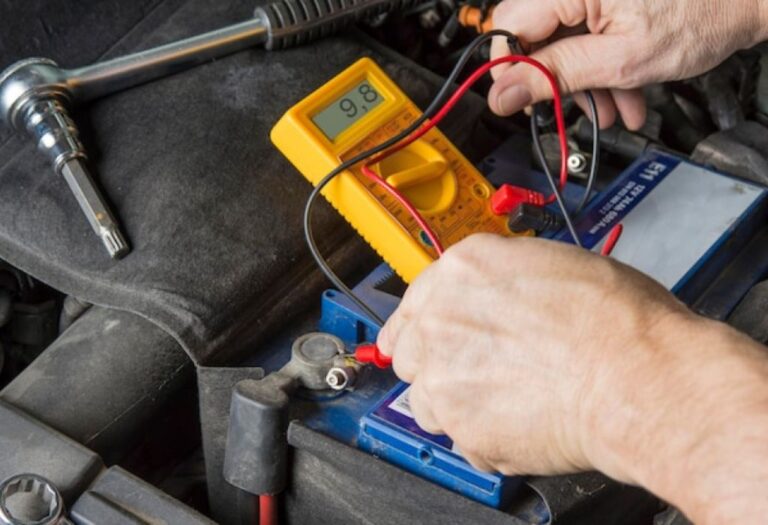
Step 4: Remove the Drain Plug or Anode Rod
Use a socket wrench (usually 1 1/16 inch) to loosen the plug at the bottom of the heater. Water will flow out quickly—be ready to step back. If your heater uses an anode rod, inspect it for corrosion while it’s out.
Step 5: Flush the Tank
Once drained, use a tank rinse wand or hose to spray inside the tank until the water runs clear. This removes loose sediment and scale.
Step 6: Reinstall Plug or Rod
After flushing, screw the drain plug or anode rod back in place snugly but not overly tight. If using Teflon tape, apply it evenly to prevent leaks.
Step 7: Check for Leaks When Refilling
When you refill on your next trip, inspect for leaks around the drain plug and pressure valve. If all’s dry—you’re ready to heat water again!
What Happens If You Don’t Drain It
Skipping this maintenance can cause subtle but serious issues over time:
1. Odor and Contaminated Water
Stale water and bacteria create sulfur odors and slime buildup, especially in warm weather. It’s unpleasant and difficult to remove without a deep clean.
2. Sediment Damage
As sediment hardens, it forms a thick layer that acts as insulation between the heating element and water. This forces the heater to work harder, raising energy use and shortening its lifespan.
3. Corrosion and Tank Leaks
Without draining, minerals settle and attack metal components. The anode rod wears faster, and corrosion eventually leads to pinhole leaks.
4. Reduced Hot Water Efficiency
A dirty tank takes longer to heat water, producing lukewarm output and wasting electricity or propane.
5. Cracking from Frozen Water
In winter, even a few cups of trapped water can freeze and crack your heater’s aluminum or steel casing. This often requires full replacement—a costly mistake easily avoided.
How to Tell When Your Water Heater Needs Draining
Even if you forget the schedule, your RV gives warning signs:
- Popping or rumbling sounds: Air pockets trapped under sediment.
- Slow heating: Heating element working through buildup.
- Discolored water: Rust or sediment in the tank.
- Foul odor: Bacteria reacting with minerals.
- Water leaks near the bottom: Corrosion from inside the tank.
When any of these appear, drain and flush immediately.
Extra Maintenance Tips for RV Water Heaters
Draining is only part of keeping your heater efficient. Add these habits to your RV maintenance checklist:
- Flush the tank every 2–3 months. Even with regular draining, small particles can accumulate.
- Inspect the anode rod twice a year and replace if more than 75% corroded.
- Check the pressure relief valve for proper movement and sealing.
- Use a water softener or inline filter to minimize hard water sediment.
- Sanitize your RV’s plumbing system every six months to eliminate bacteria.
- Keep insects out by covering heater vents with a screen during storage.
These simple steps prevent the most common causes of heater failure—sediment, corrosion, and bacteria.
Winterizing Your RV Water Heater
When temperatures drop below freezing, draining isn’t optional—it’s essential. Water expands about 9% when it freezes, which can burst tanks, fittings, and valves.
Winterizing Steps
- Drain the water heater completely following the steps above.
- Bypass the heater using your RV’s winterizing valve setup to keep antifreeze out of the tank.
- Blow out lines with compressed air or pump RV antifreeze through the plumbing system.
- Leave the drain plug out if the RV will sit unused for months to prevent trapped moisture.
- Store your rig level so any remaining water flows out naturally.
A few minutes of winter prep can save hundreds in repair costs next spring.
FAQs About Draining an RV Water Heater
1. Do I need to drain the heater after every short weekend trip?
If you’ll use your RV again soon and temperatures are mild, you can leave it filled. But for longer breaks, draining prevents odor and corrosion.
2. What’s the difference between flushing and draining?
Draining removes water; flushing cleans sediment and residue. You should flush after every few drains to keep the tank spotless.
3. Can I drain the heater while it’s hot?
Never. Hot, pressurized water can scald you. Wait until it’s fully cooled.
4. Should I remove the anode rod each time?
Yes, if your heater uses one. It acts as the drain plug and should be checked regularly.
5. Can I leave the plug out between trips?
Yes, if the RV is stored indoors or under cover. It keeps the tank dry and prevents odor buildup.
6. How often should I replace the anode rod?
Usually once a year or when 75% of its material is gone.
7. Do tankless RV heaters need draining?
No traditional draining, but you should run a vinegar flush to remove mineral scale.
8. Can I use vinegar to clean the tank?
Yes, a diluted vinegar rinse helps remove calcium deposits and odor.
9. Why does my water smell bad even after draining?
If smell persists, flush with vinegar and replace the anode rod—bacteria may be trapped in residue.
10. How long does it take to drain an RV water heater?
Usually 5–10 minutes depending on water pressure and tank size.
Conclusion – A Few Minutes That Save Years of Life for Your Heater
So, should you drain your RV water heater after every trip? The simple answer: yes—especially if your RV will sit unused for a week or longer.
This quick routine prevents corrosion, keeps water fresh, and protects your heating element from unnecessary strain. More importantly, it gives you peace of mind knowing your hot water system is always clean, safe, and ready for your next adventure.
Treat your RV water heater like a small investment—because it is. A few minutes spent draining it after each trip can save you from foul odors, damaged components, or total tank failure. Whether you camp once a month or live full-time on the road, draining the heater is one of the easiest and smartest habits any RV owner can adopt.
I’m David R. Coleman, the founder, lead writer, and lifelong tool enthusiast behind GarageToolPro.com. With years of experience in automotive repair, woodworking, and home DIY projects, I created this platform to share practical tips, detailed tool reviews, and step-by-step guides that help mechanics, hobbyists, and homeowners get the job done right the first time.