DIY Guide: Replace Thermocouple on RV Water Heater Safely
You’ve just pulled into your campsite, ready for a hot shower, but the pilot light on your RV water heater won’t stay lit. Without a functioning pilot, your water heater is useless, leaving you frustrated and uncomfortable.
The thermocouple is a small yet crucial part of your RV water heater system. It senses the pilot flame and tells the gas valve to remain open, allowing the heater to operate safely. When the thermocouple fails, the pilot won’t stay lit, interrupting your hot water supply.
A faulty thermocouple can also pose safety risks. Gas may leak if the system is not properly functioning, and frequent pilot outages can stress the water heater components.
Fortunately, replacing a thermocouple is a manageable DIY task with proper tools, safety precautions, and a clear step-by-step process. With attention to detail, you can restore your water heater’s functionality quickly and safely.
This guide will walk you through identifying a failing thermocouple, gathering the necessary tools, performing a safe replacement, and taking preventive measures to extend its lifespan. You’ll also learn tips for proper maintenance to avoid future problems.
By the end of this guide, your RV water heater will be operational again, providing reliable hot water and peace of mind. Proactive maintenance ensures consistent performance and a safe RV environment for all your trips.
Signs Your RV Water Heater Thermocouple Needs Replacement
The most common sign is a pilot light that won’t stay lit. Even after repeated attempts, the flame goes out, indicating the thermocouple isn’t functioning properly.
Inconsistent or no hot water is another symptom. If your water heater struggles to maintain a temperature, the thermocouple may be the culprit.
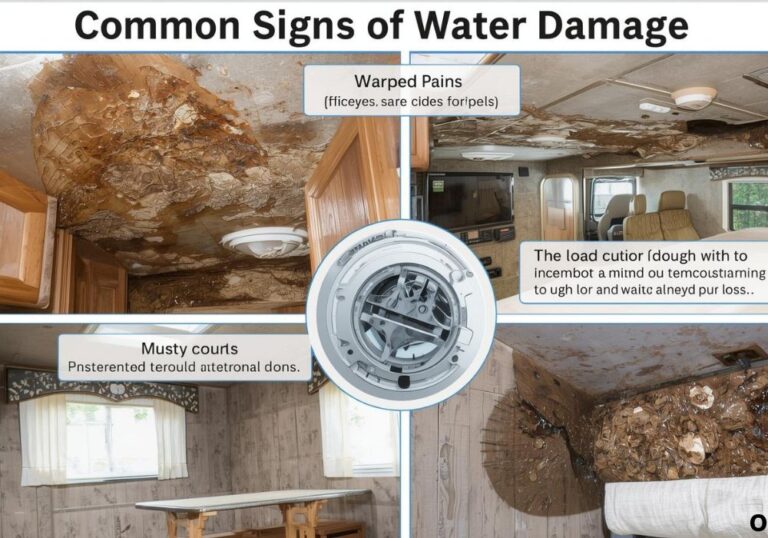
You may notice visible corrosion or a burnt appearance on the thermocouple tip. This indicates age or damage from prolonged exposure to heat and combustion.
Unusual clicking sounds or difficulty lighting the pilot can also signal a failing thermocouple. These minor indicators often precede complete failure.
A weak or flickering pilot flame is a subtle warning sign. The thermocouple may not be detecting heat correctly, preventing proper gas flow.
Frequent outages requiring repeated lighting of the pilot suggest it’s time for replacement. Acting early prevents frustration and further appliance stress.
Check for gas odors near the water heater. While rare, a failing thermocouple can increase the risk of improper gas flow, and safety precautions are essential.
Early identification of these signs ensures timely replacement. Ignoring warning signals can lead to complete water heater failure or safety hazards.
Common Causes of Thermocouple Failure
Age and wear are primary reasons thermocouples fail. Repeated heating cycles gradually degrade the metal and reduce efficiency.
Corrosion is another frequent cause. Moisture or mineral deposits can accumulate on the thermocouple, impairing its function.
Physical damage or bending of the thermocouple rod affects its ability to detect the pilot flame. Even slight misalignment can prevent proper operation.
Loose or faulty wiring connections may interrupt the thermocouple signal. Vibration during travel or poor installation can lead to intermittent failures.
Dirt, soot, or residue accumulation on the thermocouple tip reduces sensitivity. Regular cleaning helps maintain its responsiveness.
Poor-quality thermocouples or manufacturing defects occasionally cause early failure. Using a high-quality replacement ensures long-term reliability.
Environmental factors, such as extreme temperature fluctuations or moisture exposure, can accelerate wear. Proper installation and maintenance reduce these risks.
Understanding the cause of failure allows for a more durable replacement. Preventive care and proper installation prevent recurrence.
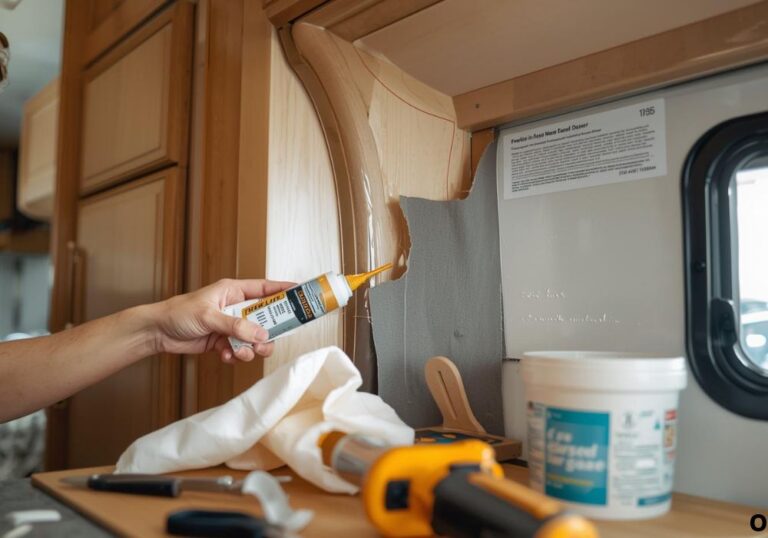
Tools and Materials Needed
Successful replacement requires a few simple tools. You’ll need an adjustable wrench, screwdriver, pliers, and a small cleaning brush.
The replacement thermocouple must be compatible with your RV water heater model. Verify the length, type, and connection style before purchase.
Thread sealant or gas-approved tape ensures secure, leak-free fittings. Safety gloves, goggles, and a protective cloth are essential.
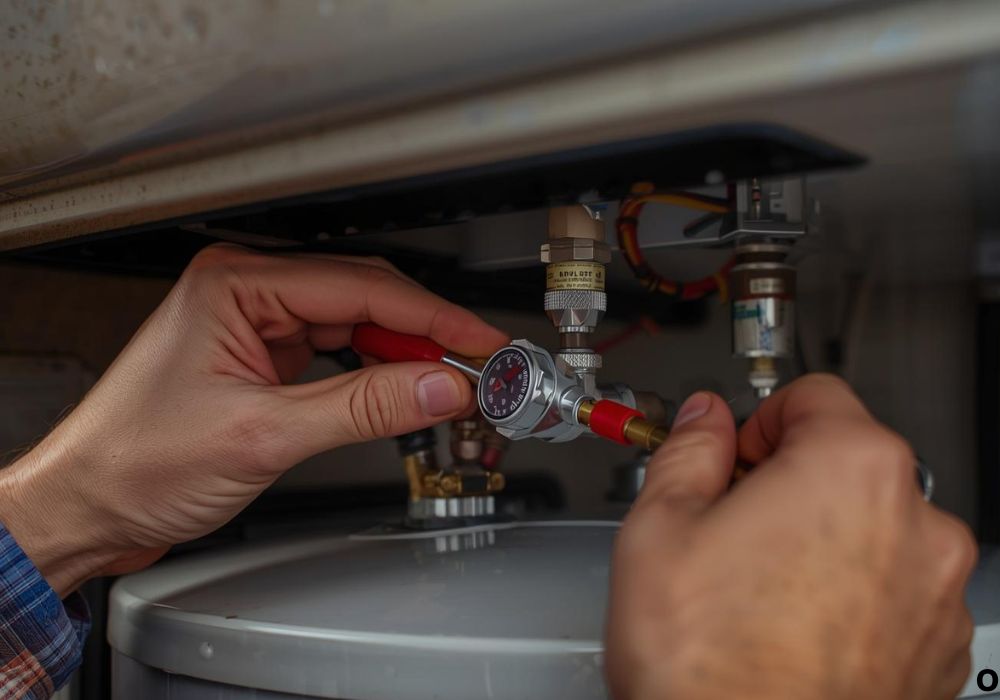
Optional tools include a multimeter to test thermocouple continuity. This helps confirm the part is functioning before installation.
Workspace preparation is critical. Work in a well-ventilated area, turn off the gas supply, and, if necessary, drain the water heater.
High-quality replacement parts and sealant increase the longevity of the repair. Using substandard components may lead to repeated failures.
Planning ahead and organizing tools reduces errors. A methodical approach ensures a safe, smooth replacement process.
Step-by-Step Process to Replace the Thermocouple
Step 1: Turn off the gas supply and, if applicable, disconnect electrical power. Safety first to prevent gas leaks or burns.
Step 2: Drain water from the heater and remove the access panel. This allows clear access to the pilot assembly and thermocouple.
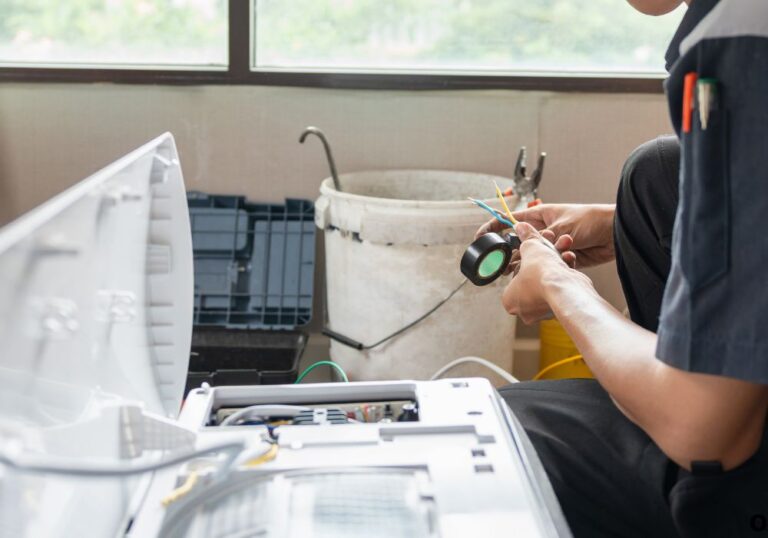
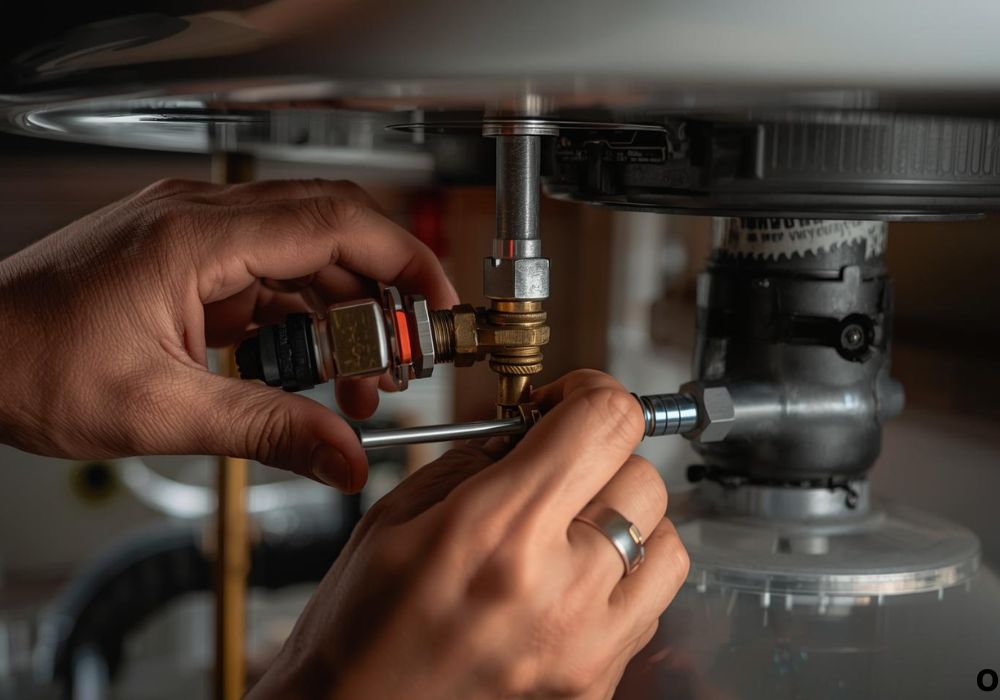
Step 3: Locate the existing thermocouple and disconnect it from the gas control valve. Carefully note wiring or position for proper installation.
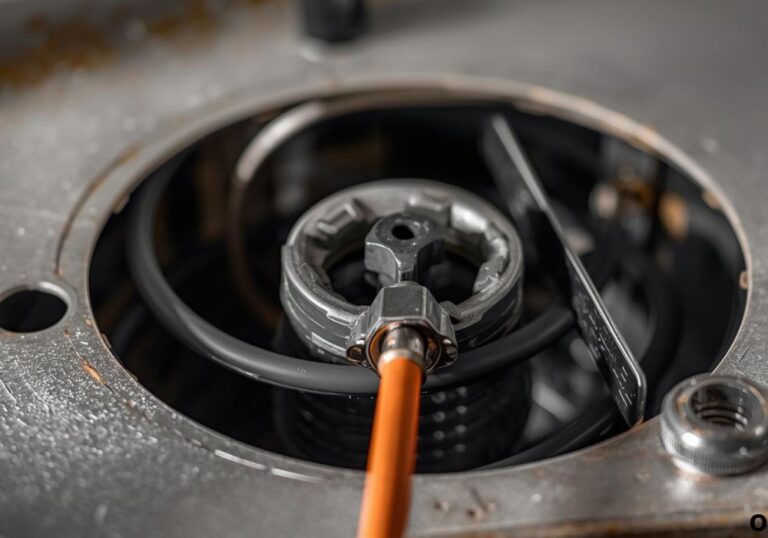
Step 4: Remove the old thermocouple, cleaning the surrounding area to remove debris, soot, or corrosion. Inspect nearby connections for damage.
Step 5: Install the new thermocouple, ensuring the rod sits correctly near the pilot flame. Secure connections to the gas control valve and any mounting brackets.
Step 6: Apply thread sealant or gas-approved tape as needed. Reconnect wiring, ensuring tight and correct connections.
Step 7: Reassemble the access panel and refill the water heater if drained. Double-check all fittings and connections.
Step 8: Turn on the gas supply, light the pilot, and test the water heater for proper operation. Observe the flame and confirm hot water production.
Extra tips: Use a flashlight to inspect hidden corners, avoid over-tightening fittings, and check for leaks before finalizing the installation. Proper execution ensures safety and longevity.
Safety Tips While Replacing Thermocouple
Always work in a well-ventilated area to prevent gas buildup.
Wear gloves and goggles to avoid burns, debris, or chemical exposure.
Turn off the gas supply completely before starting work.
Avoid bending or forcing the thermocouple, as it can reduce effectiveness.
Use a multimeter to test continuity before installation if possible.
Keep a fire extinguisher nearby for emergencies, especially when working with gas appliances.
Check all connections for leaks before lighting the pilot. A soap-and-water solution can reveal gas leaks as bubbles.
Never skip steps or rush; safety is more important than speed.
Preventing Future Thermocouple Issues
Regular cleaning of the pilot assembly prevents soot buildup.
Inspect for corrosion or physical damage periodically.
Avoid moisture accumulation near the gas control and pilot assembly.
Use high-quality thermocouples compatible with your water heater.
Replace thermocouples proactively if signs of wear appear.
Follow manufacturer guidelines for operation, lighting, and maintenance.
Test the thermocouple periodically to ensure proper pilot flame operation.
Document maintenance dates and replacement history for reference.
Cost Considerations
Replacement thermocouples are generally affordable, ranging from $10–$30.
DIY replacement saves on labor costs, which can exceed $100 if done by a professional.
Hidden costs may include improper installation leading to gas leaks or repeated pilot issues.
Material quality affects longevity; investing in a high-quality thermocouple reduces future repairs.
Professional service is faster and ensures proper installation, but costs more.
Labor charges vary by location and complexity of the water heater system.
Planning and using quality parts saves money in the long run.
Frequently Asked Questions (FAQ)
How do I know if my thermocouple is bad?
Pilot won’t stay lit, flame flickers, or water heater fails to heat water properly.
Can I replace it myself?
Yes, with proper tools, instructions, and safety precautions.
What tools do I need?
Adjustable wrench, screwdriver, pliers, cleaning brush, optional multimeter.
Do I need special thermocouples?
Yes, ensure it is compatible with your RV water heater model.
How often should I check my thermocouple?
Check at least once a year or when pilot issues occur.
Can a corroded thermocouple cause gas leaks?
If damaged, improper connection can create gas flow issues; inspect carefully.
How do I test continuity?
Use a multimeter; a working thermocouple will show electrical continuity when heated.
What if pilot won’t stay lit after replacement?
Check proper placement, connections, and ensure gas supply is on.
Is professional installation necessary?
Not for minor DIY repair, but professionals are safer for complex issues.
Can moisture damage the thermocouple?
Yes, exposure to water or high humidity can corrode the rod.
How long does a thermocouple last?
Typically 5–10 years depending on usage and maintenance.
Should I clean the thermocouple tip?
Yes, lightly clean soot or debris before installation.
What safety precautions should I take?
Turn off gas, ventilate the area, wear gloves/goggles, keep fire extinguisher nearby.
Can I use Teflon tape on the thermocouple?
Use only gas-approved thread sealant; Teflon tape is generally not recommended for gas lines.
What else can cause pilot issues besides thermocouple?
Clogged pilot tube, gas valve failure, or improper gas pressure can also affect operation.
Conclusion
Replacing the thermocouple in your RV water heater is a manageable DIY task with proper tools, precautions, and step-by-step guidance.
Safety should always come first, including turning off gas, wearing protective gear, and checking connections for leaks.
Following these steps restores your water heater’s pilot flame and ensures reliable hot water. Proper preventive care reduces future issues and extends component life.
Whether you tackle this repair yourself or consult a professional, timely replacement ensures safe and efficient water heater operation.
With these instructions, your RV water heater will remain fully functional, safe, and ready for every adventure. Proactive maintenance ensures lasting performance and peace of mind.
I’m David R. Coleman, the founder, lead writer, and lifelong tool enthusiast behind GarageToolPro.com. With years of experience in automotive repair, woodworking, and home DIY projects, I created this platform to share practical tips, detailed tool reviews, and step-by-step guides that help mechanics, hobbyists, and homeowners get the job done right the first time.