Step-by-Step Guide to Repair Water Damage in RV Ceiling
You’re enjoying a scenic road trip when you notice a dark stain spreading across your RV ceiling. At first, it seems minor, but soon the ceiling starts sagging in one corner, signaling potential structural issues.
Water damage in RV ceilings often occurs silently, caused by leaks in the roof, faulty plumbing, or condensation from temperature fluctuations. Left unchecked, it can lead to mold growth, weakened panels, and expensive repairs.
Many RV owners ignore small stains or soft spots until the damage becomes severe. By then, the repair costs increase significantly, and safety risks may arise from sagging panels or compromised structures.
Early detection and timely repair are key to preventing bigger problems. With the right approach, most ceiling water damage can be repaired at home without professional help.
This guide provides a step-by-step, practical approach to repairing RV ceiling water damage. You’ll learn to identify damage, assess causes, gather tools and materials, execute repairs, and implement preventive strategies.
By following these instructions, your RV ceiling will be dry, structurally sound, and protected from future leaks. Proper repair ensures peace of mind and uninterrupted enjoyment of your travels.
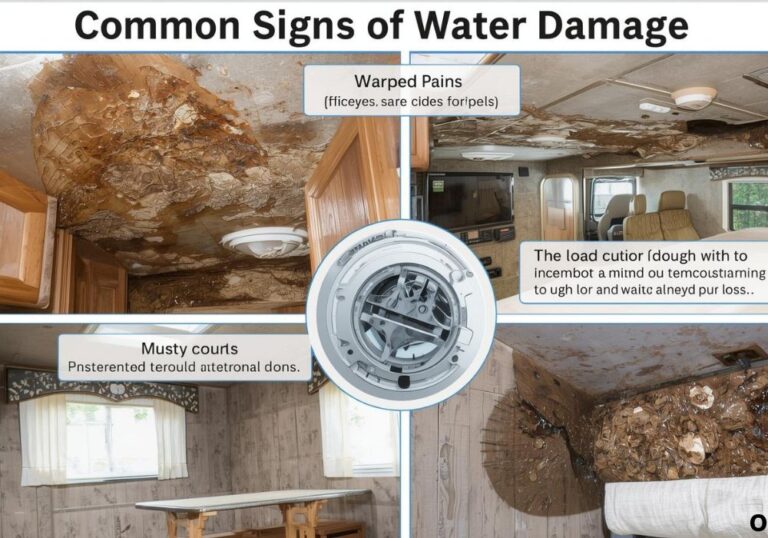
Signs of Water Damage in RV Ceiling
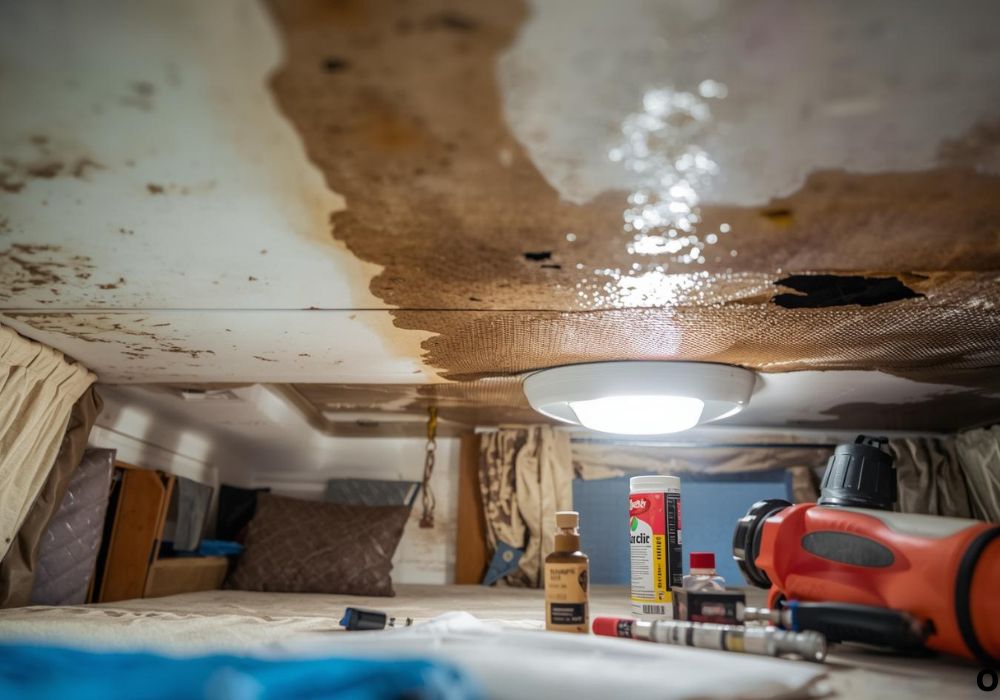
One of the first signs of ceiling water damage is visible staining. Brown or dark marks on the ceiling may indicate a slow leak or condensation issue.
Sagging or drooping panels often follow water infiltration. Even small soft spots should not be ignored as they may indicate underlying insulation or structural damage.
Peeling paint or bubbling is a common symptom. Moisture trapped under paint causes bubbles and makes the surface uneven.
Musty odors are another warning sign. Mold or mildew growth behind panels may produce a strong, unpleasant smell.
Cracks or holes in the ceiling may appear in areas exposed to water intrusion. These can worsen over time if not addressed.
Unusual dripping sounds or consistent condensation may indicate persistent leaks. Inspect vents, skylights, and plumbing lines to locate the source.
Early detection is critical. Routine visual inspections and touch tests can prevent costly repairs.
Common Causes of RV Ceiling Water Damage
Roof leaks are the most common cause of water damage. Seams, vents, and skylights often allow water infiltration during rain or snow.
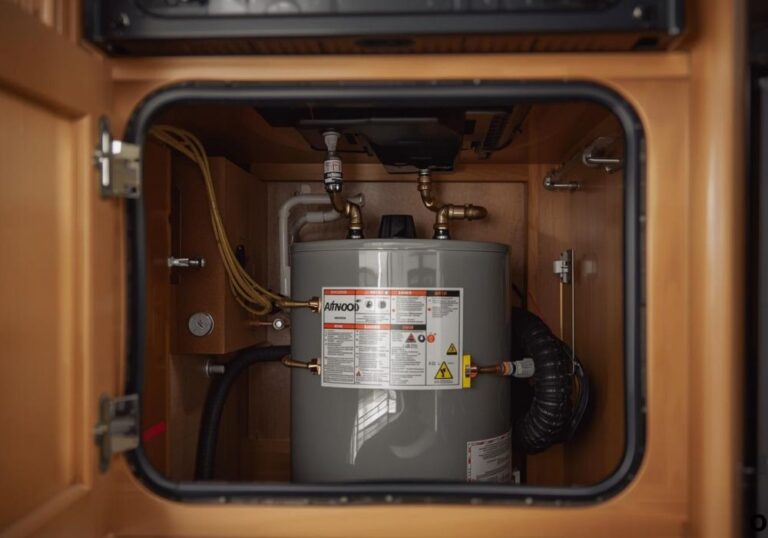
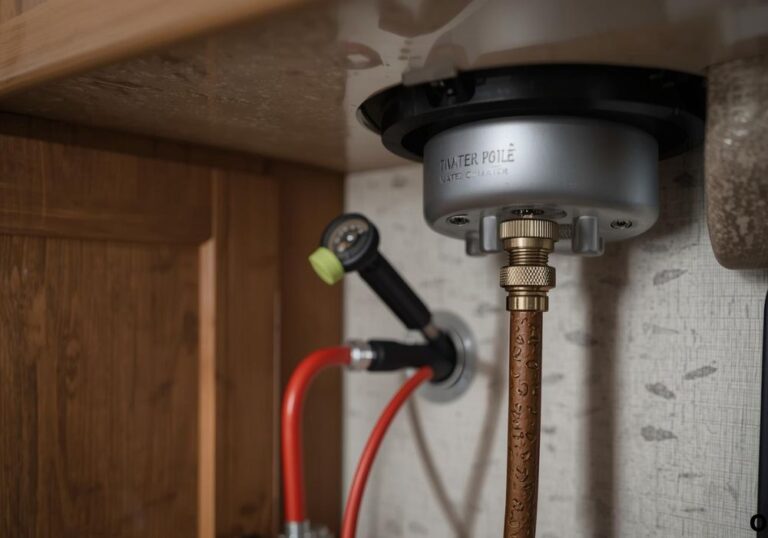
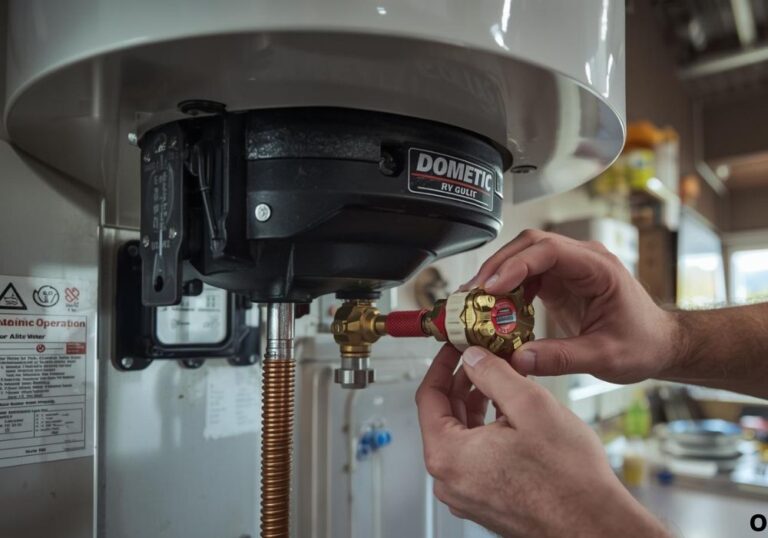
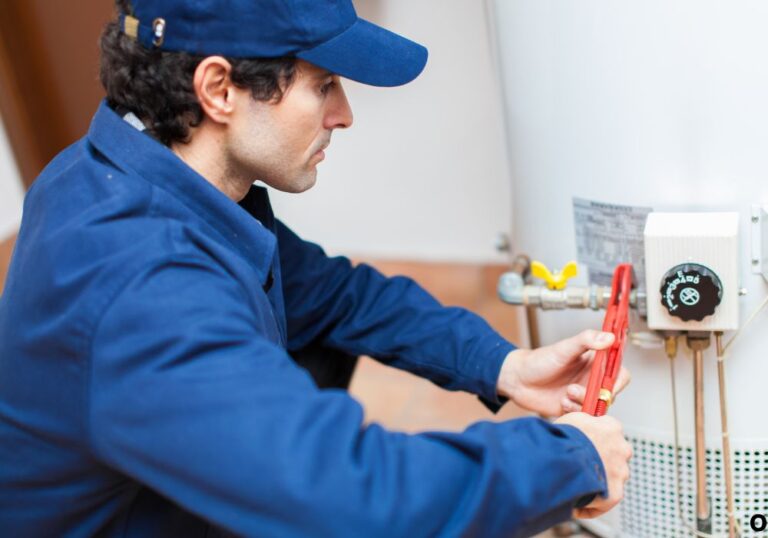
Faulty plumbing above the ceiling can result in leaks. Pipes from bathrooms, kitchens, or water heaters may develop cracks or loose fittings.
Condensation due to fluctuating temperatures can saturate insulation and weaken panels over time. High humidity inside the RV exacerbates this problem.
AC units or roof vents with worn-out seals may allow water in. Even minor leaks around these fixtures can cause significant damage over time.
Severe weather, such as hail, heavy snow, or prolonged rain, can stress the roof and exacerbate existing damage. Small cracks can become significant water entry points.
Aging materials or lack of routine maintenance increases vulnerability. Old ceilings, insulation, and seals wear down naturally, reducing their protective ability.
Ignoring these causes can result in recurring water damage and potential mold growth. Identifying the root problem is essential for a permanent solution.
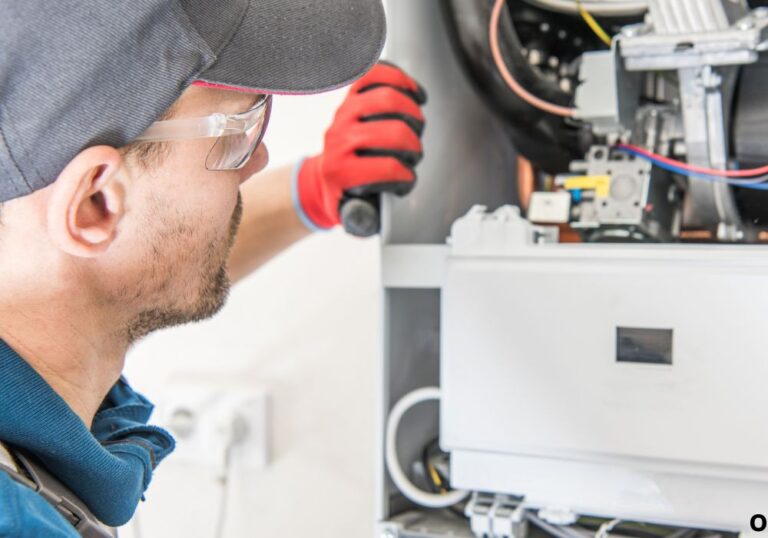
Tools and Materials Needed for Repair
A few basic tools are essential for a successful repair. You’ll need a utility knife, putty knife, drill, screwdriver, and sandpaper.
Replacement materials include ceiling panels, insulation, and waterproof sealant. Screws, primer, and paint are also necessary for finishing the repair.
Safety equipment is critical. Gloves, goggles, and a mask protect against mold, debris, and chemical exposure.
Optional tools include moisture meters, cleaning brushes, and mold remediation products. Barrier sheets or drop cloths protect your RV interior.
Preparation is key. Remove furniture, cover floors, and organize tools to streamline the repair process.
Using high-quality panels, insulation, and sealants ensures durability. Premium materials help prevent future leaks and extend the life of your repair.
Attention to detail in tool preparation and workspace setup makes the repair safer and more efficient. A systematic approach reduces mistakes and improves results.
Step-by-Step Process to Repair Water Damage
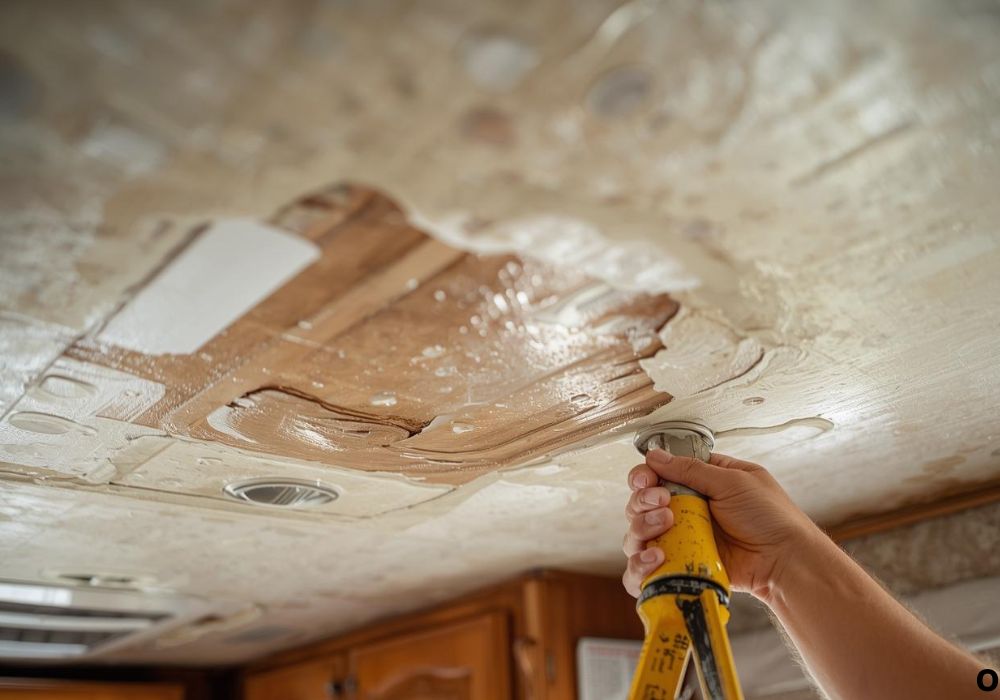
Step 1: Remove damaged ceiling panels carefully. Cut around the affected area to avoid causing further damage.
Step 2: Inspect the underlying insulation and support structure. Check for mold, rot, or weakened wood.
Step 3: Dry the area thoroughly using fans or a dehumidifier. Treat any mold or mildew with safe cleaning products.
Step 4: Replace insulation if it is damp or damaged. Ensure a snug fit to maintain ceiling support and insulation efficiency.
Step 5: Install new panels or patch the existing ceiling. Use screws or adhesive to secure panels evenly.
Step 6: Apply waterproof sealant along seams, edges, and potential leak points. Allow sufficient drying time to ensure protection.
Step 7: Prime and paint the repaired area. Match the existing ceiling color for a seamless appearance.
Step 8: Test the repair by spraying water lightly on the roof or monitoring during the next rain. Inspect for leaks and ensure proper sealing.
Extra tips include using clamps for panel alignment, sanding edges for smooth finishes, and inspecting hidden corners for residual moisture. Proper execution prevents recurring damage.
Preventing Future Water Damage in RV Ceiling
Regular roof and vent inspections are essential. Check for cracks, loose fasteners, or worn seals before each season or after storms.
Control interior humidity using vents, fans, or dehumidifiers. Excess moisture accelerates ceiling deterioration and promotes mold growth.
Apply protective coatings or RV roof sealants annually. These products prevent water penetration and extend roof lifespan.
Seasonal maintenance is vital. Inspect the roof, clean gutters, and repair minor cracks before winter or rainy seasons.
Check plumbing and AC units regularly for leaks. Early detection prevents major water damage and mold growth.
Store your RV properly to reduce exposure to extreme weather conditions. Use covers, awnings, or garages when possible.
Educate all occupants on spotting early signs of water damage. Immediate action prevents small issues from escalating.
Monitor water flow and leaks periodically to ensure ongoing protection. Consistent vigilance reduces the likelihood of future damage.
Cost Considerations for Repairing RV Ceiling Water Damage
DIY repairs save money but require time, attention, and proper tools. Replacement panels, insulation, sealants, and paint are moderate in cost.
Professional repairs are faster but often expensive. Labor charges vary depending on repair complexity and region.
Hidden costs include mold remediation, structural repair, or replacing large sections of the ceiling. High-quality materials can reduce long-term expenses.
Budgeting for preventive maintenance reduces emergency repair costs. Minor inspections and timely replacements are more economical than major fixes.
Material quality affects both cost and durability. Using water-resistant panels and premium sealants ensures longer-lasting repairs.
Consider labor costs for professionals, especially if multiple ceiling areas are affected. Some repairs may require specialized skills or tools.
Insurance may cover damage in some cases. Always check your RV insurance policy for water-related claims.
Planning ahead for both DIY and professional repair scenarios prevents unexpected financial strain.
Frequently Asked Questions (FAQ)
How do I know if my RV ceiling has water damage?
Look for stains, sagging panels, peeling paint, bubbling, and musty odors.
Can I repair the ceiling myself?
Yes, minor to moderate damage can be repaired with proper tools and guidance.
What tools do I need for repair?
Utility knife, putty knife, screwdriver, drill, sandpaper, and safety gear.
Do I need special paint for RV ceilings?
Use water-resistant or RV-specific paint for durability and protection.
How do I prevent mold growth after repair?
Dry thoroughly, treat mold or mildew, and use mold inhibitors before sealing.
What causes sagging panels?
Prolonged water exposure weakens insulation and support structures.
Is professional repair always necessary?
Not for minor damage, but structural issues or extensive mold require professionals.
Can water damage recur after repair?
Yes, if the source of the leak is not fixed or preventive measures are neglected.
How do I inspect hidden areas of the ceiling?
Use a flashlight, moisture meter, or remove panels for thorough inspection.
How often should I check my RV ceiling?
Before and after every season, or after heavy rain and long trips.
What type of insulation should I use?
Water-resistant insulation is recommended to prevent future damage.
Can extreme weather worsen ceiling damage?
Yes, hail, heavy rain, or snow can exacerbate small leaks.
Are all RV ceilings the same material?
No, they vary: wood, composite, or fiberglass, each requiring different repair methods.
How do I seal ceiling seams effectively?
Use waterproof sealant and follow manufacturer recommendations for coverage.
What if the damage is extensive?
Hire a professional for structural repair and mold remediation.
Conclusion
RV ceiling water damage can quickly escalate if ignored, but timely inspection and repair make it manageable. Following a systematic step-by-step process ensures a secure, durable, and aesthetically pleasing repair.
Using high-quality materials, proper tools, and preventive measures reduces the likelihood of recurring leaks. Routine inspections and proactive maintenance are crucial to preserving your RV ceiling.
Whether you choose DIY repair or hire a professional, addressing water damage early saves money and ensures the structural integrity of your RV.
With these strategies, your RV ceiling will remain dry, strong, and adventure-ready. Consistent care and attention prevent future issues and give you confidence on every road trip.
I’m David R. Coleman, the founder, lead writer, and lifelong tool enthusiast behind GarageToolPro.com. With years of experience in automotive repair, woodworking, and home DIY projects, I created this platform to share practical tips, detailed tool reviews, and step-by-step guides that help mechanics, hobbyists, and homeowners get the job done right the first time.