Step-by-Step Guide to Repair RV City Water Connection at Home
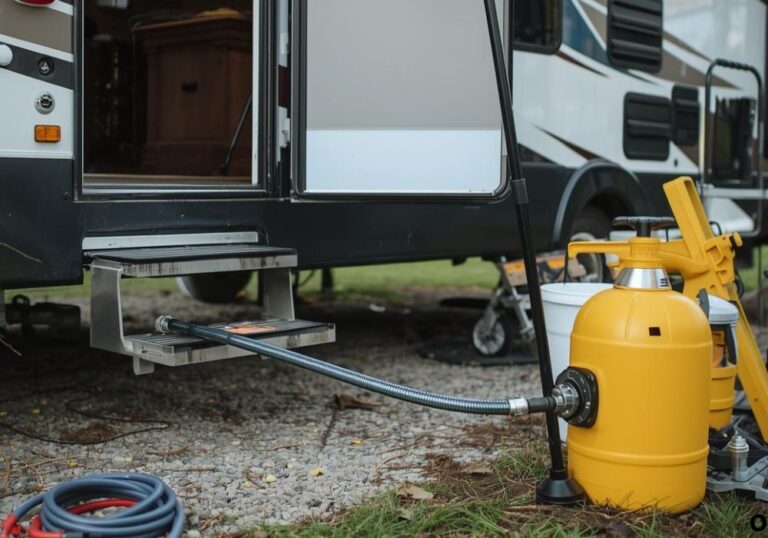
ou pull up to your campsite, attach the city water hose, and turn on the faucet only to find low water pressure or leaks at the connection. What seemed like a minor inconvenience can quickly become a frustrating problem.
RV city water connection issues are more common than many owners realize. Leaks, loose fittings, and worn-out O-rings can reduce water flow, waste water, and even compromise your plumbing system.
Ignoring these problems may lead to costly repairs, water damage, or contamination in your RV plumbing. A small leak can escalate into a bigger headache if left unattended.
The good news is that most city water connection problems can be repaired at home with the right tools and a clear step-by-step approach. DIY repair saves both money and time while restoring proper water flow.
This guide provides a detailed, practical approach to repairing your RV city water connection. You’ll learn how to identify signs of a problem, inspect and replace parts, and prevent future issues.
By following these instructions, you can confidently repair your connection, ensure your water system functions properly, and enjoy your RV trips without plumbing interruptions.
Signs of a Faulty RV City Water Connection
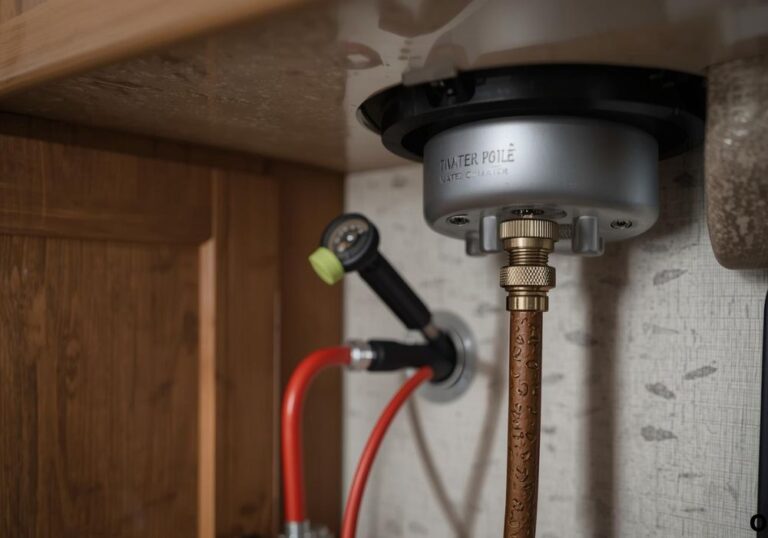
One of the first signs of a problem is a visible leak around the inlet or hose connection. Drips or pooled water indicate that seals or fittings may be compromised.
Low water pressure inside your RV can signal partial blockages or damaged hoses. Even if there is no leak, weak flow means the connection is not functioning properly.
Unusual noises like banging, hissing, or water hammer sounds often suggest loose or faulty connections. These sounds should not be ignored as they can lead to bigger problems.
Contaminated or discolored water may indicate debris or mineral buildup within the connection. In some cases, this can be harmful if consumed or used for cooking.
Loose or cracked fittings are another common sign. Over time, vibration during travel or improper installation can cause fittings to loosen.
Leaks that persist even when the water supply is turned off indicate that O-rings or washers may be damaged. Identifying these signs early prevents further plumbing damage.
Regular inspection before and after connecting to city water helps catch these problems before they worsen. Preventive observation is key to avoiding major repairs.
Common Causes of RV City Water Connection Problems
Worn-out O-rings or washers are the most frequent culprits behind leaks. These small rubber components degrade over time and need regular replacement.
Damaged inlet fittings or hoses can also cause leaks and low water pressure. Cracks or holes allow water to escape, reducing flow efficiency.
Mineral buildup or debris can obstruct water flow and weaken seals. Hard water can accumulate over months, affecting both pressure and connections.
Loose clamps or fittings often occur due to vibration during travel. Proper tightening and periodic checks are essential to prevent leaks.
Seasonal freezing can damage hoses and connectors. Water left inside during winter can expand and crack components.
Improper installation or cross-threaded fittings may also create leaks. Ensuring proper alignment and secure connection is essential for reliable performance.
Ignoring these causes can result in recurring issues and costly repairs. Understanding the source of the problem allows for effective long-term solutions.
Tools and Materials Needed for Repair
Repairing a city water connection requires a few simple tools. Adjustable wrenches, pliers, screwdrivers, and a utility knife are essential.
Replacement parts such as O-rings, washers, hoses, or inlet fittings are required. Ensure you select the correct size and type for your RV.
Teflon tape and plumber’s sealant help ensure leak-free connections. Cleaning brushes and mild solutions remove mineral buildup effectively.
Safety gear like gloves and goggles protect you while working with water and tools. Optional items include a water pressure gauge for testing flow and leak detection.
Organize all materials and tools before starting the repair. A well-prepared workspace reduces errors and speeds up the process.
High-quality components and sealants improve long-term durability. Investing in quality parts prevents repeat repairs.
Step-by-Step Process to Repair RV City Water Connection
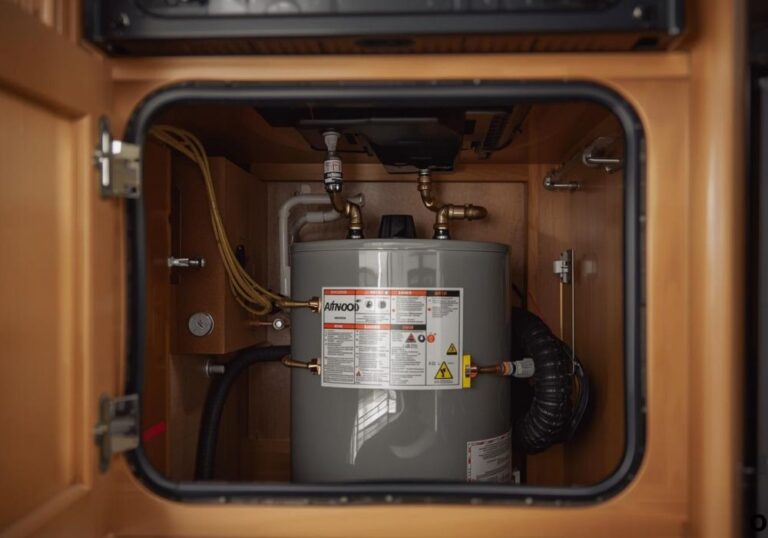
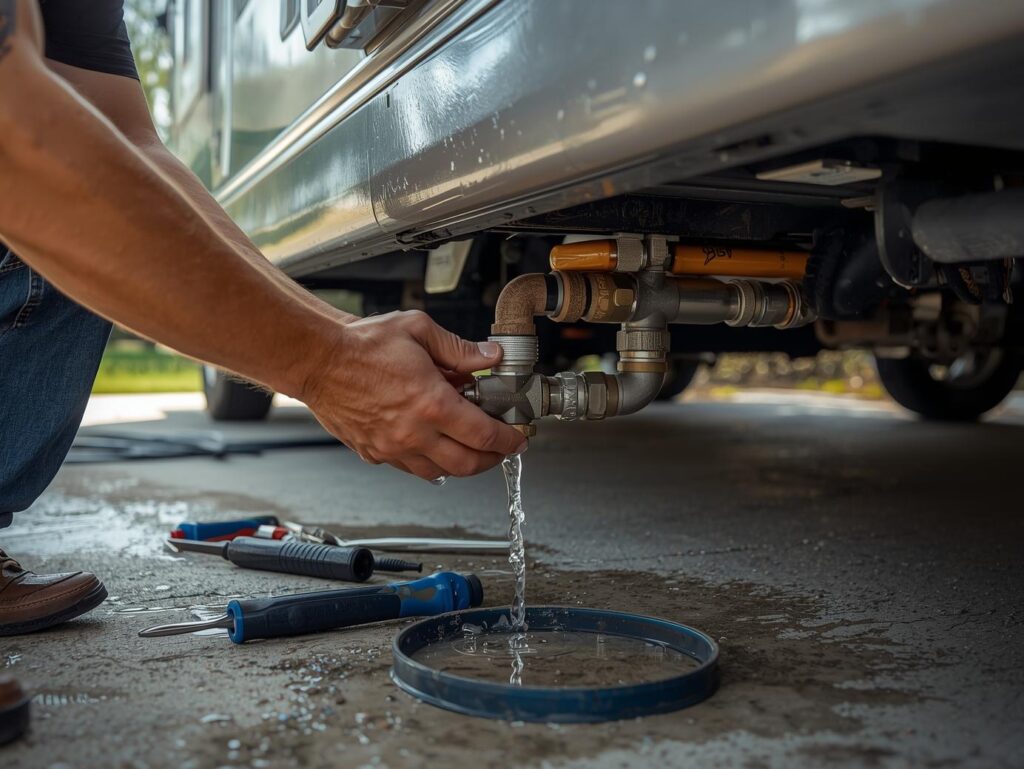
Step 1: Turn off the city water supply and drain any remaining water from the lines. This prevents spills and makes repairs safer.
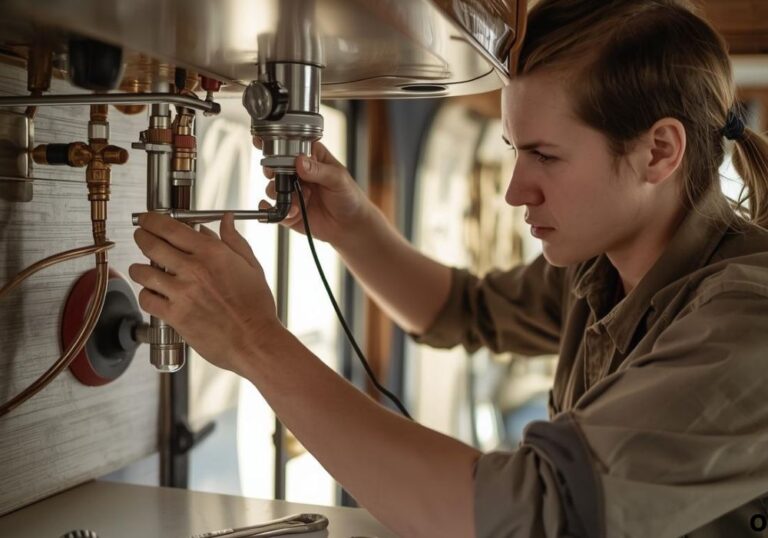
Step 2: Inspect all fittings, hoses, and connectors for visible cracks, leaks, or wear. Identify any damaged parts before proceeding.
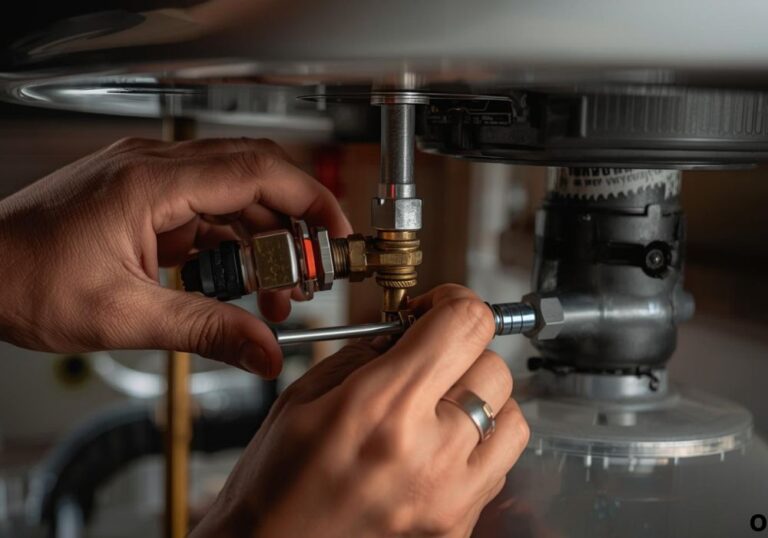
Step 3: Remove old O-rings, washers, or damaged components. Replace them with new ones of the correct size.
Step 4: Clean the inlet and hoses thoroughly. Mineral deposits, dirt, or debris can affect the seal and water flow.
Step 5: Apply Teflon tape or plumber’s sealant where needed. Wrap threads tightly but avoid over-tightening, which can crack fittings.
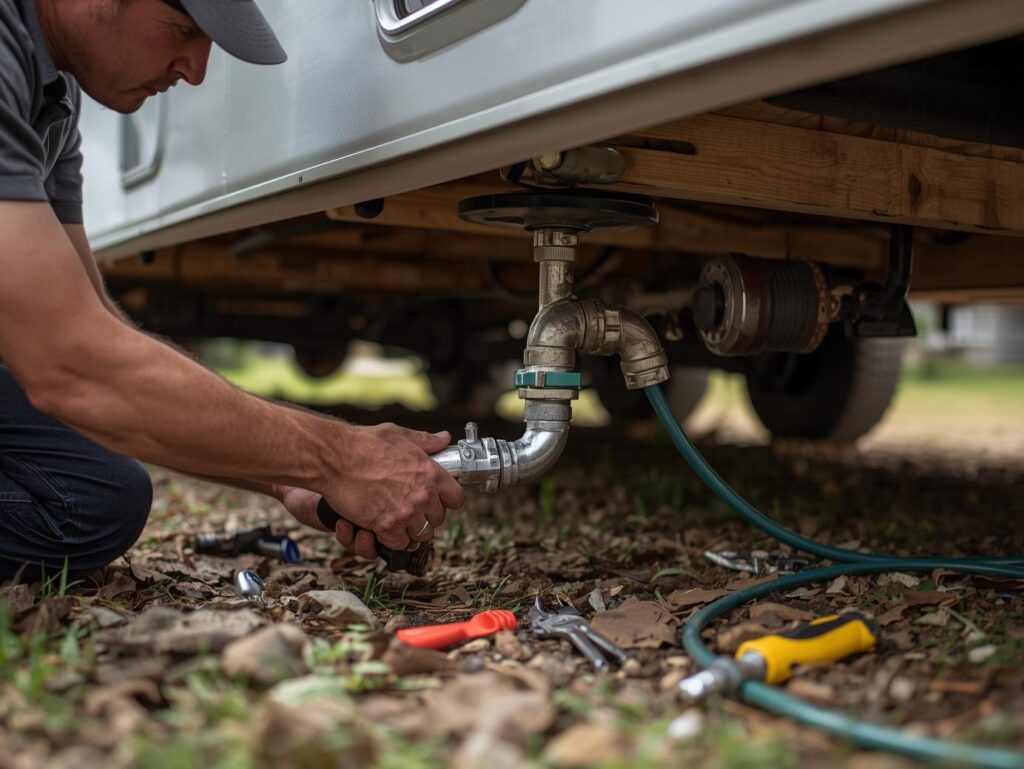
Step 6: Reconnect hoses and tighten fittings securely. Ensure all connections are snug without being forced.
Step 7: Turn the city water supply back on and check for leaks. Observe water pressure and test each faucet inside the RV.
Step 8: If leaks persist, recheck connections or replace additional parts as necessary. Reinspect periodically during the first few uses.
Following each step carefully ensures a secure, leak-free connection. Skipping steps may cause recurring problems or water damage.
Extra tips: Use a small flashlight to inspect hidden areas, and test hoses at different angles to detect weak points.
Preventing Future RV City Water Connection Issues
Regular inspections prevent leaks before they start. Check hoses, fittings, and connections before each trip.
Use water filters to reduce mineral buildup and debris accumulation. This prolongs the life of O-rings and fittings.
Avoid over-tightening fittings. Excessive pressure can crack hoses, threads, or inlet parts.
Winterize your system to prevent freezing damage. Drain hoses and store them properly during cold months.
Replace worn or damaged components promptly. Procrastination can lead to leaks and water damage inside the RV.
Store hoses off the ground and avoid sharp bends or kinks. This prevents cracks and ensures smooth water flow.
Educate all RV users on proper connection procedures. Correct handling reduces the chance of leaks or damage during hookups.
Check water pressure occasionally to ensure consistent performance. High pressure may stress fittings, and low pressure may indicate partial blockage.
Cost Considerations for Repairing RV City Water Connections
DIY repairs are inexpensive but require time and attention. O-rings, washers, hoses, and fittings are generally low-cost.
Professional repairs are faster but more expensive. Labor costs can vary based on complexity and location.
Hidden costs include water damage from leaks or replacement of multiple components. Investing in high-quality materials saves money in the long run.
Budgeting for preventive maintenance reduces emergency repair expenses. Simple inspections and replacement of worn parts prevent costly fixes.
Material choice impacts durability and cost. Premium hoses and fittings last longer and withstand pressure fluctuations.
Labor charges differ depending on whether it’s a minor repair or full inlet replacement. Comparing DIY vs. professional options helps you make an informed decision.
Insurance may cover damage in some cases. Check your RV insurance policy for water-related plumbing coverage.
Planning ahead and knowing costs for parts and labor prevents unexpected financial strain.
Frequently Asked Questions (FAQ)
How do I know if my RV city water connection is leaking?
Check for drips, pooled water, and low pressure at faucets inside the RV.
Can I repair the connection myself?
Yes, most minor leaks, worn O-rings, or fittings can be repaired DIY.
Do I need special hoses for city water connections?
Use hoses rated for potable water and compatible with RV fittings.
What tools are required for repair?
Adjustable wrenches, pliers, screwdrivers, utility knife, Teflon tape, and sealant.
How often should I inspect the city water connection?
Before each trip and periodically during extended RV use.
Can mineral buildup cause leaks?
Yes, mineral deposits reduce sealing efficiency and restrict flow.
How do I winterize the water connection?
Drain hoses, disconnect fittings, and store hoses in a dry place.
Is professional help needed for all repairs?
Not for minor repairs, but severe leaks or damaged inlets may require professionals.
Can I prevent leaks completely?
Regular maintenance reduces the chance of leaks but cannot guarantee 100% prevention.
How do I replace a damaged O-ring?
Remove the old O-ring, clean the fitting, and install a correctly sized new O-ring.
Can cross-threading cause leaks?
Yes, misaligned threads prevent a proper seal and can lead to drips.
Should I use sealant on all connections?
Apply plumber’s sealant or Teflon tape only to threaded connections.
How do I check water pressure after repair?
Use a pressure gauge or observe water flow at faucets inside the RV.
Are replacement parts expensive?
Most O-rings, washers, and hoses are low-cost; premium parts last longer.
What if the leak persists after repair?
Reinspect fittings, replace additional parts, or consider professional service.
Conclusion
RV city water connection problems can disrupt your trips, but timely inspection and repair make them manageable. Following step-by-step instructions ensures a secure, leak-free connection.
Using the right tools, materials, and preventive measures reduces recurring issues. Regular maintenance and inspection are key to long-term reliability.
Whether you choose DIY or hire professionals, addressing water connection issues early saves money and protects your plumbing system. Proper repair ensures reliable water flow and hassle-free RV adventures.
With these steps, your RV city water connection will remain safe, functional, and ready for every trip. Prevention, timely repair, and quality materials are the keys to lasting results.
I’m David R. Coleman, the founder, lead writer, and lifelong tool enthusiast behind GarageToolPro.com. With years of experience in automotive repair, woodworking, and home DIY projects, I created this platform to share practical tips, detailed tool reviews, and step-by-step guides that help mechanics, hobbyists, and homeowners get the job done right the first time.