No Hot Water in Your RV? Here’s How to Diagnose and Repair It
The steam from a hot shower is one of life’s simple pleasures. But on a crisp morning in the middle of nowhere, that pleasure turns into a luxury when you turn the knob and are greeted by nothing but an icy blast.
I remember the first time it happened to me; my cozy RV suddenly felt like a camping trip gone wrong. The frustration was real.
My mind raced—was it a complex electrical fault? A dangerous gas leak? The cost and wait for a mobile mechanic loomed large.
But here’s the secret most seasoned RVers know: 90% of “no hot water” problems are caused by a handful of simple, fixable issues. You don’t need to be a certified technician to get your hot water back.
This guide is your roadmap out of that cold panic. We will walk together, step-by-step, through the exact process of diagnosing and repairing your RV’s hot water heater.
Understanding Your RV Water Heater
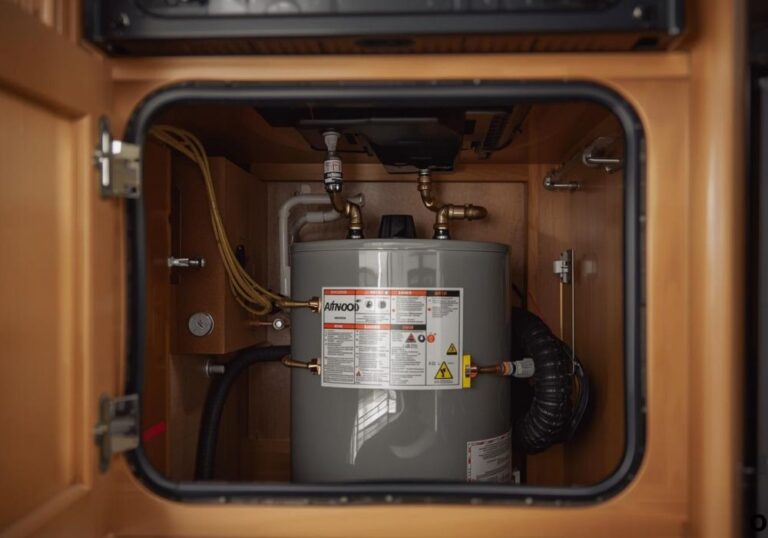
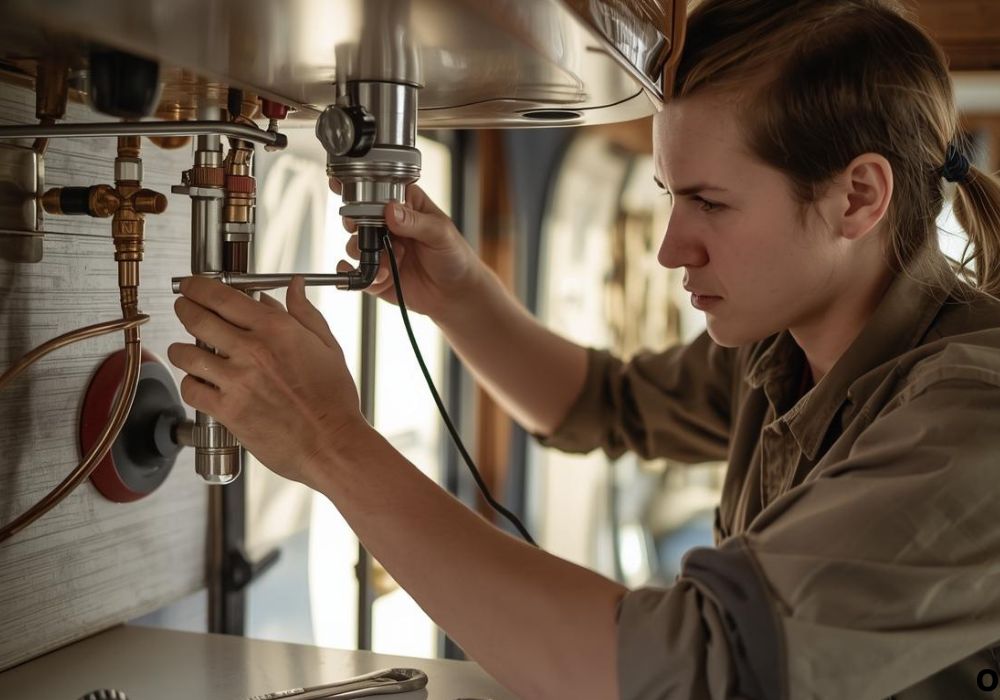
Your RV water heater is a marvel of compact engineering. It typically holds six to ten gallons of water in a insulated tank.
Most models operate on two independent systems: gas and electric. This dual-fuel design provides wonderful redundancy for your adventures.
The gas system uses a burner, similar to a home water heater but much smaller. It ignites propane to heat the water inside the tank.
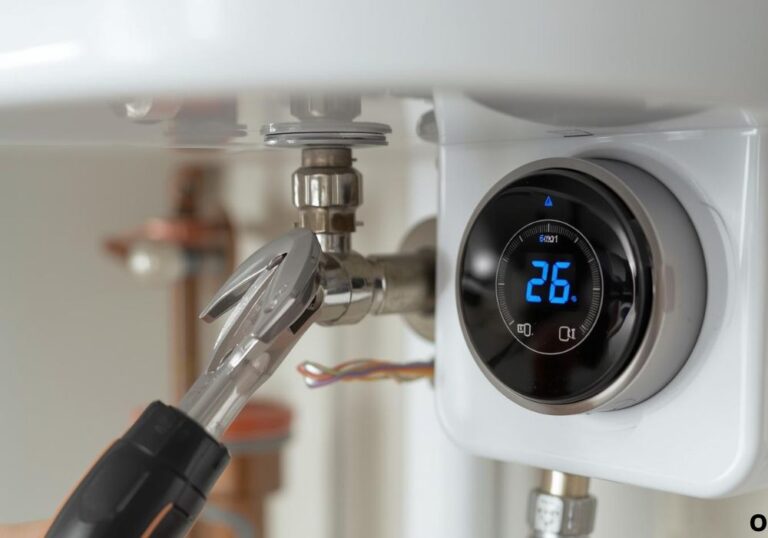
The electric system uses a heating element, like one in a kettle, that extends into the water. A thermostat precisely controls the temperature for both systems.
Knowing which system is malfunctioning is your first clue. The solution often depends on whether the problem is with gas, electricity, or both.
Your safety is the most important part of this repair. A single mistake can lead to fire, explosion, or electrocution.
Always turn off the propane supply at the tank before beginning any work. This is your non-negotiable first step.
For electrical work, you must turn off the 12V DC power at your RV’s main control panel. Also, disconnect from shore power or turn off the inverter.
You must also relieve the pressure inside the water heater tank. Never open any components while the system is under pressure.
Work in a well-ventilated area, especially when checking for gas leaks. These simple steps ensure you live to enjoy another camping trip.
Step-by-Step Troubleshooting Guide
Start by trying to heat water using only the electric mode. Listen carefully for any clicks from the thermostat.
If you get no hot water on electric, switch to the gas mode. You should hear the distinct sound of the burner igniting.
Getting hot water on one mode but not the other isolates the problem. It tells you which system to focus your efforts on.
If you have no hot water on either setting, the issue is more fundamental. It could be a lack of water in the tank or a faulty bypass valve.
This simple test takes two minutes but saves hours of wasted time. It is the cornerstone of effective troubleshooting.
A extinguished pilot light is the most common cause of gas system failure. It can be blown out by wind or a faulty thermocouple.
First, look through the exterior access panel’s sight glass. You should see a small, steady blue flame burning inside.
If the pilot is out, turn the gas control knob to the “pilot” setting. Press and hold the knob down to start the gas flow.
While holding the knob, use a long-reach lighter to ignite the pilot. Continue holding the knob for 30-60 seconds after ignition.
This allows the thermocouple to heat up and signal the gas valve to stay open. Releasing too soon will cause the pilot to go out again.
The thermocouple is a safety device that shuts off gas if the pilot light fails. It is a small copper tube that sits in the pilot flame.
Over time, thermocouples can wear out or become coated with carbon. This prevents them from generating the millivoltage needed to keep the gas valve open.
If your pilot light ignites but won’t stay lit, the thermocouple is the prime suspect. Gently clean its tip with fine steel wool.
If cleaning doesn’t work, the thermocouple likely needs replacement. This is a simple and inexpensive fix you can do yourself.
If you smell propane at any point, stop all work immediately. Do not operate any electrical switches or create any sparks.
Extinguish all open flames and do not smoke. Immediately turn off the main gas supply valve on your propane tank.
Evacuate the area around the RV and allow it to air out thoroughly. The smell indicates a potentially dangerous leak.
This is not a DIY repair. You must call a qualified professional to locate and fix the gas leak before using the system again.
The high-temperature limit switch is a critical safety device. It cuts power to the element if the water temperature gets dangerously high.
This switch can trip due to a faulty thermostat or a low water level. It is usually a red button located on the thermostat housing.
To reset it, you must first turn off the power to the water heater. Then, press the red reset button firmly until it clicks.
Restore power and check if the electric heating system now works. If it trips again immediately, you have a more serious problem.
A repeatedly tripping switch points to a faulty heating element or thermostat. These components will need testing and likely replacement.
Heating elements can burn out over time, just like a lightbulb. A multimeter is required to test it for continuity.
First, disconnect all power and drain the water heater tank. Remove the wires and the retaining bolts to access the element.
Set your multimeter to the resistance (Ohms) setting. Touch one probe to each of the element’s terminals.
A good element will show a low resistance reading (e.g., 10-16 Ohms). A reading of infinity (OL) means the element is dead and must be replaced.
When installing a new element, always use a new food-grade gasket. Tighten it snugly to prevent leaks when you refill the tank.
The thermostat regulates the water temperature for the electric system. If it fails, it will not send power to the heating element.
Use a multimeter to check for voltage at the thermostat’s terminals. Remember to have the power on and the switch set to electric.
If power is going into the thermostat but not coming out, it is faulty. Thermostats are inexpensive and relatively easy to replace.
Always ensure the new thermostat is rated for your specific water heater model. An incorrect thermostat can lead to scalding water or system damage.
Common Repairs You Can Do Yourself
The anode rod, or “sacrificial rod,” protects your tank from rust. It attracts corrosive elements, dissolving itself to save the tank.
A depleted rod leaves your tank vulnerable to rapid corrosion. You should inspect it at least once a year.
Drain a few gallons of water from the tank to relieve pressure. Locate the rod—it’s usually under a large hex-head plug on the tank’s top.
Use a deep socket and a long breaker bar to unscrew it. It will likely be very tight, so you may need to apply significant force.
If the rod is less than 1/2 inch thick or has large sections missing, replace it. Screw the new one in hand-tight, then give it a final snug turn with your wrench.
The exterior access cover protects the burner assembly from the elements. A damaged gasket can let in moisture and bugs.
Over time, this gasket can become brittle and crack. This compromises the sealed combustion chamber, leading to pilot outages.
Inspect the gasket for any tears, cracks, or flat spots. Clean the cover and the mounting surface of any old gasket material or debris.
If the gasket is damaged, peel it off and clean the groove. Press the new gasket firmly into place around the cover.
Reinstall the cover and ensure it seals tightly against the RV wall. A good seal is crucial for safe and efficient operation.
Sediment and mineral scale build up at the bottom of the tank. This reduces heating efficiency and can damage the element.
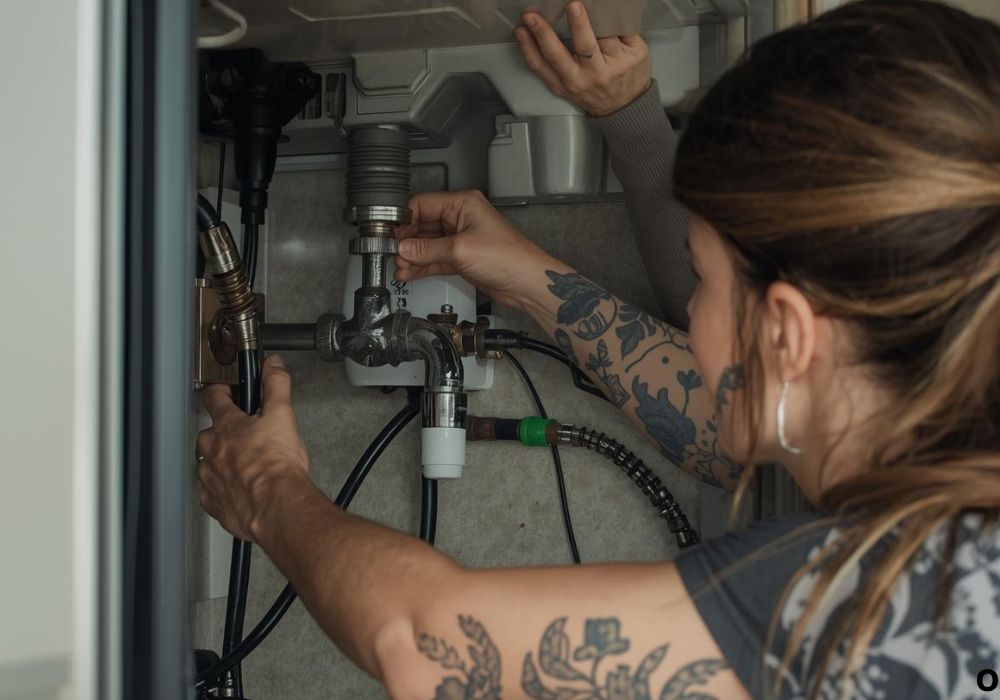
To drain it, turn off the water heater and let the water cool. Connect a hose to the drain plug located at the bottom of the unit.
Open the pressure relief valve on the top to break the vacuum. Then, open the drain plug and let the tank empty completely.
For a thorough clean, close the drain plug and fill the tank partially. Add a descaling solution like white vinegar and let it sit for a few hours.
Drain the tank again and flush it with fresh water until it runs clear. This simple annual task can double the life of your water heater.
The Temperature and Pressure (T&P) Relief Valve is a vital safety device. It opens to release water if the temperature or pressure gets too high.
If you see water dripping from the valve’s drain tube, it may be faulty. First, ensure it’s not just releasing due to over-pressurization.
To replace it, turn off all power and gas and drain the tank. The valve is typically located on the top or side of the tank.
Use a pipe wrench to unscrew the old valve from the tank. Wrap the threads of the new valve with Teflon tape.
Screw the new valve into the tank and tighten it securely. This is a small part that plays a huge role in your safety.
When to Call a Professional
Some problems are simply beyond the scope of a DIY repair. Knowing your limits is a sign of a smart RVer.
If you see active water leaking from the tank itself, stop immediately. A corroded or cracked tank cannot be repaired and must be replaced.
If you smell gas even after replacing the thermocouple, call a pro. The issue could be with the gas valve or a supply line.
Persistent electrical faults that trip breakers are a warning sign. There may be a short circuit in the wiring that requires expert diagnosis.
Any repair that makes you feel unsafe or unsure is a job for a professional. The peace of mind is worth the investment.
Conclusion
Tackling your own RV water heater repair is incredibly empowering. That initial frustration of a cold shower transforms into pride and self-reliance.
You are now equipped with the knowledge to diagnose the most common issues. Remember to always prioritize safety over speed.
A well-maintained water heater ensures comfort on all your journeys. Enjoy the warmth and satisfaction of a problem solved with your own two hands.
I’m David R. Coleman, the founder, lead writer, and lifelong tool enthusiast behind GarageToolPro.com. With years of experience in automotive repair, woodworking, and home DIY projects, I created this platform to share practical tips, detailed tool reviews, and step-by-step guides that help mechanics, hobbyists, and homeowners get the job done right the first time.