How to Winterize an RV Water Heater Easily
Picture this: winter has arrived, and your RV rests peacefully after a long summer of adventures. When spring returns, you open the faucets only to find leaks, noises, and a damaged water heater.
That moment of frustration often begins with one simple mistake — skipping the winterization process. Many RV owners underestimate how quickly freezing temperatures can destroy an unprotected water system. Water expands as it freezes, cracking the heater tank, bursting fittings, and flooding the RV floor.
According to Progressive Insurance, frozen water damage ranks among the top causes of RV repair claims during storage season. Camping World warns that just a few ounces of trapped water can rupture pipes once temperatures drop below 30 °F.
Fortunately, protecting your RV water heater is simple and inexpensive. A single afternoon of preparation can prevent hundreds of dollars in damage and ensure your heater works flawlessly next spring. This detailed guide explains how to winterize an RV water heater — step-by-step — including what to use, common mistakes to avoid, and expert-level maintenance advice for year-round reliability.
What Is RV Water Heater Winterization?
When winterizing an RV, many focus on tires or roof vents, forgetting the plumbing that hides behind panels and floors. The water heater is a crucial part of that system and must be properly drained and protected from freezing.
RV water heater winterization refers to removing all water from the heater, sealing it with a bypass valve, and safeguarding the plumbing lines with non-toxic RV antifreeze. This process ensures the heater tank and connected pipes survive freezing temperatures without damage.
Inside a typical RV water heater sits 6–10 gallons of water. If this water freezes, it expands up to 9% in volume — enough to rupture metal tanks or shatter fittings. (venture-rv.com) That’s why winterization is treated separately from the rest of the plumbing system.
Common Questions
What does it mean to winterize an RV water heater?
It means draining the heater, bypassing it, and ensuring antifreeze protects the rest of the water lines.
Why does the heater need a separate process?
Because it stores more water than the pipes, and even a small amount can freeze and crack the tank.
When should it be done?
Ideally before the first deep freeze or when temperatures consistently drop below 32 °F.
Do all heaters require the same method?
No. Tank and tankless models differ slightly in drainage and bypassing. (rvtravel.com)
Is it still necessary in mild winters?
Yes, because even a single freezing night can cause damage that isn’t visible until later.
Why Winterizing the RV Water Heater Is Critical
Ignoring the water heater during winter prep can lead to severe and costly consequences. Freezing water expands with immense pressure, often damaging the heater tank and internal fittings beyond repair.
Many RV owners discover leaks or corrosion only after thawing, forcing them to replace the heater entirely. Proper winterization eliminates this risk by ensuring no liquid remains to freeze.
America’s RV Warranty reports that most insurance claims for winter damage could have been prevented with simple draining and bypassing. Some insurers even deny freeze-damage claims if the RV was not adequately winterized.
Common Questions
What happens if an RV water heater freezes?
The tank can burst, fittings can crack, and valves may fail once thawed.
How expensive are repairs?
A full replacement can cost over $1,000 in parts and labor, depending on the model.
Does insurance cover freeze damage?
Only if proper winterization steps were followed before storage.
Can a small leak affect performance?
Yes. Even tiny fractures can cause pressure loss or electrical hazards.
Is it worth hiring a professional?
If you’re new to RVs or own a tankless system, professional winterization ensures long-term safety.
Preparations Before You Winterize the RV Water Heater
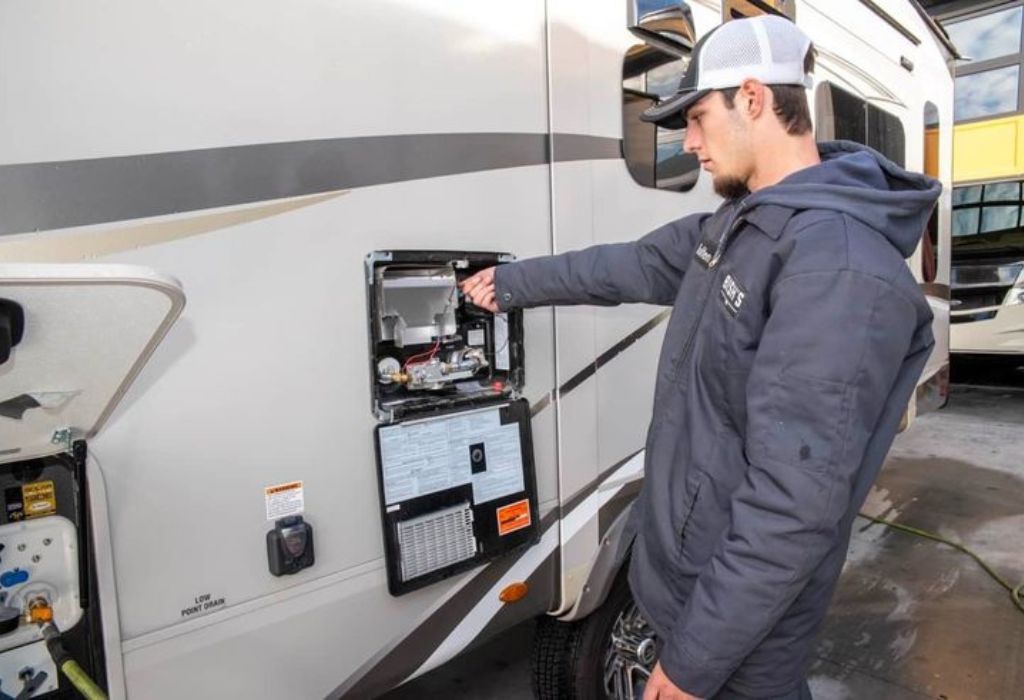
Winterization starts with proper preparation. Before draining or adding antifreeze, gather all tools and materials to make the process smooth.
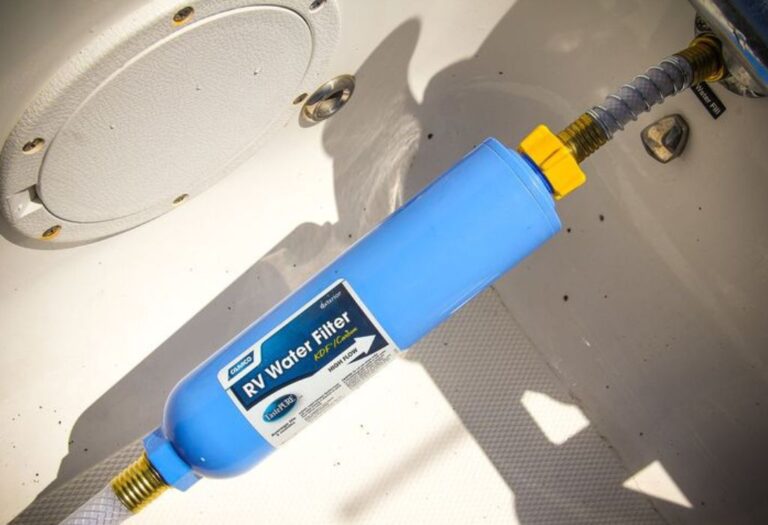
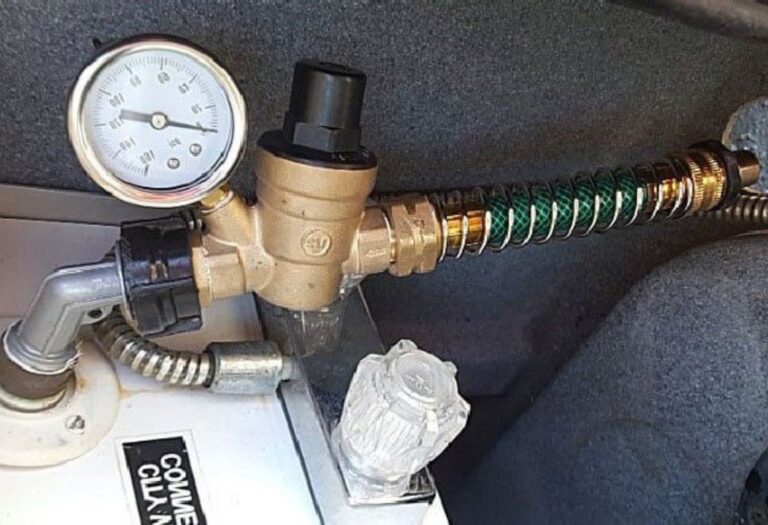
You’ll need a water-heater bypass kit, non-toxic RV/marine antifreeze, a bucket, screwdrivers, and possibly a compressor for blowing out water lines. Turn off both electricity and propane supply to the heater, relieve water pressure, and allow the system to cool.
Common Questions
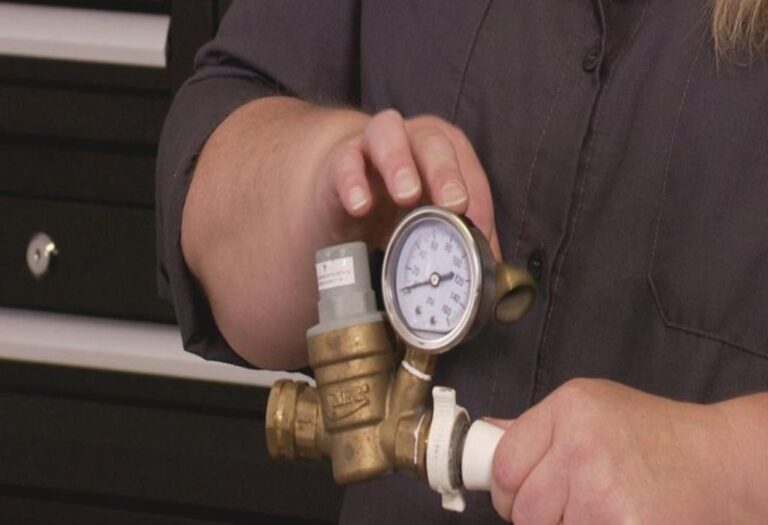
What is a water-heater bypass kit?
It’s a valve setup that redirects antifreeze around the heater instead of filling it, saving several gallons of fluid.
Can you winterize without one?
Yes, but it wastes antifreeze and takes longer because the tank must be filled and later flushed.
What antifreeze should be used?
Only non-toxic propylene-glycol RV or marine antifreeze. Never use automotive antifreeze.
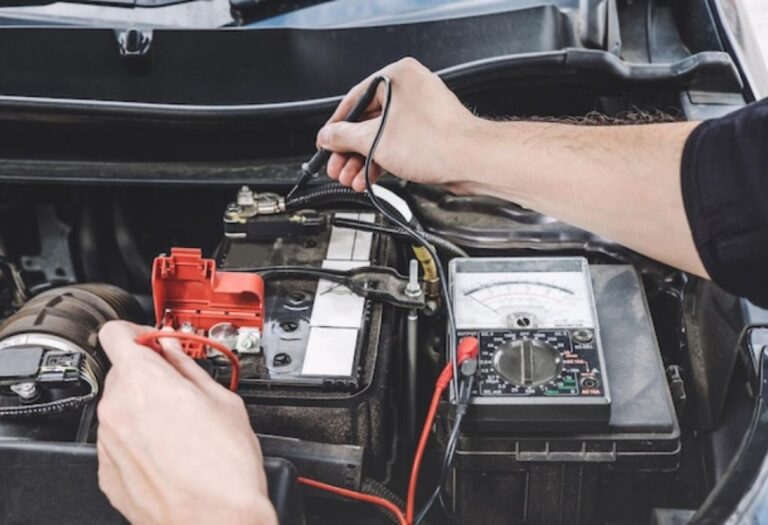
Why shut off power first?
Running a heater without water can burn the element, so power must be off before draining.
Do you need an air compressor?
Optional, but helpful for blowing out residual water before adding antifreeze.
Step-by-Step: How to Winterize an RV Water Heater
Now that your materials are ready, follow these steps carefully to protect your heater from freezing temperatures.
- Turn off power and relieve pressure — Switch off the electric and gas supply. Open the hot-water faucet inside to relieve pressure before draining.
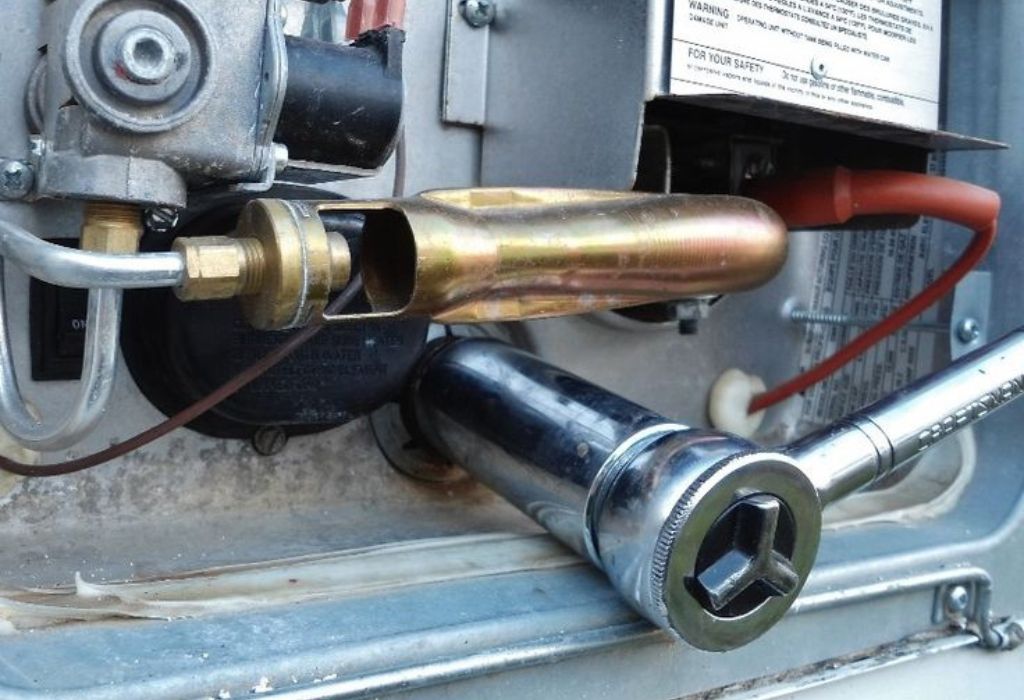
- Drain the heater — Remove the drain plug at the bottom and open the pressure relief valve to speed up flow. Let all water drain completely into a bucket.
- Bypass the heater — Close the bypass valve to the tank and reroute the plumbing. This prevents antifreeze from entering the heater.
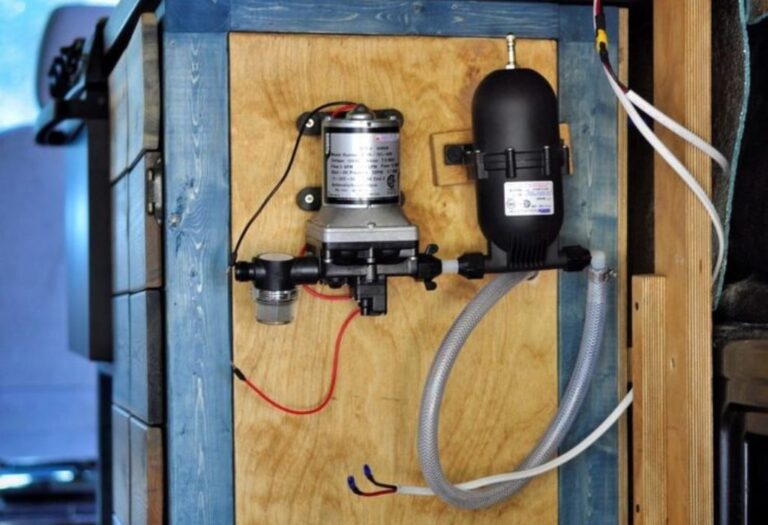
- Add antifreeze — Attach tubing to the water pump or intake hose and draw antifreeze through the system until it appears at every faucet and drain.
- Final inspection — Check for leaks, ensure pink fluid shows in all fixtures, and label the RV as “winterized.”
Common Questions
How do you know the heater is fully drained?
No more water should drip from the drain plug or pressure valve.
Do you need to remove the anode rod?
Yes, it allows faster drainage and lets you inspect for corrosion.
Can antifreeze enter the heater accidentally?
If the bypass valve is open, yes. Always double-check valve positions.
Should the pressure relief valve stay open?
Keep it open during draining, then close it before storage.
How do you confirm the system is safe?
Run a final check by opening each faucet until pink antifreeze flows out.
Special Considerations for Tankless RV Water Heaters
Tankless or on-demand heaters need extra care because they lack large tanks and often have unique internal sensors. Simply draining them may not remove all trapped water.
Manufacturers typically recommend flushing these systems with antifreeze or using compressed air to purge moisture from heat exchangers. Always follow your specific brand’s guidelines.
Common Questions
What makes tankless units different?
They heat water on demand, so small internal passages can trap water pockets.
Can you use the same antifreeze process?
Yes, but antifreeze must circulate through the entire system until pink liquid appears at each outlet.
Do you still need a bypass kit?
Some models don’t require it, but check your manufacturer’s instructions.
Can air pressure alone protect the unit?
Yes, using 30–40 PSI compressed air can remove remaining moisture before storage.
What happens if you skip this step?
Frozen water inside the heat exchanger can crack the coil and void your warranty.
Post-Winterizing Checklist and Maintenance Tips
Once the water heater is fully winterized, a short checklist ensures your system stays safe all season.
Verify that the heater switch remains off, the drain plug is removed and stored, and antifreeze has reached every line. Cover exterior vents to keep insects out and insulate exposed pipes for extra protection.
Common Questions
How often should you inspect during winter?
Check at least once monthly to confirm no leaks or pests have entered.
Do you need to cover the heater?
Yes, a breathable RV cover prevents moisture buildup and corrosion.
Should antifreeze be replaced mid-winter?
No, it remains stable unless diluted with water.
Can you add extra antifreeze later?
Only if signs of leakage appear in visible lines or fittings.
What should you label on the heater?
Mark “Winterized” with tape to avoid accidentally powering it while empty.
Common Mistakes and How to Avoid Them
Even experienced RV owners sometimes make errors that cause damage. Avoiding these simple mistakes can save major repair costs.
Never use automotive antifreeze, as it’s toxic and corrosive to potable plumbing. Don’t forget to engage the bypass valve, or you’ll waste gallons of antifreeze filling the heater. And always ensure low-point drains are open during the process.
Common Questions
What’s the biggest mistake during winterization?
Forgetting to bypass the heater before adding antifreeze.
Why is automotive antifreeze dangerous?
It contains ethylene glycol, which is poisonous and not designed for drinking-water systems.
Can skipping low-point drains cause problems?
Yes, trapped water there will freeze and damage fittings.
Is it safe to store the heater partially filled?
No, any residual water can freeze and split the tank.
What happens if you run the heater empty?
It can burn out the heating element instantly.
How to Recommission the Water Heater in Spring
When warmer weather returns, de-winterizing your RV water heater is simple. Start by reinstalling the drain plug and closing the bypass valve to allow water flow back into the heater.
Run fresh water through all faucets until it runs clear, flushing out antifreeze completely. Check the anode rod, inspect for corrosion, and confirm the tank is full before powering the unit. (americasrvwarranty.com)
Common Questions
What’s the first step to reactivate the heater?
Close the bypass valve and refill the tank completely.
How do you remove leftover antifreeze?
Flush the plumbing system until no pink color remains.
When can you turn on power?
After confirming the heater is full of water and leak-free.
Should you sanitize the system?
Yes, use a mild bleach solution to clean lines before drinking water.
What indicates a successful de-winterization?
Clear water, consistent pressure, and normal heating operation.
Conclusion
Properly winterizing your RV water heater is a simple task that prevents major headaches down the road. With only a few tools and a small amount of antifreeze, you can shield your plumbing system from ice expansion and costly repairs.
Understanding how to winterize an RV water heater ensures your investment remains in top shape, ready to deliver hot showers the moment you hit the road again. Take the time now to protect your system, and your next adventure will begin without a single drop of worry.
I’m David R. Coleman, the founder, lead writer, and lifelong tool enthusiast behind GarageToolPro.com. With years of experience in automotive repair, woodworking, and home DIY projects, I created this platform to share practical tips, detailed tool reviews, and step-by-step guides that help mechanics, hobbyists, and homeowners get the job done right the first time.