DIY Guide: How to Use City Water on Your RV Safely
You arrive at a busy campground and spot the water hookup labeled “City Water.” The idea of connecting your RV to the campground water supply seems simple, but improper connection can cause leaks, water damage, or contamination.
City water allows you to enjoy unlimited fresh water without relying on your onboard tank. However, incorrect setup or ignoring water pressure precautions can damage plumbing, appliances, and even risk flooding inside your RV.
Many new RV owners make mistakes connecting to city water, such as skipping a pressure regulator or using hoses not rated for potable water. These errors can lead to costly repairs or unsafe conditions.
Properly connecting your RV to city water ensures a consistent and safe supply for drinking, cooking, showers, and appliances. Using the right tools and following a methodical approach prevents leaks, maintains water pressure, and protects your system.
This guide will walk you through the steps to safely use city water, including tools required, proper connection methods, safety precautions, troubleshooting, and preventive maintenance. Following these instructions ensures a reliable water supply while protecting your RV investment.
By the end of this guide, you will know how to connect to city water confidently, avoid common mistakes, and maintain your plumbing system for long-term use.
What is City Water and How It Works
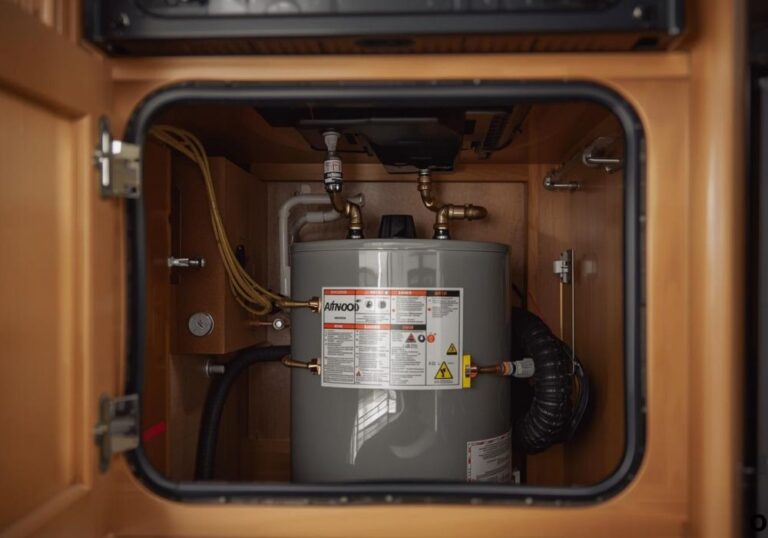
City water in RVs refers to connecting your rig directly to an external water supply provided at campgrounds or RV parks. It bypasses your onboard fresh water tank.
The water is typically pressurized, so your RV plumbing system receives a constant flow without relying on the water pump. This allows for continuous use in sinks, showers, and toilets.
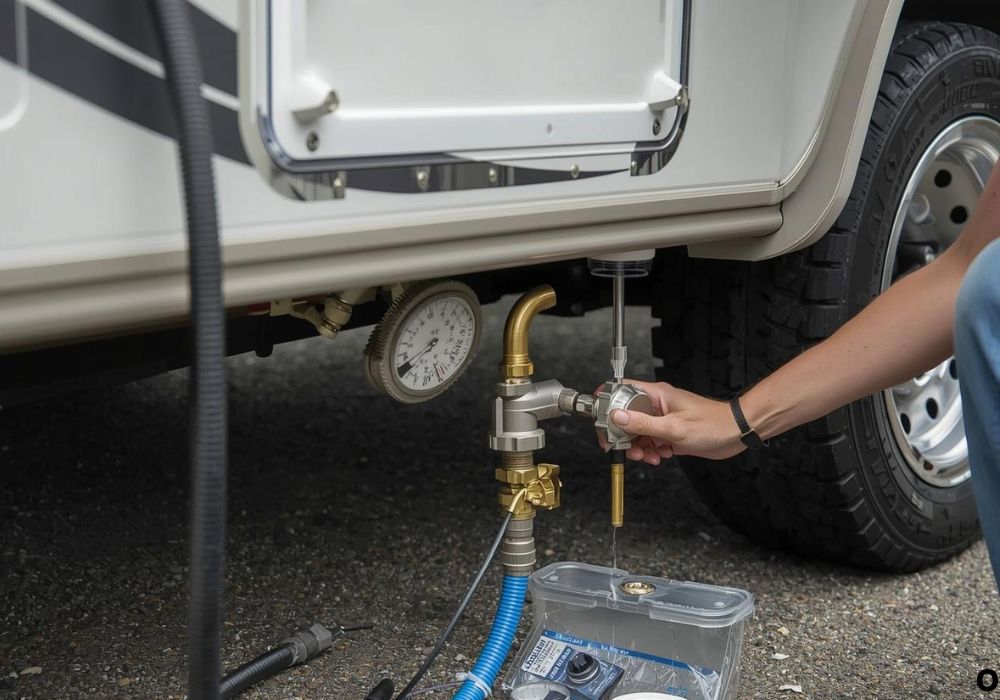
A pressure regulator is essential because campground water pressure can exceed safe limits for your RV plumbing. Excess pressure can cause burst pipes, damaged fittings, or leaks.
Hoses used for city water must be rated for potable water to prevent contamination. Drinking water hoses ensure safe water for cooking, drinking, and bathing.
Using city water is convenient because it eliminates the need to refill onboard tanks. It also reduces wear and tear on the water pump.
Risks of improper use include burst hoses, contaminated water, damaged valves, and leaks that can flood your RV interior. Proper setup and regular maintenance prevent these problems.
Tools and Materials Needed
You will need a freshwater hose rated for potable water. This ensures clean water for all your RV needs.
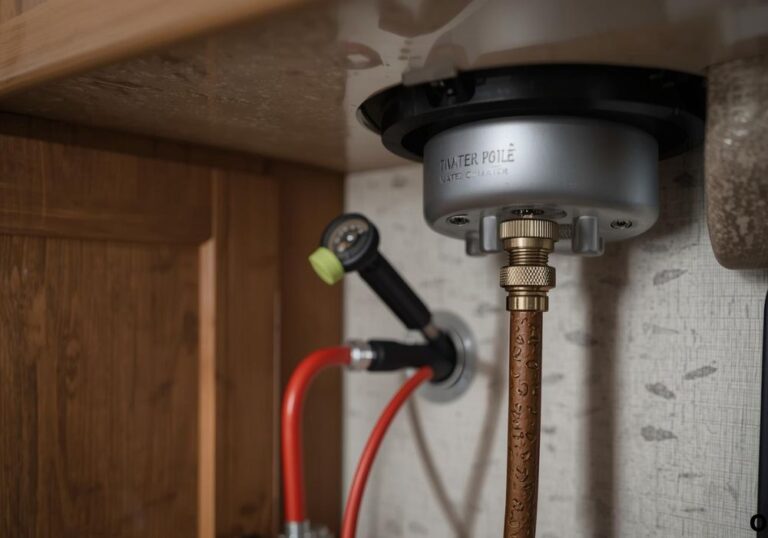
A pressure regulator is essential to prevent overpressurization of the RV plumbing system. Check the regulator rating to match your RV’s requirements.
Hose washers and adapters are necessary for a secure, leak-free connection to the city water inlet.
Optional items include a water filter for added protection against sediment, chlorine, or other contaminants.
Safety gloves and cleaning cloths help handle connections and prevent contamination during setup.
Ensure workspace preparation: connect in a dry area, ensure access to the inlet, and keep hoses untangled.
Organize all materials before connecting to streamline the process and avoid mistakes that could lead to leaks or damage.
Step-by-Step Process to Use City Water on Your RV
Step 1: Turn off the RV water pump. Running the pump while connected to city water may cause overpressure and damage.
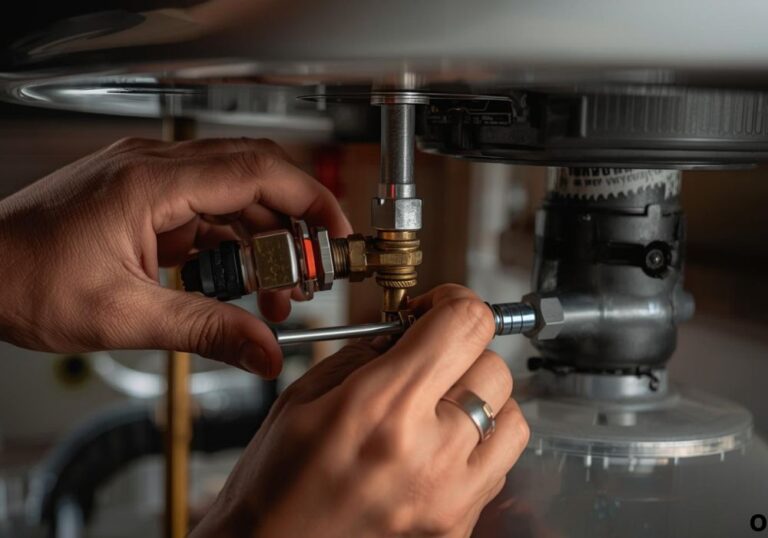
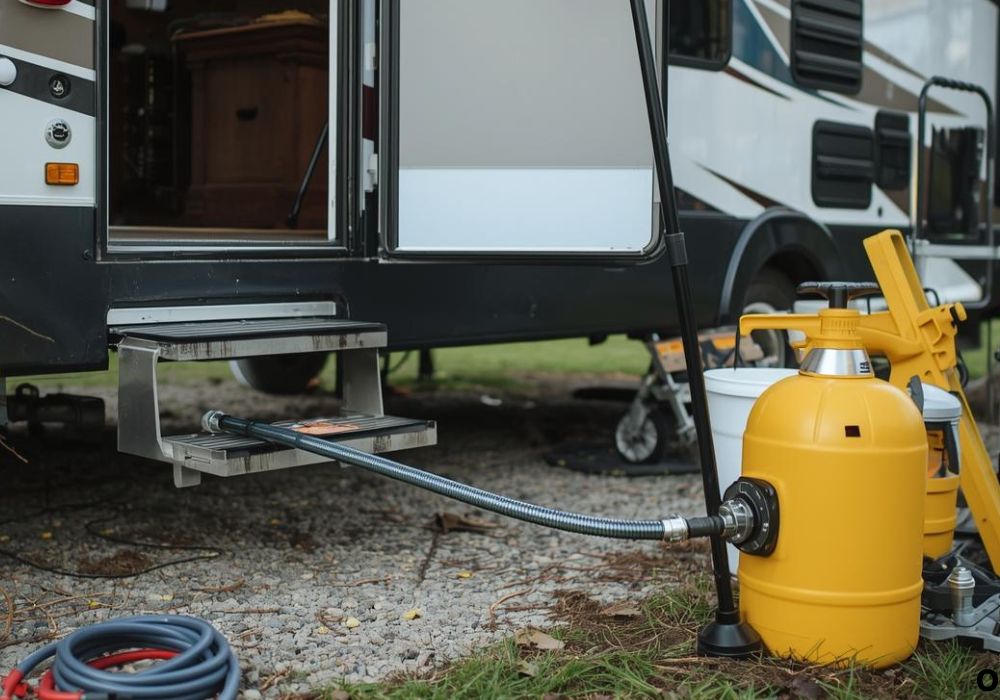
Step 2: Attach a potable water hose to the RV city water inlet. Ensure the connection is tight but not over-tightened.
Step 3: Connect the other end of the hose to the campground water supply. Use the appropriate adapter if needed.
Step 4: Install a pressure regulator between the supply and your RV inlet. This protects your plumbing from excessive pressure.
Step 5: Turn on the campground water supply gradually. Open it slowly to avoid sudden pressure spikes.
Step 6: Check all connections for leaks. Inspect the hose, inlet, regulator, and valves for drips or wet spots.
Step 7: Optionally, flush water through filters or faucets before using for drinking or cooking. This ensures clean water.
Step 8: Test faucets, shower, and appliances to confirm proper water flow and pressure throughout the RV.
Extra tips: Avoid kinking hoses, store hoses properly when not in use, and replace washers or adapters that show wear. Correct connections and gentle handling prevent leaks and damage.
Safety Tips While Using City Water
Always use hoses rated for potable water to prevent contamination.
Never connect city water without a pressure regulator to avoid burst pipes.
Check all connections for leaks before fully opening the water supply.
Avoid kinking hoses or pinching lines, which can cause pressure spikes or blockages.
Turn off city water supply when leaving the campsite to prevent accidental flooding.
Keep hoses clean and free of debris to maintain water quality.
Do not leave hoses connected and unattended for long periods; inspect periodically for signs of wear.
Troubleshooting Common Issues
Low water pressure may result from a clogged regulator, kinked hose, or blocked supply line.
Leaks often occur at connections, washers, or adapters. Tighten or replace faulty components.
Water contamination can be caused by hoses not rated for potable water. Flush hoses and filters before use.
Intermittent water flow may indicate partially closed valves or a pressure regulator issue. Check and adjust accordingly.
Air pockets can cause spitting from faucets. Open all taps for a few seconds to release trapped air.
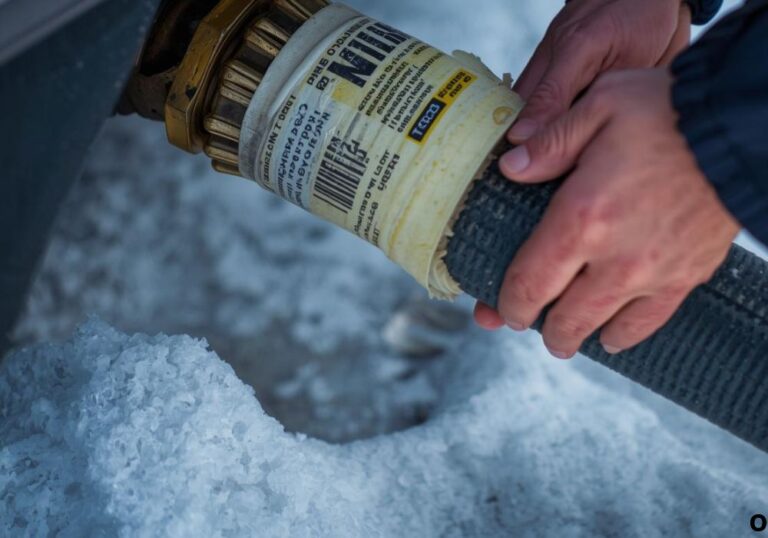
Frozen hoses during cold weather can restrict flow. Insulate hoses or use heat tape to prevent freezing.
Sudden surges or fluctuations in flow often indicate pressure inconsistencies at the campground supply. Install a quality regulator to stabilize pressure.
Preventing Future Problems
Inspect hoses, regulators, and adapters before each trip. Replace any worn or damaged components.
Flush hoses and filters periodically to maintain water quality.
Avoid over-tightening connections, which can damage fittings or washers.
Install backflow preventers if recommended or allowed by the campground.
Monitor water pressure using a gauge to avoid damage to your plumbing system.
Store hoses in a clean, dry place when not in use to prevent contamination and damage.
Check and clean faucet aerators periodically to ensure smooth water flow.
Cost Considerations
Freshwater hoses rated for potable water cost $15–$40 depending on length and brand.
Pressure regulators typically cost $15–$25 and are essential for plumbing safety.
Optional water filters range from $20–$50 for additional protection.
Replacement washers, adapters, or fittings are inexpensive but critical for leak prevention.
DIY setup saves labor costs compared to professional installation.
Investing in high-quality hoses, regulators, and fittings ensures durability, safety, and long-term reliability.
Budgeting for preventive maintenance reduces risk of costly leaks or damage.
Frequently Asked Questions (FAQ)
What is city water in an RV?
City water is water supplied directly from a campground or municipal source to your RV plumbing system.
Do I need a pressure regulator?
Yes, it protects your RV pipes and fittings from excessive pressure.
Can I use any hose for city water?
No, always use a hose rated for potable water to ensure safety.
How do I connect city water to my RV?
Attach a potable hose from the supply to the RV inlet, using a pressure regulator and checking connections.
Should I turn off the water pump?
Yes, the pump should be off when using city water to avoid overpressure.
What if I see leaks?
Inspect all connections, washers, and adapters. Replace any faulty parts.
Can I drink water from the city hookup?
Yes, if using a potable-rated hose and optional filter.
How do I prevent air pockets?
Open faucets for a few seconds to release trapped air.
What if water pressure is low?
Check the pressure regulator, hose, and campground supply valves.
Can city water damage my RV?
Yes, without a regulator or proper setup, high pressure can burst pipes or fittings.
Should I flush the hoses before using?
Yes, to remove dust, debris, or stagnant water before drinking or cooking.
Can hoses freeze in cold weather?
Yes, insulate hoses or use heat tape to prevent freezing.
How do I store hoses when not in use?
Drain and coil hoses, storing them in a dry, clean location.
Can I leave city water connected overnight?
Yes, but monitor for leaks and always turn off supply when leaving for safety.
Do I need additional filters?
Optional filters improve taste and reduce sediment, especially at older campgrounds.
Conclusion
Using city water on your RV provides a convenient and reliable source of fresh water. Following proper connection steps, using potable hoses and a pressure regulator, and monitoring for leaks ensures safe operation.
Regular inspection, maintenance, and proper storage of hoses prevent damage, contamination, and costly repairs. Troubleshooting low pressure, leaks, or air pockets ensures consistent water flow.
By following this guide, you can confidently use city water safely, protect your plumbing system, and enjoy a reliable water supply on all your RV adventures. Proactive care ensures comfort, safety, and peace of mind.
I’m David R. Coleman, the founder, lead writer, and lifelong tool enthusiast behind GarageToolPro.com. With years of experience in automotive repair, woodworking, and home DIY projects, I created this platform to share practical tips, detailed tool reviews, and step-by-step guides that help mechanics, hobbyists, and homeowners get the job done right the first time.