How to Turn On an RV Water Pump Easily
Imagine pulling into your campsite after a long drive, setting up your RV, and turning the faucet—only to find there’s no water flow. Panic sets in for a moment, but don’t worry.
The issue usually isn’t serious. Most of the time, it’s simply because the RV’s water pump isn’t turned on.
Knowing how to turn on an RV water pump is one of those essential skills that separates confident travelers from frustrated beginners.
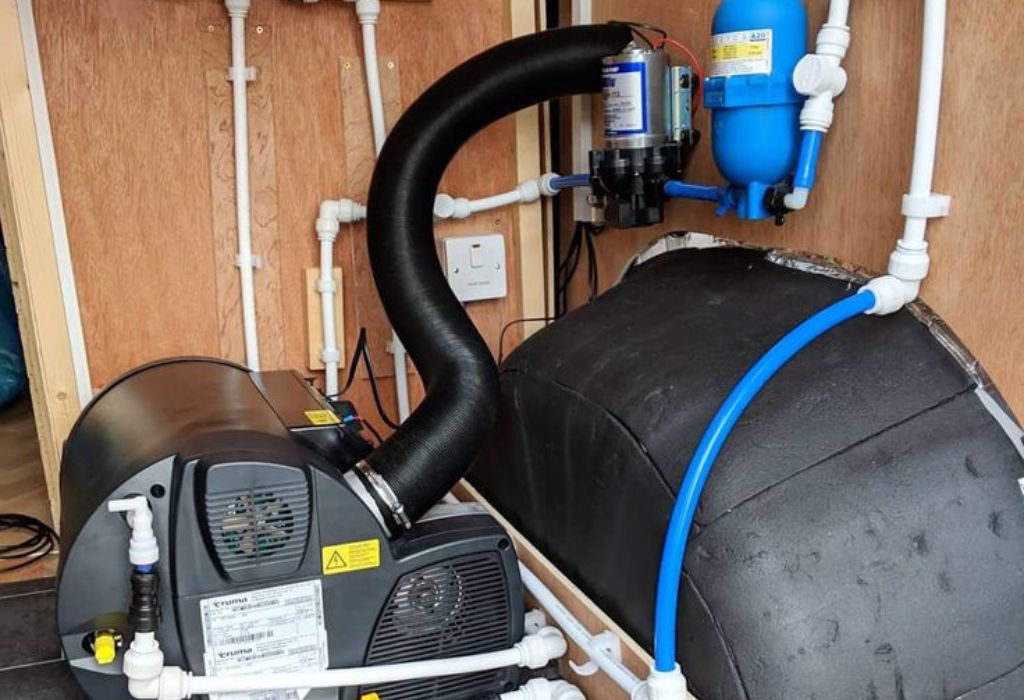
Your RV’s water pump is the heart of the freshwater system. It draws water from the onboard tank and sends it to your faucets, shower, and toilet whenever you’re not hooked up to city water.
Without it, those amenities are useless. Yet, many new RV owners don’t realize how the pump works—or where to find its control switch.
According to a Go RVing survey, over 40% of new RV owners report having trouble using their water system during the first few trips.
Another RVshare guide notes that most pump-related issues stem from incorrect valve settings or simply forgetting to activate the pump switch.
In this detailed guide, you’ll learn exactly how to turn on an RV water pump safely and efficiently. We’ll walk through step-by-step instructions, explain common problems, and share maintenance tips to keep your water flowing wherever you travel.
Whether you’re dry camping off-grid or preparing for your next road adventure, this guide will ensure you never struggle with your RV’s water system again.
Understanding the RV Water Pump System

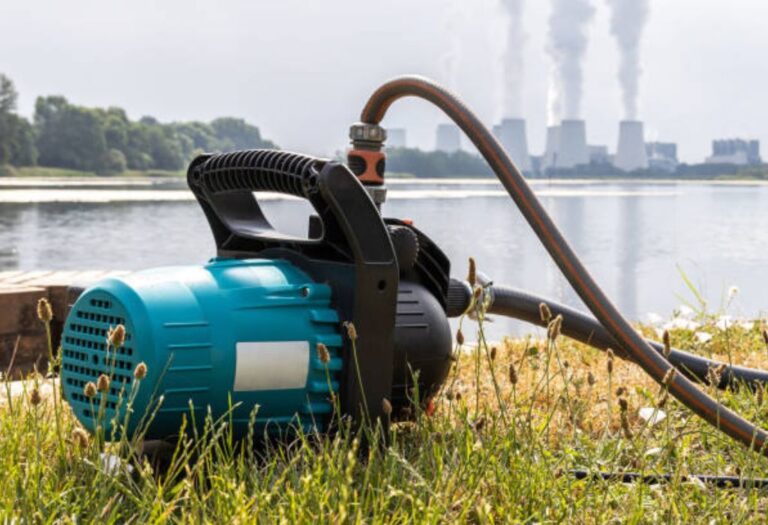
Before diving into the steps, it helps to understand what your RV water pump actually does. The pump is a small 12-volt diaphragm motor that pressurizes your plumbing system whenever a faucet or shower is opened. When pressure drops, the pump automatically turns on, pushing water through your lines.
This system allows you to have running water even when you’re not connected to an external supply. The pump draws from your fresh water tank, maintaining a constant flow as long as the tank has water and the pump is powered.
What triggers the RV water pump to turn on?
A pressure drop inside the pipes signals the pump to activate and restore normal pressure.
What power source does an RV water pump use?
It typically runs on a 12-volt DC system powered by your RV battery.
Does the water pump run continuously?
No, it cycles on only when water is needed and shuts off automatically when pressure stabilizes.
What is “priming” a water pump?
Priming fills the pump and hoses with water to remove air and create suction.
Is the pump used when connected to city water?
No, when using city or campground hookups, the pressurized supply bypasses the pump completely.
Step-by-Step: How to Turn On an RV Water Pump
Turning on an RV water pump is straightforward, but you must follow the sequence carefully to avoid airlocks or leaks. Each RV model may vary slightly, but these universal steps work for most systems.
Step 1: Fill the Fresh Water Tank
Ensure your fresh water tank has enough water. Without it, the pump will run dry and risk damage. Locate the fill port labeled “Fresh Water Fill,” then top up the tank using a clean hose. Avoid overfilling to prevent overflow.
Step 2: Locate the Pump Switch
Most RVs have a water pump switch on the control panel, kitchen wall, or near the sink. Some models also include an exterior switch near the tank. If you’re unsure, consult your RV manual or look for a switch labeled “Pump” or “Water Pump.”
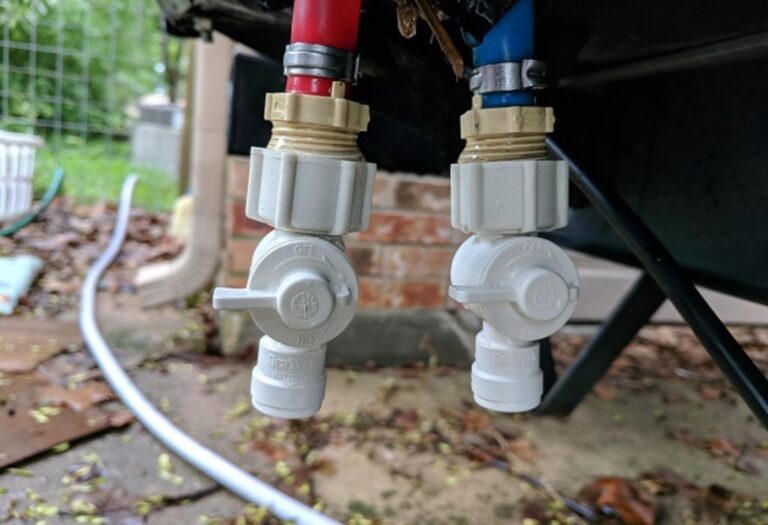
Step 3: Close All Valves and Drains
Make sure all low-point drains and bypass valves are closed. Open drains release pressure and prevent the pump from building flow.
Step 4: Open a Faucet
Open one or two faucets slightly—usually the kitchen or bathroom sink. This allows air to escape from the lines and makes it easier for the pump to prime.
Step 5: Turn On the Pump Switch
Flip the switch to ON. You’ll hear the pump motor running for a few seconds as it builds pressure. Once the system is full and pressurized, the sound will stop automatically.
Step 6: Let the Water Flow
After a few moments, water should flow smoothly from your faucet. If sputtering occurs, it’s normal—it’s just air escaping from the lines. Once the stream stabilizes, the system is ready.
Where is the water pump switch usually located?
Most are inside near the kitchen or bathroom, though some RVs have multiple switches.
Do I need to open a faucet first?
Yes, it helps air escape and primes the pump faster.
Can I leave the pump on all the time?
Only when using the RV’s tank water. Turn it off when connected to city water or when leaving the RV for long periods.
What if the pump runs but no water comes out?
Check that your tank is filled and valves are positioned correctly.
How do I know if the pump has finished pressurizing?
When it stops running automatically and water flows steadily from your faucets.
Troubleshooting When the Pump Won’t Turn On
Even when following all steps, sometimes the pump refuses to start. The good news? Most issues are simple to fix.
1. Check the Pump Switch and Indicator
Make sure the switch is flipped ON and any indicator light is glowing. If not, there could be an electrical issue or blown fuse.
2. Verify the 12V Power Supply
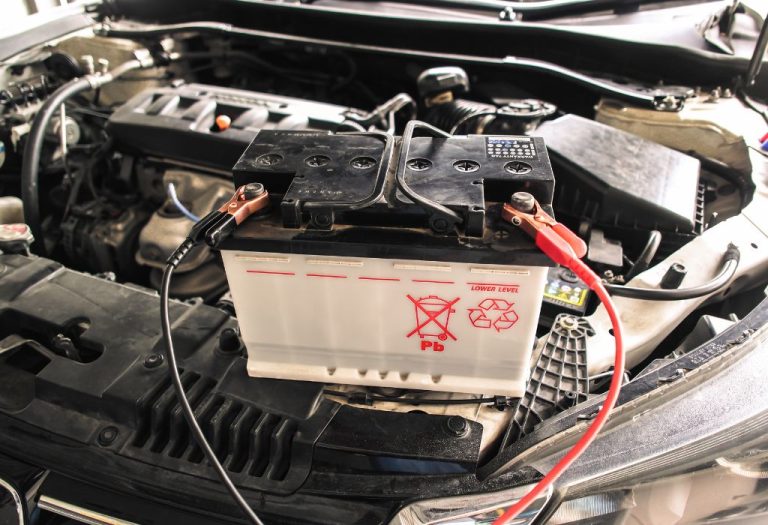
Your RV water pump depends on 12V DC power from the house battery. If the battery is low, the pump won’t start. Use a multimeter to check voltage levels—anything below 11.5V may be too low.
3. Inspect the Fuse or Breaker
Locate your RV’s fuse box, usually near the converter panel. Check for a blown fuse labeled “Water Pump.” Replace it with the same amp rating if necessary.
4. Look for Airlocks or Open Drains
If the pump runs but water doesn’t flow, air could be trapped inside the line. Open faucets fully to release air or close any open low-point drains.
5. Examine the Pump and Valves
Listen closely: if the pump hums but doesn’t move water, the inlet valve might be blocked or misaligned. Check hoses and connections for kinks or leaks.
Why does my RV water pump make noise but no water flows?
It’s likely airlocked or the inlet line is disconnected from the fresh tank.
How can I tell if my pump fuse is blown?
The metal strip inside will appear broken or burned. Replace it with an identical fuse.
What should I do if my pump doesn’t make any sound?
Check the power source, fuse, and switch connections first.
Can corroded wiring affect the pump?
Yes, loose or rusty terminals can interrupt current flow. Clean and tighten them regularly.
When should I call a technician?
If the pump doesn’t respond after all checks, professional inspection may be needed.
Advanced Scenarios and Fixes
Sometimes, the pump runs fine but your system still doesn’t deliver water or cycles continuously. Let’s look at some deeper causes.
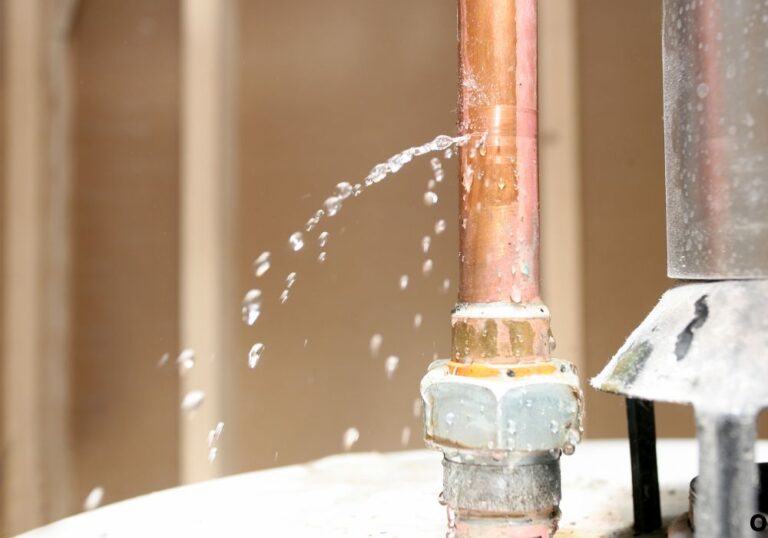
1. Air Leaks or Poor Seals
Tiny air leaks in fittings or hose clamps can prevent the system from holding pressure. Apply plumber’s tape or replace damaged fittings.
2. Faulty Check Valve
If water flows backward into the tank, a check valve near the pump could be stuck open. Cleaning or replacing it often resolves pressure loss.
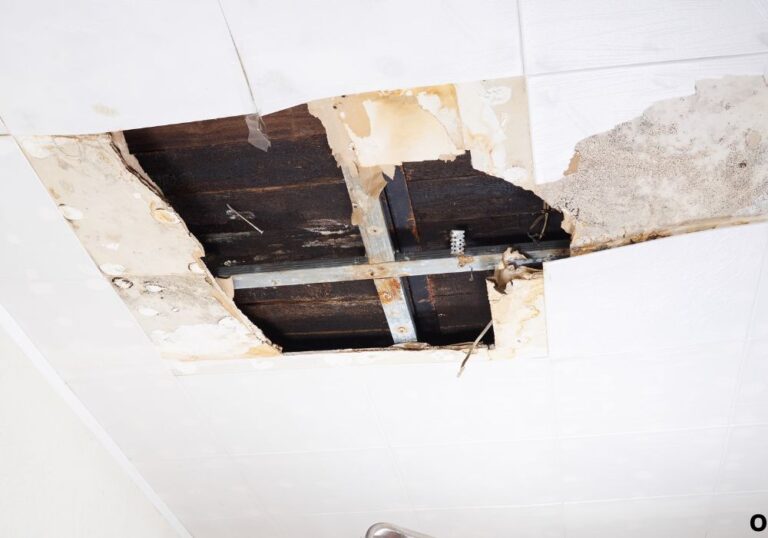
3. Frozen or Blocked Lines
Cold weather can freeze pipes, preventing water flow. Use RV antifreeze in winter and insulate exposed plumbing.
4. Weak Pump Diaphragm
If your pump runs but pressure is weak, the diaphragm might be worn. Rebuild kits are available for most 12V pump models.
5. Incorrect Valve Configuration
During winterization, bypass valves are turned. Before turning on your RV water pump, make sure all valves are set for “Normal Use.”
Why does my pump keep cycling on and off?
A small leak or bad pressure switch can cause rapid cycling.
What if water flows from the city water inlet?
A faulty check valve in the city inlet fitting may need replacement.
Can a clogged filter block water flow?
Yes, sediment filters can clog easily—clean or replace them regularly.
Should the pump run continuously when using a shower?
Yes, it should remain on while water is being used and stop afterward.
What’s the ideal water pressure for RV systems?
Typically 40–55 PSI is safe for most plumbing setups.
Maintenance and Prevention Tips
Preventing water pump problems is easier than fixing them. A few small habits can keep your system reliable for years.
1. Keep the System Clean and Dry
Regularly drain, flush, and sanitize your fresh water tank. Sediment or algae buildup can clog your pump and valves.
2. Inspect Wiring and Connections
Tighten loose connections, check terminals for corrosion, and ensure the 12V power supply is stable.
3. Lubricate and Run the Pump Periodically
Even during storage, run your pump once a month to keep seals flexible and the diaphragm from sticking.
4. Use a Water Filter
Install a sediment filter at the tank outlet or before the pump. It prevents debris from damaging the diaphragm and extends the pump’s life.
5. Winterize Properly
If you store your RV in cold climates, winterize the plumbing system with RV antifreeze. This protects hoses, fittings, and the pump from freezing.
How often should I sanitize my RV water system?
Every 3–6 months or after long storage periods.
Should I run the pump when connected to city water?
No, it’s unnecessary and could create pressure conflicts.
How can I reduce pump noise?
Add rubber mounts or install an accumulator tank to absorb vibration.
Can I use household cleaners to flush the system?
No, only RV-safe sanitizers should be used.
How long do RV water pumps last?
With proper care, most last 5–10 years or more.
Conclusion
Now you know exactly how to turn on an RV water pump and keep it running efficiently. The process is simple once you understand your system: fill the tank, close drains, open a faucet, flip the switch, and let the pump pressurize the lines.
If it doesn’t work, check the power, fuses, and valves first—these cause most issues. Regular maintenance, cleaning, and inspection will ensure your pump performs reliably for every trip.
Whether you’re camping off-grid or at a full-service site, mastering your RV’s water pump means you’ll never face another dry faucet in the middle of your adventure. Stay prepared, stay hydrated, and enjoy every mile of your journey with confidence.
I’m David R. Coleman, the founder, lead writer, and lifelong tool enthusiast behind GarageToolPro.com. With years of experience in automotive repair, woodworking, and home DIY projects, I created this platform to share practical tips, detailed tool reviews, and step-by-step guides that help mechanics, hobbyists, and homeowners get the job done right the first time.