How to Replace RV Fresh Water Drain Valve
A leaking or broken RV fresh water drain valve can quickly lead to water loss or contamination.
If your tank drips or fails to drain, replacing the valve is the simplest and most effective fix.
Most RV owners can complete this job in less than two hours with basic tools.
This guide explains exactly how to replace the RV fresh water drain valve safely and efficiently, even if you have no prior plumbing experience.
What Is an RV Fresh Water Drain Valve
The fresh water drain valve is a small part located at the lowest point of your RV’s fresh water tank.
Its purpose is to let you drain water from the system for cleaning, winterizing, or maintenance.
Why It Matters
- Prevents bacteria buildup in stagnant water
- Reduces risk of freeze damage during winter storage
- Simplifies flushing and refilling the fresh water system
Common Signs You Need a New Valve
- Water dripping under the RV
- Handle is broken or difficult to turn
- Cracks or leaks around the fitting
- Tank never fully drains
According to RV Life Magazine, a slow leak can waste more than 700 gallons of water per year, even if unnoticed.
Tools and Materials Required
Before starting, gather the following:
| Tool or Material | Purpose |
| Adjustable wrench | Remove and tighten fittings |
| Screwdriver | Loosen hose clamps or access panels |
| Teflon tape or thread sealant | Prevent leaks on threaded connections |
| Replacement drain valve | Choose brass or plastic, compatible with your tank |
| Bucket or hose | Capture draining water |
| Towels | Dry up small spills |
| RV-safe sealant | Seal threads and prevent drips |
| Gloves and safety glasses | Protect hands and eyes |
Check your RV’s service manual to confirm valve type, thread size, and material compatibility.
Safety Preparation Before Replacement
Always start with safety precautions.
Turn off the water pump and disconnect the city water connection.
Park the RV on level ground.
If the fresh water system was recently in use, let the tank cool before handling.
Unplug nearby 12-volt connections if they run close to the valve area.
Step-by-Step Guide: How to Replace RV Fresh Water Drain Valve
Follow these steps carefully for a clean and leak-free installation.
1. Drain the Fresh Water Tank
Open the existing drain valve and let the water run into a bucket or hose.
Run the pump for a few seconds to clear any remaining water in the lines.
When the water stops flowing, the tank is empty and safe to service.
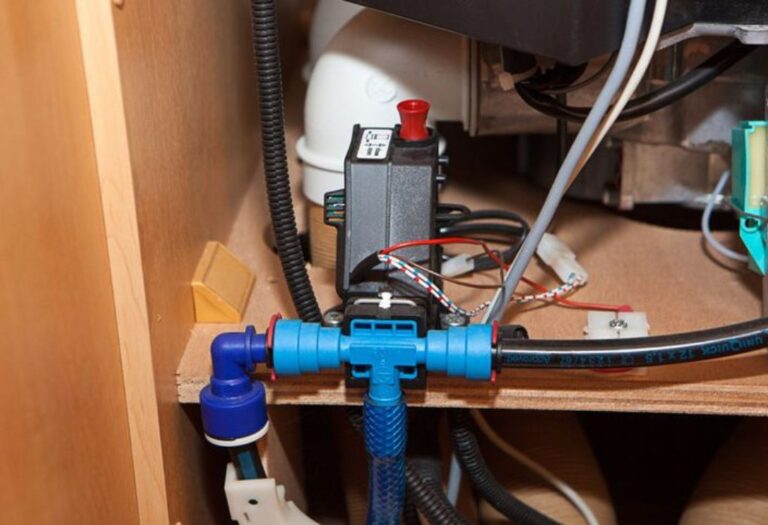
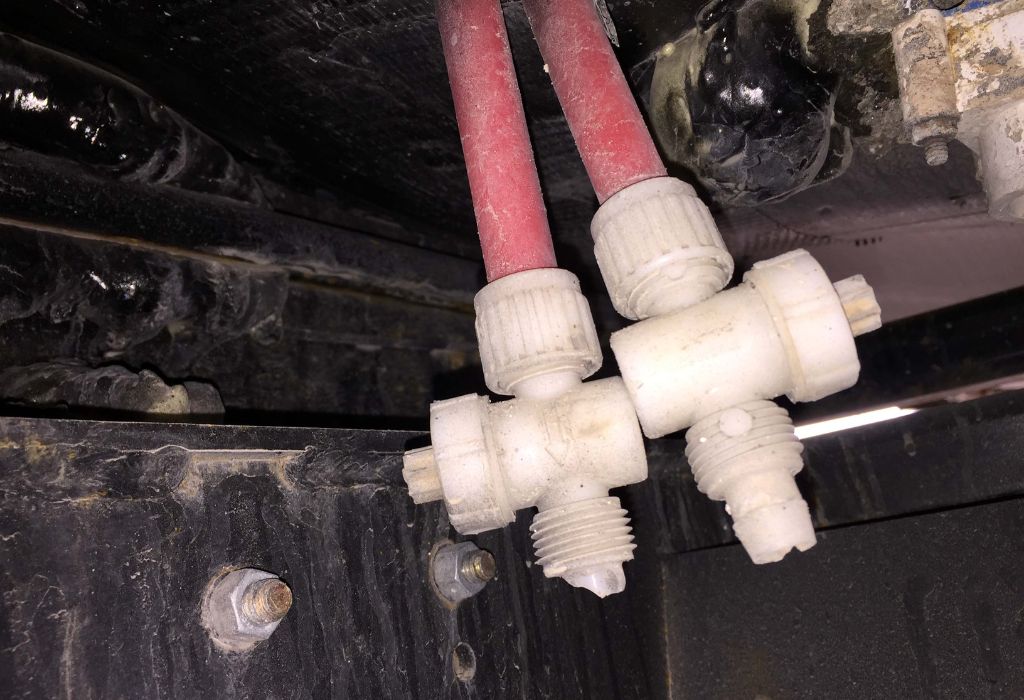
2. Locate the Drain Valve
Most RVs have the valve positioned:
- Under the chassis near the tank outlet
- Behind an access hatch in the utility area
- At the lowest point of the fresh water tank
Some RVs have two low-point drains, so confirm which one belongs to the fresh water tank before proceeding.
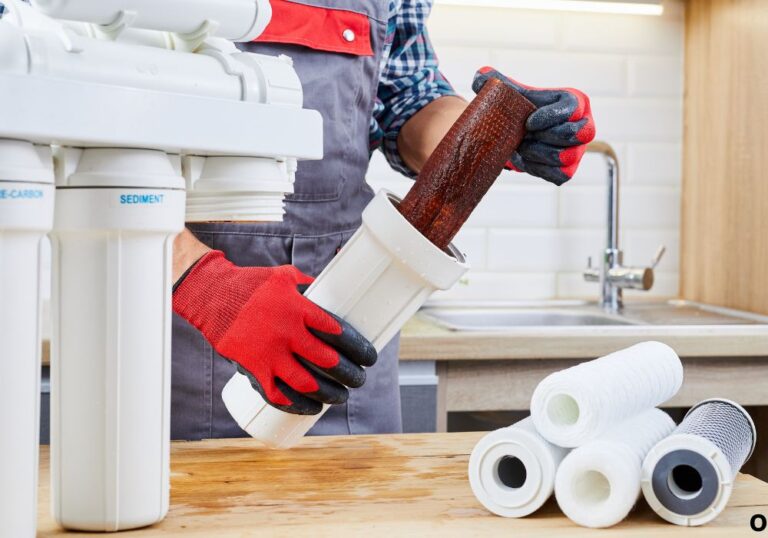
3. Remove the Old Valve
Use an adjustable wrench to loosen the fitting.
If rivets or clamps hold it in place, remove them carefully to avoid damaging the tank wall.
Pull out the valve and clean any old sealant or residue from the threads.
Avoid overtightening during removal. Too much torque can crack the fitting or strip the threads on a plastic tank.
4. Install the New Valve
Wrap two to three layers of Teflon tape clockwise around the new valve threads.
Add a small amount of sealant if the manufacturer recommends it.
Screw the valve into the tank outlet by hand, then tighten gently with a wrench.
Reattach clamps or hardware if needed, and ensure the handle faces downward for easy access.
5. Test for Leaks
Refill the tank halfway and turn on the pump to pressurize the system.
Inspect the valve area for drips or damp spots.
Open and close the valve a few times to verify smooth operation.
If you see moisture, tighten slightly or reapply sealant.
Common Mistakes to Avoid
| Mistake | Fix |
| Forgetting to drain the tank | Always empty completely before removal |
| Overtightening new valve | Hand-tighten, then a quarter-turn with wrench |
| Using metal fitting on plastic tank | Match materials to prevent cracking |
| Failing to test before reassembly | Always pressurize and inspect before finishing |
| Skipping Teflon tape | Thread sealant prevents long-term leaks |
Upgrade Options for Better Performance
While replacing your RV drain valve, consider upgrading for durability and convenience.
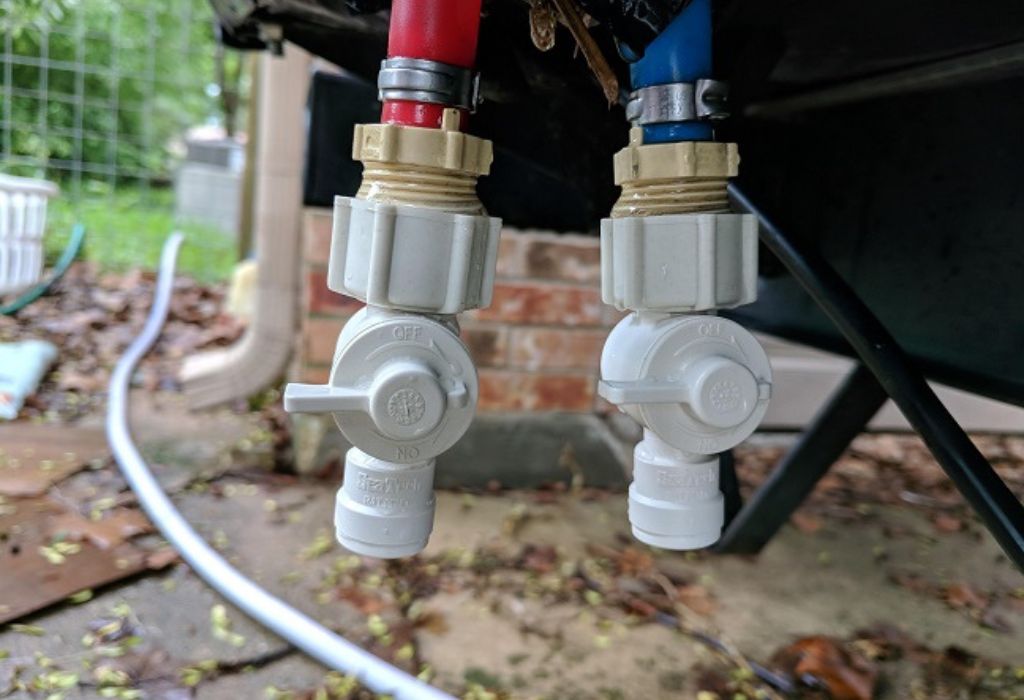
Brass Quarter-Turn Ball Valve
Brass valves resist corrosion and are easier to operate than plastic versions.
A quarter-turn design allows quick open and close movement without strain.
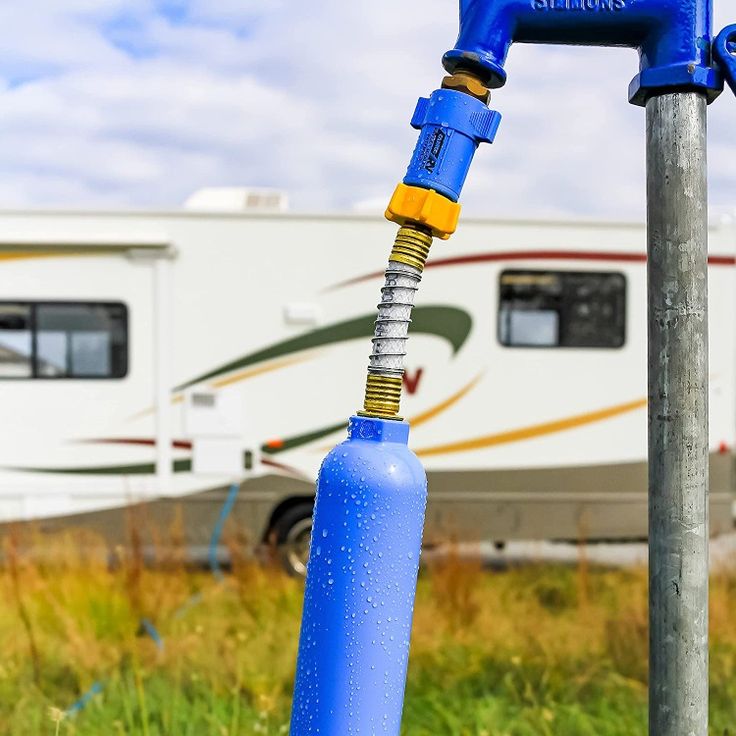
Quick-Connect Hose Fitting
This attachment lets you connect a hose for fast, controlled draining.
It keeps your hands clean and prevents splashing.
Larger Drain Port
A wider port helps flush sediment faster and reduces clogging.
Ideal for full-time RVers or those using hard-water sources.
Brass valves typically last up to five times longer than standard plastic valves, especially in freezing temperatures.
Cold Weather Protection and Winterizing
Improper winterizing is a common cause of cracked drain valves.
Follow these preventive steps before storing your RV.
- Drain all fresh water from the system.
- Blow out remaining water with compressed air.
- Leave the valve partially open to relieve pressure.
- Add RV antifreeze to the plumbing system if required.
- Store the RV in a dry, covered area.
Industry reports show that 35% of RV plumbing failures each winter occur at the drain valve or low-point drains due to trapped water.
Routine Maintenance Tips
A well-maintained valve can last for years without issues.
- Operate the valve monthly to prevent sticking.
- Inspect for leaks before long trips.
- Flush the fresh water tank every few months.
- Avoid harsh cleaners or bleach-based chemicals.
- Lubricate the valve handle with silicone spray if it becomes stiff.
If you notice cracks or slow drainage, plan a replacement before your next trip.
Cost and Time Comparison
| Option | Parts Cost | Time | Total Estimated Cost |
| DIY replacement | $25–$60 (plastic) / $70–$120 (brass) | 1–2 hours | $30–$120 |
| Professional repair | $60–$150 parts + $150–$300 labor | 2–3 hours | $210–$450 |
DIY replacement is more affordable and builds knowledge about your RV’s plumbing system, making future repairs easier.
When to Call a Professional
Call an RV technician if:
- The valve is located behind a sealed compartment.
- You see cracks in the tank threads.
- The valve connects to multiple low-point drains.
- Water leaks appear inside the floor or wall panels.
Professionals can pressure test the lines and ensure a watertight installation.
Final Checklist
Before closing up the work area, confirm the following:
- Tank fully drained and refilled without leaks
- New valve installed correctly and oriented downward
- Threads sealed with tape and proper torque
- Tank tested under pressure
- Work area dried and cleaned
Record the replacement date in your RV maintenance log for future reference.
Frequently Asked Questions
1. Can I use any valve type for my RV?
No. Use an RV-rated valve compatible with your tank size and thread type.
2. Should I use Teflon tape or sealant?
Use Teflon tape on threads. Use hose clamps for barbed fittings instead of tape.
3. Can I replace the valve without draining the tank?
Never. Always drain fully before removal to avoid flooding.
4. How often should I replace the valve?
Typically every three to five years or when signs of damage appear.
5. Why does my new valve still leak?
Common causes include overtightening, cross-threading, or missing sealant.
Conclusion
Replacing your RV fresh water drain valve is one of the most straightforward maintenance tasks you can do yourself.
It restores full draining performance, prevents leaks, and protects your plumbing system from future damage.
With the right tools, careful installation, and proper testing, your new valve will perform reliably for years.
Inspect it regularly, maintain good sealing practices, and your RV’s water system will stay efficient and problem-free.
I’m David R. Coleman, the founder, lead writer, and lifelong tool enthusiast behind GarageToolPro.com. With years of experience in automotive repair, woodworking, and home DIY projects, I created this platform to share practical tips, detailed tool reviews, and step-by-step guides that help mechanics, hobbyists, and homeowners get the job done right the first time.