How to Insulate RV Water Lines and Prevent Freezing in Winter
It’s a chilly morning at the campground. You turn on the faucet for a hot cup of coffee — but nothing comes out. The water lines in your RV are frozen solid.
This is one of the most common winter problems RV owners face. When temperatures drop below freezing, exposed water lines can freeze, expand, and burst, leading to leaks and expensive repairs.
The good news is that with the right insulation and preparation, you can keep your water flowing smoothly all winter long. Learning how to insulate RV water lines isn’t difficult; it’s simply about using the right materials and taking preventive steps.
According to RV service centers, frozen pipes are responsible for thousands of dollars in damage every winter, yet most of it is preventable with proper insulation.
In this complete guide, you’ll learn the best ways to insulate your RV’s water lines, what materials to use, and how to stay warm and worry-free on every cold-weather trip.
Why Insulating RV Water Lines Is So Important
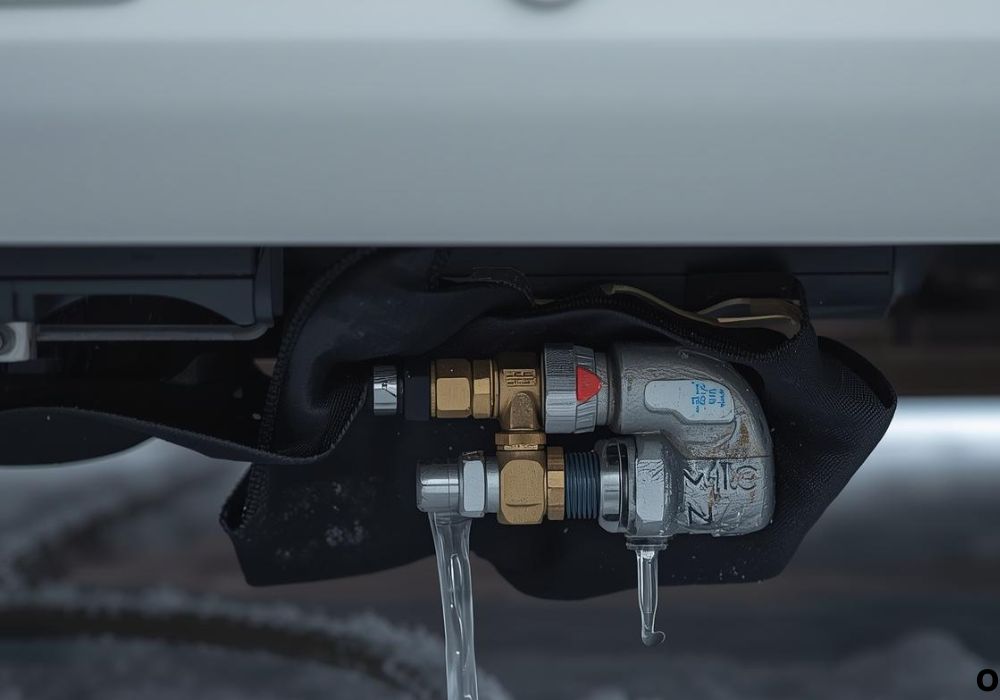
Your RV’s plumbing system isn’t designed for freezing temperatures. Most water lines run through unheated spaces like the underbelly, storage bays, or exterior walls, where cold air can easily reach them.
When water inside the lines freezes, it expands. This pressure can crack pipes, damage fittings, and even rupture your freshwater tank.
Repairing a single burst line can cost hundreds of dollars, not to mention the mess and downtime.
Insulation helps trap warmth around your pipes, preventing freezing and reducing heat loss. It also helps your water heater work more efficiently by maintaining stable temperatures in cold weather.
Simply put, insulation keeps your RV’s water system reliable and your camping experience stress-free.
Types of Water Lines in an RV
Before you start insulating, it’s helpful to know which lines need protection.
RV plumbing usually includes three main systems: the freshwater line, hot and cold supply lines, and waste lines for the gray and black tanks.
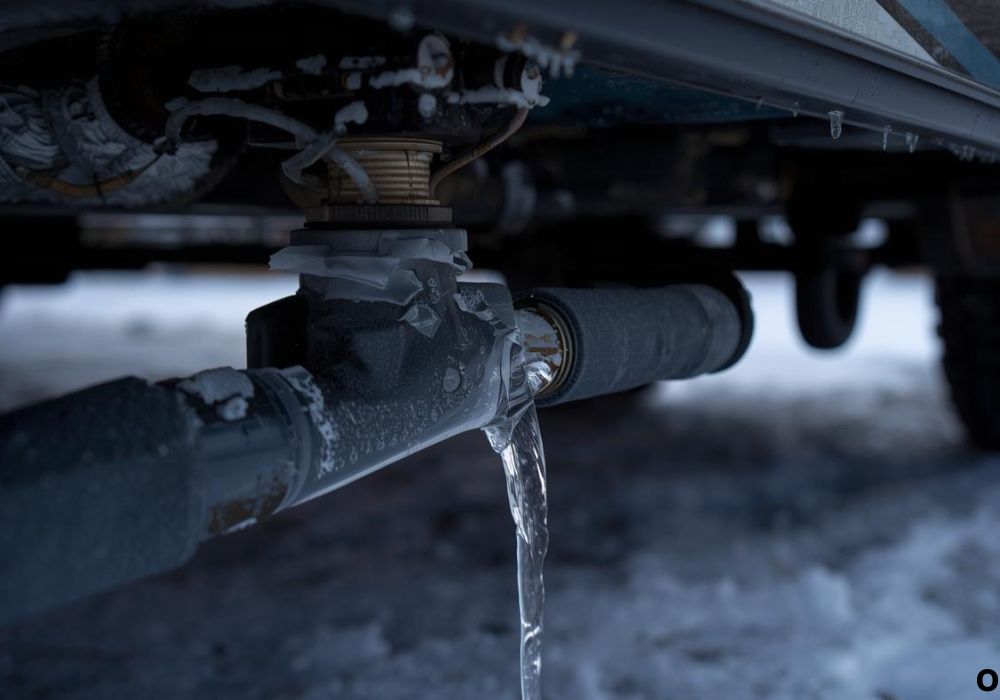
The most critical to insulate are the freshwater and supply lines that carry drinking and shower water. These are the most likely to freeze because they often run along the RV’s floor or undercarriage.
Waste lines can also freeze if they hold residual water, so insulating them adds extra protection.
Understanding your RV’s plumbing layout helps you focus on the areas most exposed to the cold.
Best Materials for Insulating RV Water Lines
Several insulation materials work well for RV plumbing, each with its own pros and cons.
Foam Pipe Insulation: The most common option, easy to install and available in various diameters. It’s lightweight, flexible, and affordable.
Heat Tape (or Heating Cable): Perfect for extremely cold climates. It wraps around pipes and plugs into power to provide gentle, consistent heat.
Reflective Foil Insulation: Adds an extra thermal barrier for exposed pipes, especially in underbellies or storage areas.
Spray Foam or Pipe Wrap: Good for sealing tight spaces or irregular pipe runs. It provides insulation and prevents drafts simultaneously.
Combining these materials offers the best freeze protection for your RV’s water lines.
Step-by-Step Guide: How to Insulate RV Water Lines
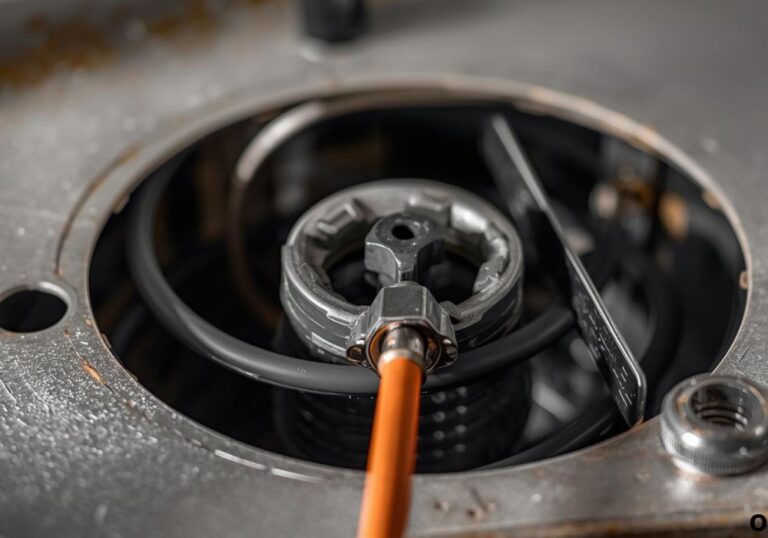
Step 1: Locate and Inspect the Lines
Start by identifying all visible water lines in your RV — under sinks, behind access panels, and beneath the RV.
Look for any damaged or leaking sections before insulating, since covering leaks can hide future problems.
Clean the lines with a dry cloth to remove dust and debris.
A clean surface ensures better adhesion for insulation materials.
Step 2: Measure and Cut the Insulation
Use a tape measure to determine the total length of pipe to cover. Foam tubes usually come in 6-foot sections and can be cut easily with scissors or a utility knife.
Choose insulation that fits snugly around your pipe diameter to prevent air gaps.
Measure twice, cut once — it’s better to have a tight fit than loose material that allows cold air in.
Preparing all your insulation pieces in advance makes installation quicker and more efficient.
Step 3: Wrap or Slide Insulation Onto Pipes
If using foam tubes, open the slit along the side and slide it over the pipe. Press the seam closed or use duct tape to secure it.
For heat tape, wrap it directly around the pipe following the manufacturer’s instructions. Avoid overlapping the tape on itself to prevent overheating.
In very cold regions, you can wrap reflective foil insulation over the foam for added protection.
Make sure fittings, elbows, and joints are fully covered — these spots are most vulnerable to freezing.
Step 4: Secure Insulation and Seal Gaps
Use zip ties, electrical tape, or insulated pipe clamps to hold the insulation firmly in place.
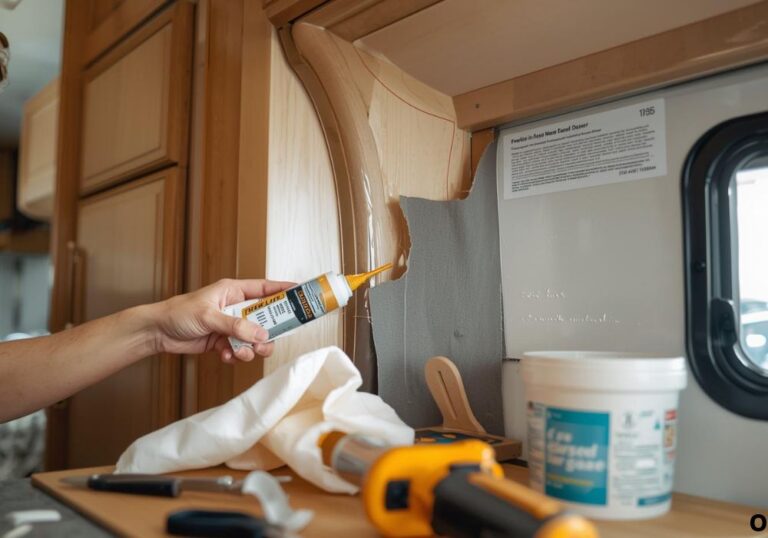
Seal gaps at joints or bends with foam spray or pipe wrap to prevent heat loss.
If your water lines run through the underbelly, check for exposed openings where cold air might enter. Use expanding foam or rubber gaskets to close them.
A properly sealed system prevents drafts and helps maintain stable internal temperatures.
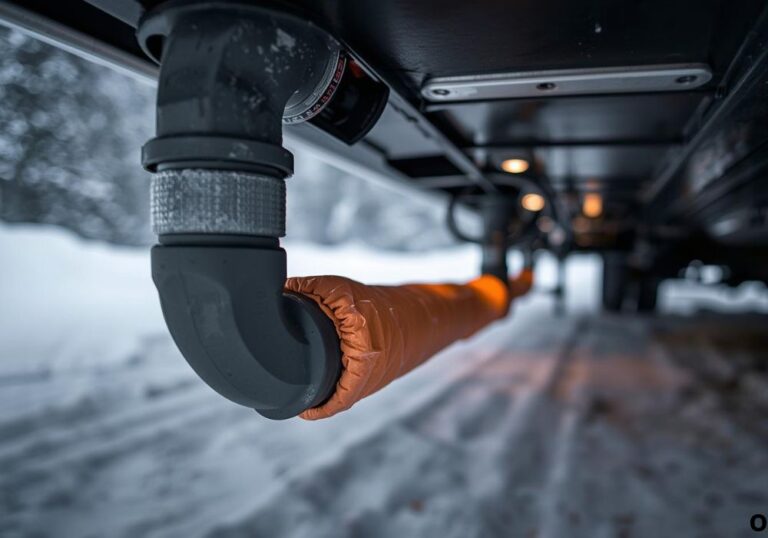
Step 5: Protect the Freshwater Hose and Tanks
Your external freshwater hose can freeze just as easily as internal lines. Wrap it with foam insulation and, if possible, plug in a heated hose.
For extra protection, store your freshwater hose indoors when not in use.
Insulate the area around your freshwater and holding tanks with reflective insulation or foam board. Some RVers even add a small 12V tank heater pad for extra safety.
Keeping your entire water system insulated ensures consistent flow during cold nights.
Additional Ways to Keep RV Water Lines Warm
Insulation alone might not be enough in extreme cold, so combine it with these extra strategies.
Use skirting around the bottom of your RV to block wind and trap heat underneath.
Keep your RV furnace running at a low setting to circulate warm air into plumbing areas.
Open cabinet doors under sinks during cold nights to let warm air reach the pipes.
Place a small space heater in the underbelly or storage compartment (if safe) for extra warmth.
A combination of insulation and airflow protection offers the best freeze prevention results.
How to Insulate Hard-to-Reach or Hidden Pipes
Some RV water lines run behind panels or in enclosed walls, making insulation tricky.
If possible, remove small access panels or unscrew vent covers to reach these areas.
Spray foam insulation works great here, as it expands to fill gaps around pipes and seals out drafts.
Alternatively, use heat tape along accessible portions and seal any exposed fittings you can reach.
Even partial insulation can make a noticeable difference in temperature retention.
Common Mistakes to Avoid When Insulating RV Water Lines
Many RV owners make small but costly mistakes when insulating their plumbing.
Avoid using fiberglass insulation, which absorbs moisture and can freeze or mold over time.
Don’t wrap heat tape too tightly or overlap it — this can cause overheating or electrical hazards.
Never leave unsealed gaps, especially near joints and elbows where cold air can penetrate.
And finally, always test your system after insulating to make sure there’s no water flow restriction or trapped moisture.
Proper installation ensures long-term reliability through many winters.
Testing and Monitoring After Insulation
Once you’ve insulated your RV water lines, run a full system check.
Turn on your water pump and open faucets to confirm normal pressure and flow. Check for leaks or condensation around newly insulated areas.
Use a wireless temperature sensor or thermometer near the plumbing area to monitor pipe temperatures in freezing conditions.
If the temperature ever drops near freezing, consider activating heat tape or turning on your furnace.
Regular monitoring ensures your insulation is doing its job effectively.
Maintenance Tips for Long-Term Protection
Inspect your insulation before every winter season to ensure it hasn’t slipped, cracked, or degraded.
Replace worn-out foam or tape immediately to maintain full coverage.
Drain and flush your RV’s plumbing system if storing it for long periods in freezing weather.
Apply new sealant around underbelly access panels or plumbing ports to prevent drafts.
Staying proactive keeps your RV protected year after year without major repairs.
Market Insights and Statistics
According to RV industry data, more than 40 percent of RV owners travel in regions that experience freezing temperatures each year.
Frozen plumbing issues account for roughly 25 percent of RV service calls during winter months.
Experts estimate that proper insulation can reduce freeze risk by up to 90 percent, extending the lifespan of your plumbing and fittings.
With the growing popularity of four-season camping, insulating water lines has become a must-do maintenance step for every RV owner.
FAQs
1. What’s the best insulation for RV water lines?
Closed-cell foam pipe insulation combined with heat tape works best in cold weather.
2. Can I use pool noodles instead of pipe insulation?
Yes, they can be cut and used for short-term protection, but they don’t seal as tightly as foam tubes.
3. How do I keep the RV water hose from freezing?
Wrap it with foam insulation or use a heated hose designed for RVs.
4. Should I leave my water pump on overnight?
Yes, if temperatures are below freezing and you’re using the water system. It helps maintain water flow.
5. Is heat tape safe for plastic RV pipes?
Yes, as long as it’s rated for plastic and used according to manufacturer instructions.
6. How thick should the insulation be?
At least ½ inch for moderate climates, 1 inch or more for extreme cold.
7. Do I need to insulate both hot and cold water lines?
Yes, both should be insulated to prevent freezing and maintain even water temperatures.
8. Can I insulate the lines inside the walls?
If accessible, yes. Otherwise, use heat tape along exposed portions for extra protection.
9. How do I prevent condensation inside the insulation?
Use vapor-sealed foam or add tape over seams to block moisture entry.
10. Does skirting really help keep pipes warm?
Yes, it reduces cold air circulation beneath the RV, keeping underbelly pipes warmer.
11. Can I leave heat tape plugged in all the time?
Yes, most models are thermostat-controlled and turn off automatically above freezing.
12. What temperature should I worry about freezing?
Pipes begin freezing around 32°F, but extended exposure to 25°F or below causes the most damage.
13. How do I insulate the gray and black tank lines?
Wrap them with foam insulation and, if possible, install 12V tank heater pads.
14. Should I use reflective insulation under my RV?
Yes, it helps trap radiant heat and prevent drafts near the plumbing.
15. How much does it cost to insulate RV water lines?
DIY materials typically cost between $40 and $150 depending on RV size and setup.
Conclusion
Knowing how to insulate RV water lines is one of the smartest things you can do to protect your RV from winter damage.
With proper insulation, you can travel year-round without worrying about frozen pipes, burst fittings, or costly repairs.
By combining foam insulation, heat tape, and smart airflow management, you’ll keep your plumbing system safe and your water running smoothly even in subzero weather.
A few hours of work now can save you from headaches and expenses later — and ensure every winter trip stays warm, comfortable, and stress-free.
I’m David R. Coleman, the founder, lead writer, and lifelong tool enthusiast behind GarageToolPro.com. With years of experience in automotive repair, woodworking, and home DIY projects, I created this platform to share practical tips, detailed tool reviews, and step-by-step guides that help mechanics, hobbyists, and homeowners get the job done right the first time.