How to Install an RV Water Pump Step by Step
Picture being on a remote camping trip when suddenly no water flows from the faucet. The cause is often a failing RV water pump, a problem that can turn a relaxing getaway into a stressful situation.
Improperly installed pumps are one of the leading causes of water leaks and pressure loss in RVs. A loose connection or reversed hose can leave you without clean water and lead to costly damage inside your vehicle.
According to the Recreation Vehicle Industry Association, over 11 million U.S. households own RVs source. With so many people relying on onboard plumbing, installing the pump correctly is essential to keep the system dependable.
A well-installed water pump can last 4 to 10 years, while poor installation may cut that lifespan in half source. The difference comes down to following proper steps, using the right tools, and testing the system thoroughly.
This guide will walk through the entire installation process in clear, manageable stages. From removing the old pump to wiring, sealing, and priming, every detail will be explained.
By the end, you will understand not only how to install an RV water pump safely but also how to prevent common mistakes that lead to leaks, noise, or pump failure. With preparation and the correct method, you can restore reliable water flow and protect your RV plumbing for years to come.
What Is an RV Water Pump & Why Installation Matters
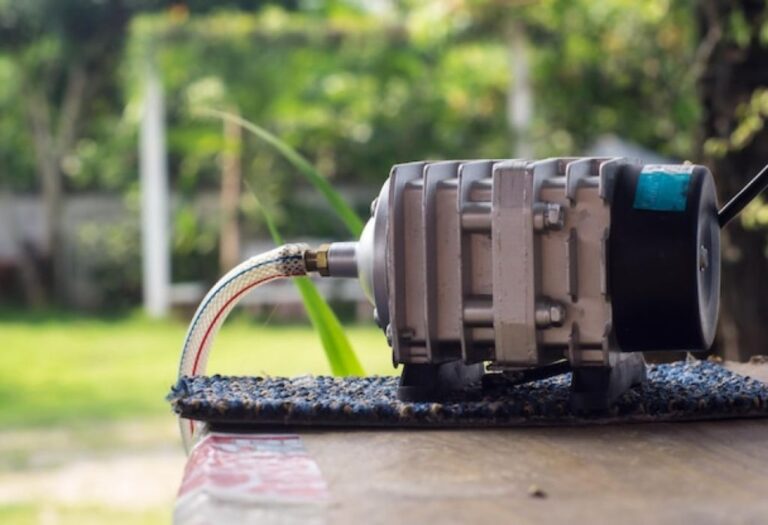
The RV water pump is a compact 12-volt device that draws fresh water from the tank and distributes it to faucets, showers, and appliances. It maintains steady pressure so water flows whenever a tap is opened.
A properly installed pump ensures leak-free connections, safe electrical wiring, and consistent water delivery. Incorrect installation, by contrast, can lead to low pressure, noisy operation, or even plumbing damage.
Replacing or upgrading the pump is often needed when the old one loses efficiency or fails completely. Correct installation is crucial because it directly affects the comfort and safety of every trip.
What does an RV water pump do?
It pressurizes and pushes fresh water through the RV plumbing system.
Why is proper installation important?
It prevents leaks, electrical hazards, and performance issues.
Can all pumps fit the same RV?
Most RVs use standard 12-volt pumps, but size and flow rates vary.
When should a pump be replaced instead of repaired?
Replacement is best if the pump is cracked, burnt out, or repeatedly fails.
Does installation affect pump lifespan?
Yes, correct mounting and wiring extend performance life significantly.
Tools & Materials Needed Before Installation
Having the right tools ensures a smooth installation process. A screwdriver, pliers, wrench, and drill are often required.
Materials include the new water pump, hose clamps, Teflon tape, fittings, and wire connectors. Keeping everything nearby prevents delays once the process starts.
What size pump fits most RVs?
Standard 12-volt pumps delivering 3–5 gallons per minute are common.
Is sealant necessary for fittings?
Yes, Teflon tape or RV-safe sealant prevents leaks.
Should wiring tools be insulated?
Yes, insulated tools prevent electrical shocks.
Can old hoses be reused?
Only if they are undamaged and free of cracks.
Do you need spare clamps?
Yes, replacing clamps reduces the risk of leaks.
Safety Precautions Before You Begin
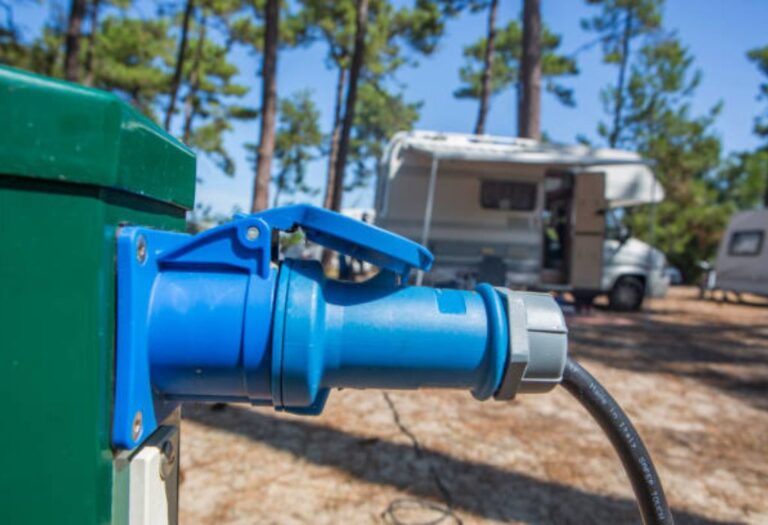
Installing an RV water pump involves electricity and water, so safety is critical. Disconnect the RV from shore power and switch off the battery before handling wires.
Shut off the water supply, relieve pressure by opening a faucet, and allow the old pump to cool if it has been running. Protective gloves and safety glasses add another layer of protection.
Why disconnect power first?
It eliminates the risk of shocks.
Should the pump be drained before removal?
Yes, draining prevents water spills.
Can you install in freezing weather?
No, fittings and hoses may crack in cold temperatures.
Why follow the manufacturer’s manual?
It ensures warranty compliance and correct installation.
Do you need protective gear?
Gloves and glasses are strongly recommended.
Step-by-Step Guide to Installing an RV Water Pump
Installing a water pump requires patience and accuracy. Follow these steps in order to avoid mistakes.
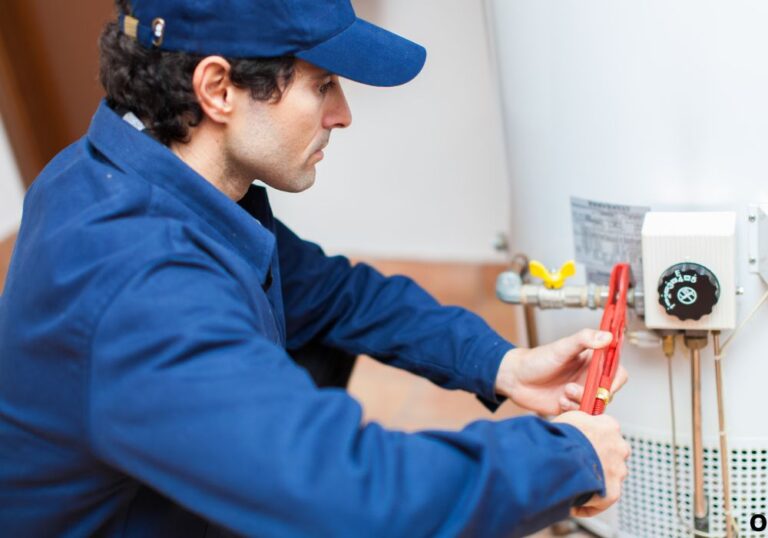
Step 1 – Remove the Old Pump
Turn off water and power before loosening any connections. Detach inlet and outlet hoses, then unscrew the mounting bracket.
Keep the pump upright to avoid spilling any remaining water.
Should you label hoses?
Yes, labeling ensures correct reconnection.
Can old clamps be reused?
It is safer to replace them with new ones.
Should the old pump be kept as backup?
Yes, if still functional, it can serve as an emergency spare.
How to handle stuck fittings?
Use pliers gently, avoiding damage to hoses.
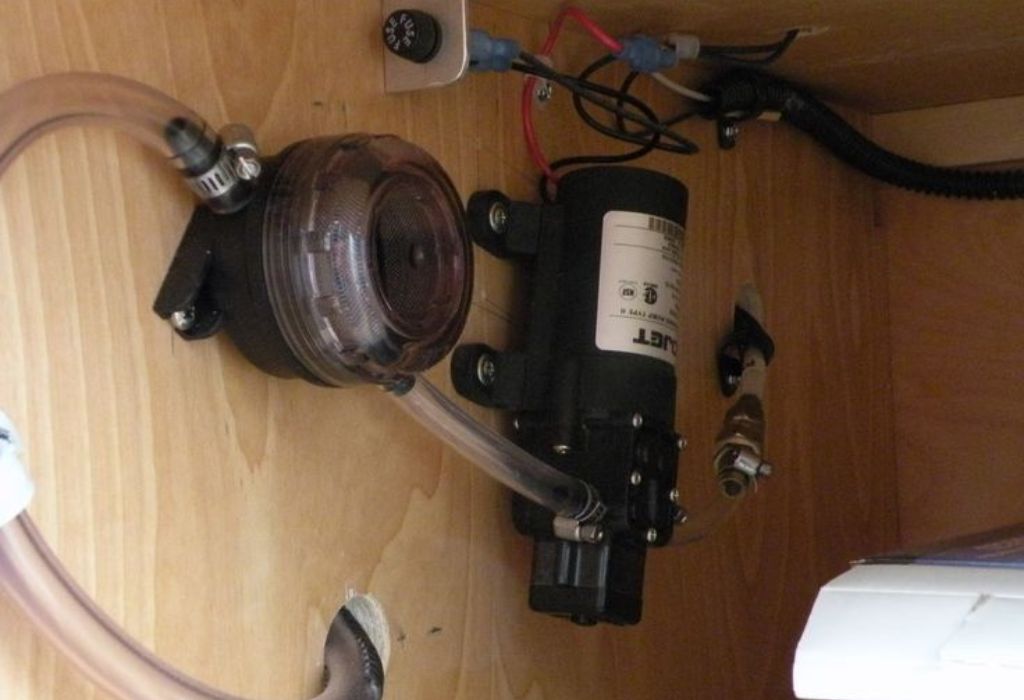
Step 2 – Position & Mount the New Pump
Place the new pump in the same location as the old one or as close to the water tank as possible. Use vibration-reducing screws or rubber mounts for quieter operation.
Secure the pump firmly so it does not shift while driving.
Does orientation matter?
Yes, follow the directional arrows on the pump body.
Should it be near the tank?
Yes, closer placement improves suction efficiency.
Is vibration control important?
Yes, it reduces noise and wear.
Do all pumps come with mounting kits?
Most do, but some may require additional hardware.
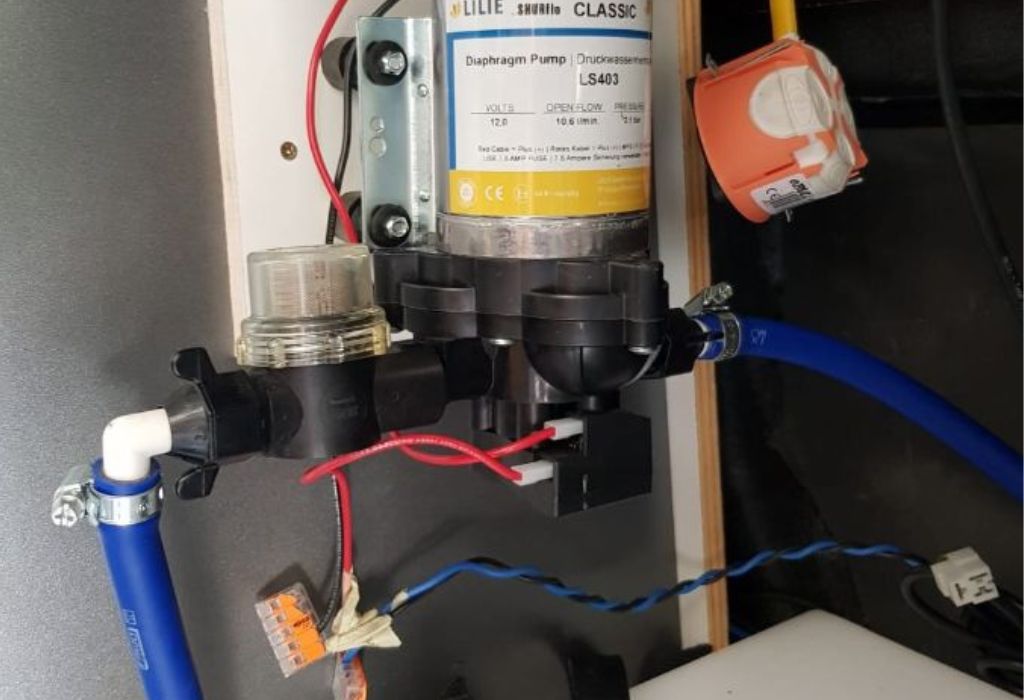
Step 3 – Connect Inlet & Outlet Hoses
Attach hoses to the correct fittings, using Teflon tape for a tight seal. Secure each connection with clamps to prevent leaks.
Check that hoses are not twisted or kinked before final tightening.
What happens if hoses are reversed?
The pump will not function correctly.
How tight should clamps be?
Tight enough to prevent leaks, but not crushing the hose.
Is flexible tubing better than rigid?
Yes, it absorbs vibration and reduces noise.
Should hoses be cut to fit?
Yes, overly long hoses may cause kinks.
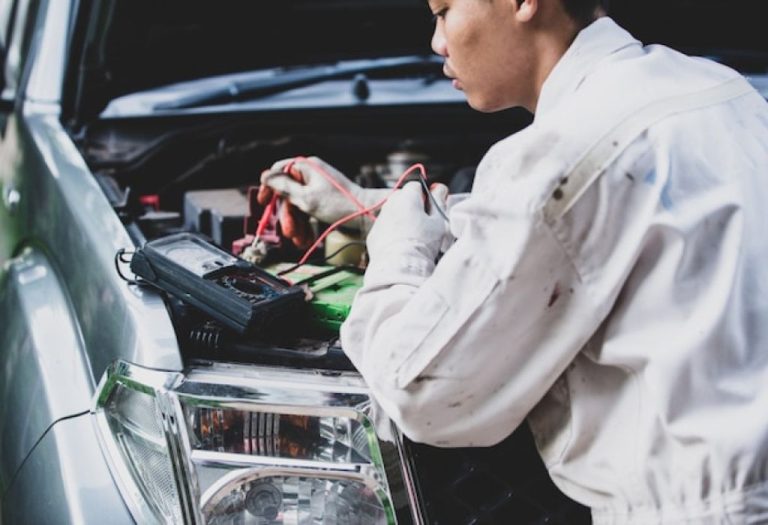
Step 4 – Connect Electrical Wiring
Identify the positive and negative leads before connecting. Use the correct gauge wire and a fuse as specified by the pump manufacturer.
Secure connections with proper terminals or connectors instead of twisting bare wires.
Is a fuse required?
Yes, it protects against overloads.
What wire gauge is best?
Follow the manufacturer’s recommendation, usually 10–14 gauge.
Can wires be connected without terminals?
No, always use connectors for safety.
What if wires are too short?
Use proper extension wires rated for 12 volts.
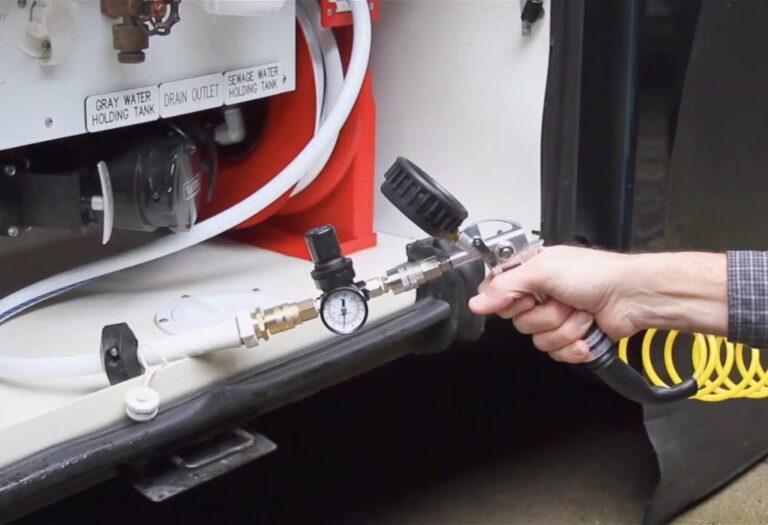
Step 5 – Prime & Test the Pump
Fill the fresh water tank before running the pump. Open faucets and allow water to flow until steady pressure is achieved.
Listen for unusual noises and inspect all connections for leaks.
Why prime the pump?
It removes trapped air from the system.
What if pump keeps cycling?
Check for leaks or a faulty pressure switch.
Should all faucets be tested?
Yes, both hot and cold lines.
Is low flow normal at first?
Yes, flow increases as air is cleared.
Troubleshooting Common Installation Issues
Even after careful work, problems may arise. Most can be solved with simple checks.
Low water pressure, noisy operation, or failure to start are the most common issues. Leaks often occur if fittings were not sealed correctly.
Why won’t the pump start?
Check the fuse and confirm power supply.
Why is water pressure low?
Inspect for air leaks or clogged filters.
Why is the pump noisy?
It may not be mounted securely or air is still trapped.
Why do leaks appear after installation?
Loose clamps or missing sealant are common causes.
Maintenance Tips After Installation
Routine maintenance ensures the pump lasts for years. Regularly check hoses, clamps, and wiring for signs of wear.
Cleaning or replacing filters prevents sediment buildup that can reduce flow. Testing the pump after each trip confirms reliable performance.
How often should filters be replaced?
Every 6 to 12 months.
Can pumps run dry?
No, running dry damages internal seals.
How long should a pump last?
Four to ten years depending on care.
Is winterizing necessary?
Yes, always drain and protect the pump in freezing weather.
Expert Pro Tips for a Reliable Installation
Experienced RV technicians recommend using flexible hoses and vibration pads to reduce noise. Keeping spare clamps, fuses, and connectors prevents delays on the road.
Always test the system with multiple faucets open to confirm water flow and pressure. Documenting the installation with photos helps when troubleshooting in the future.
Why use flexible hoses?
They reduce stress on fittings.
Should a backup pump be carried?
Yes, it ensures water supply during emergencies.
Is a pressure regulator helpful?
Yes, it keeps system pressure within safe limits.
Why test multiple faucets?
It confirms consistent performance across the system.
Conclusion
Knowing how to install an RV water pump step by step protects your plumbing system and ensures reliable water flow. Proper installation prevents leaks, electrical hazards, and costly failures during trips.
By preparing the right tools, following safety measures, and testing thoroughly, you extend the life of your pump and enjoy worry-free travel. With these methods, your RV will always be ready to deliver clean water whenever you need it.
I’m David R. Coleman, the founder, lead writer, and lifelong tool enthusiast behind GarageToolPro.com. With years of experience in automotive repair, woodworking, and home DIY projects, I created this platform to share practical tips, detailed tool reviews, and step-by-step guides that help mechanics, hobbyists, and homeowners get the job done right the first time.