How to Fix an RV Water Pump Quickly
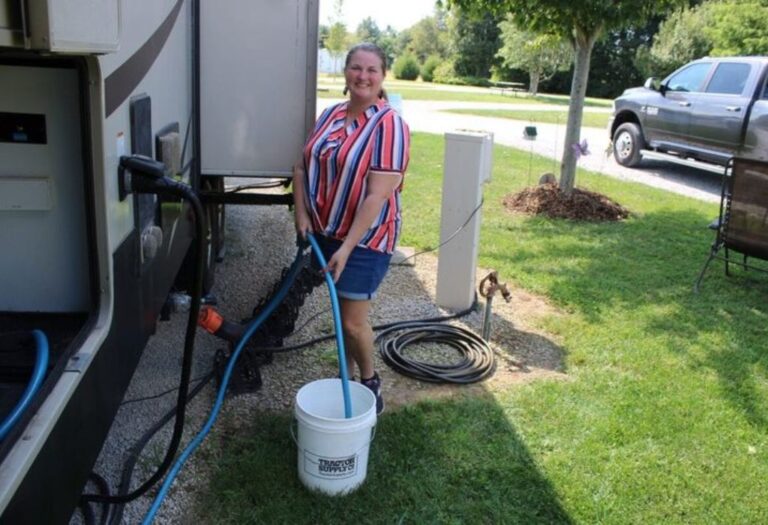
Nothing disrupts an RV adventure faster than turning on the faucet and finding no water. A quiet campground evening can quickly become stressful when the pump refuses to deliver the steady flow you expect.
RV water pump problems are one of the most common plumbing issues for travelers. Studies show that water system failures account for nearly 40% of RV service calls, with pump-related problems ranking among the top causes of breakdowns (RVIA).
The frustration grows when the pump runs continuously but nothing comes out, or when faucets sputter with weak pressure. These symptoms can turn a relaxing trip into hours of trial and error without clear answers.
Learning how to fix an RV water pump is not only about saving money, but also about avoiding costly delays. On average, RV repair shop visits range from $100 to $200 per hour, not including parts (RepairPal). For many RVers, a simple fix at the campsite is the difference between enjoying the journey and cutting it short.
This guide explains step-by-step how to diagnose, repair, or replace your RV water pump with confidence. From electrical checks and cleaning strainers to troubleshooting leaks and pressure switch issues, every stage will be covered in detail.
By the end, you’ll know how to fix an RV water pump quickly, restore proper water flow, and prevent future problems. The goal is to give you practical solutions that ensure reliable water pressure every time you travel.
What Is an RV Water Pump & How It Works
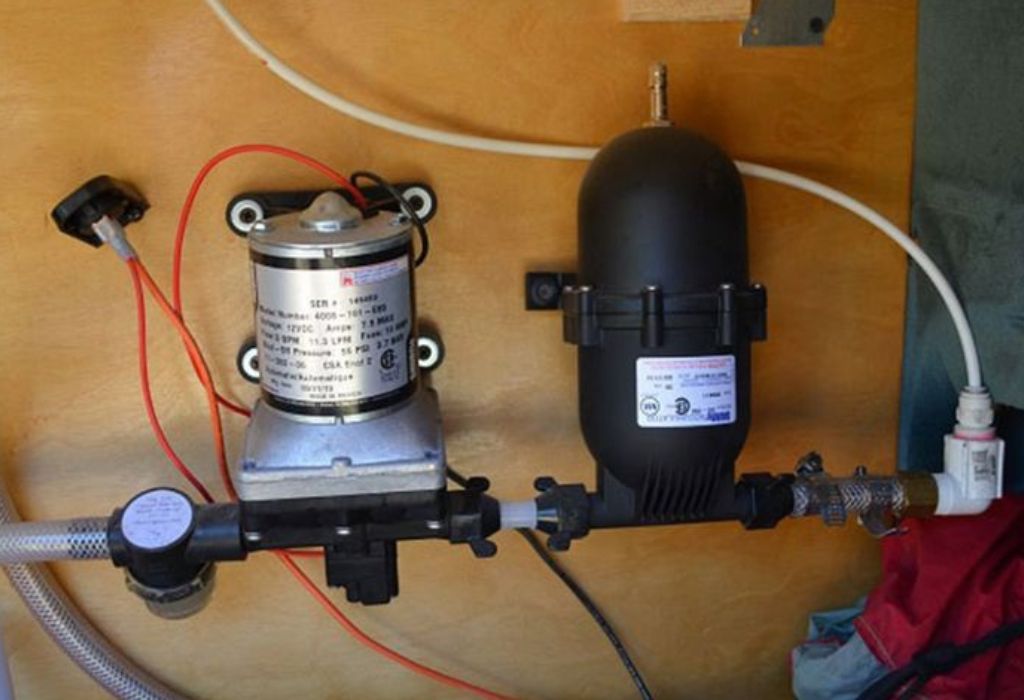
An RV water pump is the heart of the freshwater system, designed to move water from the tank to your faucets, shower, and toilet. Most models are compact 12-volt diaphragm pumps that provide steady water pressure even when not connected to city water.
The pump uses a flexible diaphragm that moves back and forth to create suction and pressure. Inside the unit are check valves that control the direction of water flow, ensuring it only moves toward your plumbing system.
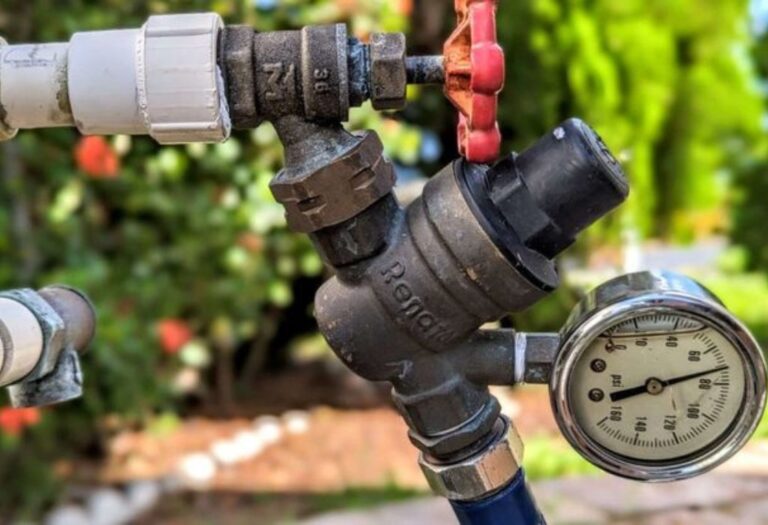
A pressure switch monitors the water lines and tells the pump when to start and stop. This allows the system to maintain consistent pressure automatically without manual control.
The pump also relies on a small strainer or inlet filter, which catches debris before it enters the mechanism. Without it, dirt or sediment from the tank could damage the diaphragm, seals, or valves.
Understanding these components makes troubleshooting easier, because most RV water pump failures occur when one of these parts malfunctions. Recognizing their roles helps you quickly determine whether the problem is electrical, mechanical, or plumbing-related.
What is a diaphragm pump?
A diaphragm pump uses a flexible membrane to create suction and pressure that moves water efficiently.
What does a check valve do in the pump?
The check valve prevents water from flowing backward into the tank, protecting the system from contamination.
Why is a strainer important?
The strainer filters debris and sediment before it reaches the pump, reducing wear and blockages.
What is the pressure switch for?
The pressure switch senses drops in line pressure and activates the pump, then shuts it off once pressure is restored.
Can an RV water pump work without these components?
No, each part plays a critical role, and damage to one component can cause the pump to fail completely.
Common Signs and Symptoms of a Failing RV Water Pump
Recognizing the early signs of pump failure helps prevent major breakdowns. When left unchecked, minor problems can escalate into complete system loss.
The most obvious symptom is no water flow when faucets are opened. Even when the pump is running, a clog, airlock, or empty tank can prevent water from reaching the outlets.
Low or inconsistent pressure is another warning sign. Faucets that sputter, pulse, or deliver weak streams often signal a worn diaphragm, clogged strainer, or restricted line.
Continuous cycling is also common. If the pump runs nonstop, it usually indicates a leak, damaged check valve, or an inability to build pressure in the system.
Noise and vibration can reveal mounting issues, trapped air, or failing components. A loud humming sound may also point to internal wear or misalignment.
Leaks around fittings or pump housing show that seals or gaskets have failed. These leaks not only waste water but also cause the pump to overwork.
Why does the pump run but no water comes out?
The cause could be a closed valve, clogged strainer, or air trapped in the system.
Why is water pressure weak sometimes?
It is often linked to clogged plumbing, worn diaphragms, or restricted hoses.
What causes the pump to run nonstop?
Leaks, faulty check valves, or inability to reach proper pressure keep it running.
Why is the pump making a humming or vibrating noise?
Air pockets, loose mounts, or worn parts are the main reasons.
Where does leakage typically occur?
Leaks are most common at fittings, seals, or the pump housing.
Step-by-Step Troubleshooting: Diagnose and Fix
Safety and Preparation
Before starting any work, disconnect the RV from power. Open faucets to release line pressure and place towels or a bucket to collect water.
Wear gloves and eye protection to avoid injury. Always work in a dry, safe area with the RV stabilized.
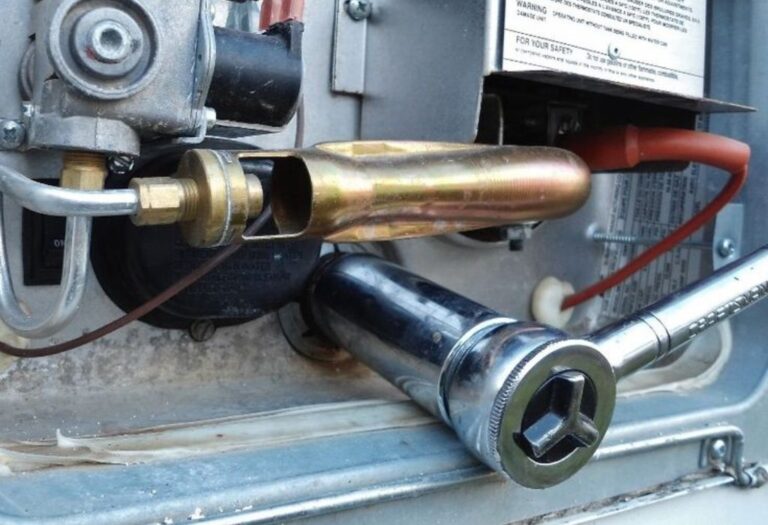
Check Power and Electrical Issues
Start by inspecting the fuse. A blown fuse will stop the pump completely and should be replaced with one of the same rating.
Next, test voltage at the pump terminals with a multimeter. It should read close to 12 volts when the switch is on.
Loose or corroded wiring is another culprit. Inspect all connections for wear, burns, or breaks.
The pump switch or relay may also fail. Bypass temporarily to confirm if it is defective.
What if the fuse is blown repeatedly?
This points to a short circuit or pump overload.
How to test voltage at the pump?
Use a multimeter between the positive and ground wires.
Can bad wiring cause pump failure?
Yes, insufficient current flow will prevent operation.
What if the pump switch is faulty?
Replace or bypass it safely to verify the issue.
Inspect the Strainer and Plumbing Flow
Locate the inline strainer before the pump. Remove the screen and rinse away sediment or debris.
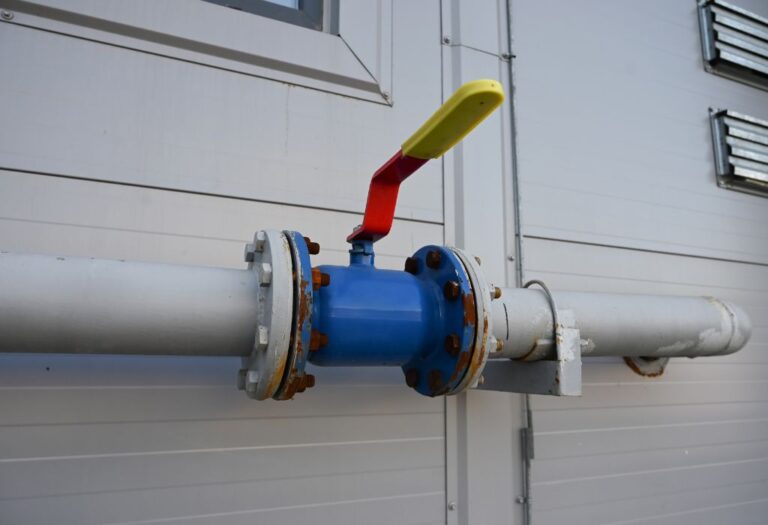
Examine the hose from the tank to the pump for kinks, blockages, or collapsed sections. Make sure all valves are open.
If your RV has a winterizing valve, confirm it is set to normal flow. A wrong position can starve the pump.
Prime the line if air is trapped. Pour water into the hose or use suction to remove air pockets.
Where is the strainer located?
It sits on the suction line before the pump.
How to clean a clogged strainer?
Remove the cover, take out the mesh, and flush it clean.
What is a diverter valve?
It redirects flow during winterizing or tank bypass.
How to prime a dry line?
Add water directly to the inlet hose until the pump runs smoothly.
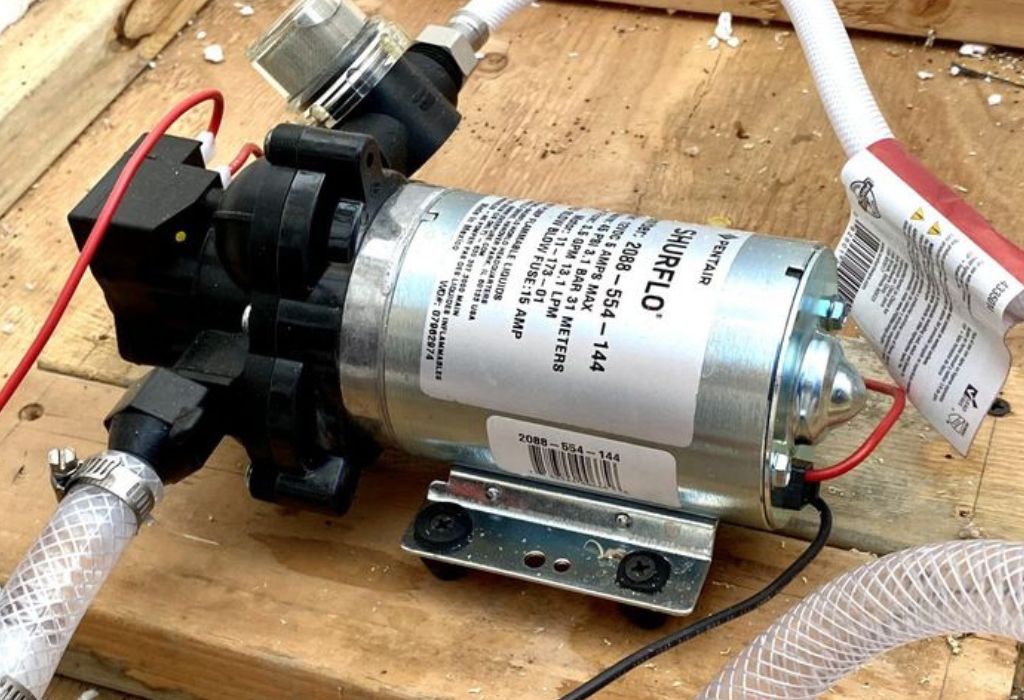
Test Pump Operation and Internal Components
Reconnect power and test pump flow at the outlet. If no pressure builds, the problem lies inside the pump.
Disassemble the unit and check the diaphragm, valves, and seals. Look for cracks, tears, or debris.
Replace damaged parts such as diaphragms, gaskets, or O-rings. Reassemble carefully to avoid leaks.
If pressure builds with the outlet disconnected but fails in the system, the issue is downstream in the plumbing.
How to test if the pump is pumping?
Run it with the outlet hose off and observe flow.
What parts fail most often inside?
Diaphragms, check valves, and seals degrade over time.
Is repair worth it versus replacement?
If multiple parts fail or the pump is old, replacement is better.
Addressing Leaks, Noise, and Cycling
Leaks are often solved by tightening fittings or resealing with plumber’s tape.
Mounting noise can be reduced with rubber pads or grommets. Secure all hoses to limit vibration.
Check valves and pressure switches should be tested and replaced if not holding pressure.
Persistent cycling often indicates small leaks or failed check valves.
How to stop vibration or noise from the pump?
Install vibration dampeners and purge air.
What causes check valve failure?
Debris and wear prevent proper sealing.
Can loose fittings cause cycling?
Yes, even small leaks drop pressure.
When is replacement inevitable?
Severe wear, cracked housings, or repeated failure mean replacement is best.
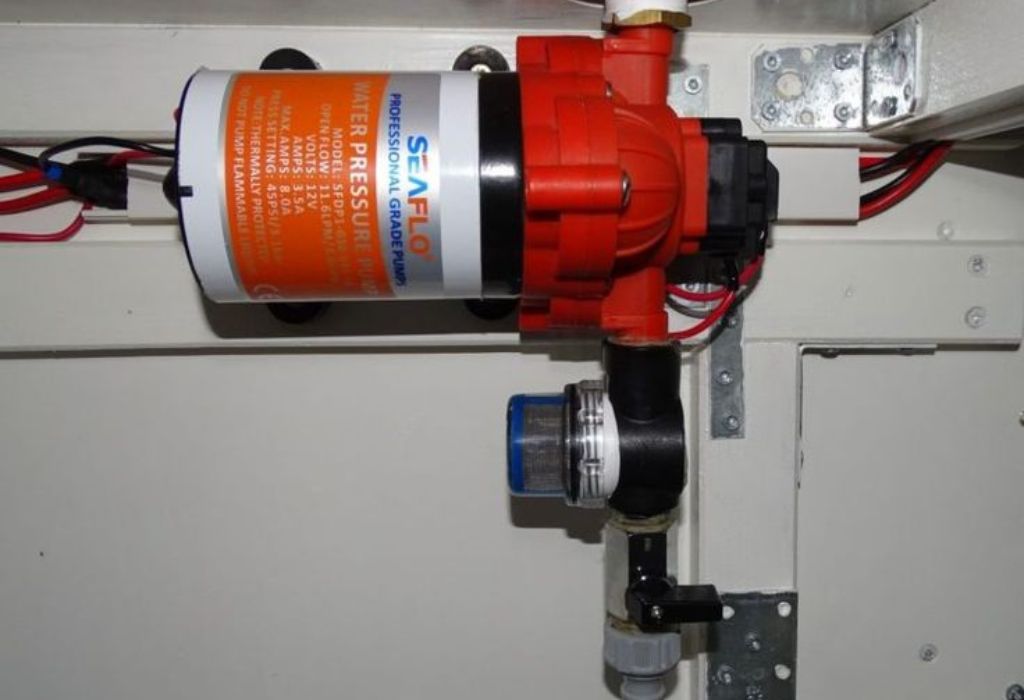
How to Replace an RV Water Pump
When repair is no longer effective, a new pump is the best solution. Choose a pump that matches your RV’s voltage, flow rate, and pressure rating.
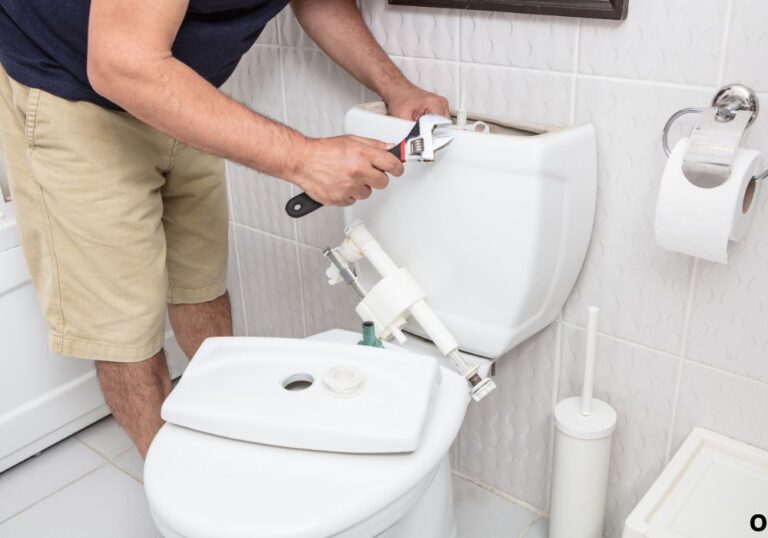
Turn off power and water supply, then drain the system. Remove mounting screws, hoses, and electrical connections.
Install the new pump in the same location. Use Teflon tape on fittings and ensure wires are correctly matched.
Open faucets and run the pump to purge air. Check for leaks and adjust the pressure switch if needed.
How to choose a replacement pump?
Match flow rate, PSI, and voltage with your system.
What precautions should you take when removing the old pump?
Shut off water, disconnect power, and drain the system first.
How to re-prime a new pump?
Open faucets and let it run until water flows smoothly.
Do you need to adjust the pressure switch?
Yes, if factory settings do not match your RV system.
Maintenance Tips to Prevent Future Problems
Sanitize the freshwater system at least once per season using RV-safe chemicals. This prevents buildup and bacterial growth.
Run the pump periodically during storage to keep seals lubricated. Avoid letting it sit idle for months.
Inspect and clean the strainer every few trips. Check wiring and fuses annually for corrosion.
Never run the pump when the tank is empty, as this can damage the diaphragm.
Winterize properly by draining or using antifreeze before freezing weather arrives.
When to Call a Professional
Some repairs go beyond DIY. Burnt wiring, repeated fuse blows, or severe motor failure require expert service.
Professional technicians have tools to diagnose electrical and plumbing systems more effectively.
Although service costs are higher, correct repairs prevent recurring failures and keep your RV water system reliable.
Conclusion
Fixing an RV water pump may seem intimidating, but most problems have straightforward solutions. With careful troubleshooting, cleaning, and part replacement, many issues can be resolved at the campsite.
Learning how to fix an RV water pump quickly ensures steady water flow, fewer breakdowns, and a more enjoyable journey. Regular maintenance and timely repairs will keep your RV adventures running smoothly.
I’m David R. Coleman, the founder, lead writer, and lifelong tool enthusiast behind GarageToolPro.com. With years of experience in automotive repair, woodworking, and home DIY projects, I created this platform to share practical tips, detailed tool reviews, and step-by-step guides that help mechanics, hobbyists, and homeowners get the job done right the first time.