How to Fix Black Water Valve on RV Like a Pro
You’re ready to empty your RV’s holding tanks after a long weekend trip, but the handle on your black water valve refuses to budge. You pull harder, and nothing happens. A few minutes later, you realize the dreaded truth — your black tank valve is stuck or leaking.
It’s one of those RV problems that every traveler encounters at least once. Whether it’s from debris buildup, lack of lubrication, or a broken cable, a faulty valve can turn a simple task into a messy challenge.
Fixing the black water valve on your RV might sound intimidating, but it’s manageable with the right tools and patience.
According to RV technicians, more than 60 percent of sewage system issues come from neglected or improperly maintained black tank valves.
In this guide, you’ll learn how to fix the black water valve on an RV, the common causes of failure, step-by-step repair methods, and smart maintenance tips to prevent future problems.
What Is a Black Water Valve and Why It’s Important
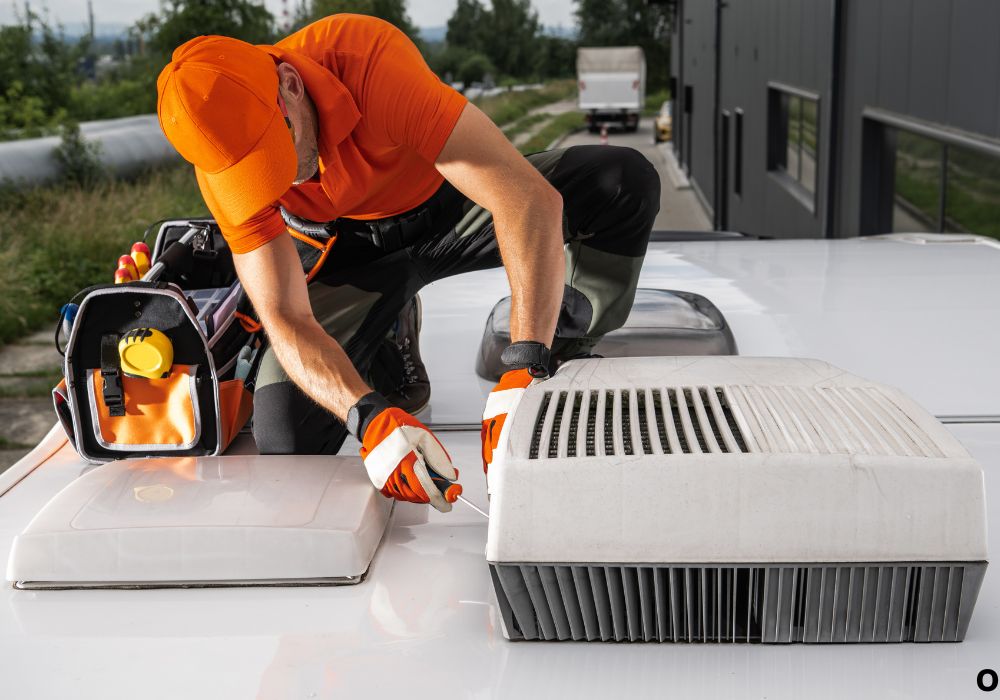
The black water valve is part of your RV’s waste management system. It controls the flow of waste from the black holding tank, which stores sewage from the toilet.
When working properly, the valve seals tightly to prevent leaks and opens smoothly to release waste during dumping.
A malfunctioning valve can lead to blockages, leaks, foul odors, and even damage to the holding tank.
It’s typically a blade-style valve, operated by a pull handle or cable that slides a flat gate open and closed.
Keeping this valve in good condition is essential for sanitary, hassle-free RV living.
Common Reasons a Black Water Valve Gets Stuck or Leaks
A stuck or leaky black water valve can result from several causes.
The most common is waste buildup inside the gate area, preventing it from closing completely. Toilet paper or solid waste can harden around the valve edges.
Another frequent issue is dried-out seals caused by lack of lubrication or long periods without use. This makes the gate stiff and difficult to move.
Cable-operated valves may stick because of rust or tension loss in the cable.
Lastly, freezing temperatures can cause the seals or gate to seize, especially if the tank wasn’t properly winterized.
Understanding these causes helps you choose the right repair method.
Signs That Your RV’s Black Water Valve Needs Fixing
Recognizing early signs of valve failure prevents major problems later.
If the handle becomes stiff or difficult to pull, it’s a warning that debris or corrosion is building up.
A small drip from the valve outlet, even when closed, means the seal is no longer tight.
You might also notice bad odors near the valve area or around the tank compartment.
If the valve feels loose or the cable doesn’t move smoothly, it may need adjustment or replacement.
Fixing these issues early keeps your RV’s waste system clean and safe.
Tools and Supplies You’ll Need
Before starting, gather all necessary tools to avoid interruptions mid-repair.
You’ll need rubber gloves, a wrench set, screwdrivers, RV-safe lubricant, a new valve kit, sewer hose caps, and a bucket or drain pan.
Keep paper towels and disinfectant spray handy for cleanup.
If you’re replacing the valve, have a replacement gasket set compatible with your RV model.
Always wear gloves and safety glasses to protect against accidental splashes during the process.
Step-by-Step: How to Fix a Stuck Black Water Valve
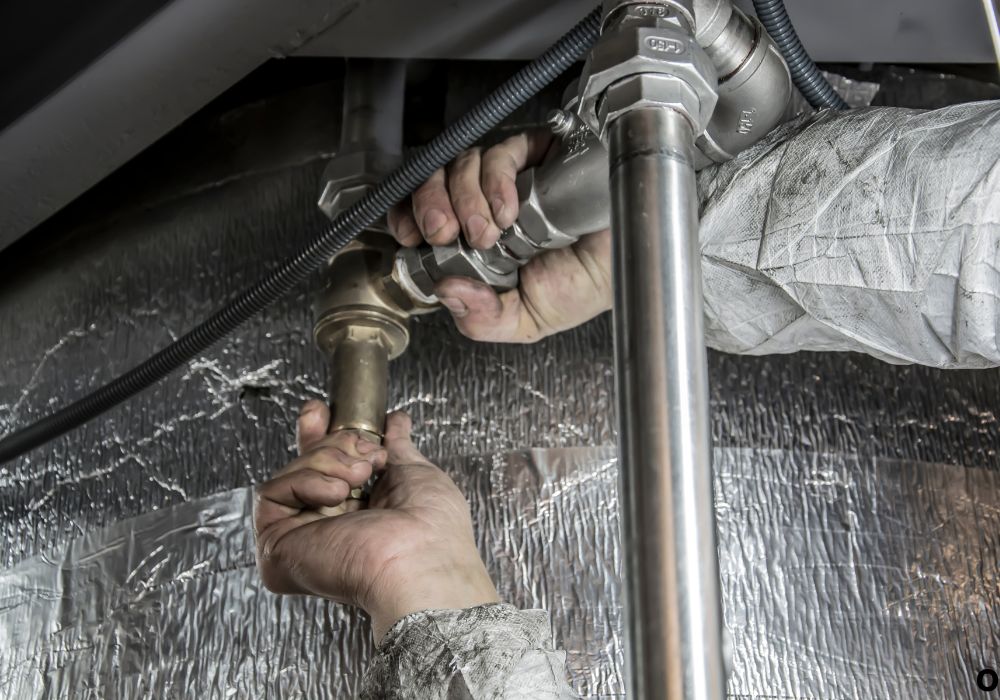
Follow these steps carefully to free and restore a stuck or slow-moving valve.
- Empty the Black Tank (If Possible)
If the valve still moves slightly, try to empty the tank completely before working on it. This reduces mess and pressure. - Flush the System
Use a tank rinser or a garden hose through the flush port to clear out debris. This may free up small obstructions near the gate. - Lubricate the Valve Handle and Blade
Apply an RV-safe valve lubricant or silicone spray directly to the handle shaft. If accessible, use a lubricant wand through the drain outlet to coat the internal blade. - Gently Work the Valve Back and Forth
Move the handle in and out slowly. Do not force it — applying too much pressure may break the cable or handle. - Repeat Lubrication and Flushing
Continue flushing with clean water while working the handle. Once the motion becomes smoother, rinse the tank again. - Test for Leaks
Close the valve completely, fill the tank halfway, and check for dripping around the seal or outlet.
If lubrication doesn’t solve the issue, the valve likely needs replacement.
How to Replace a Black Water Valve on an RV
If your valve is damaged or permanently stuck, replacing it is often the best solution.
- Drain and Flush All Tanks
Ensure both black and gray tanks are completely empty before removing the valve. - Disconnect Sewer Hoses
Remove the RV sewer hose and cap both ends to prevent spills. - Remove the Old Valve
Use a wrench or screwdriver to unbolt the four screws securing the valve between the flanges. Gently separate the pipe sections. - Clean the Flange Area
Scrape off any debris or residue from the old seals. Wipe the area with a clean cloth and disinfectant. - Install the New Valve and Seals
Insert new rubber gaskets between the flanges and position the valve in place. Align the bolt holes and tighten screws evenly in a cross pattern. - Test the New Valve
Fill the black tank with water, then open and close the valve to ensure smooth movement and no leaks.
This process usually takes one to two hours for a beginner with basic tools.
How to Fix a Leaking Black Tank Valve
If your valve leaks even when closed, the rubber seals may be worn or misaligned.
Start by draining the tank completely and inspecting the valve flanges.
Tighten the bolts slightly in a cross pattern to improve the seal, but don’t overtighten.
If leaking persists, remove the valve and replace the internal seals or the entire unit.
Always test with clean water before resuming normal tank use.
How to Fix a Cable-Operated Black Water Valve
Cable-operated valves require special care because the mechanism runs through a sheath from the handle to the valve body.
If the cable feels stiff, disconnect it from the handle and apply silicone spray along the cable housing.
Work the cable back and forth until it moves smoothly again.
If the cable is frayed or broken, replacement is the only solution.
Ensure the new cable length matches the original for proper alignment and movement.
How to Lubricate a Black Water Valve
Lubrication is key to keeping the valve moving freely.
Use an RV-safe valve lubricant or a few ounces of mineral oil poured into the tank before your next dump.
Operate the valve several times to distribute the lubricant evenly.
Avoid petroleum-based products, as they can degrade rubber seals.
Regular lubrication every few weeks prevents future sticking and corrosion.
Preventing Future Valve Problems
Preventive care is easier than major repairs. Always flush your tanks thoroughly after each use to remove residue buildup.
Use septic-safe toilet paper and plenty of water when flushing.
Lubricate the valve regularly, especially before long-term storage.
Keep the area around the valve clean and dry to avoid corrosion.
Finally, never leave the black valve open while connected to a sewer hookup — it can lead to hardened waste in the tank.
Maintenance Tips for Longer Valve Life
- Rinse tanks thoroughly after every dump.
- Lubricate valve seals monthly.
- Avoid harsh chemicals that dry out rubber gaskets.
- Store your RV with empty tanks to prevent residue buildup.
- Inspect the cable connection every few trips for wear.
Small maintenance steps prevent major repair headaches down the road.
Market and Technical Insights
According to the RV Industry Association, more than 85 percent of modern RVs still use manual blade-style black water valves.
The average valve lifespan is 3 to 5 years, depending on maintenance frequency and environment.
Most replacement kits cost between $20 and $60, making them one of the most affordable DIY repairs for RV owners.
Routine cleaning and lubrication can extend valve life by 50 percent, according to service data from major RV dealerships.
These insights show that proper care not only saves money but also improves sanitation and convenience.
FAQs
1. Why is my RV black water valve stuck?
Debris, dried seals, or lack of lubrication usually cause the valve to stick.
2. Can I force the valve open if it’s stuck?
No, forcing it can break the handle or cable. Always flush and lubricate first.
3. What lubricant should I use for my RV valve?
Use silicone-based or RV-safe lubricants designed for rubber seals.
4. How often should I lubricate the valve?
At least once a month during frequent use or before long-term storage.
5. Can I replace the valve myself?
Yes, it’s a straightforward DIY job with basic tools and a replacement kit.
6. Why is the valve leaking even when closed?
The internal seals may be worn or debris may be trapped in the gate.
7. Should I close the valve when the RV is parked?
Yes, always keep it closed until you’re ready to dump.
8. Can freezing temperatures damage the valve?
Yes, frozen waste or water can crack seals or the valve body.
9. How do I fix a cable-operated valve?
Lubricate the cable housing or replace the cable if it’s frayed.
10. What’s the best way to clean a black tank valve?
Flush it with clean water using a tank rinser or flushing wand.
11. Can I use household lubricants like WD-40?
No, petroleum-based sprays can damage rubber seals.
12. What size replacement valve do I need?
Most RVs use a 3-inch standard valve, but check your model before buying.
13. How do I know if my valve seals are bad?
Persistent dripping or odor means the seals no longer close properly.
14. How much does professional valve replacement cost?
Typically between $150 and $300 including labor.
15. How long should a black water valve last?
With regular cleaning and lubrication, it can last up to five years or more.
Conclusion
Learning how to fix a black water valve on an RV gives you confidence to handle one of the messiest but most necessary maintenance tasks in RV life.
With basic tools, a little patience, and the right technique, you can restore smooth operation and prevent leaks or odors.
Regular cleaning, lubrication, and inspection are the secrets to keeping your black tank system working efficiently.
A well-maintained valve doesn’t just protect your RV’s plumbing — it makes every trip cleaner, easier, and more comfortable.
I’m David R. Coleman, the founder, lead writer, and lifelong tool enthusiast behind GarageToolPro.com. With years of experience in automotive repair, woodworking, and home DIY projects, I created this platform to share practical tips, detailed tool reviews, and step-by-step guides that help mechanics, hobbyists, and homeowners get the job done right the first time.

