How to Drain an RV Water Pump Safely
Imagine preparing your RV for winter storage and discovering cracked pipes, a burnt-out pump, or contaminated water the next season. These costly issues often trace back to one overlooked task: properly draining the RV water pump.
Many RV owners assume closing a few valves is enough, but water trapped inside the pump or lines can freeze and expand, causing damage that costs hundreds of dollars to repair. Others forget that stagnant water left sitting for weeks can harbor bacteria, creating potential health risks.
According to the Recreation Vehicle Industry Association, over 11 million U.S. households own RVs source.
Yet a large percentage of new owners remain unaware of the importance of seasonal maintenance like draining and winterizing. A single frozen pump replacement can cost between $75 and $300, not including labor source.
Draining an RV water pump may sound intimidating, but the process is straightforward when broken into clear steps. With the right tools, a little preparation, and attention to detail, you can extend the life of your RV’s plumbing system and avoid unexpected breakdowns.
This guide will explain why draining matters, when to do it, and the exact step-by-step process to ensure your water system remains safe and functional. Along the way, you will learn expert tips, winterizing techniques, and sanitizing methods to keep your RV ready for every adventure.
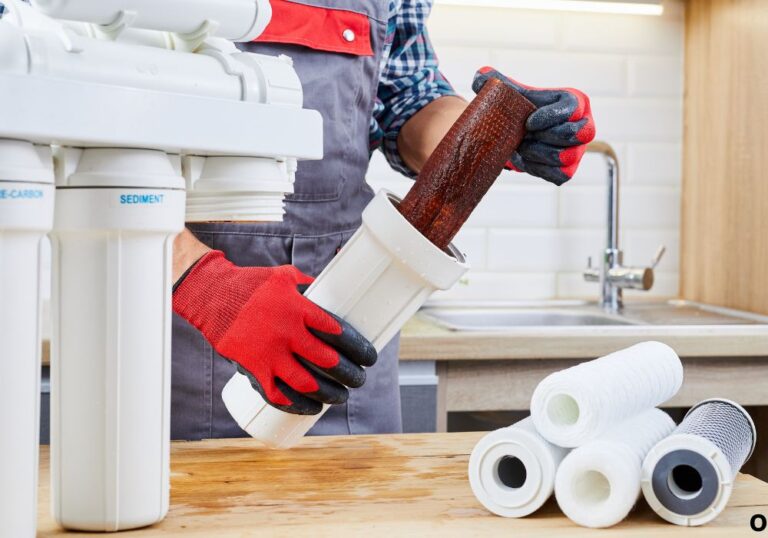
What Is the RV Water Pump & Why Draining Matters

The RV water pump is the heart of the plumbing system, moving fresh water from the tank to faucets, showers, and appliances. It maintains consistent pressure so water flows smoothly whenever a tap is opened.
Without proper draining, trapped water inside the pump can freeze during cold storage, expanding and cracking internal components. Even in warm climates, stagnant water can allow bacteria and sediment to build up, shortening pump lifespan.
A damaged pump not only disrupts access to clean water but can also cause leaks throughout the RV’s plumbing. Repairs or replacements can be costly, making prevention the smarter option.
What does “drain the water pump” mean?
It means removing all water from the pump and connected lines to prevent freezing, contamination, or mechanical damage.
Why is draining needed before storage or winter?
Water left inside can freeze or grow bacteria, causing cracks in the pump housing or unsafe drinking water.
Is draining just opening valves enough?
No, the pump housing and its inlet/outlet must also be purged or disconnected to ensure complete drainage.
Will draining affect water pressure or priming later?
Yes, after refilling the system, the pump must be primed to remove air and restore normal pressure.
Does every RV pump need draining?
Yes, regardless of size or brand, all RV water pumps should be drained before long-term storage or freezing conditions.
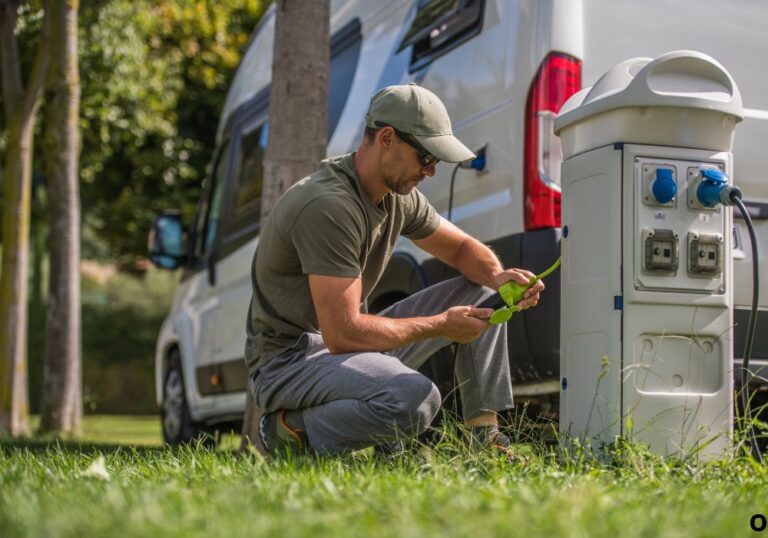
When & How Often to Drain Your RV Water Pump
Draining is not something you must do every day, but it is vital before certain conditions. Seasonal changes and long-term storage are the two most common reasons.
In cold climates, draining before the first freeze prevents catastrophic pump damage. Even in warmer areas, draining after extended use keeps sediment and bacteria from collecting in the system.
Should it be drained every trip?
No, it only needs to be drained before storage or freezing temperatures.
What if camping in cold climates?
Drain before any forecasted freeze, even mid-season.
Can you partially drain vs fully drain?
Partial draining may leave water behind; full draining ensures safety.
Does daily use help prevent damage?
Daily use reduces stagnation but does not prevent freeze damage.
What if storing for more than a month?
Drain the pump and lines if the RV will sit unused for weeks.
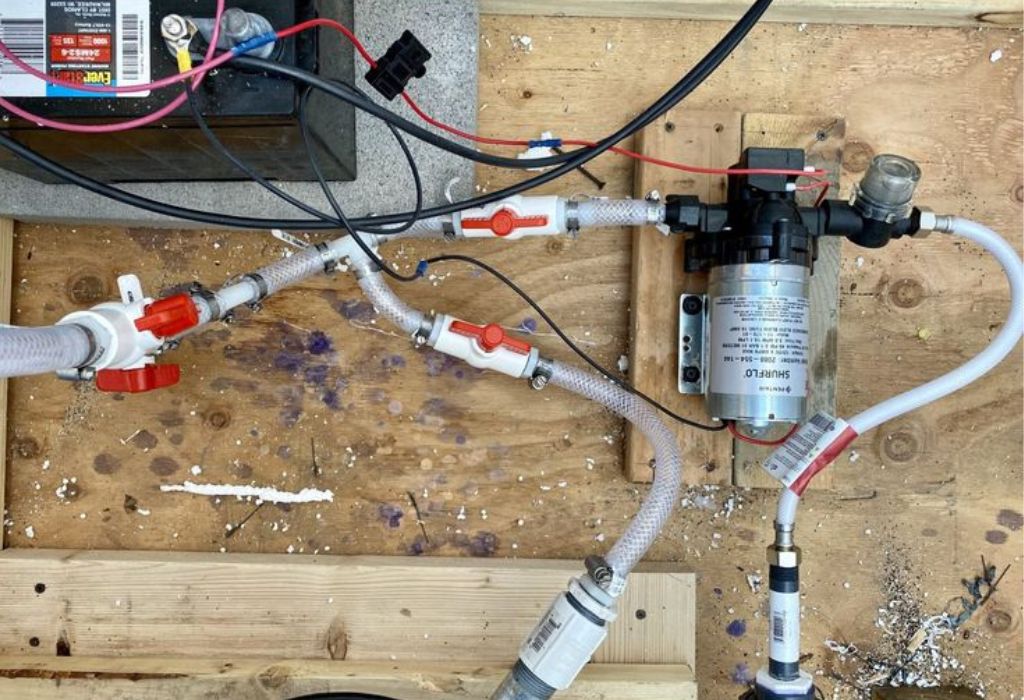
Tools & Safety Precautions Before You Start
Proper preparation ensures draining is both safe and effective. The process requires only a few tools but must be done carefully.
Essential tools include a wrench, bucket, screwdriver, and a hose for guiding water flow. Optional tools like an air compressor or tubing help clear stubborn sections.
What tools are needed?
A bucket, wrench, screwdrivers, hose, and optional air compressor.
Should power to pump be cut off?
Yes, always disconnect power before working.
Is protective gear needed?
Gloves and safety glasses are recommended.
Where to find drain valves and ports?
They are often located under the RV or near the water tank.
Should propane appliances be off?
Yes, always shut off heaters and appliances before draining.
Step-by-Step: How to Drain an RV Water Pump Safely
Draining requires a sequence of steps to ensure all water is removed. Each stage addresses a different part of the plumbing system.
Step 1 – Turn Off Water System & Relieve Pressure
Start by turning off the water pump and disconnecting from city water. Open a faucet to release any pressure trapped inside.
This prevents sudden sprays when valves are opened and keeps the process controlled.
Why turn off pump first?
To avoid damage when disconnecting lines.
Should city water be disconnected?
Yes, ensure no external water is feeding the system.
Why open faucets early?
It releases trapped pressure.
Does this step protect plumbing seals?
Yes, it reduces strain on seals and fittings.
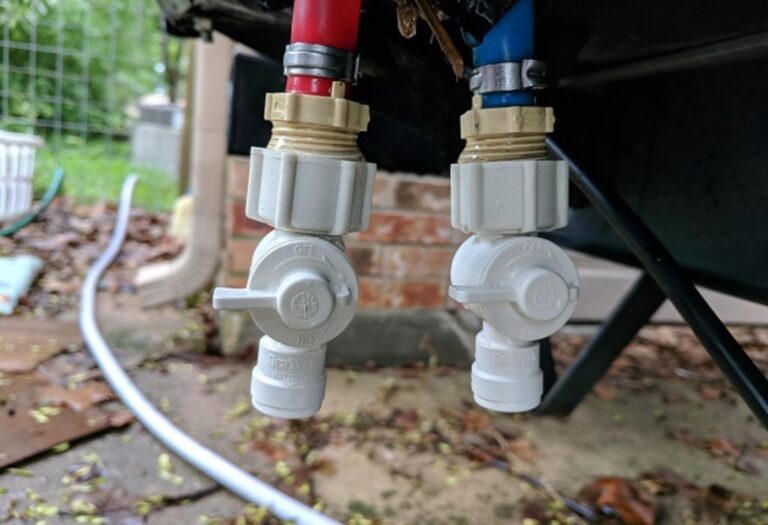
Step 2 – Drain Water Lines via Low-Point Drains & Faucets
Locate and open low-point drain valves for hot and cold lines. Leave all faucets open so water flows freely.
Draining at the lowest points ensures gravity helps remove most of the water.
What are low-point drains?
Valves positioned at the lowest part of the RV plumbing.
Will this drain all water?
It removes most, but not all, water from lines.
Should faucets remain open?
Yes, open faucets speed the draining process.
Is it necessary to remove aerators?
Not always, but it can help prevent clogging.
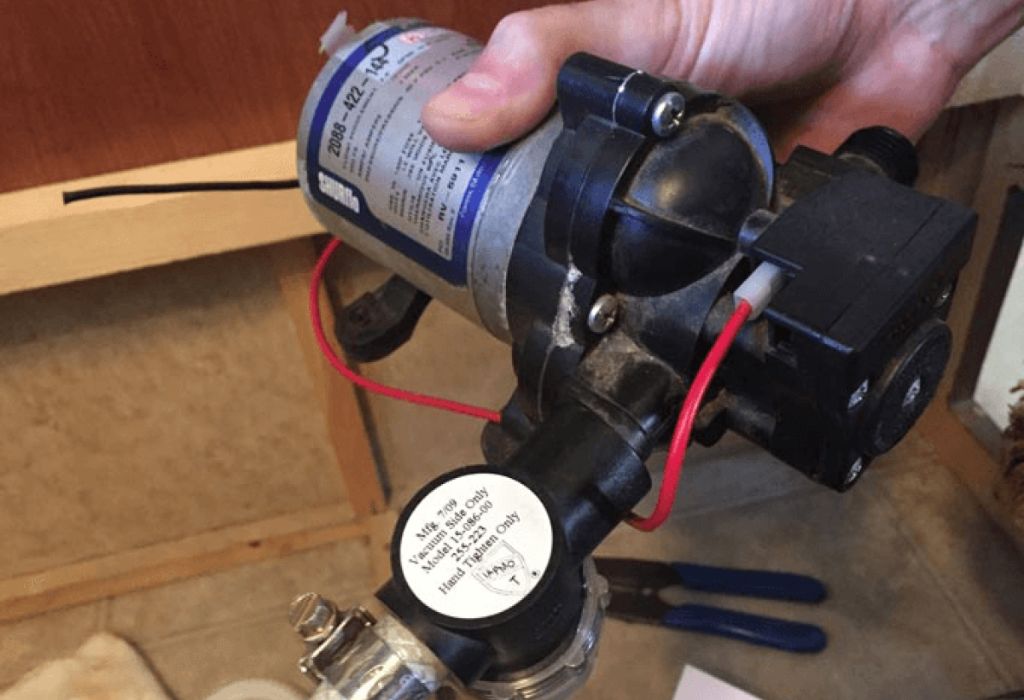
Step 3 – Purge Pump Housing / Disconnect Inlet-Outlet
Once lines are drained, disconnect the inlet and outlet hoses from the pump. Tilt or run the pump briefly to purge trapped water.
This step clears water from the pump casing where freezing damage often begins.
How to purge pump without damaging it?
Run briefly and stop once water stops flowing.
Is it safe to run pump dry?
Yes, for only a few seconds.
Which ports to disconnect?
Both inlet and outlet should be detached.
Should hoses be capped after disconnect?
Yes, to prevent dirt and debris entry.
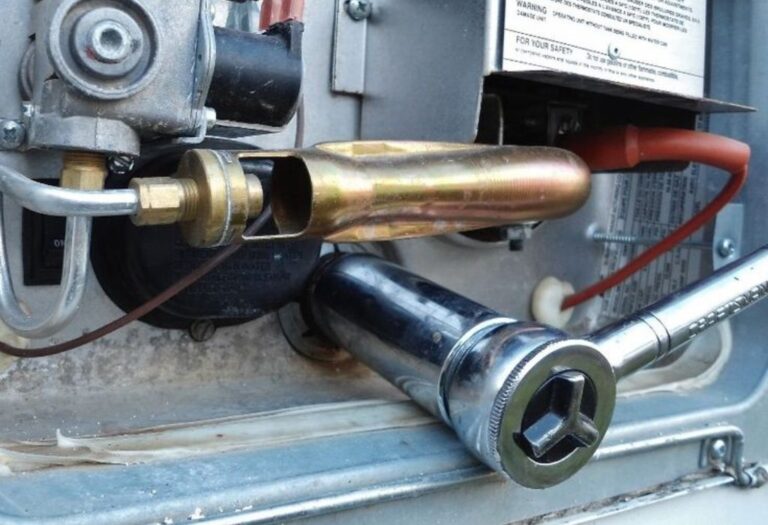
Step 4 – Drain the Hot Water Heater
Turn off the heater and let it cool before draining. Remove the anode rod or drain plug to release water from the tank.
A water heater can hold several gallons, making it one of the biggest freeze risks in your RV.
Do all RVs have heater drains?
Yes, though the location varies.
Is the anode rod important?
Yes, it protects the tank from corrosion.
Can you reuse the same rod?
Yes, if it is not excessively worn.
How much water drains from the heater?
Often 6 to 10 gallons, depending on model.
Step 5 – Optional: Blow Out Lines with Compressed Air or Add Antifreeze
After draining, some RV owners use compressed air or non-toxic antifreeze for added protection. Both methods reduce freeze risks further.
Compressed air clears small amounts of water left in corners. Antifreeze fills the system and prevents freezing entirely.
What pressure is safe for air?
Keep it under 40 psi.
Is antifreeze necessary?
It is strongly recommended in freezing climates.
Which method is better?
Air works in mild climates, antifreeze is safer in cold regions.
Can both methods be used together?
Yes, air first, then antifreeze.
Step 6 – Close Everything & Test System After Draining
Once the system is empty, close all valves and reconnect the plumbing. When the RV is used again, prime the pump and run water through faucets.
This ensures the system is fully operational before your next trip.
How to prime the pump?
Run water until pressure is restored.
Should all faucets be tested?
Yes, to confirm water flow is even.
How to check for leaks?
Inspect connections after refilling.
Do you need to sanitize after storage?
Yes, sanitize before using the system again.
Troubleshooting Common Issues During Drainage
Even with careful steps, problems can occur. Knowing solutions helps avoid frustration.
Some pumps hold water even after draining, and valves can become stuck. Leaks or trapped air are also common.
Pump still has water — what now?
Disconnect hoses and tilt the pump.
Valve or drain cap stuck — risk?
Use lubricant and gentle force, not excessive pressure.
Water not draining from some taps?
Check for closed bypass valves or clogged lines.
Faucets drip after draining — is that normal?
Yes, small amounts may drip for hours.
Sanitizing & Post-Drain Maintenance
After draining, sanitizing prevents bacteria and odors. It is especially important before reusing the system.
RV-safe sanitizing solutions or diluted bleach are common. Always flush with clean water after treatment.
When should you sanitize?
After draining, before trips, and after storage.
What sanitizer is best?
Non-toxic RV solutions or household bleach in proper ratios.
How long should sanitizer sit?
At least four hours.
How to flush after sanitizing?
Run clean water until odor disappears.
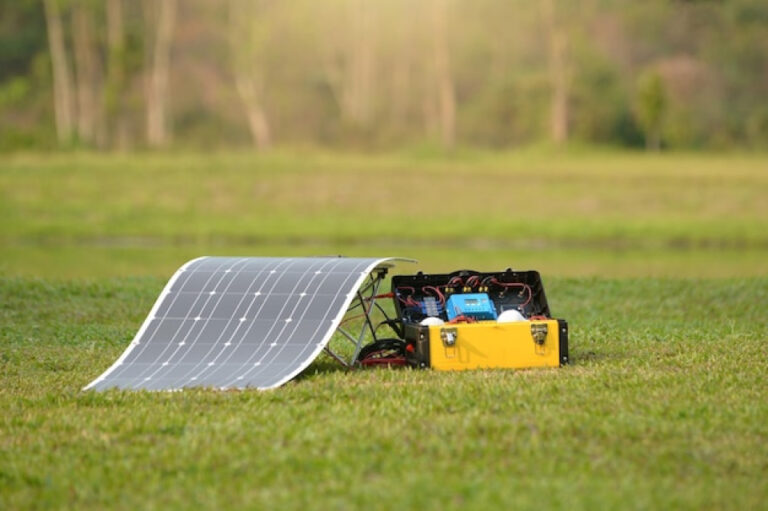
Winterizing & Protecting the Pump in Cold Climates
Draining is only part of winterizing. In freezing areas, additional steps protect the plumbing.
Adding antifreeze or blowing out lines ensures no trapped water remains. This avoids cracked pumps and fittings.
Does draining equal winterizing?
No, winterizing may require extra steps.
What antifreeze is safe?
Only non-toxic RV antifreeze.
How to blow air safely?
Do not exceed 40 psi.
Can you winterize without antifreeze?
Yes, but only if the system is fully dry.
Best Practices & Pro Tips from Experts
Experts recommend regular valve operation and flushing the system to prevent sediment buildup. Simple habits make a big difference.
Label plumbing parts, keep spare fittings, and check for leaks during trips. Preventive care saves money long term.
How to prevent sediment buildup?
Flush the system regularly.
How to keep valves from sticking?
Operate and lubricate them periodically.
Should all faucets be left open during storage?
Yes, to prevent trapped pressure.
Is removing the pump helpful?
Yes, in very cold climates it may extend pump life.
Conclusion
Draining an RV water pump is a simple process that prevents costly repairs and health risks. By following the right steps, you can protect the plumbing system and keep water safe to use.
From turning off the system to draining lines, purging the pump, and winterizing, each step adds protection. Make draining part of your seasonal routine, and your RV will stay ready for every adventure.
I’m David R. Coleman, the founder, lead writer, and lifelong tool enthusiast behind GarageToolPro.com. With years of experience in automotive repair, woodworking, and home DIY projects, I created this platform to share practical tips, detailed tool reviews, and step-by-step guides that help mechanics, hobbyists, and homeowners get the job done right the first time.