How to Disconnect an RV Battery Safely: Step-by-Step Guide
RV batteries are the heart of your motorhome or trailer’s electrical system. They power lights, refrigerators, fans, water pumps, and many other appliances when you are away from shore power. But there are times when leaving the battery connected is not safe or practical.
Disconnecting an RV battery is an important maintenance step that every RV owner should know. Whether you are preparing your RV for winter storage, troubleshooting electrical issues, or protecting the battery from draining, knowing the right way to disconnect it can save you money and keep your RV safe.
In this complete guide, you will learn why and when you should disconnect an RV battery, the tools you need, detailed step-by-step instructions, common mistakes to avoid, and maintenance tips to keep your batteries healthy.
Understanding RV Batteries
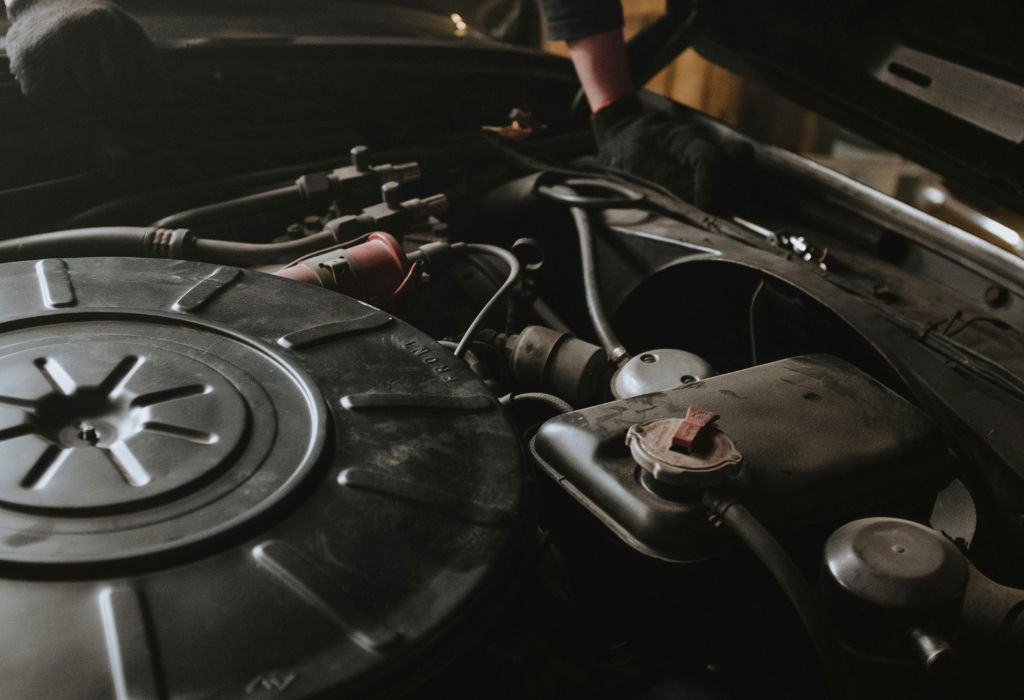
Not all RV batteries are the same. Before you disconnect one, it is helpful to understand the basics of how RV battery systems work.
- House Batteries. These are the batteries that power your living area, such as lights, appliances, and water systems. Most RVs use deep-cycle 12V or pairs of 6V batteries wired in series.
- Chassis Batteries. These are also known as starting batteries and are used to start the RV engine, much like a car battery.
- Battery Types. Common RV batteries include flooded lead-acid, AGM (Absorbed Glass Mat), gel, and lithium-ion. Each has slightly different care needs, but the basic disconnection process is the same.
Knowing whether you are working with house batteries, chassis batteries, or both helps you disconnect the right system safely.
Reasons to Disconnect an RV Battery
Many RV owners wonder why disconnection is necessary. Here are the most common reasons:
- Preventing Drain. Even when the RV is off, some appliances draw small amounts of power, known as parasitic drain. Over time, this can completely discharge your battery.
- Winterizing and Storage. Cold weather and long periods of storage can damage batteries. Disconnecting prevents unnecessary drain and prolongs lifespan.
- Maintenance and Repairs. If you are working on the RV electrical system, disconnecting the battery prevents shocks, sparks, or damage.
- Safety. Batteries store a large amount of energy. Disconnecting them ensures no accidental short circuits while you perform maintenance.
- Extending Battery Life. A disconnected battery that is stored and charged properly lasts longer than one left connected and drained repeatedly.
Tools and Safety Precautions
Before you disconnect your RV battery, it is important to prepare. You only need a few basic tools, but safety comes first.
- Tools Required. A wrench or socket set, safety gloves, safety glasses, and dielectric grease for terminals.
- Safety First. Always park your RV in a well-ventilated area. Make sure all appliances are off and the RV is not connected to shore power or a generator.
- Protective Gear. Gloves and glasses protect you from sparks or acid.
- Check for Corrosion. Before starting, inspect the battery terminals for corrosion. Cleaning them now will make future maintenance easier.
Step-by-Step: How to Disconnect an RV Battery
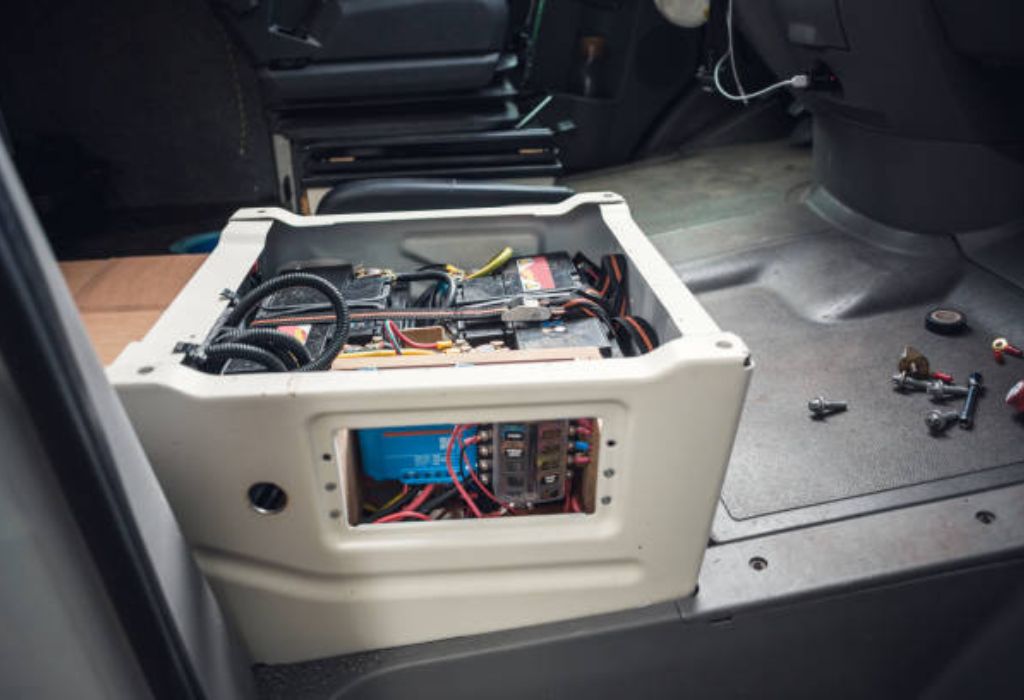
Now let’s go through the exact steps. This process works for most RVs, regardless of whether you are disconnecting house batteries or chassis batteries.
- Turn off the RV. Make sure the ignition is off and all appliances are powered down.
- Disconnect from external power. If your RV is plugged into shore power or running a generator, unplug and shut it down.
- Locate the battery compartment. Common locations include exterior hatches, under the hood, or beneath interior seating areas.
- Identify the terminals. The positive terminal is marked with a plus sign and usually has a red cable. The negative terminal is marked with a minus sign and usually has a black cable.
- Remove the negative cable first. Using your wrench, loosen the nut on the negative terminal and carefully lift the cable off. This prevents sparks if your tool touches metal while removing the positive later.
- Remove the positive cable. Once the negative cable is secure and out of the way, loosen the nut on the positive terminal and remove the cable.
- Secure the cables. Make sure both cables are moved away from the terminals so they cannot accidentally touch.
- Inspect the battery. Check for leaks, swelling, or corrosion. If necessary, clean the terminals with a battery cleaning brush.
- Apply dielectric grease. If you plan to store the RV long-term, applying grease to the terminals prevents corrosion.
- Store the battery properly. If you are removing the battery completely, keep it in a cool, dry place and charge it every 30 to 60 days.
Using an RV Battery Disconnect Switch
Manually disconnecting a battery works, but many RV owners prefer installing a battery disconnect switch for convenience.
- What it is. A disconnect switch is a device that lets you quickly disconnect the battery with the flip of a switch instead of removing cables manually.
- Benefits. Saves time, reduces wear on cables, and makes it safer for beginners.
- How to use it. Turn the switch to the “off” position when storing the RV, and turn it back “on” when ready to use.
- Types of switches. Manual rotary switches and automatic switches are available. For most RVs, a simple manual switch works well.
Special Considerations
While the basic steps work for most setups, some RVs require additional care.
- Lithium Batteries. These require special chargers and may have built-in management systems. Always follow manufacturer instructions.
- Dual Battery Systems. Motorhomes often use separate house and chassis batteries. Both may need disconnection depending on your purpose.
- Fifth-Wheel and Travel Trailers. These usually only have house batteries, making the process simpler.
- Seasonal Storage. If storing for months, remove the battery completely for best results. For short-term storage, a disconnect switch is usually enough.
Common Mistakes to Avoid
Disconnecting a battery is simple, but small mistakes can be costly.
- Disconnecting the positive first. This increases the risk of sparks if your wrench touches metal. Always disconnect negative first.
- Forgetting to turn off appliances. Leaving devices on can cause sparks when disconnecting.
- Allowing cables to touch. If disconnected cables touch each other or the battery, sparks can occur.
- Not labeling cables. In RVs with multiple batteries, it is easy to forget which cable goes where. Label them before removal.
- Storing without charging. Batteries slowly discharge even when disconnected. Recharge them periodically.
Battery Maintenance Tips After Disconnection
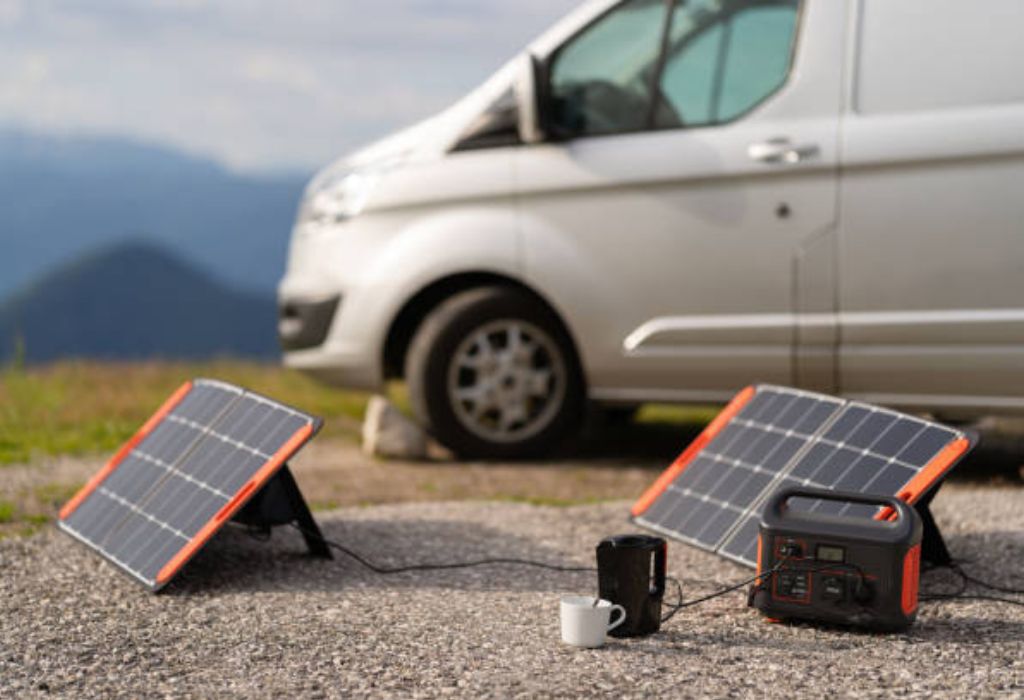
Once the battery is disconnected, it is important to care for it properly.
- Recharge regularly. Every 30 to 60 days, top up the battery to prevent deep discharge.
- Keep storage cool and dry. Heat damages batteries, while freezing temperatures can crack them.
- Clean terminals. Corrosion reduces performance. Clean before reconnecting.
- Check water levels. For flooded lead-acid batteries, refill with distilled water if needed.
- Reconnect correctly. When reinstalling, connect the positive cable first, then the negative.
Frequently Asked Questions (FAQs)
- Do I need to disconnect both house and chassis batteries? Yes, if the RV will be stored for long periods. For short storage, disconnecting the house battery is often enough.
- Can I just leave my RV plugged in instead of disconnecting? Only if your RV has a modern converter with a smart charger. Otherwise, you risk overcharging the battery.
- Should I remove the battery completely for winter? In very cold climates, yes. Removing and storing indoors prevents freezing damage.
- Will disconnecting the battery reset my RV electronics? Yes, certain systems may reset, such as clocks or memory settings.
- Is a battery disconnect switch better than manual removal? Yes, it is faster, safer, and more convenient for regular use.
Conclusion
Disconnecting your RV battery may seem like a small step, but it has a big impact on battery life, safety, and overall RV performance. By following the correct steps—turning off power, removing the negative cable first, securing cables, and storing the battery properly—you can prevent accidents, reduce wear, and keep your RV ready for your next adventure.
For convenience, consider installing a battery disconnect switch, especially if you frequently store your RV. Whether you are preparing for winter, doing electrical repairs, or preventing battery drain, learning how to disconnect your RV battery safely is an essential skill for every RV owner.
I’m David R. Coleman, the founder, lead writer, and lifelong tool enthusiast behind GarageToolPro.com. With years of experience in automotive repair, woodworking, and home DIY projects, I created this platform to share practical tips, detailed tool reviews, and step-by-step guides that help mechanics, hobbyists, and homeowners get the job done right the first time.

