How to Convert Your RV to Lithium Batteries (Step-by-Step Guide)
RV batteries are the heart of your off-grid adventures. They keep your lights on, your fridge cold, and your electronics running. For years, most RVs relied on lead-acid batteries, but lithium batteries are quickly becoming the new standard. They last longer, charge faster, and give you more usable power.
If you’re wondering how to convert your RV to lithium batteries, this guide will walk you through everything—from the benefits of switching, the tools you’ll need, step-by-step instructions, and tips for a smooth installation.
1. Why Upgrade to Lithium Batteries?
Switching to lithium isn’t just about following a trend. The advantages are real:
- Longer lifespan – Lithium batteries can last up to 10 years, compared to 3–5 years for lead-acid.
- More usable capacity – A 100Ah lead-acid gives only about 50Ah of usable power, while lithium gives nearly 100Ah.
- Lightweight – Lithium batteries weigh about half as much as lead-acid batteries.
- Faster charging – Lithium accepts higher charge rates, reducing generator or solar recharge times.
- Low maintenance – No need to top off water or worry about sulfation.
2. What You Need Before Converting
Before you start, make sure you have the right components and tools.
Essential Components
- Lithium RV batteries (choose the size based on your energy needs).
- Battery Management System (BMS) – Most lithium batteries come with one built in.
- Lithium-compatible converter/charger.
- DC-to-DC charger (if charging from your alternator).
- Solar charge controller (MPPT type works best with lithium).
- Proper wiring, fuses, and breakers.
Tools Required
- Socket wrench set
- Screwdrivers
- Wire stripper/crimper
- Drill (if new mounts or brackets are needed)
- Multimeter (to check connections)
- Safety gear (gloves and protective glasses)
3. Step-by-Step Guide to Converting Your RV to Lithium
Step 1: Plan Your Power Needs
- Calculate how much power you typically use per day.
- Add up wattage from appliances like fridge, lights, fans, and electronics.
- Decide the right battery bank size (example: 200Ah lithium for weekend trips, 400Ah+ for full-timers).
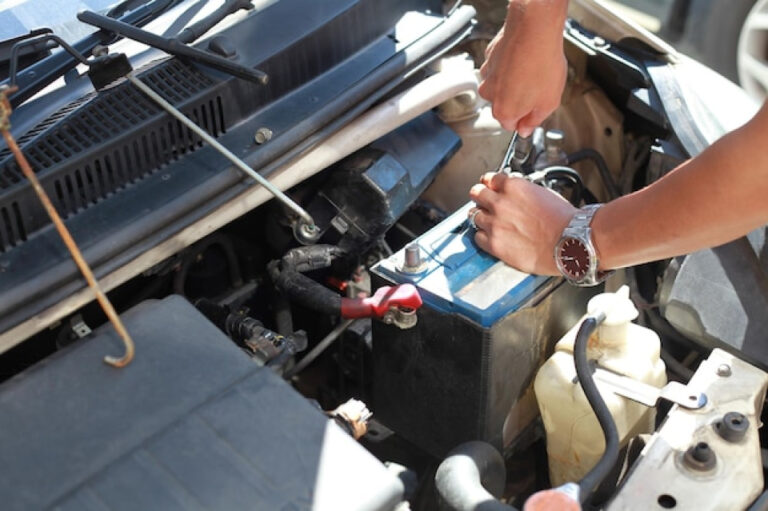
Step 2: Remove the Old Lead-Acid Batteries
- Turn off all RV power and disconnect from shore power.
- Wear gloves and safety glasses.
- Disconnect the negative terminal first, then the positive.
- Remove batteries carefully—they are heavy.
Step 3: Check Your RV’s Electrical System
- Inspect existing wiring for corrosion or damage.
- Make sure wire gauge is suitable for lithium’s higher current.
- Replace undersized cables if needed.
Step 4: Install the Lithium Batteries
- Place new batteries in the compartment.
- Secure them with brackets or straps.
- Connect positive to positive, negative to negative.
- Use proper fuses and breakers to protect the system.
Step 5: Upgrade Your Converter/Charger
- Standard RV chargers are designed for lead-acid batteries.
- Replace with a lithium-compatible converter for proper charging.
- If using solar, upgrade to an MPPT charge controller.
Step 6: Add a DC-to-DC Charger (Optional but Recommended)
- If you charge from your vehicle’s alternator, install a DC-to-DC charger.
- This prevents alternator overload and ensures safe lithium charging.
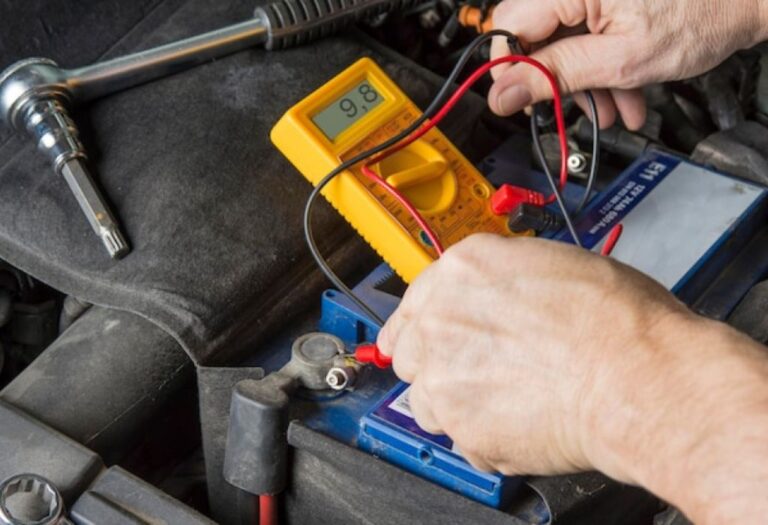
Step 7: Test the System
- Use a multimeter to check voltage and connections.
- Turn on appliances and monitor performance.
- Confirm that charging sources (shore power, solar, alternator) are working properly.
4. Cost of Converting to Lithium
Switching to lithium isn’t cheap, but it pays off long-term.
- Lithium batteries: $500–$1,000 per 100Ah
- Lithium-compatible charger: $200–$400
- DC-to-DC charger: $150–$300
- Solar charge controller upgrade: $150–$400
- Wiring, fuses, hardware: $100–$300
A basic conversion may cost around $1,000–$1,500. A full upgrade with larger battery banks and solar can cost $3,000–$5,000+.
5. Common Mistakes to Avoid
- Skipping the charger upgrade – Old chargers won’t fully charge lithium.
- Using undersized wires – This creates overheating risks.
- Not adding fuses or breakers – Dangerous if a short occurs.
- Running mismatched batteries – Always use identical lithium batteries in one bank.
- Forgetting ventilation – While lithium runs cooler, your system still needs airflow.
6. Maintenance Tips for Lithium RV Batteries

- Store batteries at 50% charge if not using the RV for months.
- Avoid discharging below 10% regularly.
- Keep connections clean and tight.
- Use a battery monitor to track voltage and performance.
- Update RV owners’ manual notes for future maintenance or resale.
7. FAQs
Q: Can I just drop in a lithium battery without other changes?
A: Sometimes yes, but it depends on your RV. At minimum, check if your charger is lithium-compatible.
Q: Will lithium batteries charge from solar panels?
A: Yes, but an MPPT controller is recommended for maximum efficiency.
Q: How long do lithium RV batteries last?
A: Typically 8–10 years or 3,000–5,000 charge cycles.
Q: Can I charge lithium batteries from my alternator?
A: Yes, but a DC-to-DC charger is highly recommended to protect both the alternator and the batteries.
Q: Are lithium batteries safe?
A: Yes. Most come with built-in Battery Management Systems (BMS) that prevent overcharging, overheating, and deep discharge.
Conclusion
Converting your RV to lithium batteries is one of the smartest upgrades you can make. It gives you longer power, faster charging, less weight, and peace of mind while camping off-grid. While the upfront cost can be high, the long-term savings and convenience make it worthwhile.
By following the steps in this guide—planning your power needs, upgrading your charger, installing the right components, and testing your system—you’ll enjoy a smooth transition to reliable, long-lasting lithium power for your RV.
I’m David R. Coleman, the founder, lead writer, and lifelong tool enthusiast behind GarageToolPro.com. With years of experience in automotive repair, woodworking, and home DIY projects, I created this platform to share practical tips, detailed tool reviews, and step-by-step guides that help mechanics, hobbyists, and homeowners get the job done right the first time.