How to Charge Chassis Batteries in an RV
When it comes to RV power, most owners immediately think of their house batteries — the ones that run the lights, fridge, and water pump. But there’s another battery that’s equally important and often overlooked: the chassis battery.
The chassis battery, also known as the starting battery, is what gets your RV’s engine running. Without it, you’re not going anywhere. And if it runs low, you could find yourself stuck in the middle of nowhere, calling for roadside assistance.
The good news? Charging your chassis battery is simple — if you know the right methods and precautions. In this complete guide, we’ll cover:
- What chassis batteries are and how they differ from house batteries
- Why they lose charge and how often you should charge them
- All the different ways to charge chassis batteries in an RV
- A step-by-step charging guide
- Tips for different battery types
- Mistakes to avoid and troubleshooting tips
By the end of this guide, you’ll know exactly how to charge your RV’s chassis battery safely and effectively, ensuring your motorhome is always ready to roll.
1. Understanding Chassis Batteries in RVs
Before we talk about charging, let’s make sure you understand what the chassis battery does and why it’s different from your house battery.
Chassis Battery vs. House Battery
- Chassis Battery – Powers the RV’s engine starter, dashboard electronics, headlights, and safety systems. It’s basically the “car battery” for your RV.
- House Battery – Powers the living quarters of the RV: lights, refrigerator, fans, water pump, and electronics.
These two battery systems are usually separate, although some RVs have emergency “battery boost” switches that allow one to assist the other.
Common Types of Chassis Batteries
- Flooded Lead-Acid (FLA)
- Most common, affordable, and widely available.
- Require maintenance (adding distilled water).
- Can last 3–5 years with proper care.
- Most common, affordable, and widely available.
- AGM (Absorbed Glass Mat)
- Sealed, maintenance-free, and more resistant to vibration.
- More expensive than flooded lead-acid but last longer (4–7 years).
- Sealed, maintenance-free, and more resistant to vibration.
- Lithium-Ion
- Rare for chassis use (more common for house batteries).
- Lightweight, long-lasting (8–10 years), but expensive.
- Rare for chassis use (more common for house batteries).
2. How Chassis Batteries Discharge
Even when your RV is parked, your chassis battery is slowly losing charge. Here’s why:
- Parasitic Loads – Devices like clocks, engine computers, alarms, and keyless entry systems draw a small amount of power continuously.
- Self-Discharge – All batteries naturally lose charge over time, even when disconnected.
- Cold Weather – Low temperatures slow chemical reactions inside the battery, reducing available power.
Tip: If your RV is in storage for more than a month, it’s important to have a charging plan to prevent a dead chassis battery.
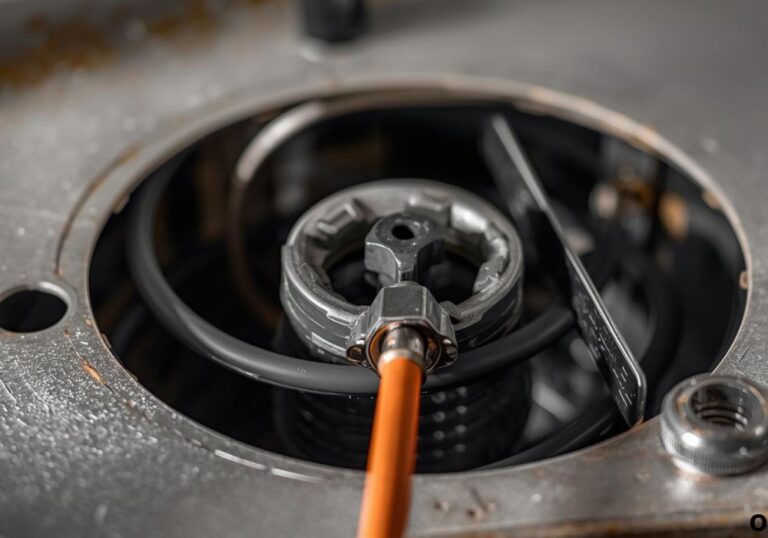
3. Main Ways to Charge Chassis Batteries in an RV
You have several options for keeping your chassis battery charged, depending on where you are and what equipment you have.
1. Charging While Driving
- The alternator charges the chassis battery whenever the engine is running.
- In many RVs, the alternator also charges the house battery through a battery isolator.
- Best for topping up between stops.
Pros:
- Automatic while driving.
- No extra equipment needed.
Cons:
- Won’t help if you’re parked for long periods.
- Alternator may not fully charge deeply discharged batteries.
2. Using Shore Power
- When you plug into a campground pedestal or home outlet, some RVs have a built-in converter/charger that also charges the chassis battery.
- In others, you may need a battery maintainer connected directly to the chassis battery.
Pros:
- Great for long-term storage at home or in a powered site.
- Can maintain full charge without overcharging (if using a smart charger).
Cons:
- Not all RVs automatically charge chassis batteries from shore power.
3. Using Solar Panels
- With the right wiring and solar charge controller, solar panels can keep your chassis battery topped up.
- Works well for long-term boondocking or storage without shore power.
Pros:
- Free energy after setup.
- Quiet and eco-friendly.
Cons:
- Requires initial investment.
- Limited in low-sunlight conditions.
4. Using a Generator
- Many RV generators can power the converter/charger that charges your chassis battery.
- Best as a backup or off-grid charging method.
Pros:
- Works anywhere.
- Can charge quickly.
Cons:
- Noisy and consumes fuel.
- May have campground restrictions.
5. Using a Portable Battery Charger or Maintainer
- Connect directly to the chassis battery when the RV is parked.
- Great for home storage or quick top-ups.
Pros:
- Affordable and effective.
- Easy to set up.
Cons:
- Requires manual connection/disconnection.
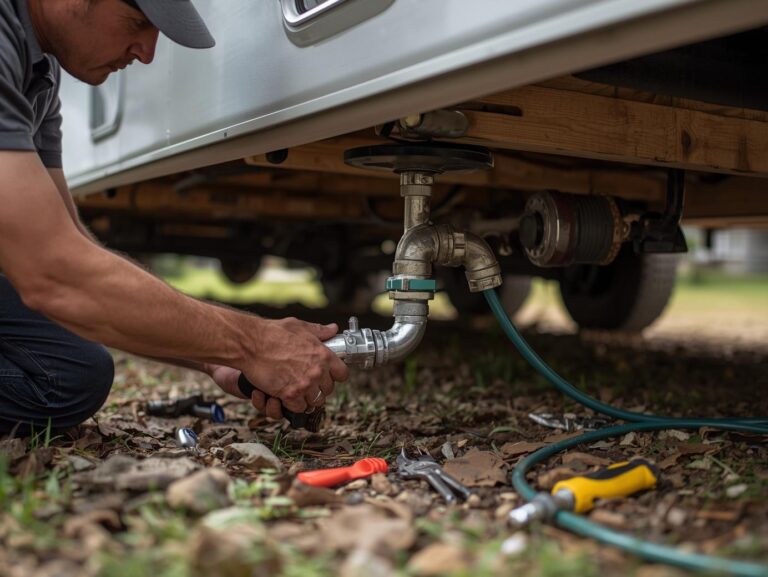
4. Step-by-Step Guide to Charging Chassis Batteries
- Turn Off the Engine and Electrical Systems – Prevents accidental shorts and makes charging safer.
- Inspect the Battery – Look for corrosion, loose cables, swelling, or leaks.
- Identify Your Charging Method – Shore power, alternator, solar, generator, or portable charger.
- Prepare the Charger – Make sure it’s compatible with your battery type.
- Connect Charger Cables – Positive (red) first, then negative (black).
- Set Correct Voltage – Check manufacturer’s specs (12.6–12.8V for lead-acid fully charged).
- Monitor Charging Progress – Use a voltmeter or battery monitor.
- Stop Charging at Full – Prevent overcharging.
- Disconnect Safely – Negative cable first, then positive.
5. Charging Tips for Different Battery Types
Flooded Lead-Acid
- Keep water levels topped up with distilled water.
- Avoid discharging below 50%.
- Clean terminals regularly.
AGM
- Use an AGM-compatible charger.
- Avoid high voltage settings.
- Store fully charged to prevent sulfation.
Lithium
- Use a lithium-compatible charger.
- Avoid charging below freezing temperatures.
- Can handle deeper discharges without damage.
6. How to Charge in Special Situations
Winter Storage
- Use a battery maintainer to prevent freezing and self-discharge.
- Store in a dry, cool place if removed from the RV.
After Deep Discharge
- Use a slow charge to recover capacity.
- Avoid repeated deep discharges.
Long-Term Parking
- Disconnect the battery or use a maintainer to prevent parasitic drain.
7. Tools & Accessories for Charging Chassis Batteries (Affiliate-Friendly)
- Smart Battery Charger – [Insert Product Link]
- Portable Solar Panel Kit – [Insert Product Link]
- Battery Maintainer – [Insert Product Link]
- Battery Monitor – [Insert Product Link]
- Safety Gloves & Goggles – [Insert Product Link]
8. Common Mistakes to Avoid
- Overcharging for too long without a smart charger.
- Using a charger not suited for your battery type.
- Ignoring parasitic loads during storage.
- Leaving the battery completely discharged for weeks.
- Charging in freezing temperatures without precautions.
9. Troubleshooting Chassis Battery Charging Problems
Battery Not Charging from Alternator
- Check alternator output.
- Inspect isolator or charging relay.
Battery Loses Charge Quickly
- Could be due to parasitic loads or internal damage.
- Test with a load tester.
Charger Won’t Start Charging
- Check for proper polarity and secure connections.
- Ensure voltage is not too low for charger to detect.
10. FAQs About Charging Chassis Batteries
- How often should I charge my chassis battery?
- At least once a month if the RV is in storage, more often in cold weather.
- At least once a month if the RV is in storage, more often in cold weather.
- Can I jump-start my chassis battery from my house battery?
- Yes, many RVs have an emergency boost switch for this purpose.
- Yes, many RVs have an emergency boost switch for this purpose.
- Will solar panels keep my chassis battery charged?
- Yes, if properly wired with a controller.
- Yes, if properly wired with a controller.
- What’s the ideal voltage for storing a chassis battery?
- Between 12.6–12.8 volts for lead-acid batteries.
- Between 12.6–12.8 volts for lead-acid batteries.
Conclusion
Your RV’s chassis battery is your key to getting on the road — literally. Without it, your engine won’t start, and your trip is over before it begins.
By understanding how it works, why it loses charge, and the best ways to recharge it, you can keep your RV road-ready all year round. Whether you’re using shore power, solar, a generator, or a portable charger, following these steps will help extend the life of your battery and prevent frustrating breakdowns.
I’m David R. Coleman, the founder, lead writer, and lifelong tool enthusiast behind GarageToolPro.com. With years of experience in automotive repair, woodworking, and home DIY projects, I created this platform to share practical tips, detailed tool reviews, and step-by-step guides that help mechanics, hobbyists, and homeowners get the job done right the first time.