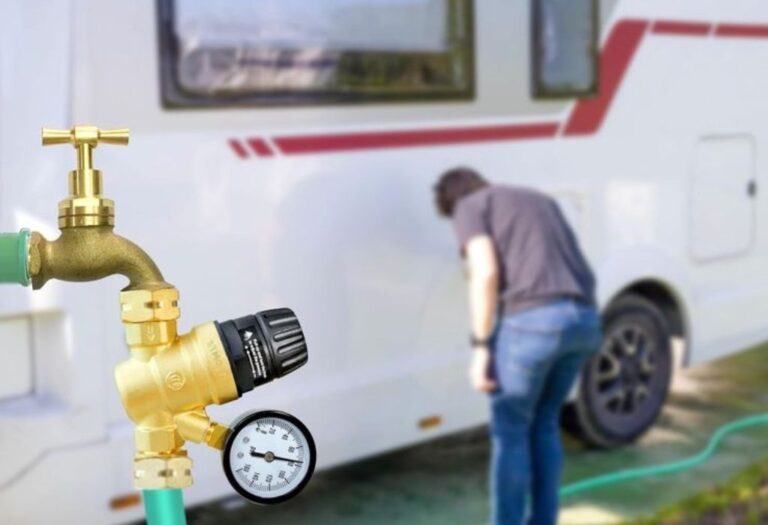
How to Adjust RV Water Pump Pressure Correctly
The quiet evening in your RV is interrupted when the water pump kicks on and off repeatedly.
Showers turn into a frustrating cycle of strong bursts followed by weak dribbles, leaving travelers wondering what went wrong.
This issue is more common than most RV owners realize. A pump that cycles too often or delivers uneven pressure is usually a sign that the RV water pump pressure needs adjustment.
Every RV water pump has a built-in pressure switch that tells it when to start and stop. If the setting is too low, the pump may run constantly or fail to deliver enough water.
If it is too high, the pump struggles to shut off, causing leaks or damage over time.
According to RV service statistics, water system failures are among the top three repair issues reported by RV owners each year (RVtravel).
Many of these failures trace back to improper pump pressure or neglected adjustments.
The good news is that adjusting RV water pump pressure is usually straightforward. A small turn of the pressure switch screw can restore smooth water flow, eliminate annoying cycling, and protect the plumbing system.
Still, curiosity remains for new RVers: How exactly is the pressure adjusted, which direction should the screw be turned, and what safety steps should be followed?
These questions matter because improper adjustments can create bigger problems.
This guide will explain how RV water pumps and pressure switches work, the signs your system needs adjustment, and the step-by-step process to restore steady water flow.
With a little knowledge, you can solve one of the most frustrating problems on the road.
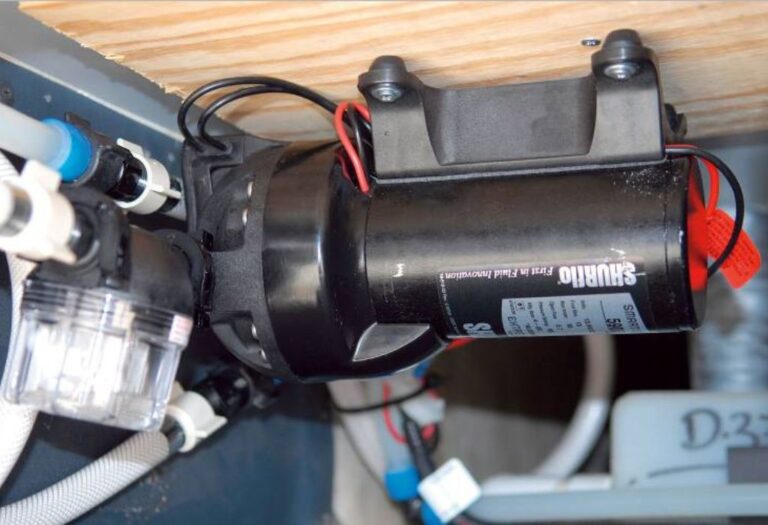
How RV Water Pumps and Pressure Switches Work
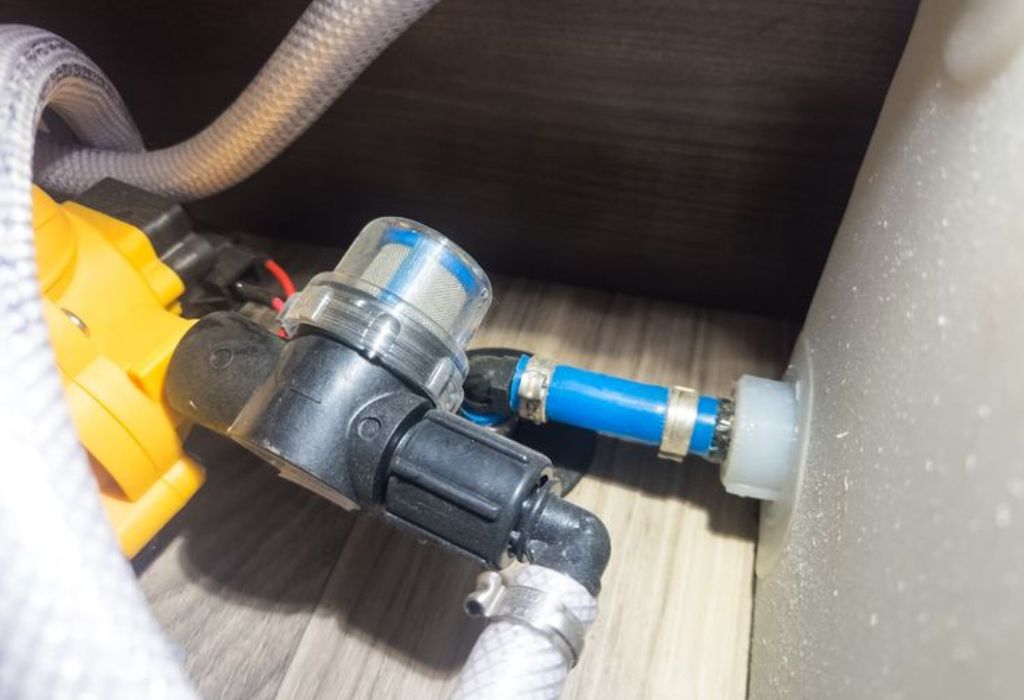
RV water pumps keep water flowing by responding to pressure levels in the plumbing. When pressure drops, the pump starts, and when it reaches the set cut-off, it stops.
The key component is the pressure switch, which monitors PSI and controls pump operation.
Typical RV pumps are set with a cut-in pressure around 30 PSI and a cut-off pressure near 45 PSI. These values can differ by model.
A poorly adjusted switch causes surging, short cycling, or continuous running. Over time, this wears down both the pump and plumbing components.
Brands like Shurflo, Flojet, and Seaflo may use different screws or adjustment points, but the process is always about changing the cut-off setting.
Questions and Answers
What is cut-in vs. cut-off pressure?
Cut-in is the PSI where the pump starts; cut-off is when it shuts off.
Why does cycling happen?
Because the switch is set incorrectly or the system leaks.
What does the pressure switch do?
It turns the pump on and off depending on water pressure.
Are all RV pumps adjustable?
No, some budget pumps have fixed settings.
Do brands matter?
Yes, different brands use unique adjustment methods.
Common Signs You Need to Adjust the Water Pump Pressure
Recognizing the signs helps prevent bigger issues. The most common symptom is pulsing or surging flow at faucets or the shower.
Another red flag is short cycling, where the pump turns on and off rapidly.
Weak water flow may indicate the cut-off is set too low. Conversely, a pump that never shuts off may be set too high.
Noises such as humming, knocking, or vibration are also clues.
Questions and Answers
What does pulsing flow mean?
Water alternates between strong and weak bursts.
What is short cycling?
Rapid on/off switching during use.
Why is pressure weak?
Cut-off pressure is too low or there’s a restriction.
Why does the pump never stop?
Cut-off is too high or leaks are present.
What noises signal problems?
Constant humming or knocking in the system.
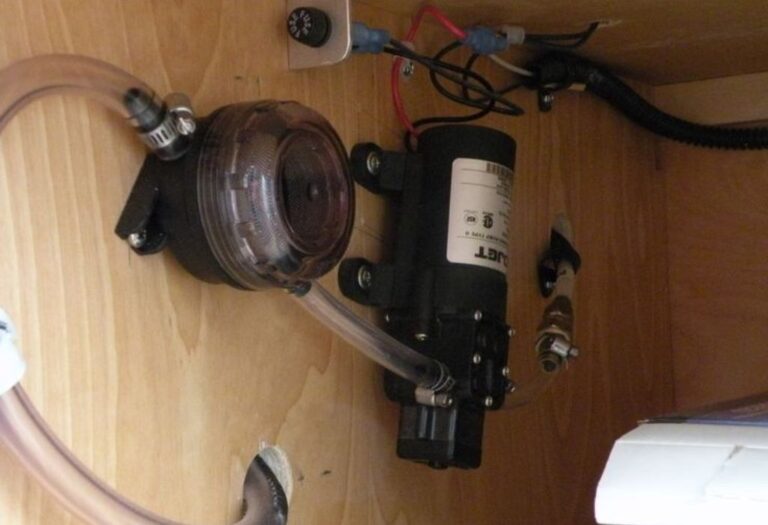
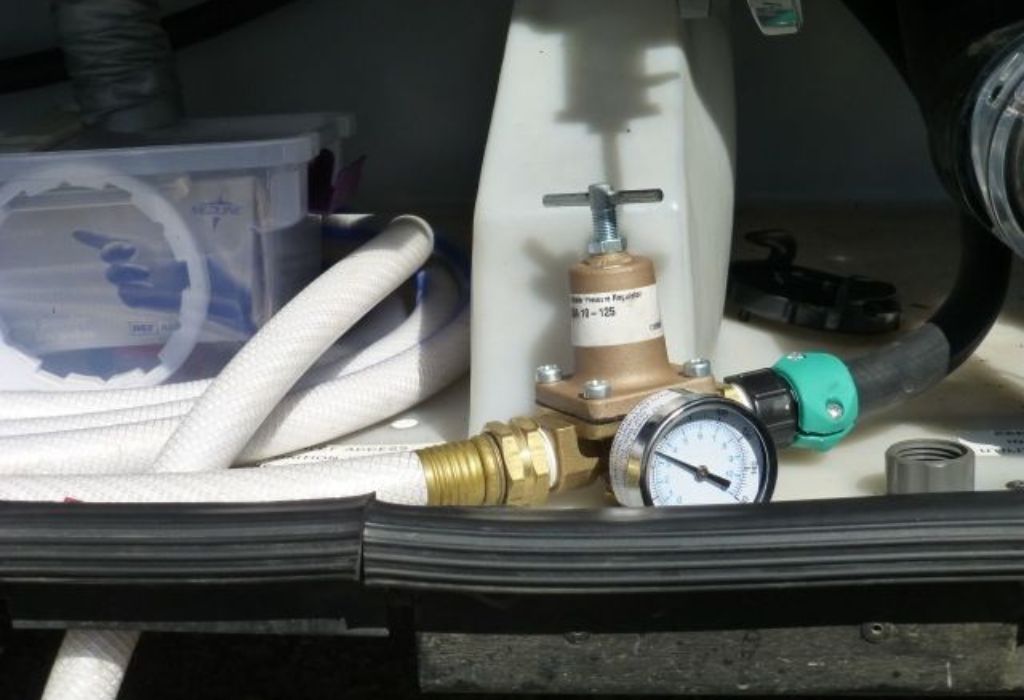
How to Adjust RV Water Pump Pressure (Step-by-Step)
Start by locating your RV water pump and identifying the adjustment screw on the pressure switch. Turn on a faucet to allow flow before adjusting.
Use a screwdriver or Allen wrench depending on the pump model. Turn clockwise to raise pressure and counterclockwise to lower.
Make changes gradually — only ¼ turn at a time. Close the faucet, watch if the pump shuts off, and test again.
Repeat until the cut-off occurs at the desired PSI. Most RVers prefer between 40 and 50 PSI.
Stop if the pump runs continuously or water flow becomes unstable.
Questions and Answers
Where is the screw located?
On top or side of the pressure switch housing.
Which way increases pressure?
Clockwise.
Which way decreases pressure?
Counterclockwise.
How big should adjustments be?
¼ turn or less.
How to test settings?
Run water, then close faucet and watch the shut-off.
Model-Specific Adjustment: Shurflo, Flojet & Others
Shurflo pumps often use a 5/64″ Allen wrench on the top screw to raise or lower cut-off. Adjust slowly and test after each turn.
Do not adjust the bypass screw unless manufacturer instructions say otherwise. The bypass is calibrated at the factory.
Flojet pumps may use a Phillips screw on the side of the switch. Access often requires removing a cover or panel.
Seaflo and other brands follow the same principle: turn the adjustment screw with the pump running, then test the result.
Questions and Answers
How to adjust Shurflo 4000 series?
Use 5/64″ Allen wrench, clockwise raises cut-off.
Should the bypass screw be touched?
No, it is factory set.
Do all Flojet pumps use Phillips screws?
Most do, but confirm with manual.
Is access always easy?
No, sometimes panels must be removed.
What if multiple screws are present?
Adjust only the cut-off screw.
Troubleshooting If Adjustment Doesn’t Solve It
If surging continues, the cause may be elsewhere. Leaks in the plumbing system allow pressure to drop, forcing the pump to cycle.
A clogged intake filter or line also reduces pressure and causes instability.
Adding an accumulator tank smooths water flow and reduces cycling in many RV setups (The RV Geeks).
If the pump still never shuts off, the pressure switch may be faulty. In this case, replacement is the only solution.
Persistent failures could mean it’s time for a new pump.
Questions and Answers
Why still cycling after adjustment?
Likely a leak or clogged line.
Can filters cause problems?
Yes, clogged filters restrict flow.
What does an accumulator do?
It stores pressure to prevent rapid cycling.
What if the pump never shuts off?
The switch is faulty or set too high.
When to replace the pump?
If the switch or motor no longer responds.
Best Practices and Safety Tips
Always depressurize the system before making changes. Open a faucet to release pressure before adjustment.
Keep adjustments small to avoid overshooting. Record the original settings before making changes.
Do not tamper with bypass screws unless specified in the manual.
Wear gloves and eye protection when working around plumbing panels.
Questions and Answers
Should the pump run during adjustment?
Yes, adjustments work best with water flowing.
How much should I turn the screw?
¼ turn at a time.
Is it safe to adjust the bypass?
Not unless the manufacturer recommends it.
Why record original settings?
To restore them if issues occur.
Can sudden changes cause water hammer?
Yes, rapid pressure shifts stress plumbing.
Conclusion
Learning how to adjust RV water pump pressure is a simple way to improve comfort on the road. A few small adjustments restore consistent water flow and prevent cycling.
Most RV pumps operate best between 40–50 PSI, with adjustments made in tiny increments. Remember that leaks, clogged filters, or a faulty switch can also cause problems.
With careful tuning and basic maintenance, your RV water system will deliver steady pressure for showers, sinks, and appliances. For long-term reliability, follow manufacturer guidelines and make safety a priority.
I’m David R. Coleman, the founder, lead writer, and lifelong tool enthusiast behind GarageToolPro.com. With years of experience in automotive repair, woodworking, and home DIY projects, I created this platform to share practical tips, detailed tool reviews, and step-by-step guides that help mechanics, hobbyists, and homeowners get the job done right the first time.