How to Sanitize Water System in RV for Pure Water
Imagine arriving at a beautiful campsite, filling your glass straight from the RV faucet, and expecting it to be crisp and clean. Instead, a strange odor or cloudy water greets you.
What most travelers don’t realize is that even the clearest-looking water can hide bacteria, algae, and biofilm deep within the tank and plumbing lines.
Over time, stagnant water, warm temperatures, and infrequent use turn your RV’s water system into a perfect breeding ground for germs. This can lead to unpleasant smells, bad taste, and even health risks if left untreated.
Many RV owners skip sanitizing because the water “looks fine,” unaware that contamination often starts long before it becomes visible.
Regularly learning how to sanitize water system in RV ensures that every drop you drink, cook with, or shower in stays safe. It’s a simple process that can prevent major problems like clogged filters, corroded fittings, and bacterial buildup.
Proper sanitization also extends the life of your plumbing system and preserves the purity of your potable water.
What Does It Mean to Sanitize Water System in RV?
Sanitizing the water system in an RV means more than just draining old water and refilling the tank.
It’s the process of disinfecting every part of the system—fresh-water tank, pump, pipes, and faucets—to remove bacteria, algae, and other harmful microorganisms that can contaminate your drinking water.
When an RV sits unused, stagnant water inside the plumbing becomes the perfect environment for bacteria to multiply. Even if the water looks clear, invisible biofilm can cling to the walls of hoses and fittings, slowly affecting taste and odor over time.
Sanitization ensures that all traces of harmful buildup are neutralized before the system is refilled with fresh, potable water.
Understanding this process is essential because cleaning and sanitizing are not the same thing. Cleaning removes dirt and debris, while sanitizing kills invisible contaminants that could compromise your health. This difference determines whether your RV’s water is merely clear or truly safe to drink.
What is “sanitizing” in an RV water system?
It’s the act of using a disinfectant solution to kill bacteria, algae, and microbes in the entire water system.
Why not just flush the system?
Flushing removes old water but doesn’t kill microorganisms clinging to surfaces inside the pipes.
Do you need to sanitize both the tank and plumbing lines?
Yes. Both areas hold water and can develop bacterial growth over time.
Is sanitizing the same as winterizing?
No. Winterizing prevents freezing damage, while sanitizing ensures safe drinking water.
How often should this sanitizing be done?
Experts recommend every six months or whenever the RV has been in storage for more than a few weeks.
Regular sanitization not only ensures cleaner water but also extends the life of your plumbing system, keeping your RV ready for every adventure.
Why Sanitizing the Water System Matters for RV Owners
Your RV’s water system is its lifeline, supplying everything from drinking water to cooking and cleaning. Over time, unclean tanks and pipes can accumulate bacteria, mold, and mineral buildup, even when using treated campground water.
Without sanitizing, those unseen contaminants can lead to foul odors, strange tastes, or even health issues after a long trip.
Bacteria such as E. coli and Legionella can survive in stagnant or poorly maintained systems. When temperatures rise, the risk increases dramatically, especially if the RV sits idle for weeks.
Contaminated water not only poses health risks but can also damage pumps, filters, and seals inside your plumbing lines.
Keeping the system sanitized means ensuring that every drop of water is safe for drinking and household use. It prevents biofilm buildup that can block filters and cause recurring taste and smell issues.
A properly maintained water system also extends the lifespan of your RV components by reducing corrosion and mineral deposits.
Can bad water in the onboard tank make someone sick?
Yes. Contaminated water can cause stomach discomfort, infections, or long-term illness if consumed.
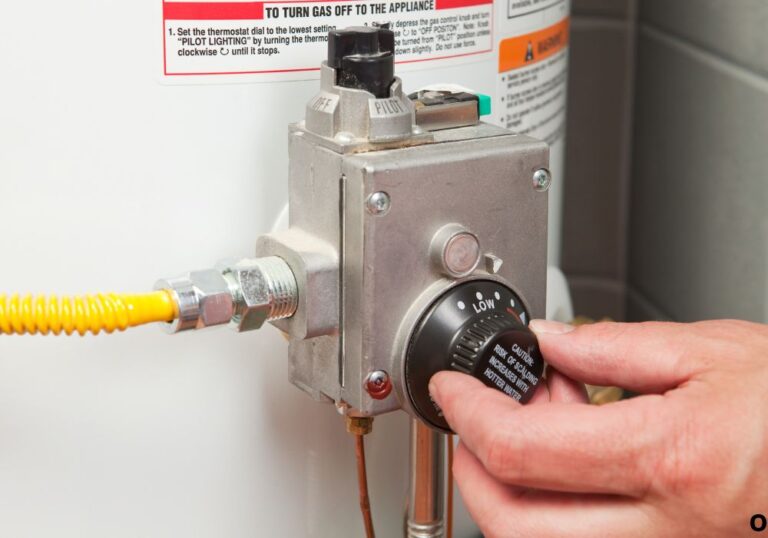
Does the water heater need special care during sanitizing?
Absolutely. Leaving sanitizer inside the heater can cause corrosion or scaling, so it should be drained or bypassed before cleaning.
What happens if the RV sits unused for months?
Stagnant water encourages bacterial growth, leading to unpleasant odors or slime buildup.
Does campground water guarantee safety inside the tank?
No. Even treated water can become unsafe after sitting in an enclosed tank.
Are there standards for RV water safety?
Yes. Most RV manufacturers recommend periodic maintenance to keep potable water systems compliant and hygienic.
Sanitizing regularly ensures that every trip starts with pure, clean water—protecting both your health and your RV’s plumbing investment.
Preparing to Sanitize Your RV Water System
Before beginning the sanitizing process, it’s important to prepare your RV’s water system properly.
Preparation ensures that the sanitizing solution reaches every part of the plumbing without damaging sensitive components. It also helps prevent cross-contamination between the fresh-water tank, pipes, and water heater.
Start by parking your RV on level ground near a safe draining location or a sewer hookup. Turn off the water pump and water heater to avoid damage during the process.
Identify your fresh-water tank’s capacity because the right bleach-to-water ratio depends on it—usually about one-quarter cup of unscented bleach for every fifteen gallons of tank capacity.
Remove any existing water filters and bypass them if possible. Filters can trap bleach and degrade quickly during sanitizing. It’s best to replace them after the process is complete.
Make sure all faucets are closed, then locate and open the low-point drains to release any old or stagnant water still inside the plumbing lines.
What materials are needed?
You’ll need unscented household bleach, a clean funnel or hose for pouring, access to potable water, and rubber gloves for safety.
How much bleach should be used?
A common ratio is about ¼ cup of bleach for every 15 gallons of tank capacity.
Should the water heater be bypassed?
Yes. Bypassing it prevents bleach from entering and potentially corroding the tank’s interior.
Do filters need to be removed first?
Absolutely. Remove or bypass them before adding sanitizer to prevent clogging or chemical damage.
Where should this process be done?
Choose a safe, open area with proper drainage where the bleach mixture can be flushed without harming the environment.
Proper preparation ensures the cleaning solution circulates evenly through every line, helping you achieve a truly sanitized and safe RV water system.
Step-by-Step Process: How to Sanitize Water System in RV
Once everything is prepared, it’s time to begin the actual sanitizing process. Each step ensures that the bleach solution reaches every part of the plumbing, kills bacteria, and leaves your RV’s water system safe for use.
Step 1 – Drain the Fresh-Water Tank and Plumbing
Before adding any sanitizing solution, drain the entire system. Open all faucets, showers, and low-point drains to release old water. This clears debris, sediment, and stale water that could dilute the cleaning solution.
After draining, close the drains and ensure the water heater remains off or bypassed to protect it from bleach.
Why drain the tank first?
Draining removes leftover water and prevents dilution of the sanitizer.
What are low-point drains?
They are the lowest valves in the plumbing lines that allow full system drainage.
Should the water heater be emptied too?
Yes. This prevents bleach corrosion and ensures a complete flush later.
Can the gray tank hold bleach water during cleaning?
Yes, if connected to a sewer outlet for proper disposal.
Do faucets need to stay open while draining?
Yes, to let air in and ensure full drainage of the lines.
Step 2 – Measure and Add the Sanitizing Solution
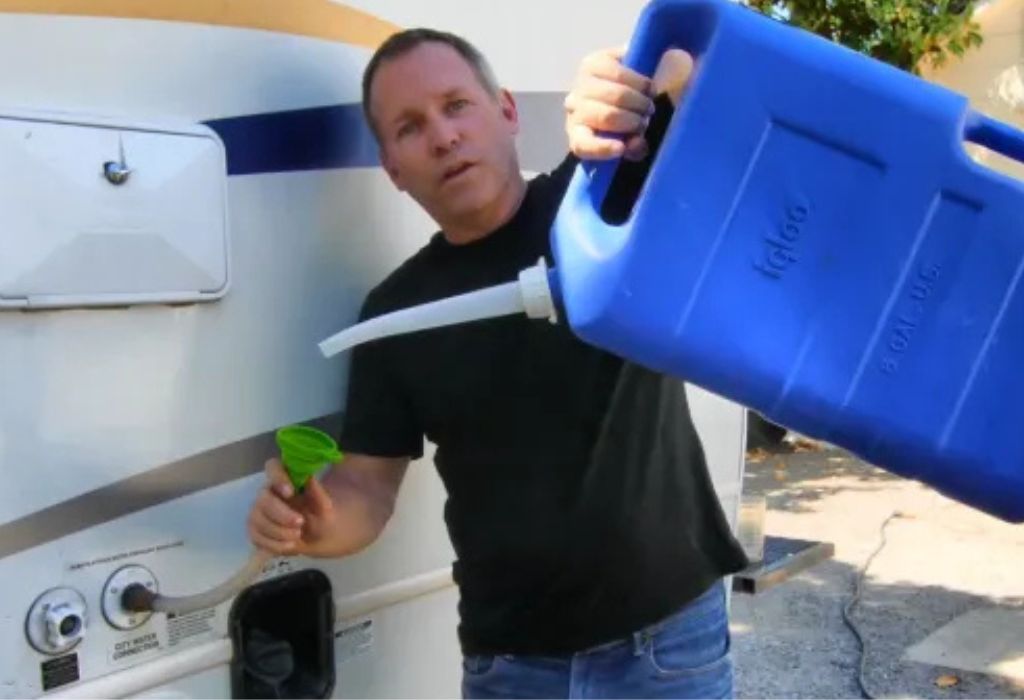
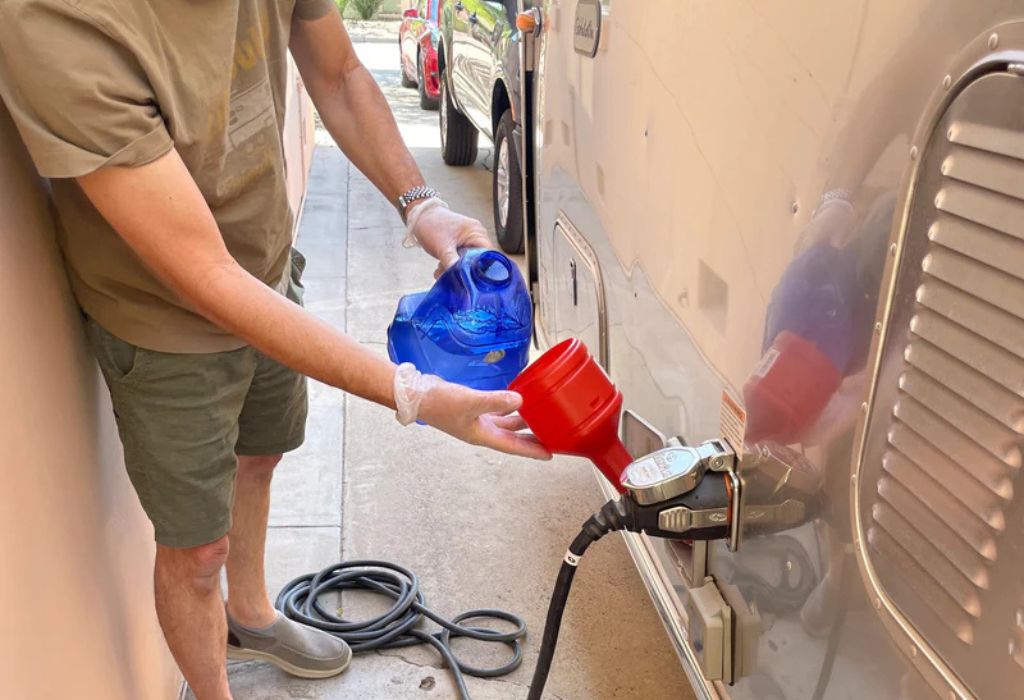
Mix the correct ratio of unscented bleach and water—about ¼ cup per 15 gallons of tank capacity. Use a funnel or hose to pour the mixture into the freshwater fill port, then fill the tank completely with clean water.
This ensures even distribution of the solution throughout the tank and plumbing lines.
Can concentrated bleach be poured directly in?
No. Always dilute first to protect plumbing components.
What if there’s no fill port for bleach?
Add the diluted solution through the hose and let it mix as the tank fills.
Why fill the tank after adding bleach?
To ensure the disinfectant reaches every corner of the system.
Should the pump be turned on now?
Yes, to circulate the solution through all faucets and lines.
What if the bleach smell becomes strong?
You may have added too much; flush more thoroughly later to remove odor.
Step 3 – Circulate and Let the Solution Sit
Turn on the pump and open every faucet—hot, cold, shower, and outside—until the chlorine scent is noticeable. Then close all faucets and let the solution sit undisturbed for 12 to 24 hours. This contact time ensures deep disinfection inside the pipes and fittings.
Why run all faucets?
It allows the sanitizer to travel through every line and fixture.
How long should the solution sit?
At least 12 hours for full effectiveness.
Can it stay longer than 24 hours?
No. Extended exposure can damage seals or hoses.
Should the water heater remain bypassed?
Yes, to prevent corrosion or sediment buildup.
Does the gray tank collect bleach water?
Yes, but it should be emptied afterward at a proper dump station.
Step 4 – Drain and Flush the System
After the waiting period, drain the entire system again. Refill the fresh-water tank with clean potable water and open all faucets until the bleach smell disappears. Repeat flushing if necessary to remove all residue.
Replace any filters that were removed earlier.
Why flush until the smell is gone?
Residual chlorine can affect water taste and damage rubber seals.
How many flush cycles are needed?
Usually one or two complete fills are enough.
Should filters be replaced after sanitizing?
Yes, to prevent chemical residue from lingering.
When is the system safe to use again?
When the water runs clear and odor-free from all outlets.
What follow-up maintenance is recommended?
Inspect hoses, fittings, and tank connections for leaks before the next trip.
Alternative Methods and When to Use Them
While bleach remains the most effective and widely recommended sanitizer, some RV owners prefer alternative methods for maintaining clean, drinkable water. These options can be useful for those sensitive to chlorine or for systems with materials that react poorly to bleach.
Natural or eco-friendly sanitizers, such as hydrogen peroxide or white vinegar, are popular alternatives. They help remove odors and mild buildup but may not kill all bacteria as effectively as bleach.
Commercial RV cleaning products are also available, offering pre-measured formulas that balance cleaning strength with material safety.
Some systems include built-in water filters or UV-purification devices that reduce the need for chemical sanitation.
However, these systems should complement—not replace—periodic full sanitizing. Even filtered systems can harbor bacteria in the tank or plumbing lines if left untreated for long periods.
What are bleach-free sanitizing options?
Hydrogen peroxide, white vinegar, or biodegradable RV cleaning kits can work as mild sanitizers.
When should these alternatives be used?
They’re ideal for light maintenance between major cleanings or when bleach odor is a concern.
Are these as effective as bleach?
Not always. Bleach remains the most reliable method for full disinfection of bacteria and algae.
Does vinegar sanitize completely?
Vinegar helps deodorize and remove scale but doesn’t fully kill harmful microorganisms.
Can these methods be combined?
Yes. Some RV owners alternate between bleach and natural solutions to maintain freshness without overusing chemicals.
Choosing the right method depends on usage, water quality, and personal preference, but the goal remains the same—keeping your RV water system safe, fresh, and ready for your next trip.
Maintenance Tips and Best Practices for Pure RV Water
Sanitizing your RV water system is not a one-time job—it’s a maintenance habit that keeps your plumbing and drinking water safe year-round.
Regular upkeep prevents bacterial growth, mineral deposits, and foul odors that often return when systems sit idle for long periods. A clean water system means peace of mind every time you turn on the faucet.
After each sanitization, flush the lines thoroughly and refill with fresh, potable water. Record the date of each cleaning to maintain a regular schedule.
For most RVs, sanitizing every six months is ideal, but if the vehicle is used frequently or stored in warm conditions, more frequent cleaning is recommended.
Keep all hoses, connectors, and fittings clean between trips. Always use a drinking-water-rated hose for refilling and avoid letting it touch the ground or dirty surfaces.
Replace filters every few months or sooner if you notice a reduction in water pressure or a change in taste. These small actions keep your system running efficiently and your water tasting fresh.
How often should the fresh-water tank be sanitized?
Every six months or whenever the RV sits unused for over a month.
Should filters be replaced regularly?
Yes. Old filters can harbor bacteria and reduce water flow, so replace them after every sanitization cycle.
Does city hookup water remove the need for sanitizing?
No. Even clean water can stagnate and develop bacteria inside RV tanks and lines.
What about hoses and external connections?
Use only food-grade hoses and store them dry to prevent mold growth.
What if the water taste changes mid-season?
That’s a sign of bacterial buildup—flush and re-sanitize the system immediately.
Following these best practices ensures your RV water stays clean, safe, and reliable—no matter where your next adventure takes you.
Conclusion
Keeping your RV’s water system clean isn’t just a maintenance task—it’s a commitment to safety, comfort, and peace of mind.
When you know exactly how to sanitize water system in RV, you protect yourself from unseen bacteria, prevent foul odors, and extend the lifespan of your plumbing components.
A properly sanitized system ensures that every sip, shower, and meal prepared with onboard water remains safe and pleasant. Whether you’re a full-time traveler or an occasional camper, consistent sanitation prevents health risks and costly repairs caused by neglected maintenance.
Make sanitizing part of your seasonal routine and treat your water system as you would any vital equipment in your RV. Mark the next cleaning date on your maintenance calendar, inspect hoses and fittings regularly, and never ignore changes in water taste or smell.
Your RV’s fresh-water system is the heart of your comfort on the road—keep it pure, keep it safe, and enjoy the freedom of clean water wherever your journey leads.
I’m David R. Coleman, the founder, lead writer, and lifelong tool enthusiast behind GarageToolPro.com. With years of experience in automotive repair, woodworking, and home DIY projects, I created this platform to share practical tips, detailed tool reviews, and step-by-step guides that help mechanics, hobbyists, and homeowners get the job done right the first time.