How to Check RV for Water Leaks Like a Professional
You wake up on a rainy night in your RV and notice a faint dripping sound. The next morning, you find a damp patch under the cabinet or a wet streak running down a wall panel. It’s every RV owner’s nightmare — a hidden water leak.
Water damage is one of the most expensive and frustrating problems in an RV. It can rot wood, ruin insulation, and invite mold before you even realize there’s a problem.
Regular leak inspections are the only way to catch small issues before they become costly repairs. Learning how to check your RV for water leaks is a skill that protects both your investment and your peace of mind.
According to RVIA data, nearly 70 percent of RVs over five years old show some degree of water intrusion — most caused by simple neglect or missed maintenance checks.
In this guide, you’ll learn step-by-step how to inspect your RV for leaks, what tools to use, and how to prevent future damage.
Why It’s Important to Check Your RV for Water Leaks
RV leaks are sneaky. They often start small — a loose seal, a cracked vent cover, or a pinhole in the roof membrane. Over time, water seeps into insulation, plywood floors, and cabinets.
Left unchecked, these leaks can lead to structural damage and expensive mold removal. Even a few ounces of water can cause thousands of dollars in repairs.
Checking for leaks regularly helps you spot soft spots, bubbling walls, or discoloration early on. Preventive maintenance can extend your RV’s lifespan and protect resale value.
The sooner you find a leak, the easier and cheaper it is to fix.
Common Areas Where RV Leaks Occur
Water can find its way into almost any part of your RV, but some areas are more vulnerable than others.
The roof is the most common source, especially around vents, skylights, antennas, and air conditioning units. Cracked sealant or worn gaskets let moisture seep in during rainstorms.
Windows, doors, and storage compartments are also high-risk zones because of constant vibration and movement on the road. The caulking can loosen over time.
Other problem spots include slide-outs, exterior lights, and plumbing connections under sinks or near the water heater.
Knowing these weak points helps you prioritize where to look first during an inspection.
Tools You’ll Need to Check for Water Leaks
You don’t need advanced equipment to inspect your RV — just a few essential tools.
A bright flashlight, moisture meter, screwdriver, ladder, and inspection mirror will help you check every corner safely.
A hose or spray nozzle can simulate rain to test for leaks. If you want a professional touch, you can also use a SealTech leak test machine that pressurizes the RV interior and reveals leaks with soapy water.
A roll of paper towels, rags, and plastic gloves are useful for cleanup.
Having the right tools makes the job faster and ensures no hidden spot gets missed.
Step-by-Step Guide: How to Check an RV for Water Leaks
Step 1: Start with a Visual Inspection
Begin by walking around the RV exterior. Look for cracks, worn caulking, missing screws, or separated seams on the roof and sidewalls.
Pay close attention to joints, edges, and corners where materials meet. If sealant looks brittle, bubbled, or missing, mark it for resealing.
Step 2: Inspect the Roof
Climb carefully onto the roof using a stable ladder. Examine around vents, skylights, roof racks, and the AC unit.
Any small crack or gap can let water in. Gently press areas around seams to feel for soft spots or bubbles under the surface.
Step 3: Check Windows, Doors, and Vents
Inspect all rubber seals and gaskets around windows and doors. Run your hand along the edges to feel for dampness or air leaks.
Look for stains, swelling, or discoloration inside — these are early signs of water intrusion.
Step 4: Examine the Interior
Inside the RV, look for water stains on the ceiling, soft flooring, or bubbling wallpaper. Check under sinks, around toilets, and inside cabinets.
If you have a moisture meter, test suspicious spots to detect dampness you can’t see.
Step 5: Perform a Water Hose Test
Have someone sit inside while you gently spray water across the roof and windows from outside. Move slowly, one section at a time, and watch for drips or moisture appearing indoors.
This method mimics rain and can help pinpoint small leaks that don’t show up during dry inspections.
Step 6: Seal or Repair Any Found Leaks
Once you’ve located leaks, clean and dry the area thoroughly before sealing. Use RV-safe sealants like Dicor lap sealant or EternaBond tape for roof repairs.
Replace cracked window seals or gaskets immediately.
How to Use a Moisture Meter to Find Hidden Leaks
A moisture meter detects water behind walls, floors, or ceilings that look dry to the eye.
Place the probe on the suspected area and compare readings to dry spots nearby. Anything above 15 percent moisture content suggests a leak.
Use it around slide-outs, under window frames, and near roof seams. Moisture meters are inexpensive and one of the most accurate tools for early detection.
They’re especially useful for checking used RVs before purchase.
Regular scanning during maintenance checks can prevent hidden leaks from turning into full-blown water damage.
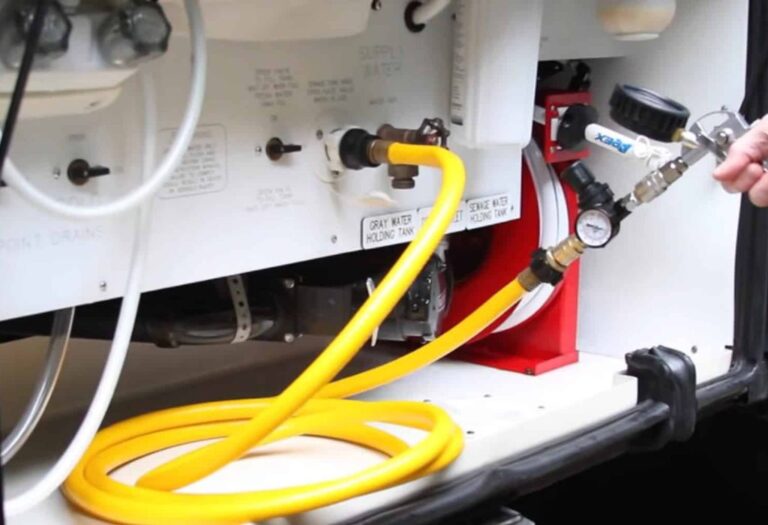
How to Pressure Test an RV for Leaks (Optional)
A pressure test, also known as a SealTech test, is the most accurate way to find even tiny leaks.
It involves sealing the RV, then using a machine to pressurize the interior with air. A soapy water solution is sprayed on the exterior seams — bubbles reveal leaks instantly.
This method detects issues invisible to the naked eye and ensures no gaps are missed.
While most RV service centers offer this test professionally, you can rent or buy smaller systems for home use.
It’s especially recommended before long trips or after major roof repairs.
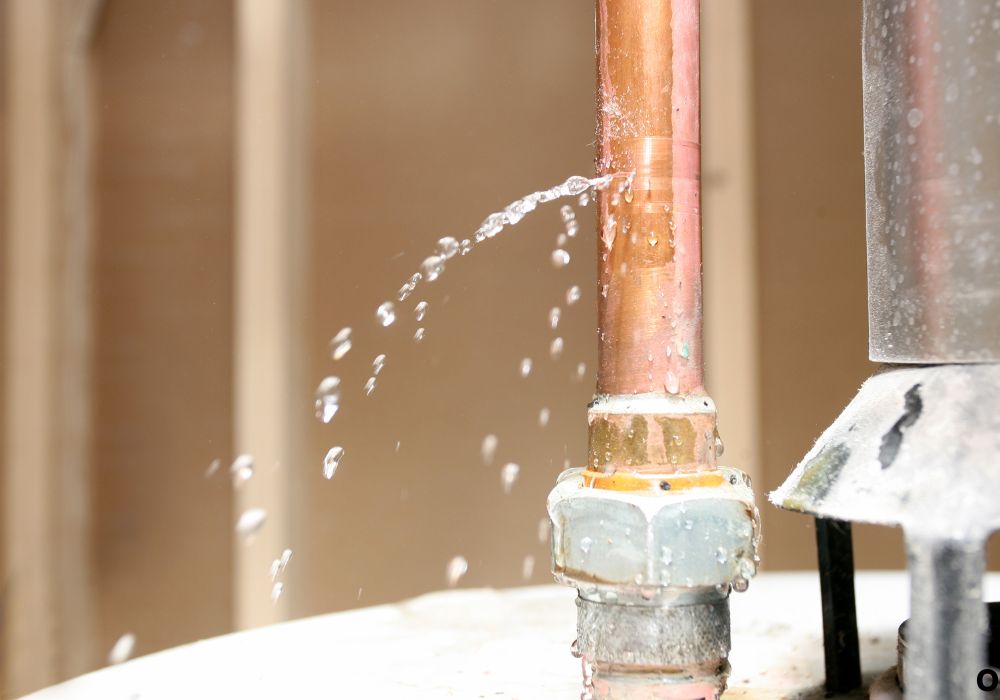
Checking for Plumbing and Interior Leaks
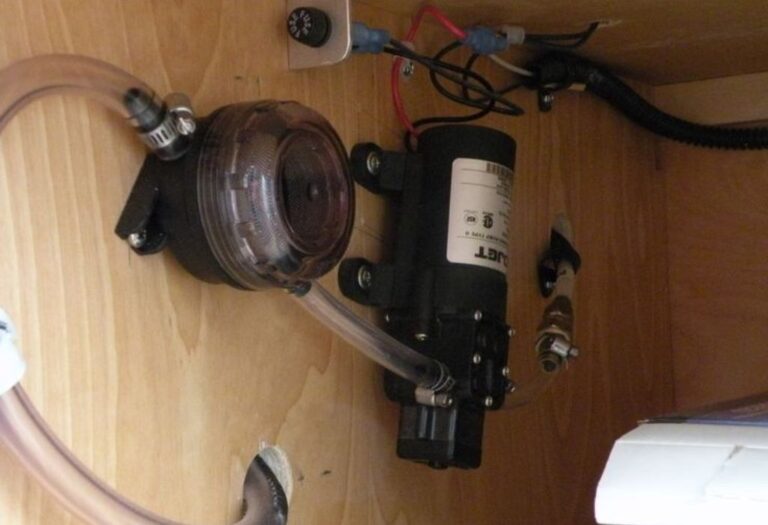
Not all leaks come from the roof. Many originate from plumbing systems inside the RV.
Check under the sink, near the shower, around the toilet, and behind the water heater for moisture.
Run all faucets and flush the toilet while inspecting for drips or damp flooring.
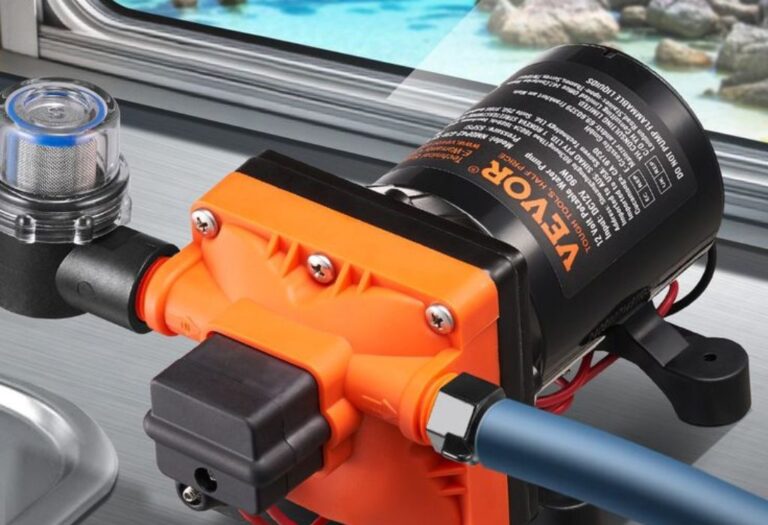
Inspect around the fresh water tank and connections for cracks or loose fittings.
A small plumbing leak can mimic a roof leak, so it’s crucial to rule this out during inspection.
How to Prevent Future Water Leaks
Prevention is easier and cheaper than repairs. Inspect your seals and roof at least twice a year, ideally before and after the camping season.
Reapply sealant or EternaBond tape as soon as cracks appear — don’t wait for leaks.
Clean the roof regularly to remove dirt, sap, and debris that can hide damage.
Lubricate rubber seals around windows and slide-outs with silicone-based protectants to keep them flexible.
Store your RV under a cover or in a shaded area to reduce sun damage and drying of caulk and seals.
Signs That Your RV Has a Hidden Leak
Sometimes leaks aren’t visible right away but show up through subtle signs.
If your RV smells musty or damp, you might have trapped moisture inside. Soft or spongy floors indicate water saturation underneath.
Discolored or bubbling wall panels often point to long-term leaks behind the surface.
Fogged windows, rusty screws, or loose trim are also red flags.
Never ignore these small indicators — they often lead straight to bigger problems.
Market Statistics and RV Owner Insights
Water leaks are the number one cause of long-term RV structural damage. According to maintenance studies, the average repair cost for severe water damage can exceed $3,000 to $5,000.
However, routine inspections and simple sealing can reduce those risks by up to 90 percent.
RV ownership continues to grow, with over 11 million households owning recreational vehicles in the U.S., and most of them rely on self-maintenance to avoid costly service visits.
Checking for leaks regularly keeps you part of that smart group of RVers who prevent problems before they start.
FAQs
1. How often should I check my RV for leaks?
At least twice a year — once before and once after the camping season.
2. Can I use a garden hose to find leaks?
Yes. Gently spray water over seams and windows while someone watches inside for drips.
3. What is the best sealant for RV roofs?
Use Dicor self-leveling lap sealant or EternaBond tape for long-lasting results.
4. Are leaks more common in older RVs?
Yes. Over time, caulking dries out and seals loosen, making older RVs more prone to leaks.
5. How do I check if my RV walls have hidden moisture?
Use a moisture meter to test areas that look suspicious or feel soft.
6. Can I drive my RV in the rain if it has a small leak?
It’s possible, but not recommended. Even small leaks can worsen quickly under pressure.
7. What’s the cost to repair an RV water leak?
Minor fixes can cost $50 to $200, while severe water damage can exceed $5,000.
8. How do I know if my RV roof needs resealing?
If the sealant looks cracked, peeled, or brittle, it’s time to reseal.
9. What causes leaks around RV windows?
Sun exposure, road vibration, and old caulking are the most common culprits.
10. Should I inspect the roof every month?
If you live in a rainy or humid area, monthly checks are a good idea.
11. Can I use household caulk for RV leaks?
No. Always use sealants made specifically for RV roofs and exterior materials.
12. What is a SealTech leak test?
It’s a pressure test that identifies leaks by detecting escaping air bubbles when soap is applied.
13. How can I protect my RV during storage?
Cover it with a breathable RV cover and inspect seals before storage.
14. Why does my RV smell musty even after cleaning?
Hidden water damage or damp insulation could be the cause. Check walls and flooring.
15. Is it worth hiring a professional for leak inspection?
Yes, especially if your RV is over five years old or if you suspect hidden damage.
Conclusion
Learning how to check your RV for water leaks is one of the most valuable skills any RV owner can develop. It saves money, prevents major damage, and gives you confidence before every trip.
Regular inspections of the roof, seals, windows, and plumbing keep your RV dry and comfortable year-round.
A few hours of preventive care can protect your investment for years and ensure that your adventures stay safe and worry-free.
In the end, an RV that’s watertight isn’t just better maintained — it’s built to last.
I’m David R. Coleman, the founder, lead writer, and lifelong tool enthusiast behind GarageToolPro.com. With years of experience in automotive repair, woodworking, and home DIY projects, I created this platform to share practical tips, detailed tool reviews, and step-by-step guides that help mechanics, hobbyists, and homeowners get the job done right the first time.