How to Change Heating Element in RV Water Heater Like a Pro
You’re halfway through your RV trip, ready for a hot shower after a long day of driving. But instead of warm comfort, you’re met with icy water that refuses to heat up.
That’s a clear sign your RV water heater’s heating element may have failed — one of the most common issues RV owners face. Luckily, replacing it is simpler than it sounds.
Whether you use a Suburban or Atwood water heater, learning how to change the heating element in your RV water heater can save you time, money, and frustration on the road.
According to RV maintenance data, nearly 60 percent of water heater failures are caused by burned-out heating elements due to mineral buildup or dry firing.
In this guide, you’ll learn everything you need to know — from identifying a bad element to safely replacing it yourself — so you can get your hot water running again quickly.
Understanding the Role of the Heating Element
The heating element in your RV water heater is what actually warms the water when you’re using electric power. It functions much like the element in a home electric water heater.
When electricity passes through the element, it converts energy into heat, warming the surrounding water inside the tank.
If the element fails, your water heater will only work on propane (if it’s a dual-source unit) or stop heating entirely.
Common causes of failure include running the heater without water, calcium buildup, or corrosion over time.
Replacing the heating element restores full functionality and efficiency to your RV water heater.
Signs the Heating Element Needs Replacement
You’ll know the element is going bad when your water takes too long to heat or doesn’t heat at all on the electric setting.
Sometimes, you might hear popping or crackling noises inside the tank, caused by mineral deposits burning off the element surface.
A tripped breaker or blown fuse can also be a clue that the heating element is shorted out.
Another telltale sign is lukewarm water even when your thermostat is set correctly.
If these symptoms persist, testing and replacing the element is the best next step.
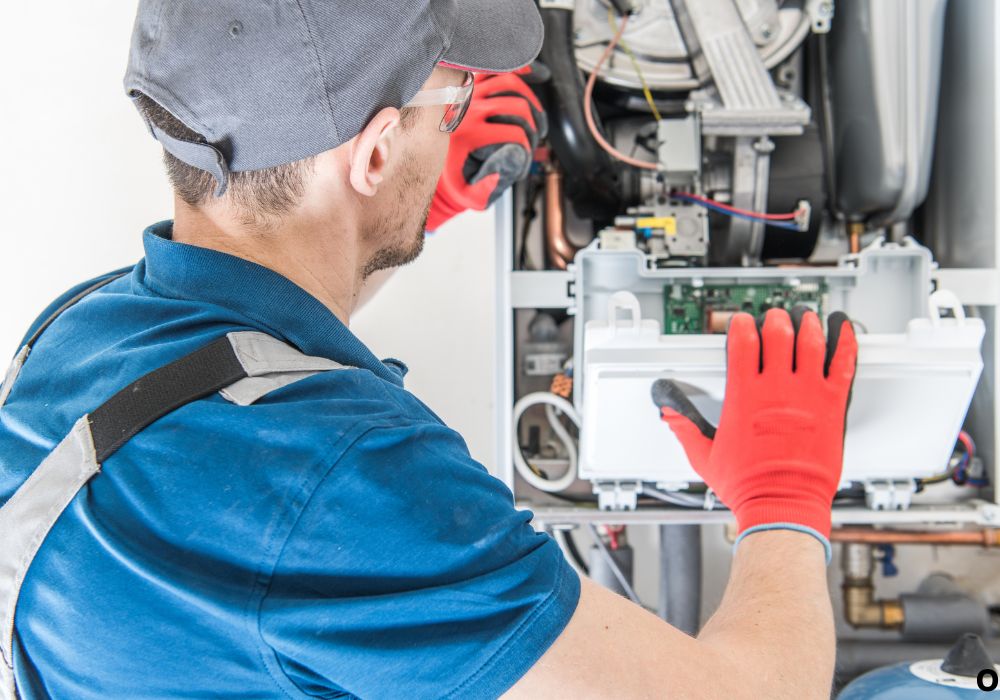
Safety Precautions Before You Begin
Before you start any repair, safety should come first. Always disconnect shore power and turn off your RV’s breaker panel to eliminate the risk of electric shock.
If your unit is a dual-source heater, also turn off the propane supply. Never work on the heater while it’s hot — wait for the tank to cool completely.
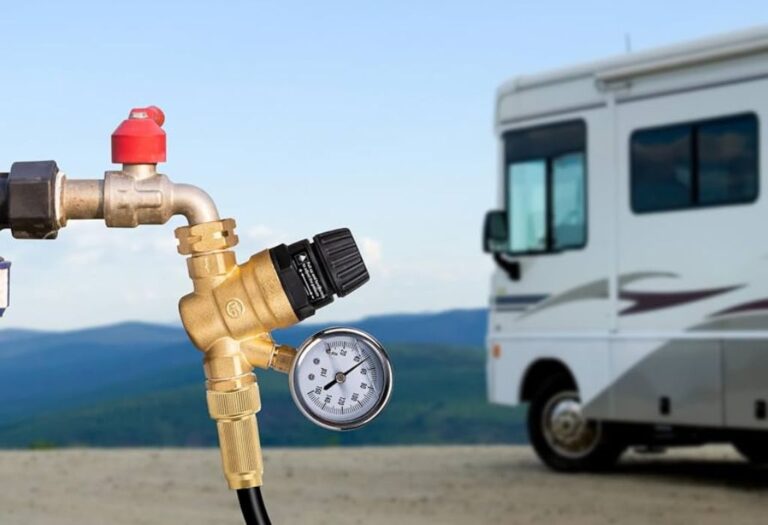
Drain the tank fully before removing the element to avoid burns or leaks.
Wear rubber gloves and safety glasses to protect yourself from water or electrical residue.
These steps ensure a safe and stress-free repair process from start to finish.
Tools and Materials You’ll Need
Gather the following tools and supplies before getting started:
- Replacement heating element (check your model’s specifications)
- Element wrench or 1½-inch socket
- Flathead screwdriver
- Teflon plumber’s tape
- Garden hose for draining
- Multimeter for testing
- Clean cloth or towel
Always use the correct replacement element. Suburban and Atwood heaters often use different wattages and thread types, so double-check your manual before purchasing.
Having all tools ready helps you finish the job efficiently without interruptions.
Step-by-Step: How to Change Heating Element in RV Water Heater
Step 1: Turn Off Power and Water Supply
Unplug your RV from shore power and turn off the circuit breaker labeled “Water Heater.” Shut off the propane line if equipped.
Close the cold-water supply valve and open a faucet inside your RV to relieve pressure in the system.
Step 2: Drain the Water Heater
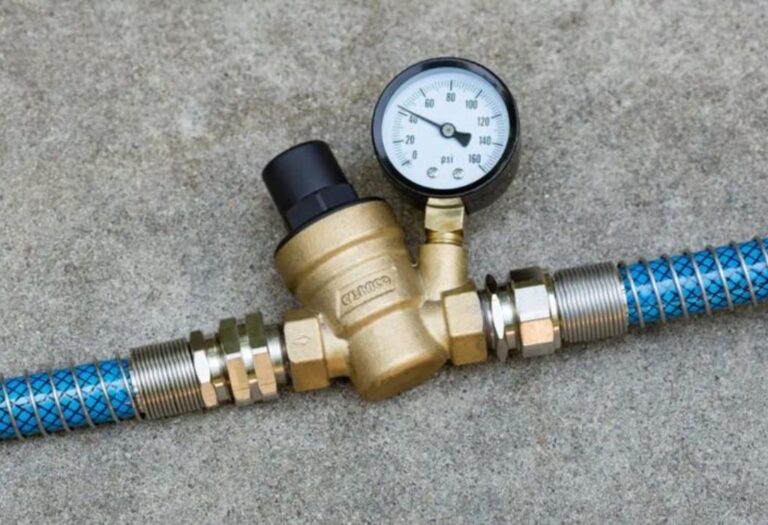
Connect a garden hose to the drain plug or anode rod opening and direct it away from your RV. Remove the plug using a wrench to drain all water from the tank.
Open the pressure relief valve at the top to let air in so the tank drains faster.
Once the tank is empty, close the relief valve and remove any remaining water using a towel.
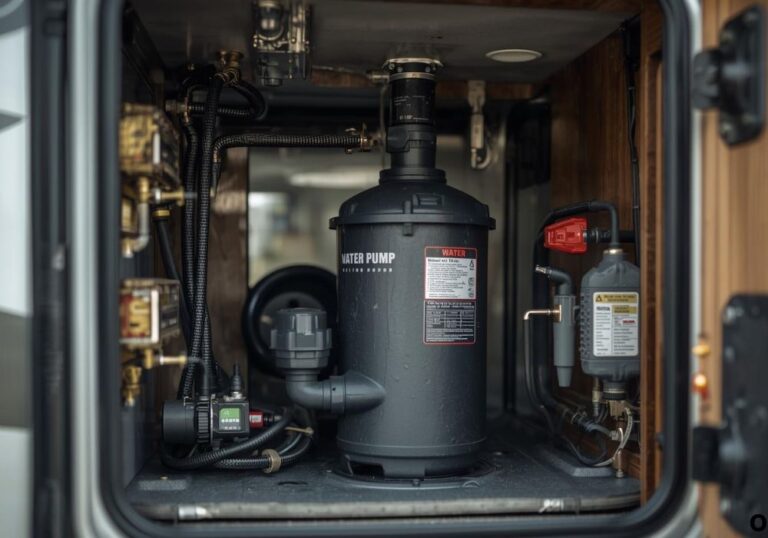
Step 3: Locate and Remove the Heating Element
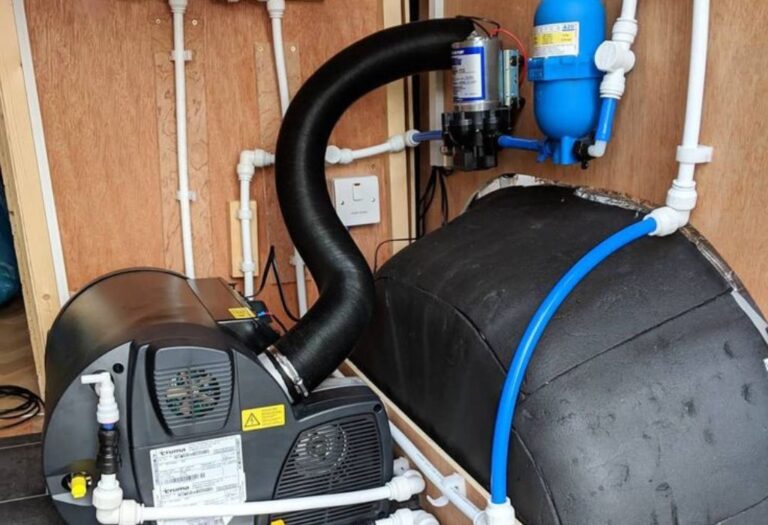
Find the heating element — usually located behind an access panel on the outside of the RV water heater.
Remove the cover and disconnect the two electrical wires attached to the element terminals. Use an element wrench or socket to unscrew it counterclockwise.
Take note of the gasket or rubber seal around the old element; you’ll need to replace it or ensure the new element comes with one.
Step 4: Install the New Heating Element
Wrap the threads of the new element with Teflon plumber’s tape to prevent leaks.
Insert it carefully into the tank opening and tighten it clockwise using the element wrench. Ensure it’s snug but not over-tightened to avoid damaging the threads.
Reconnect the electrical wires to the new element terminals. Double-check that connections are firm and corrosion-free.
Step 5: Refill and Test the Water Heater
Close the drain plug and reconnect the water supply. Open a hot water faucet to allow air to escape as the tank fills.
Once full, check for leaks around the new element. If everything is sealed properly, restore power to the heater.
Allow 30–45 minutes for the water to heat up and test the temperature.
If your water heats normally, congratulations — your repair is complete.
Testing the Old Heating Element with a Multimeter
To confirm whether your old element was bad, use a multimeter to check resistance.
Set the multimeter to the ohms (Ω) setting and touch one probe to each terminal of the element.
A good element should read between 9 and 13 ohms. If it shows zero or infinite resistance, the element is faulty.
Testing ensures you don’t replace a working part unnecessarily.
Keep a record of your readings for future maintenance checks.
Common Mistakes to Avoid
One of the biggest mistakes RV owners make is forgetting to refill the tank before turning on power. Running the heater dry can burn out a brand-new element in seconds.
Avoid over-tightening the element, which can crack the tank’s threaded housing.
Never use tap water containing heavy minerals without treating it — scaling causes early element failure.
Failing to turn off power before starting can cause severe shock or short circuits.
Double-check every step to ensure safety and reliability.
Maintenance Tips for Longer Element Life
Once your new heating element is installed, regular care keeps it working efficiently.
Flush the water heater every three to six months to remove sediment and mineral buildup.
Always ensure the tank is full before switching on electric power.
Use a water softener if you often camp in areas with hard water.
Inspect wiring connections annually to prevent corrosion or loose contacts.
A little maintenance now can prevent costly repairs later.
How to Choose the Right Heating Element for Your RV
RV water heaters typically come in two main brands: Suburban and Atwood/Dometic. Each requires specific elements that differ in wattage and thread style.
Suburban heaters usually use 1,440-watt elements, while Atwood models often use 1,400-watt units with a flat gasket.
Always check your RV’s manual or the label on your existing element for correct specifications.
Using the wrong element can result in overheating or reduced efficiency.
It’s best to carry a spare element on long trips so you can replace it anytime.
Troubleshooting After Replacement
If your water heater still doesn’t heat after installing a new element, check these common issues:
- The circuit breaker may be tripped.
- Loose wire connections on the element terminals.
- A blown fuse in the power control board.
- The thermostat or ECO (energy cut-off) switch may be faulty.
- The element may not be fully submerged due to an airlock.
Go through each potential cause methodically until the problem is resolved.
Market and Maintenance Insights
The RV water heater market is expected to exceed $1 billion globally by 2030, driven by demand for electric and hybrid systems.
Most heating elements last 3–5 years, but that lifespan drops dramatically with hard water or lack of flushing.
Replacing your own element saves between $150 and $300 in labor costs at repair shops.
DIY maintenance also gives you a better understanding of your RV’s plumbing and electrical systems.
Keeping spare parts and tools in your RV ensures you’re always prepared for unexpected breakdowns.
FAQs
1. How do I know if my RV water heater element is bad?
You’ll notice no hot water, tripped breakers, or unusual noises from the heater.
2. How often should I replace the heating element?
Every 3–5 years, or sooner if you notice heating issues or mineral buildup.
3. Can I replace the heating element myself?
Yes, it’s a simple DIY task if you follow safety steps and have the right tools.
4. What size socket fits the heating element?
A 1½-inch socket or a specific element wrench works best.
5. Should I drain the tank before replacing the element?
Yes, always drain it completely to prevent burns or water damage.
6. Can I use any heating element brand?
No, use one compatible with your water heater brand and wattage rating.
7. What happens if I turn on power before refilling the tank?
It can instantly burn out the new element and cause permanent damage.
8. Is it normal for the element to make noise?
A slight hum is normal, but popping or crackling indicates sediment buildup.
9. How long does it take to change the element?
Most replacements take 30–45 minutes from start to finish.
10. Can I test the element without removing it?
Yes, use a multimeter on the terminals while it’s disconnected from power.
11. What type of seal should I use on the threads?
Wrap with Teflon plumber’s tape to prevent leaks.
12. Can I upgrade to a higher wattage element?
Only if your water heater and wiring are rated for it — otherwise, stick with factory specs.
13. Why does my element keep burning out?
Running the tank dry, hard water, or overcharging can cause repeated failure.
14. How can I prevent corrosion on terminals?
Apply a small amount of dielectric grease after tightening the connections.
15. Should I replace the thermostat when changing the element?
It’s not necessary unless you’re also experiencing thermostat issues.
Conclusion
Knowing how to change the heating element in your RV water heater is an essential skill that can save you time and money on the road.
It’s a straightforward repair that requires only basic tools and a little attention to safety. Once you’ve replaced the element, you’ll enjoy reliable hot water wherever your travels take you.
Regular maintenance — including flushing the tank and using distilled water — helps your new element last for years.
By learning to handle small repairs like this yourself, you gain confidence and independence as an RV owner.
A few minutes of work can bring back the comfort of a warm shower and the peace of mind that your RV is ready for any adventure.
I’m David R. Coleman, the founder, lead writer, and lifelong tool enthusiast behind GarageToolPro.com. With years of experience in automotive repair, woodworking, and home DIY projects, I created this platform to share practical tips, detailed tool reviews, and step-by-step guides that help mechanics, hobbyists, and homeowners get the job done right the first time.