How to Insulate an RV Water Hose Properly
When winter sets in, one of the worst surprises for RV owners is waking up to a frozen water hose.
A frozen hose can stop water flow completely and even burst, leaving you stranded in freezing temperatures.
According to the National Weather Service, water inside pipes can start freezing in as little as three to six hours once temperatures fall below 32°F.
For RVers, that risk increases because most hoses are fully exposed to the cold air outside the rig.
Imagine arriving at a snowy campsite only to find your hose frozen solid.
You’re stuck melting snow or searching for a water refill — an issue that’s completely avoidable with proper insulation.
Many new RV owners assume that buying a heated hose is enough.
But even heated hoses can fail if they aren’t insulated against moisture and wind.
That’s why learning how to insulate an RV water hose correctly is essential.
In this guide, you’ll discover step-by-step methods, materials, and expert advice to keep your water supply safe and flowing all winter long.
What It Means to Insulate an RV Water Hose

Insulating an RV water hose means wrapping it with materials that protect against cold air and temperature drops.
The goal is to keep water inside from freezing and maintain consistent pressure through all weather conditions.
Because the hose runs outside, it’s exposed to cold wind and snow unlike interior plumbing that stays warm.
Proper insulation prevents the temperature inside from falling below freezing and avoids pressure buildup.
This insulation acts as a shield, keeping heat trapped while blocking the effects of sub-freezing air.
It also prevents damage to fittings, connectors, and the hose surface.
Questions and Answers
What is RV water hose insulation?
It’s the process of wrapping or covering your RV’s water hose with foam, heat tape, or thermal sleeves to keep it from freezing.
Why is the RV water hose more exposed than other lines?
It sits outside the RV, fully exposed to cold air and wind, while most plumbing stays protected inside.
When should you insulate your RV hose?
Before temperatures approach 35°F (1.6°C) to prevent early frost buildup.
Does insulation help in warm weather too?
Yes — it also protects against UV rays and prevents hose cracking.
Is insulation alone enough in extreme cold?
Not always. Combining insulation with a heat cable or heated water hose ensures maximum protection.
Common Problems Caused by Uninsulated RV Water Hoses
An uninsulated hose can freeze overnight, cutting off your water supply completely.
When ice expands, it adds pressure inside the hose that can cause cracks and ruptures.
According to Energy Department data, frozen water lines can generate over 2,000 psi of pressure — strong enough to burst most RV hoses.
This can flood storage compartments or damage the RV’s inlet fittings.
Even partial freezing reduces water flow, creates low pressure, and puts extra load on your pump.
These issues can lead to costly mid-winter repairs that insulation could easily prevent.
Questions and Answers
What happens when the hose freezes?
Water turns to ice, blocking flow and often cracking fittings once it thaws.
Can frozen hoses cause electrical issues?
Yes, leaks from burst hoses can damage nearby wiring or short out electrical systems.
Is low water pressure a warning sign?
Absolutely — weak flow often means ice is forming inside the hose.
Can thawing reopen cracks?
Yes. Rapid temperature changes after freezing can split weak spots in the hose.
Is prevention expensive?
Not at all. Insulating your hose costs less than $30, while repairs can cost hundreds.
Step-by-Step Guide to Insulating Your RV Water Hose
Insulating your hose is simple if you use the right materials and method.
This section covers how to protect your hose with foam, heat tape, and secure fittings.
Start by disconnecting your hose and drying it completely.
Then gather these essential tools and materials before beginning the insulation process.
What materials do you need?
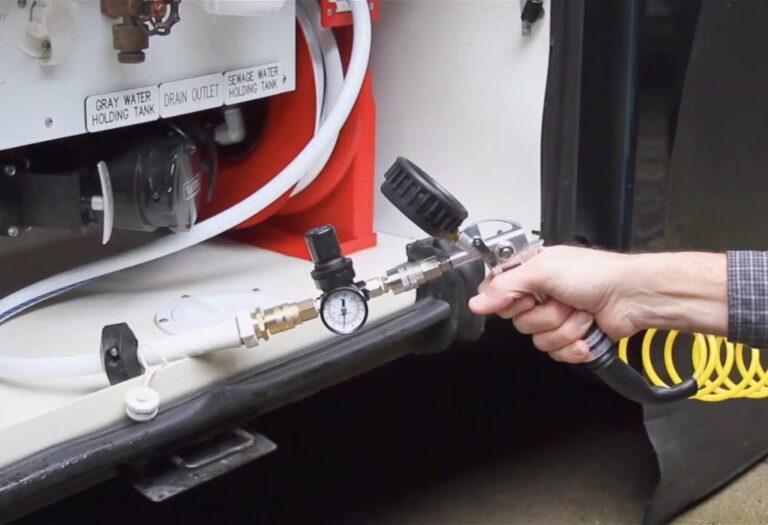
Use foam pipe insulation, heat tape or cable, duct tape, and faucet covers.
How to wrap the hose in foam insulation?
Slide split-foam tubes over the hose, sealing every seam with weatherproof tape.
When should you add heat tape?
If camping in below-freezing conditions. Wrap the heat cable along the hose before adding insulation.
What about heated hoses?
A heated hose has built-in heating elements and can be plugged in for continuous warmth.
How to protect hose ends?
Use faucet covers or wrap the fittings tightly with extra foam and tape to block airflow.
Advanced Insulation Strategies and Seasonal Considerations
For extreme climates, standard foam insulation may not be enough.
Additional measures like skirting, underbelly protection, and strategic hose placement can make a big difference.
RV skirting blocks cold air from circulating under your rig, reducing the freeze risk for hoses and tanks.
Keeping the hose slightly elevated and away from snow contact also prevents moisture damage.
What is RV skirting?
It’s a barrier placed around the base of the RV to block wind and trap warmer air underneath.
Can dripping water prevent freezing?
Sometimes. A slow drip may keep water moving but wastes water and isn’t reliable in deep freezes.
Should you disconnect the hose at night?
If you have a filled freshwater tank, yes — disconnect to avoid exposure in extreme cold.
How often should insulation be checked?
Inspect it weekly during winter and after any heavy snowfall or temperature drop.
Can condensation cause damage?
Yes, trapped moisture can freeze inside insulation and weaken the hose over time.
Checklist: Insulating Your RV Water Hose for Quick Results
Here’s a quick checklist to make sure your setup is winter-ready.
Follow these steps before the coldest nights hit to ensure reliable water flow.
- Dry your hose completely before applying insulation.
- Wrap with heat tape (if needed) along the entire length.
- Cover with foam pipe insulation, sealing seams tightly.
- Protect both hose ends with extra insulation or faucet covers.
- Check for gaps, cracks, or loose tape before connecting.
What’s the minimum insulation requirement?
Foam insulation around the hose and faucet covers at both ends.
What’s ideal for harsh winters?
Combine heat tape, foam insulation, and a heated hose for best results.
When to replace insulation?
Replace if foam is cracked, waterlogged, or detached.
How often to inspect during winter?
Every few weeks or after storms to ensure seams remain sealed.
Can insulation last more than one season?
Yes — with proper care, good-quality insulation can last two to three years.
What to Expect and How to Troubleshoot Failures
Even with proper insulation, issues can occur if parts loosen or insulation gets wet.
Understanding the signs helps you act before major damage happens.
If the hose feels stiff or water flow slows down, ice may be forming inside.
Loose seams or missing tape can also let cold air in and reduce protection.
Why does insulation loosen over time?
Temperature changes cause foam to expand and contract, opening seams.
What if water stops flowing suddenly?
Disconnect the hose, move it indoors to thaw, and inspect for cracks before reuse.
Can heat tape fail?
Yes — old or damaged cables lose efficiency and may need replacement.
How to check for cold spots?
Run your hand along the hose; if you feel cold sections, re-seal those areas.
When to replace the entire hose?
If you find leaks, weak spots, or severe wear even after re-insulating.
Conclusion
Insulating your RV water hose is one of the simplest and most effective ways to protect your water system in winter.
It prevents freezing, maintains water flow, and saves you from expensive repairs.
With just a few tools and the right technique, you can keep your RV water hose safe through the coldest months.
Start early, seal carefully, and inspect regularly — your winter camping trips will stay comfortable and worry-free.
I’m David R. Coleman, the founder, lead writer, and lifelong tool enthusiast behind GarageToolPro.com. With years of experience in automotive repair, woodworking, and home DIY projects, I created this platform to share practical tips, detailed tool reviews, and step-by-step guides that help mechanics, hobbyists, and homeowners get the job done right the first time.