How to Winterize a Tankless RV Water Heater
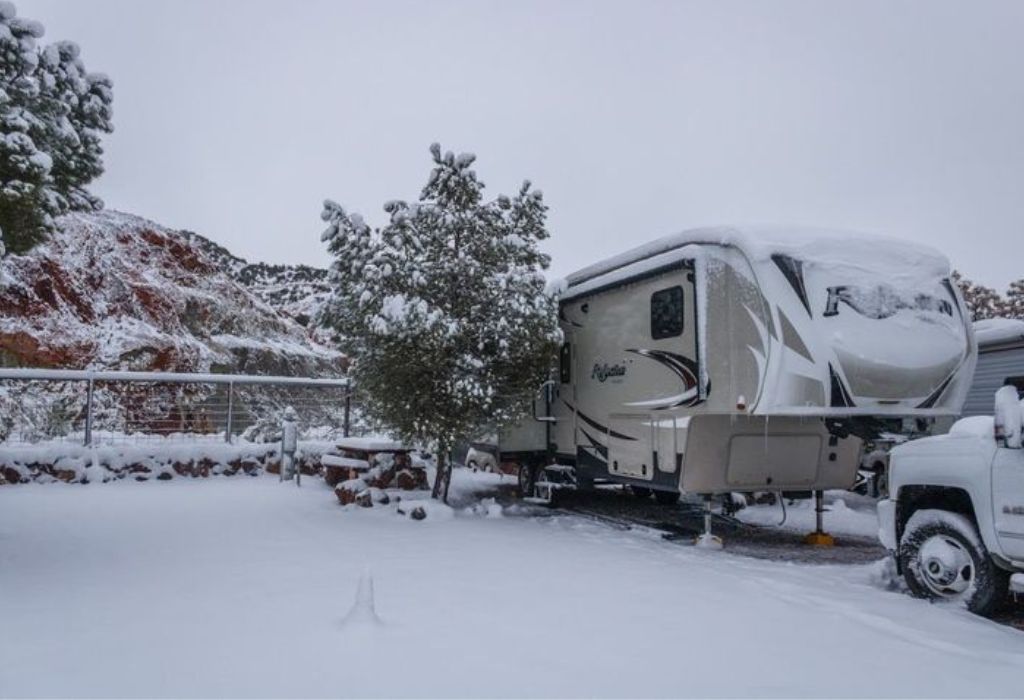
The crisp early winter morning greeted the RV parked on the edge of the forested campground only to unveil a chilling surprise: shattered fittings and a silent water heater.
Many RV owners assume that because they use a tankless system, the risk of freeze damage disappears—but hidden inside its heat exchanger lies enough water to cause expensive damage when temperatures drop.
In fact, insurers reported that winter storms caused over six billion dollars in insured losses in 2022, with frozen plumbing among the most preventable issues.
When that happens, repair costs for cracked valves or ruptured lines can reach hundreds or even thousands of dollars.
Understanding how to winterize a tankless RV water heater can protect your plumbing system, save on costly repairs, and ensure your heater lasts through many seasons.
This guide breaks down everything you need—from when to start, what tools to use, and how to follow each step correctly—so your next spring trip begins with a warm shower, not a frozen disaster.
What Is a Tankless RV Water Heater and Why Winterizing Matters
A tankless RV water heater, also called an on-demand unit, instantly heats water as it flows through internal coils.
This means there’s no large tank, making it lighter, compact, and more energy-efficient for RV travel.
However, tankless does not mean frost-proof.
Small amounts of water remain in the heat exchanger, valves, and fittings, which can freeze, expand, and cause internal cracks.
Even models with built-in freeze-protection depend on continuous electric or propane power.
Once your RV is disconnected or stored, that protection ends, leaving your system vulnerable.
Manufacturers warn that freeze damage voids most warranties unless owners properly winterize their heaters.
That’s why winterizing is essential not only for safety but for warranty protection and long-term performance.
Common Questions About Tankless RV Water Heaters
What makes a tankless RV water heater different from a standard one?
It heats water through a small heat exchanger instead of a storage tank, saving weight and providing continuous hot water.
If there’s no tank, can water still freeze inside?
Yes, residual water in the heater and plumbing can freeze if not drained or treated with RV antifreeze.
Do built-in freeze-protection systems eliminate winterizing?
No, they work only when power is on; when stored, manual winterization is still needed.
What kind of damage can freezing cause?
Cracked fittings, burst coils, or damaged valves that often require full replacement.
How often should you winterize your tankless RV water heater?
Every time your RV is stored or temperatures may drop below freezing.
When Should You Winterize the Tankless RV Water Heater
Winterization timing depends on your climate and travel schedule.
If temperatures regularly drop below freezing overnight, winterize before that point.
Even a few hours of sub-zero conditions can freeze water inside small pipes or the heater’s heat exchanger.
If you store your RV outside without climate control, winterization is mandatory.
Those traveling occasionally through cold regions should consider partial protection or a heated compartment.
But if you’re parking for more than 24 hours in below-freezing conditions, full winterization is safest.
Questions About Timing
How cold must it get before winterizing?
Whenever temperatures near freezing for more than a few hours, you should winterize.
Can you skip winterizing for short winter trips?
Only if you continuously heat the RV interior and plumbing, otherwise risk of freezing remains.
Do RVs with heated basements still need it?
Yes—heat may not reach every pipe or heater coil.
Should you winterize even with a cold-weather RV package?
Yes—factory insulation helps but doesn’t fully prevent freeze damage.
Step-by-Step: How Do You Winterize a Tankless RV Water Heater
The process involves shutting off utilities, draining the system, blowing out remaining water, adding RV antifreeze, and sealing everything up.
Follow these careful steps to protect your heater and plumbing system.
Step 1 – Turn Off Power, Gas, and Water Supply
Start by turning off the RV’s water pump, electric switch, and propane supply.
Disconnect from any city-water hookup to avoid pressure buildup.
This prevents the heater from running dry or accidentally cycling during the process.
Safety first—verify all power and gas valves are closed before you proceed.
Why is power disconnection necessary?
It ensures no heating occurs while the heater is empty, which could burn internal components.
Does disconnecting city water help?
Yes, it prevents refilling lines after they’ve been drained.
Should the propane line remain closed all winter?
Yes, close it tightly to avoid leaks or corrosion during storage.
Step 2 – Drain Fresh-Water Tank, Lines, and Heater
Open all low-point drain valves under your RV.
Turn on every hot and cold faucet to allow gravity to remove water from the plumbing system.
Remove the tankless water heater’s drain plug or filter screen.
Let the unit completely empty before moving to the next step.
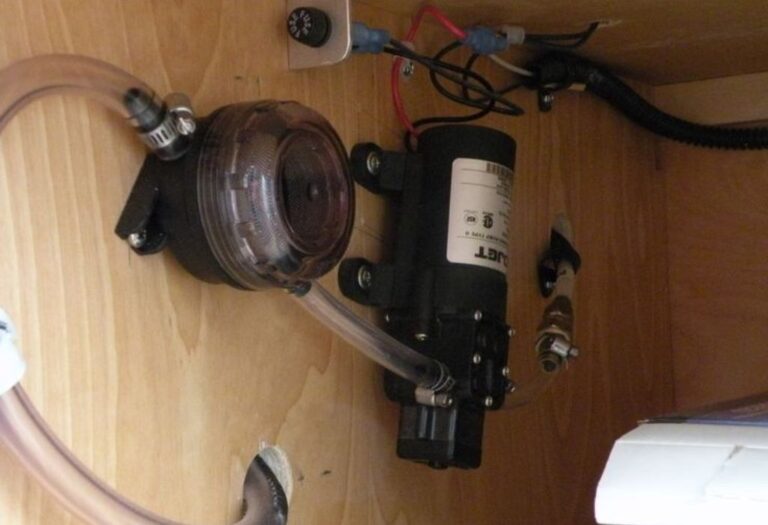
Use a small hand pump or compressed air if needed to push out stubborn water.
Always check that no water drips remain from the heater outlet or shower lines.
Why drain through low-point valves?
They’re positioned to empty the plumbing’s lowest sections efficiently.
Can you reuse the same drain pan as the fresh-water tank?
Yes—just be sure to dispose of drained water safely.
How long does draining take?
Usually 10–15 minutes depending on line length and pressure.
Step 3 – Blow Out the Plumbing (Optional but Smart)
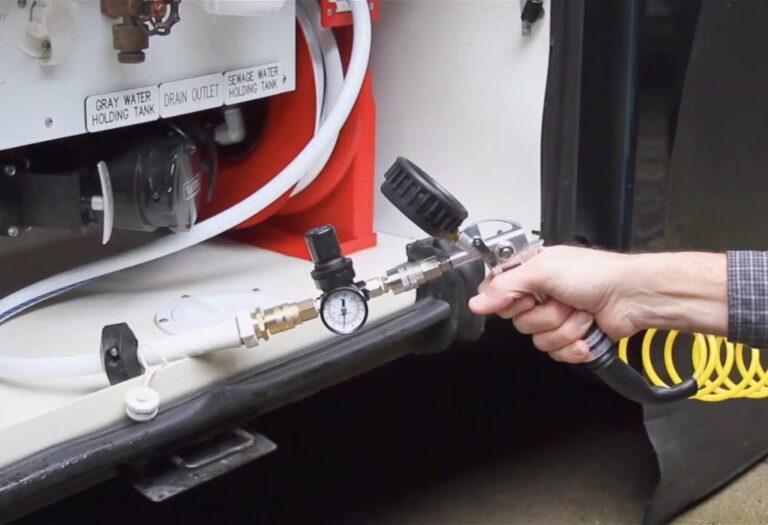
Use a blow-out plug or adapter at the city-water inlet and attach a compressor set to about 30 psi.
Slowly blow air through all hot and cold lines until no water sprays out of faucets.
Avoid exceeding 40 psi to prevent damage to fittings or valves.
This step clears trapped water the drain method might miss—especially important for tankless systems.
Why is compressed air helpful?
It removes hidden water from tight bends and heater coils.
Is this step mandatory?
Not mandatory but highly recommended for complete freeze protection.
Can excessive pressure harm the heater?
Yes—keep below 40 psi to avoid cracking plastic connections.
Step 4 – Add Non-Toxic RV Antifreeze
Pour or pump RV-safe pink antifreeze through the water lines until it reaches every fixture.
Turn on each faucet—both hot and cold—until pink fluid appears.
Don’t forget the outside shower, toilet, and washer hookups.
This ensures all pipes, fittings, and heater passages are protected.
Because the tankless heater lacks a bypass valve, allow antifreeze to flow through it fully.
Most systems require about two to four gallons of fluid for complete coverage.
Why must antifreeze pass through the tankless heater?
Residual water inside the heat exchanger can freeze if bypassed.
Which antifreeze should be used?
Choose only non-toxic propylene-glycol RV antifreeze—not automotive types.
How can you tell it reached all lines?
When every faucet runs pink, the system is filled.
Step 5 – Seal and Finalize
Close all drains and reinstall plugs or filters on the heater.
Pour about one cup of antifreeze into each sink and shower P-trap.
Add a small amount into the toilet bowl to keep seals moist.
Inspect exterior fittings, hoses, and the water-heater compartment for insulation gaps.
Finally, label the water heater as “winterized” to remind yourself before spring startup.
Why add antifreeze to P-traps?
It prevents residual water from freezing and cracking the curved drain section.
Should you leave the pump on after winterizing?
No—turn it off to avoid pressurizing the antifreeze system.
Can you cover the heater vent?
Yes, with breathable material to keep debris out while allowing air circulation.
Common Mistakes When Winterizing a Tankless RV Water Heater
Many RV owners make costly errors while trying to protect their systems.
Avoiding these simple mistakes can save major repair bills.
One common error is bypassing the heater during antifreeze application.
Unlike tanked systems, tankless units must not be bypassed or freeze damage can occur.
Using automotive antifreeze is another mistake—its chemicals are toxic and unsafe for potable systems.
Always use RV-safe antifreeze labeled for drinking-water plumbing.
Failing to drain completely before adding antifreeze can cause dilution and poor protection.
Even a small amount of leftover water can lower antifreeze concentration and freeze faster.
Why shouldn’t you over-pressurize the system with air?
Because thin RV plumbing and heater components can burst under excess pressure.
Is one winterization enough for the entire season?
Yes, but inspect monthly if exposed to extreme temperature fluctuations.
Post-Winter Maintenance and Spring Re-Start Checklist
When spring arrives, flush the system thoroughly before using it again.
Reconnect the water source, open all faucets, and let fresh water push out the antifreeze until the fluid runs clear.
Check for leaks around fittings, drain plugs, and the heater compartment.
Inspect the exhaust vent for debris or insects before relighting propane.
Turn the water heater on only after confirming full water flow and no air pockets.
Run hot water for several minutes to ensure complete circulation.
How do you remove the antifreeze taste?
Flush with a baking-soda solution or vinegar rinse until neutral.
Should you check the heater’s heat exchanger annually?
Yes—clean mineral buildup and inspect for corrosion.
Can you reuse leftover antifreeze next year?
No—dispose responsibly and always use fresh solution.
Conclusion
Learning how to winterize a tankless RV water heater ensures your RV’s water system survives freezing temperatures without damage.
The key steps—draining, blowing out, adding antifreeze, and sealing properly—protect delicate heater components and plumbing lines.
By following these proven methods, you preserve warranty coverage, save money on repairs, and travel confidently year after year.
Winterizing may take less than an hour, but it provides months of peace of mind when your RV rests through the coldest nights.
I’m David R. Coleman, the founder, lead writer, and lifelong tool enthusiast behind GarageToolPro.com. With years of experience in automotive repair, woodworking, and home DIY projects, I created this platform to share practical tips, detailed tool reviews, and step-by-step guides that help mechanics, hobbyists, and homeowners get the job done right the first time.