How to Replace an RV Water Heater Step by Step
Imagine setting up camp after a long drive, turning on the shower, and feeling only a burst of cold water instead of the warm comfort you expected. A malfunctioning RV water heater can instantly turn an enjoyable trip into a frustrating, uncomfortable experience.
Water heaters inside RVs work tirelessly to provide the same home-like convenience on the road. But when leaks, rust, or heat loss start showing up, most travelers are unsure whether repair or replacement is the right move. This uncertainty often leads to costly damage that could have been avoided with timely action.
Statistics show that over 58% of RV maintenance issues involve plumbing or water systems, with hot water tanks being among the top culprits. Sediment buildup, corrosion, or burnt-out heating elements can slowly degrade performance until the heater stops working altogether. Once that happens, the only solution is often a full replacement.
Fortunately, replacing a RV water heater is not as complicated as it seems when you understand the correct process. Proper preparation, compatible parts, and safe handling of propane or electrical lines make it a manageable DIY project. In fact, newer models can increase heating efficiency by up to 20%, helping reduce propane or electricity usage on long trips.
This guide explains every step of how to replace a RV water heater — from spotting the warning signs to completing installation safely. By following these methods, RV owners can restore comfort, prevent leaks, and ensure dependable hot water every time they hit the open road.
What Is a RV Water Heater and Why It Matters
A RV water heater is the system that provides continuous hot water for showers, dishes, and cleaning while you travel. It brings household convenience into a compact space, ensuring your adventures stay comfortable wherever you park.
These small yet powerful units heat and store water using propane, electricity, or both. Their reliability affects everything from daily hygiene to preventing plumbing issues caused by cold-water shocks.
What does an RV water heater actually do?
It heats freshwater and delivers it through the RV’s plumbing system to faucets, sinks, and appliances that require hot water.
What types of RV water heaters are available?
Most RVs feature tank-style heaters that hold 6 to 10 gallons, while newer units use tankless technology for endless hot water on demand.
Why does proper maintenance matter so much?
Neglecting maintenance causes sediment buildup, corrosion, and energy waste that shorten the heater’s lifespan and increase propane or electric use.
How long does a typical RV water heater last?
With proper care, a tank unit lasts about 8 to 12 years, while tankless models can reach 15 years or more before replacement.
What are the signs that your current water heater is failing?
Slow heating, rust-colored water, dripping from the access door, or a pilot light that keeps going out signal it’s time to plan a replacement.
Signs It’s Time to Replace Your RV Water Heater
Spotting early warning signs can help avoid a complete breakdown during a trip. Minor issues often escalate quickly if ignored, leading to leaks or system failure.
One of the most obvious signs is a puddle of water under the heater compartment. Rusty water, inconsistent heating, and persistent ignition failures also point toward internal damage.
Why does rusty or discolored water matter?
It often indicates corrosion inside the tank, meaning the anode rod or lining is deteriorating.
What causes inconsistent water temperatures?
Sediment buildup reduces heating efficiency, preventing even water circulation inside the tank.
Is a leaking heater repairable?
Small drips from fittings can sometimes be sealed, but internal tank leaks require full replacement.
Why does the pilot or ignition keep failing?
Worn igniters or faulty control boards are symptoms of aging systems that usually need replacement.
How can water damage spread from a faulty heater?
Leaks can soak the subfloor or insulation, leading to mold growth and costly structural repairs.
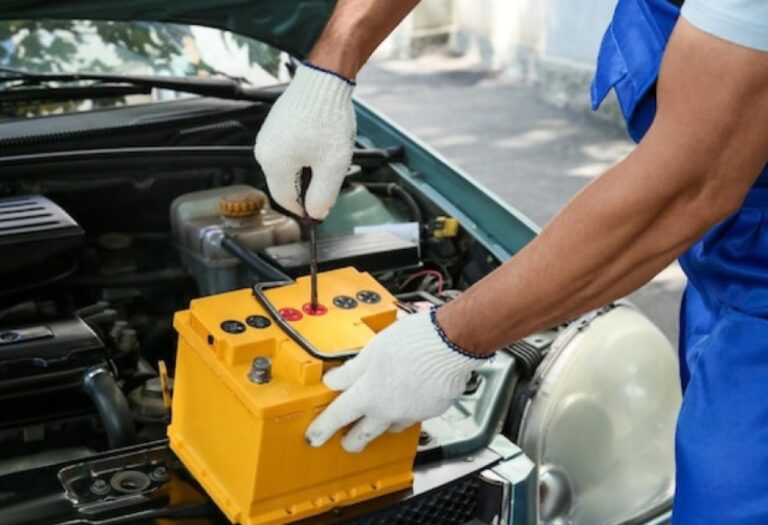
Tools, Parts, and Preparation Before Replacement
Replacing an RV water heater requires organization and safety. Gather all necessary tools before starting to avoid interruptions during installation.
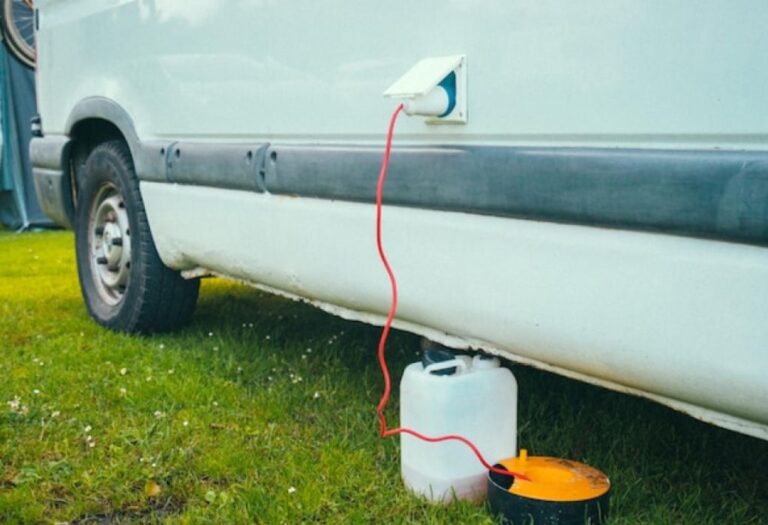
Turn off all power sources, propane lines, and water supplies. Drain the tank completely before disconnecting any lines to prevent spillage.
What tools do you need for the job?
You’ll need screwdrivers, adjustable wrenches, Teflon tape, sealant, a multimeter, and safety gloves.
How do you pick the right replacement model?
Check the brand and model of your current heater and choose a replacement with identical or compatible dimensions and fuel type.
Why is turning off power and gas essential?
It prevents electric shock and propane leaks that can lead to fires or injuries.
Should you measure the old unit before buying a new one?
Yes — some openings vary by model year, and a proper fit ensures easier sealing and venting.
What additional materials might be required?
Fresh sealant, cone washers, butyl tape, and new fittings are often needed to ensure leak-free connections.
Step-by-Step Replacement Process
The replacement process involves careful disconnection, removal, and installation of the new water heater. Work slowly and verify each connection before restoring power.
Begin by removing the exterior cover and disconnecting both the water lines and the propane or electric connections. Once detached, carefully slide out the old unit.
Step 1: How do you safely drain the old tank?
Open the pressure relief valve and remove the drain plug to let all water escape before removal.
Step 2: How do you detach gas and water lines?
Use wrenches to loosen flare fittings and cap the propane line immediately after removal for safety.
Step 3: How should you prepare the new heater?
Apply butyl tape around the mounting flange and verify factory-installed plugs are tight.
Step 4: How is the new heater installed?
Slide the new unit into place, secure it with screws, and reconnect the gas, water, and electrical lines.
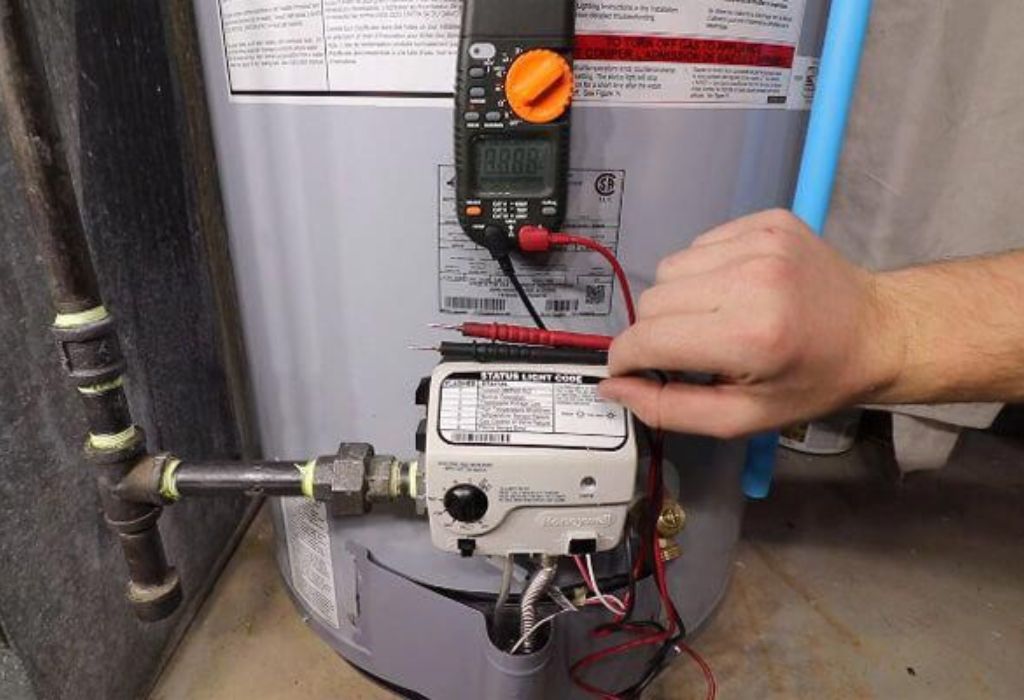
Step 5: How do you check for leaks or proper operation?
Pressurize the water system, test for leaks, then ignite the burner or switch on electric mode to confirm heating works.
Post-Installation Checks and Maintenance Tips
Once installed, the system should be tested under full pressure and temperature to confirm correct operation. Maintenance keeps the heater efficient and safe for future trips.
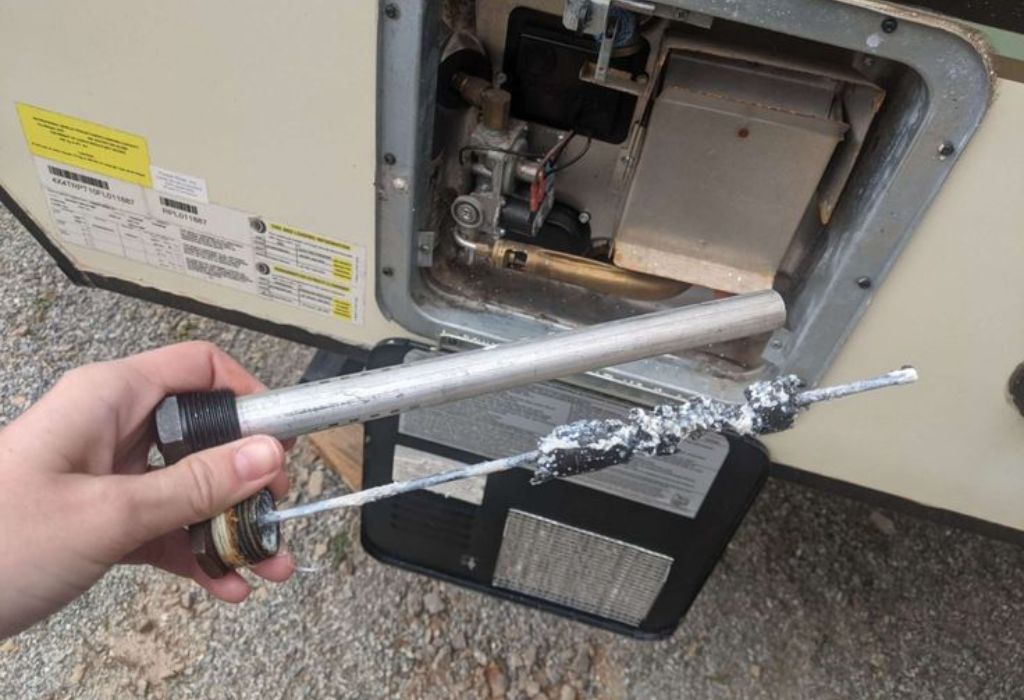
Always flush the tank every few months and inspect the anode rod annually to prevent mineral buildup and corrosion.
How often should the heater be flushed?
At least once every season or more frequently if you camp in hard-water regions.
Why check the pressure relief valve regularly?
It prevents dangerous over-pressurization by releasing excess steam or hot water.
What causes reduced efficiency after replacement?
Improper sealing, poor ventilation, or buildup inside pipes can reduce heating power.
Should an anode rod be replaced regularly?
Yes — it should be changed once it’s 75% corroded to protect the tank from rust.
Can you add insulation to improve performance?
Insulating cold-water lines or installing a heater blanket can improve heat retention and reduce propane use.
Cost, Safety, and When to Call a Professional
While many RV owners prefer the DIY approach, professional installation may be necessary if the setup involves complex electrical or gas systems. Safety always takes priority over savings.
Costs depend on the heater model and labor rates, but even professional jobs can be more affordable than emergency repairs from leaks or gas issues.
How much does it typically cost to replace a RV water heater?
Prices range from $500 to $1,500 including labor, depending on the type and accessibility.
What safety risks are associated with DIY installation?
Improper gas fittings, wiring errors, or water leaks can cause fire, shock, or flooding.
When should you hire a certified technician?
If your RV has integrated gas lines or electrical panels, a licensed RV service professional should handle the work.
Does warranty coverage affect installation choices?
Yes — many manufacturers void warranties if non-certified personnel install the unit.
What’s the best way to find a qualified installer?
Search for RVIA-certified technicians or trusted repair shops that specialize in propane and electrical systems.
Conclusion
Replacing a RV water heater might seem intimidating at first, but understanding the process simplifies it into a series of manageable steps. With the right preparation, tools, and safety measures, even a beginner can restore reliable hot water without major expense.
A properly installed heater keeps showers comfortable, dishes clean, and plumbing systems protected from cold-weather strain. Whether you do it yourself or hire a professional, learning how to replace a RV water heater ensures every journey stays warm, efficient, and worry-free.
I’m David R. Coleman, the founder, lead writer, and lifelong tool enthusiast behind GarageToolPro.com. With years of experience in automotive repair, woodworking, and home DIY projects, I created this platform to share practical tips, detailed tool reviews, and step-by-step guides that help mechanics, hobbyists, and homeowners get the job done right the first time.