How to Install a Tankless Water Heater in RV
Running out of hot water in the middle of a shower can ruin any RV trip.
Traditional RV water heaters store limited hot water, often running cold after a few minutes.
That’s why more travelers are switching to tankless water heaters — compact systems that deliver endless hot water on demand.
They’re efficient, reliable, and surprisingly simple to install with the right tools and guidance.
In this detailed guide, you’ll learn how to install a tankless water heater in an RV, what tools you’ll need, common mistakes to avoid, and how to maintain it for years of reliable use.
Why Upgrade to a Tankless Water Heater in Your RV?

A tankless water heater doesn’t store water — it heats it instantly as it flows through the unit.
That means no waiting, no limited capacity, and no energy wasted reheating unused water.
RV owners love the upgrade for three main reasons: efficiency, comfort, and convenience.
According to Energy.gov, tankless water heaters are up to 34% more efficient than traditional ones (source).
Why are tankless water heaters better for RVs?
They save propane, provide unlimited hot water, and take up less space.
Can they work off-grid?
Yes. Propane-powered models run perfectly in off-grid conditions with minimal electricity.
Do they heat water instantly?
Yes — you’ll get hot water in about 10 to 20 seconds, depending on pipe length.
Are they difficult to maintain?
Not at all — routine flushing once or twice a year keeps them in top shape.
Do they improve comfort?
Absolutely. You’ll never run out of hot water mid-shower again.
Tools and Supplies You’ll Need
Before starting, gather all materials to ensure a smooth installation.
Having the right tools prevents damage to fittings and ensures a leak-free setup.
Essential Tools:
- Adjustable wrench set
- Drill and screwdriver
- Teflon tape or pipe thread sealant
- Hose clamps and fittings
- Safety gloves and goggles
- Propane leak detection spray
Additional Supplies:
- Venting kit (for exterior exhaust)
- Mounting brackets
- PEX tubing or reinforced hoses
- RV-grade silicone sealant
Can beginners handle this installation?
Yes — as long as safety precautions are followed carefully.
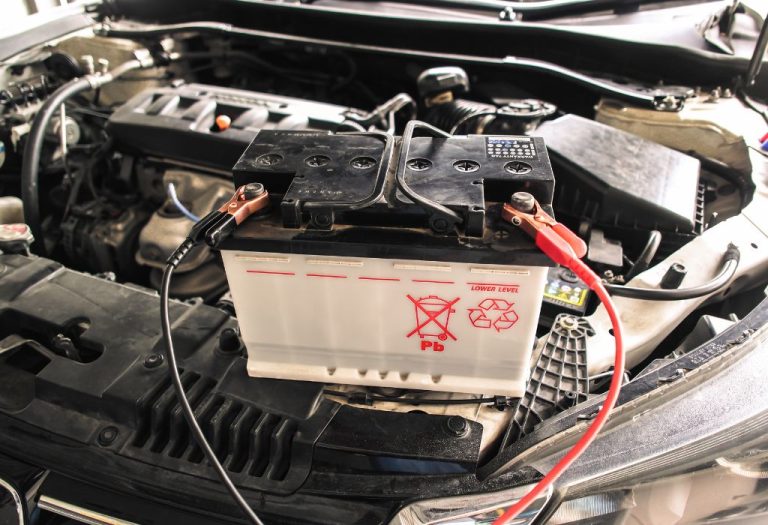
Should power and gas be off before work begins?
Always. Shut off water, propane, and electrical power before removing the old unit.
Is a venting kit required?
Yes. Proper ventilation prevents exhaust buildup and improves heater lifespan.
Step-by-Step Installation: How to Install a Tankless Water Heater in an RV
Installing a tankless unit may seem complex, but following these steps simplifies the process.
Each stage ensures safety, performance, and long-term reliability.
1. Remove the Old Water Heater
Turn off propane and disconnect power and water lines from your old water heater.
Remove screws and slide the unit out carefully to avoid damaging the compartment.
How long does removal take?
Usually about 45 minutes.
Should you clean the cavity?
Yes — remove old sealant, debris, and insulation before fitting the new unit.
2. Prepare the Mounting Area
Make sure the new tankless heater fits the existing opening.
If not, adjust framing or add brackets for support.
Do tankless models fit the same space?
Most are designed as direct replacements for 6- or 10-gallon RV heaters.
Is extra insulation necessary?
Yes — sealing gaps prevents cold drafts and heat loss.
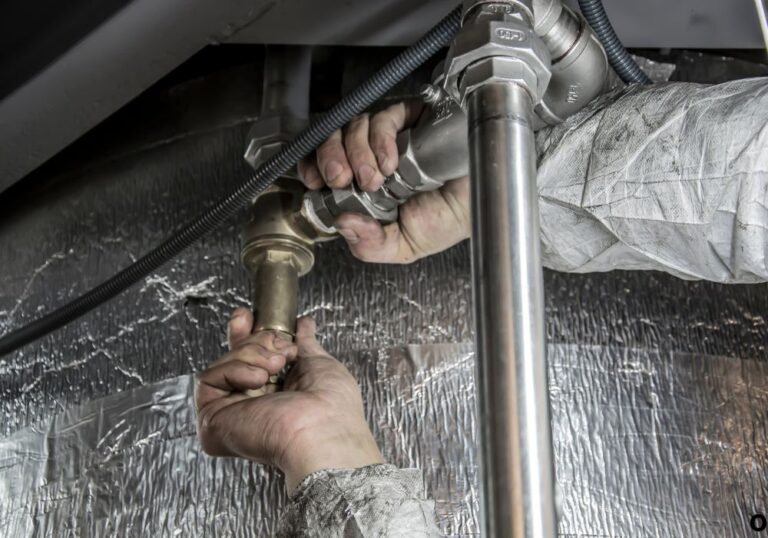
3. Connect the Water Lines
Attach the cold water inlet and hot water outlet using PEX tubing or reinforced hose.
Use Teflon tape to seal threads and tighten with a wrench.
Can you reuse old fittings?
Only if they’re corrosion-free and fit perfectly.
Do you need to flush the lines first?
Yes — this removes debris and prevents sensor blockage inside the new heater.
4. Hook Up the Propane Line
Connect the propane supply to the new heater’s inlet.
Use a flexible gas line approved for RV use and tighten all joints.
How do you check for leaks?
Apply leak-detection spray or soapy water — bubbles indicate leaks.
What pressure is ideal?
Between 10–14 inches WC (water column).
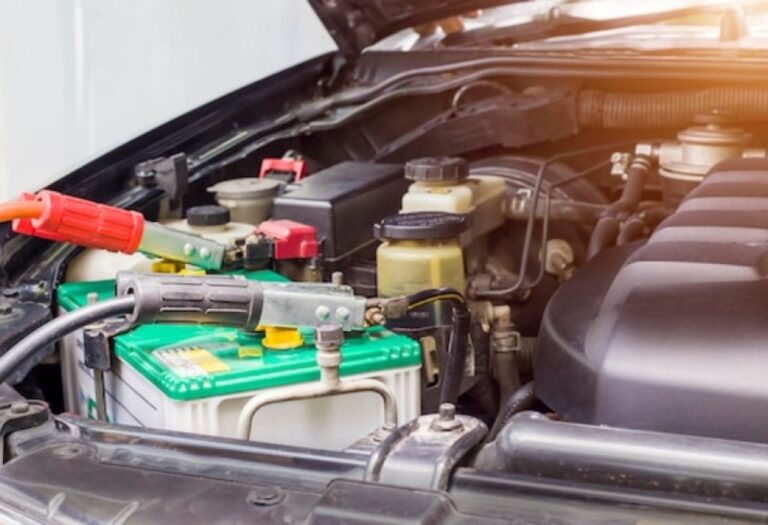
5. Wire the Electrical Connection
If your unit requires a 12V connection, wire it according to the manual’s polarity chart.
Secure all terminals and insulate with heat-resistant connectors.
Do all tankless heaters need electricity?
No — propane-only models rely on battery ignition systems.
Can you use existing wiring?
Yes, if it meets the amperage rating of the new heater.
6. Vent the Unit
Attach the venting pipe and exhaust cover as per manufacturer guidelines.
Ensure it directs gas safely outside the RV.
What happens if venting is poor?
Improper ventilation can cause overheating or carbon monoxide buildup.
Do you need sealant around the vent?
Yes — apply RV-grade silicone to weatherproof all seams.
7. Test the System
Turn on the propane and water supply, then power up the unit.
Run hot water for several minutes to confirm consistent temperature.
How quickly does hot water appear?
Usually within 15 seconds once the flow sensor activates.
Do you need to bleed air first?
Yes — open all hot water faucets briefly to purge trapped air.
Common Installation Mistakes to Avoid
Even small mistakes can cause leaks, inefficiency, or safety issues.
Avoid these common errors during your RV tankless heater installation.
Mistake 1: Skipping leak tests
Always test gas and water connections after installation.
Mistake 2: Poor ventilation
Inadequate venting traps exhaust gases, risking heater shutdowns.
Mistake 3: Incorrect wiring polarity
Reversed wires can blow fuses or damage internal controls.
Mistake 4: Overtightening fittings
Excess pressure on PEX or brass fittings can crack threads.
Mistake 5: Ignoring water pressure limits
Tankless systems work best between 30–60 PSI — check with a gauge before use.
Post-Installation Maintenance Tips
A tankless water heater can last 10–15 years with regular care.
Routine maintenance keeps heating elements clean and prevents costly damage.
How often should you flush the system?
Every 6–12 months to remove mineral buildup.
Can you use vinegar to descale?
Yes — run white vinegar through the inlet for 45 minutes to dissolve deposits.
Do inlet filters need cleaning?
Yes — rinse filters under water every few months for steady flow.
Should you winterize before storage?
Absolutely. Drain all water lines and use RV antifreeze in freezing climates.
What causes inconsistent heating?
Clogged filters or low propane pressure can disrupt water flow and ignition timing.
Safety Tips for Tankless Water Heater Installation in RV
Safety is non-negotiable when dealing with propane, electricity, and pressurized water.
Follow these best practices during and after installation.
1. Use a Carbon Monoxide Detector
Install a CO alarm near the water heater to detect exhaust leaks.
2. Inspect Seals Regularly
Vibration from travel can loosen fittings — recheck seals every few trips.
3. Never Operate While Driving
Shut off propane systems while the vehicle is in motion for safety.
4. Ventilate Properly
Keep exhaust vents clear of obstructions like awnings or covers.
5. Follow Manufacturer Instructions
Each brand has specific installation angles and clearance requirements.
Performance and Benefits of a Tankless RV Water Heater
Installing a tankless water heater isn’t just a comfort upgrade — it’s a lifestyle improvement.
You’ll save energy, reduce fuel use, and enjoy endless hot water anywhere you travel.
Efficiency: Heats water only when needed, reducing propane consumption by up to 40%.
Space Saving: Compact units free up valuable storage space in your RV.
Comfort: Provides steady water temperature for back-to-back showers.
Durability: Longer lifespan than standard tank heaters with proper care.
Do tankless heaters increase RV value?
Yes — upgrades like this improve resale appeal and modernize older rigs.
Can you run multiple fixtures at once?
Yes, but water flow may reduce slightly depending on unit capacity.
Do they work in winter?
Yes, cold-climate models include freeze protection systems.
Are they noisy?
Most models operate quietly, producing a soft ignition sound only at startup.
Cost and Installation Time
Understanding costs helps you budget effectively for your RV upgrade.
Average Equipment Cost:
$400–$1,000 depending on size, brand, and fuel type.
DIY Installation Time:
3–6 hours for most RV owners with basic tools.
Professional Installation Cost:
Typically $200–$400 in labor.
Additional Expenses:
Sealants, vent kits, and fittings may add $50–$150.
Are tankless systems worth the investment?
Yes — fuel savings and comfort quickly offset upfront costs within a few years.
Troubleshooting and Quick Fixes
Even with a proper installation, occasional issues can arise.
Knowing basic troubleshooting keeps your system running efficiently.
Why won’t the heater ignite?
Check propane supply, battery voltage, and flow rate.
Why is water temperature fluctuating?
Adjust flow rate or clean filters to ensure consistent heating.
Why does the heater shut off mid-use?
Low propane or blocked ventilation can trigger automatic shutdown.
Why is the water lukewarm?
Increase temperature setting or ensure proper gas pressure.
What if error codes appear?
Refer to the manufacturer’s manual — codes identify specific issues like ignition or sensor faults.
Final Thoughts: Upgrade Your RV Comfort
Knowing how to install a tankless water heater in RV empowers you to travel smarter and live more comfortably.
The upgrade offers unlimited hot water, lower fuel use, and modern efficiency — all packed in a small, durable unit.
Follow each step carefully, double-check all seals, and perform a full leak test before operation.
Once installed, you’ll enjoy the luxury of instant hot showers anywhere your adventures take you.
Whether you’re parked in the mountains or boondocking off-grid, a tankless water heater transforms your RV into a true home on wheels.
I’m David R. Coleman, the founder, lead writer, and lifelong tool enthusiast behind GarageToolPro.com. With years of experience in automotive repair, woodworking, and home DIY projects, I created this platform to share practical tips, detailed tool reviews, and step-by-step guides that help mechanics, hobbyists, and homeowners get the job done right the first time.