How to Drain an RV Water Heater Safely
Bright sunset skies faded behind the mountains as the RV pulled into its site, yet the hot-water tank inside sat full of heritage and trouble. A sudden cold shower greeted the occupants, the tank silenced by mineral build-up that had crept in undetected. What could have been a relaxing evening turned into a hands-on maintenance moment and a reminder: skipping routine service invites surprise repairs.
Many RVers overlook a simple step: learning how to drain an RV water heater. In fact, flushing and draining a water tank that has sat unused can prevent odours, leaks and costly replacement bills. According to maintenance experts, sediment accumulation and corrosion from neglected tanks reduce lifespan by up to 30 percent.
This guide reveals why such maintenance is essential, walks through every step of the process and highlights common pitfalls specific to RV systems. By mastering how to drain an RV water heater safely, the benefits become clear: cleaner hot water, longer tank life and fewer expensive repairs. Let’s dive into why this procedure matters now.
Why It Matters to Learn How to Drain an RV Water Heater

Many RV owners assume that once the water heater delivers steady hot water, it’s fine to ignore it — until that first cold shower or sulfur smell proves otherwise. Every time the heater warms water, minerals and sediment collect inside the tank, eventually forming a layer that traps heat and accelerates corrosion. Over time, this build-up not only reduces efficiency but can also cause the tank to overheat or crack.
Draining the water heater is the simplest and most effective way to remove those impurities and extend its lifespan. It also helps maintain consistent water temperature, prevents clogging in faucets, and keeps the anode rod functioning correctly. According to RV Pro Care, regular draining and flushing can reduce heater-related failures by nearly 40 percent (source).
What happens if the tank isn’t drained?
Sediment settles at the bottom, reducing heat transfer efficiency and creating “hot spots” that damage the tank lining.
How often should this be done?
Drain the RV water heater at least once per year, and after every long trip or storage period (Camping World).
Does it matter for small RVs or motorhomes?
Yes — smaller tanks heat faster, so mineral deposits accumulate more quickly.
Can draining prevent bad smells?
Absolutely — stagnant water can react with bacteria and the anode rod, causing that rotten-egg odour many RVers notice after storage.
Is draining only for winterising?
No — while it’s critical before freezing weather, it’s equally important year-round for performance and safety.
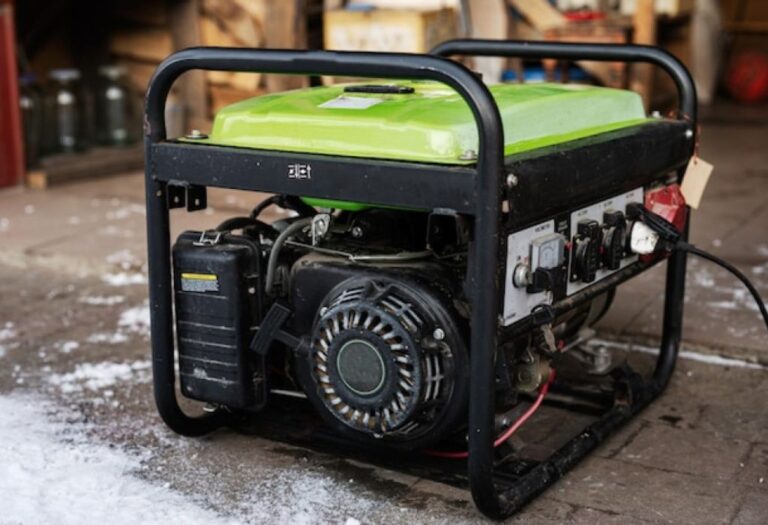
Key Tools and Safety Checklist Before Starting
Before opening any valves, safety comes first. The RV water heater operates under pressure and, if mishandled, can cause injury or damage. Preparing correctly ensures a smooth and safe process.
Start by turning off both power sources: the 120 V electric element and the propane burner. Allow the tank to cool completely — hot water under pressure can erupt dangerously if opened too soon.
Which power sources must be turned off?
Both electricity and propane supply must be off. Unplug the RV or flip the breaker for electric systems, and switch off the LP-gas control.
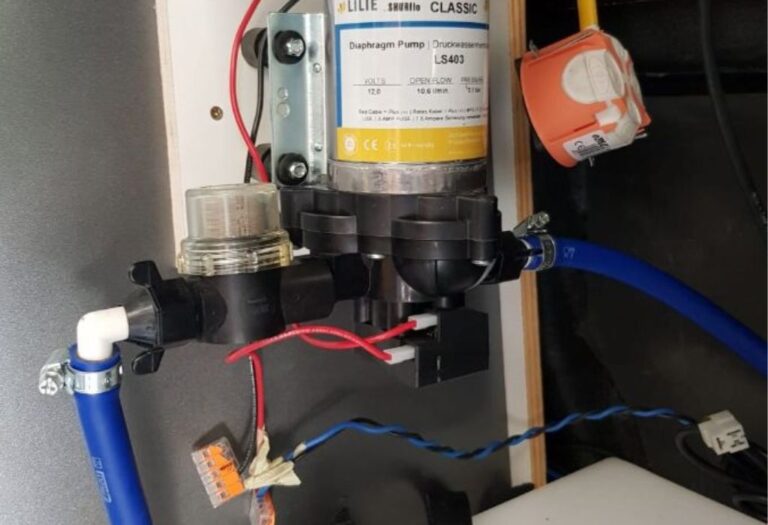
What tools are required?
You’ll need a socket wrench (usually 1 1/16-inch for Suburban, 15/16-inch for Atwood), a bucket or hose for draining, gloves, Teflon or plumber’s tape, and optionally a rinse wand (Camping World).
What safety steps are essential?
Ensure the tank is cool, the water supply is turned off, and pressure is released using the relief valve.
Where is the drain plug located?
Typically at the lower part of the tank, accessible through the exterior service panel. Some tanks use an anode rod that doubles as the plug.
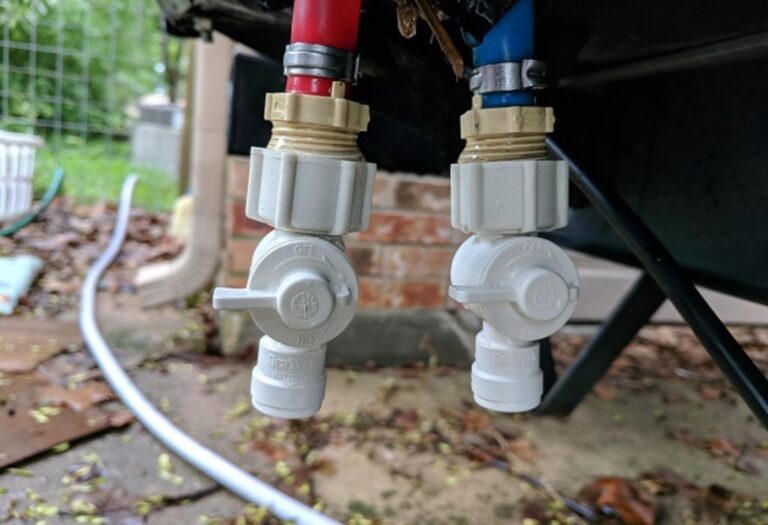
Should you disconnect city-water or pump feed?
Yes — to prevent automatic refilling while draining. Turn off the city-water connection or switch off the water pump.
Taking time for these steps guarantees that draining proceeds safely and cleanly, avoiding burns or sudden pressure bursts.
Step-by-Step: How to Drain an RV Water Heater
Once the system is safely powered down and cooled, the draining process begins. Work slowly and follow each step carefully to prevent mess or damage.
Step 1: Allow the heater to cool completely
Wait until the tank temperature drops below 100 °F. Hot water under pressure can be hazardous if released suddenly.
Step 2: Open a hot-water faucet inside the RV
This releases air pressure and allows water to flow smoothly from the tank.
Step 3: Lift the pressure-relief valve
Open it to equalise pressure before removing the plug. Keep it open during draining for smoother flow.
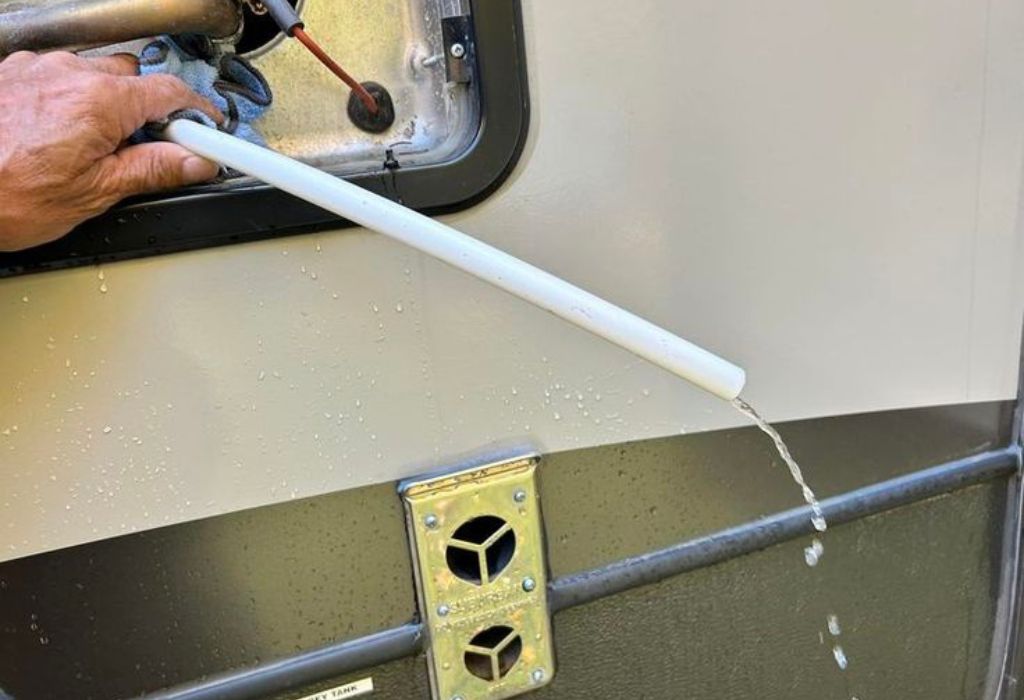
Step 4: Remove the drain plug or anode rod
Use the correct socket to unscrew the plug counterclockwise. Water will gush out, so direct the flow through a hose or into a bucket.
Step 5: Flush remaining sediment
Attach a flushing wand or low-pressure hose into the opening. Move it around to stir up and remove debris until the water runs clear. According to Camping World, routine flushing keeps the tank’s heat transfer up to 15 percent more efficient (source).
Step 6: Re-install plug and refill tank
After the water runs clear, wrap plumber’s tape on the plug threads, reinsert tightly, close the relief valve, and restore water supply. Refill before turning on power or propane.
Tips for Different RV Water Heater Models
Different water-heater brands use slightly varied materials and parts, which change how you drain or maintain them.
Do aluminium-tank models need an anode rod?
No. Aluminium tanks are corrosion-resistant and do not require sacrificial rods, but still benefit from regular draining.
What socket size is common?
Most Suburban tanks use 1 1/16-inch, while Atwood and Dometic may use 7/8-inch or 15/16-inch plugs.
Can a low-point drain be added?
Yes — installing a ball-valve adapter or quick-drain fitting at the plug location can make future draining faster.
Are there manufacturer-specific cautions?
Yes — for example, Suburban warns against using automotive antifreeze inside the tank as it destroys the anode rod.
What about long-term storage?
Before storing your RV, always drain and bypass the water heater. Leave the plug off for ventilation if safe and dry.
Following model-specific guidelines prevents costly corrosion or part damage and simplifies seasonal prep.
Common Problems and How to Fix Them
Even careful owners encounter issues during draining. Knowing how to troubleshoot keeps frustration low.
The drain plug is stuck or rounded off
Use a socket with solid leverage; avoid pliers that strip edges. If plastic plugs deform, replace them immediately.
Water still dribbles after reinstalling the plug
Wrap new Teflon tape on threads, tighten gently but firmly, and check for cross-threading.
Sediment won’t flush completely
Use a rinse wand or burst of city-water pressure under 80 psi until the discharge runs clean.
Pressure-relief valve leaking afterward
Debris on the seat can cause leaks. Lift the valve briefly to rinse, then close it firmly. Replace if it continues.
No hot water after draining
Make sure the tank is fully refilled before powering on. Dry heating elements burn out quickly if the tank is empty.
These quick fixes can resolve 90 percent of issues you may encounter while performing routine maintenance.
Maintenance Schedule and Best Practices
Draining and flushing aren’t one-time tasks; they should be part of every maintenance cycle.
How often should an RV water heater be drained?
At least once a year, and after any long storage or extended trip.
When’s the best time to drain?
After your last trip of the season or whenever you notice slower heating or discoloured water.
What other components should you inspect?
While draining, examine the anode rod. Replace it if more than 75 percent deteriorated. Check wiring, burner tubes, and fittings for leaks.
Can draining extend tank life?
Yes — proper maintenance can double the lifespan of RV heaters, saving hundreds of dollars in replacements.
What about freezing climates?
Always drain completely and use RV-safe antifreeze in lines, not in the tank itself, before winter storage.
According to Harvest Hosts, RVs stored without draining the water heater are three times more likely to suffer cracked tanks due to freezing (source).
Conclusion
Knowing how to drain an RV water heater safely is more than a maintenance routine — it’s a habit that protects your comfort and investment. Regular draining clears sediment, prevents odours, and keeps water systems running efficiently.
Whether you’re winterising your RV, preparing for storage, or simply extending your heater’s life, following this step-by-step process ensures reliability on every journey. Make it part of your yearly checklist, mark it on your maintenance calendar, and enjoy worry-free showers on the road.
I’m David R. Coleman, the founder, lead writer, and lifelong tool enthusiast behind GarageToolPro.com. With years of experience in automotive repair, woodworking, and home DIY projects, I created this platform to share practical tips, detailed tool reviews, and step-by-step guides that help mechanics, hobbyists, and homeowners get the job done right the first time.