How to Blow Out RV Water Lines for Winter
Frozen RV water lines can lead to serious damage, resulting in expensive repairs and a lot of stress.
Even a small crack in a pipe caused by ice expansion can ruin a plumbing system and contaminate water tanks.
Blowing out your RV water lines before winter is a simple, preventative measure that protects your investment.
Proper winterization ensures your water system stays intact, prevents leaks, and makes spring startup hassle-free.
According to RV maintenance studies, nearly 30% of winter-related plumbing issues are caused by frozen or improperly drained lines (source).
Investing a little time now can save hundreds of dollars in repairs and keep your RV safe throughout the cold season.
This guide explains how to blow out RV water lines, including the tools you need, step-by-step instructions, alternative methods, and maintenance tips to keep your system ready for winter.
Understanding RV Water Lines

RV water lines are commonly made of PEX, CPVC, or PVC and run throughout the vehicle.
Understanding the system layout helps prevent missed lines and ensures complete winterization.
Water lines carry freshwater to faucets, showers, and appliances, while gray and black water tanks handle waste.
Only freshwater lines need to be blown out; waste tanks are drained and sanitized separately.
What materials are RV water lines made from?
PEX, CPVC, and PVC are most common.
Why is winterization necessary?
Freezing water can rupture pipes and damage fittings.
Do all RVs have the same plumbing layout?
No — layouts vary by make and model.
Can leaving water in lines during winter cause damage?
Yes — residual water can freeze and expand, causing cracks.
Are there differences between freshwater, gray, and black water lines?
Yes — only freshwater lines require air blowout; waste lines are drained.
Common Causes of Water Line Damage in Winter
Frozen water, burst pipes, and leaks are the most frequent winter-related issues.
Poor insulation, low-quality fittings, or leaving water in lines increases the risk of damage.
Mineral buildup and airlocks can further reduce water flow, exacerbating freezing problems.
Even a tiny leak can expand when water freezes and thaws repeatedly.
What happens if a pipe freezes?
Water expands and can rupture the pipe.
Can small leaks worsen in winter?
Yes — freezing and thawing cycles enlarge cracks.
Do all RV pipes freeze equally?
No — exposed or uninsulated pipes freeze first.
Does leaving the water pump on prevent freezing?
No — running water helps but doesn’t eliminate risk.
Is antifreeze alone enough to protect the lines?
RV-specific antifreeze helps, but lines must first be drained.
Tools and Equipment Needed to Blow Out RV Water Lines
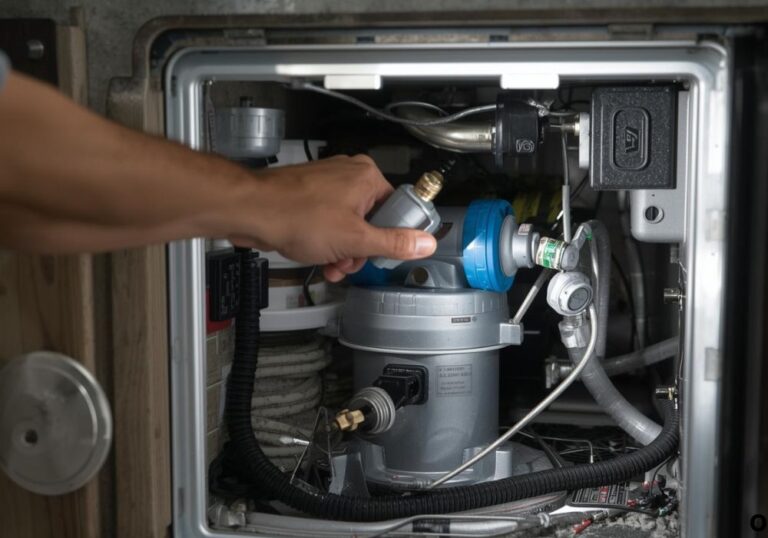
Essential tools include an air compressor with adjustable PSI, a blowout adapter, and protective eyewear.
Optional tools include a water pump conversion kit, RV antifreeze, and hose fittings to ensure thorough winterization.
What PSI should I use on the air compressor?
30–50 PSI is recommended to avoid pipe damage.
Do I need a blowout adapter?
Yes — it connects the compressor to the RV water inlet.
Can I use a standard garden hose instead of compressed air?
No — air is required to remove all water from lines.
Is safety gear necessary?
Yes — protective eyewear and gloves prevent injury.
Should I drain water from tanks first?
Yes — draining freshwater, gray, and black tanks avoids contamination and freezing issues.
Step-by-Step Guide to Blowing Out RV Water Lines
Start by draining all water tanks completely.
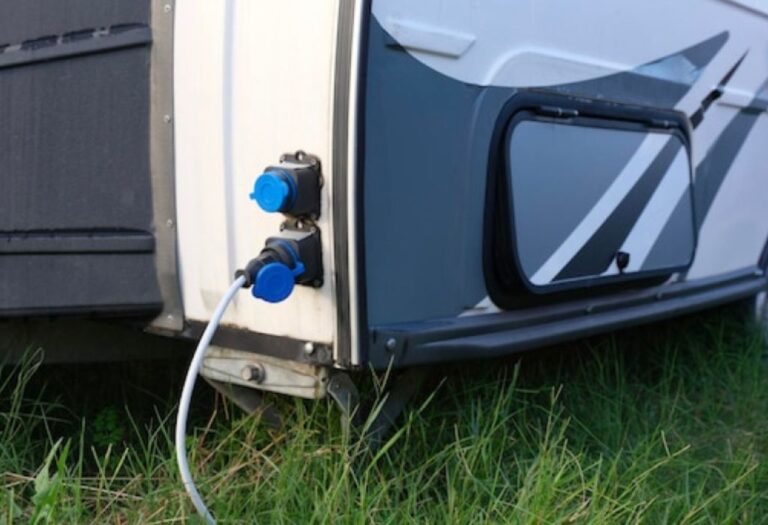
Connect the air compressor to the RV water inlet using the blowout adapter.
Push air gradually through each line, moving systematically from closest fixtures to the farthest.
Ensure all faucets, showerheads, and appliances are open to allow air to force water out completely.
Should I disconnect hoses from the city water inlet?
Yes — this ensures proper airflow and prevents backpressure.
Do I need to blow out each fixture individually?
Yes — work systematically to clear every line.
Can I use high PSI to speed up the process?
No — excessive pressure can damage PEX or PVC pipes.
Is it necessary to repeat the process?
Yes — a second pass ensures all residual water is removed.
What if water is still dripping?
Continue applying low-pressure air until lines are completely clear.
Alternative Methods for Winterizing RV Water Lines
Adding RV-specific antifreeze or using a water pump conversion kit are effective alternatives.
Each method offers advantages in terms of cost, convenience, and thoroughness.
Can I winterize without blowing out lines?
Yes — using non-toxic RV antifreeze protects the system if applied correctly.
Is antifreeze safe for potable water lines?
Yes — only use RV-specific non-toxic antifreeze.
Do I need to use air and antifreeze together?
Yes — blowing out water first ensures antifreeze reaches all areas.
Are DIY options reliable compared to professional services?
Yes — DIY works if done correctly; professionals provide extra assurance.
Can compressed air alone suffice?
Yes — provided all water is expelled and lines are clear.
Maintenance and Storage Tips

After blowing out lines, close all valves and ensure the system is dry.
Store hoses, adapters, and pumps properly to avoid damage during the off-season.
Inspect all fittings for leaks and repair before storage.
Flush antifreeze out of freshwater lines in spring before reconnecting to potable water.
Should I check hoses for kinks or leaks?
Yes — monthly or before storage.
Do I need to flush antifreeze in spring?
Yes — to ensure safe potable water.
Can sunlight damage stored hoses?
Yes — store in a shaded or enclosed area.
Should the air compressor be drained before storage?
Yes — to prevent moisture buildup and corrosion.
How often should I repeat this process?
Annually, before the first freeze.
Frequently Asked Questions
Why is blowing out RV water lines important?
Prevents freezing and potential pipe damage.
What PSI is safe for PEX lines?
30–50 PSI.
Can I use regular antifreeze?
No — use RV-specific non-toxic antifreeze.
Do gray and black tanks need air blown through them?
No — just drain completely.
How long does the process take?
Typically 30–60 minutes, depending on RV size.
Conclusion
Proper winterization involves draining lines, blowing out water, and optionally adding antifreeze.
Following these steps prevents frozen pipes, leaks, and costly repairs.
Regular inspection, maintenance, and storage of hoses, pumps, and adapters ensures your RV is ready for winter.
By preparing your water system ahead of the first freeze, you can enjoy a worry-free, damage-free winter season.
I’m David R. Coleman, the founder, lead writer, and lifelong tool enthusiast behind GarageToolPro.com. With years of experience in automotive repair, woodworking, and home DIY projects, I created this platform to share practical tips, detailed tool reviews, and step-by-step guides that help mechanics, hobbyists, and homeowners get the job done right the first time.