How Much Air Pressure to Blow Out RV Water Lines?
Imagine waking up on a cold morning to find your RV’s water lines frozen solid and cracked from ice expansion.
It’s one of the most frustrating and costly winter surprises any RV owner can face.
As temperatures drop below freezing, even a small amount of trapped water can expand by nearly 9% in volume.
That’s enough to burst pipes and damage fittings throughout your plumbing system.
According to the U.S. National Weather Service, water begins freezing at just 32°F (0°C)
That puts any leftover moisture in serious danger when RVs are not winterized properly.
Blowing out RV water lines before winter isn’t just optional — it’s essential maintenance.
Compressed air keeps the plumbing system safe from freezing and prevents costly repairs later.
But here’s where many RV owners make mistakes — they use too much air pressure.
Excessive PSI can damage fittings, valves, and seals inside your RV’s plumbing.
Too little pressure, on the other hand, won’t remove all trapped water effectively.
So, how much air pressure is actually safe to blow out RV water lines?
The answer depends on your RV model, plumbing material, and compressor type.
This detailed guide explains the ideal air pressure range, the step-by-step process, and safety precautions you need to protect your RV.
Let’s begin by understanding why this step is crucial for keeping your water system safe through the coldest months.
Why Blowing Out RV Water Lines Is Essential
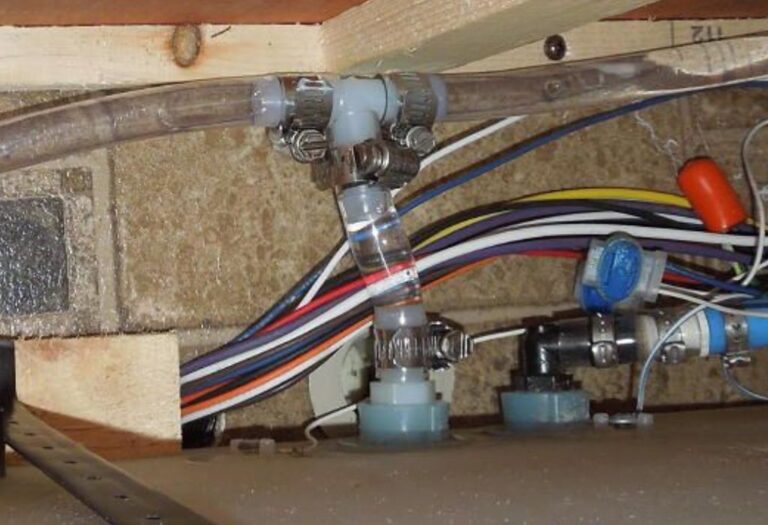
When temperatures drop, the water left in your RV’s plumbing becomes your biggest enemy. Even small pockets of trapped water can freeze, expand, and cause pipes, fittings, or valves to crack.
RV plumbing systems are not built to handle the pressure of ice expansion. Once a single section freezes, it can lead to leaks that only become visible once you reconnect the water supply in spring.
Blowing out the lines with compressed air prevents this by clearing every trace of water from pipes and fixtures. It’s a fast, reliable, and cost-effective way to prepare your RV for cold weather.
Unlike antifreeze alone, the blow-out method keeps the system dry and ready for storage without leaving chemicals inside the plumbing. This makes it a preferred option for many RV owners, especially those who travel between freezing and mild climates.
Failing to perform this step could lead to hundreds of dollars in repairs and hours of cleanup. A few minutes spent with the correct air pressure setting can save your entire water system from costly damage.
Questions and Answers
Why should I blow out my RV water lines?
It removes leftover water from the pipes to prevent freezing and cracking during winter storage.
Can trapped water really cause that much damage?
Yes. Even a small amount can expand by nearly 9% when frozen, splitting plastic or PEX lines easily.
Is using antifreeze enough protection?
Not always. The blow-out method ensures all water is removed before adding RV-safe antifreeze for added security.
When should this process be done?
Perform it before freezing temperatures arrive or before long-term RV storage.
Does blowing out the lines replace winterizing completely?
No, it’s the first major step of winterization — followed by adding antifreeze to traps and drains for complete protection.
Recommended Air Pressure Range for Blowing Out RV Water Lines
The ideal air pressure to blow out RV water lines is between 30 and 50 PSI. This range is strong enough to push water through the lines but gentle enough to avoid damaging the plumbing.
Most RV manufacturers recommend a maximum of 50 PSI, though 35–40 PSI is considered the safest middle ground for most systems. Always check your RV owner’s manual before connecting an air compressor.
Using higher pressure can burst fittings or damage faucets, especially in older RVs with flexible plastic tubing. On the other hand, using less than 25 PSI may not clear the lines fully, leaving residual water inside.
Questions and Answers
What PSI is safest for RV water lines?
Stick to 30–50 PSI, with 40 PSI being the most balanced choice for effective and safe air blowout.
Can I use 60 PSI or more?
No. Exceeding 50 PSI risks damaging pipes, connections, or even your RV’s water pump seals.
How do I regulate the pressure?
Use an air compressor with a built-in regulator or connect an external RV-safe pressure regulator to maintain consistent output.
Does the air pressure change for large RVs?
The same range applies, but longer lines may require slightly higher PSI (up to 45–50) for complete clearing.
Why not just use high pressure for faster results?
Because the goal is not speed — it’s precision. High PSI can cause microcracks in fittings that later lead to leaks.
Tools and Equipment Needed
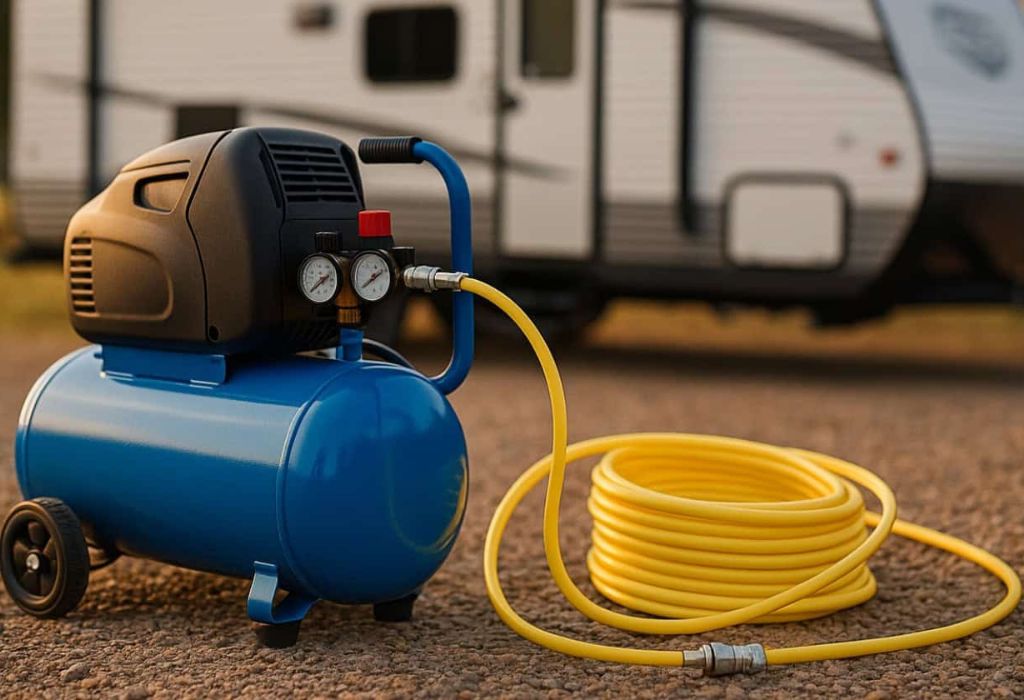
Having the right tools makes the blow-out process smooth and safe. You’ll need an air compressor, a blow-out plug adapter, and a few common RV maintenance items.
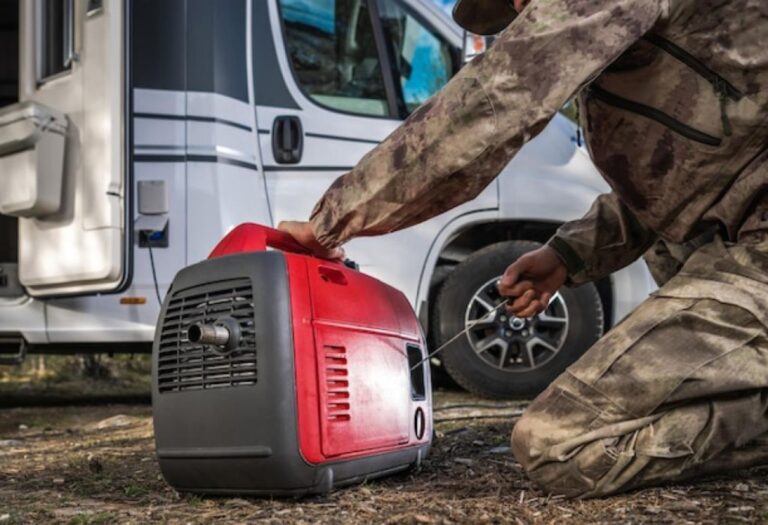
A portable air compressor with adjustable PSI control is ideal for this task. Most small models used for tires work perfectly as long as they have a steady airflow of 2–3 CFM (cubic feet per minute).
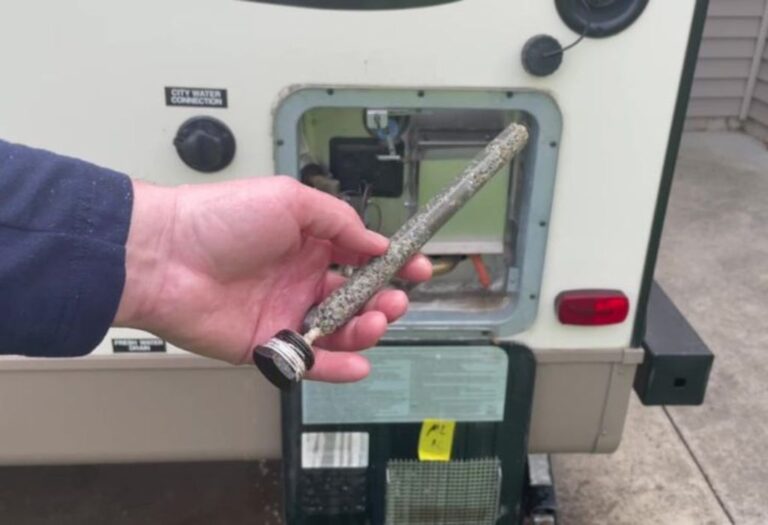
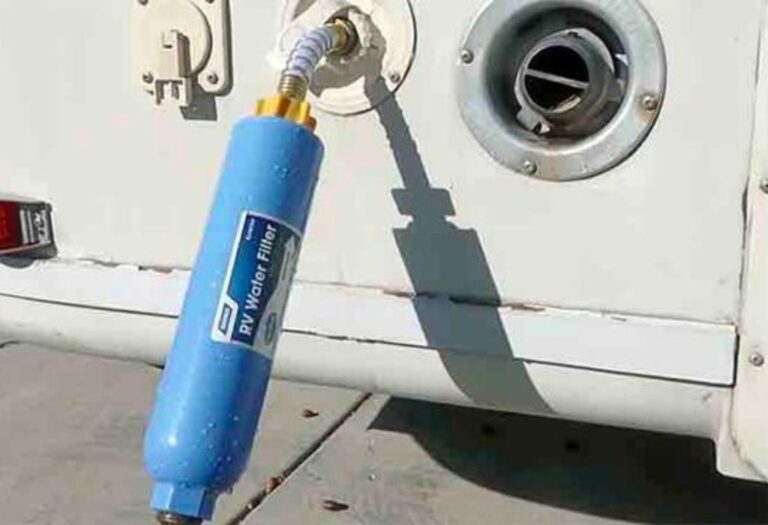
The blow-out plug attaches to your RV’s city water inlet and connects directly to the compressor hose. Brass fittings are preferred for durability and leak resistance.
You’ll also need a pressure regulator, RV-safe antifreeze (optional), and Teflon tape to secure connections.
Questions and Answers
What type of air compressor is best?
A small pancake or portable air compressor with 2–3 CFM and adjustable PSI works well for RVs.
Do I need a special adapter?
Yes. Use a brass blow-out plug designed specifically for RV city water inlets.
Is a pressure regulator necessary?
Absolutely. It prevents excessive PSI from entering your plumbing system.
Can I use my car tire compressor?
Yes, if it has an adjustable regulator and sufficient airflow.
Do I need to use antifreeze after blowing out lines?
It’s optional but recommended, especially for traps and drains that might retain moisture.
Step-by-Step Guide: How to Blow Out RV Water Lines
This process can be done in about 30 minutes and helps ensure your RV plumbing stays safe all winter.
- Turn off the water pump and disconnect any external water supply.
- Open all faucets and drains, including low-point drains.
- Set the compressor to 40 PSI and connect it to your RV using the blow-out plug.
- Start with the farthest faucet from the inlet and open it until only air comes out.
- Repeat for all fixtures — kitchen, bathroom, shower, toilet, and outdoor faucet.
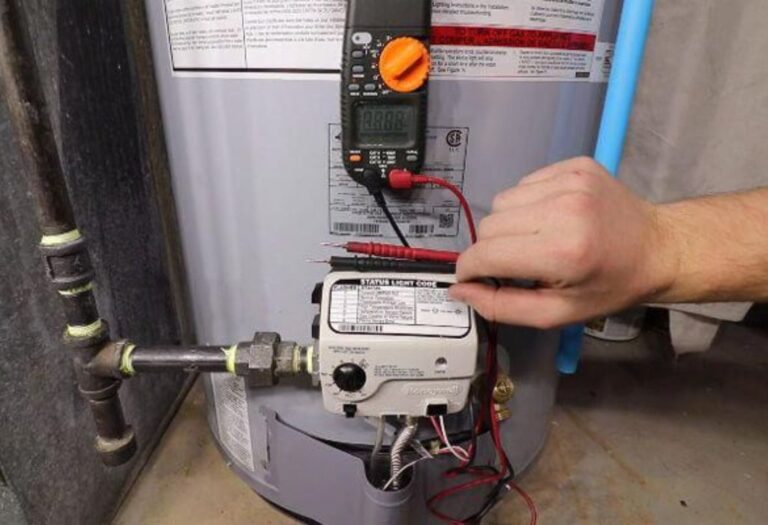
- Drain the water heater and bypass it before blowing air through the lines.
- Check all faucets again to ensure no water remains.
- Optionally, pour RV antifreeze into sink and shower traps for extra freeze protection.
Questions and Answers
How long should I run air through each line?
Run air for about 15–30 seconds per fixture until only air, not mist, exits.
Should the water heater be drained?
Yes. Always drain and bypass it before blowing air through to avoid damage.
Can I keep faucets open during the process?
Yes. This helps air flow through the system freely, clearing every section.
What happens if water still comes out after multiple attempts?
Increase the air pressure slightly (up to 45 PSI) and repeat the process.
Do I need to repeat this process mid-winter?
Not unless you use the RV again. Once winterized, it remains safe until spring.
Common Mistakes to Avoid

Even experienced RV owners make small errors that can cause major plumbing problems. The biggest mistake is using too much air pressure — anything above 50 PSI can crack plastic fittings instantly.
Another common issue is forgetting to bypass the water heater. Blowing air through it can damage internal components. Always ensure it’s drained first.
Some people also skip opening all faucets or miss low-point drains, leaving hidden water pockets behind. Each of these oversights can lead to frozen lines.
Questions and Answers
What happens if I don’t use a regulator?
Uncontrolled pressure can exceed safe limits and destroy fittings or valves.
Can I skip draining the water heater?
No. It’s one of the most critical steps before blowing air into the system.
Do I need to remove water filters?
Yes. Air pressure can damage internal seals in water filter cartridges.
Is it safe to use shop air?
Yes, but make sure it’s moisture-free and regulated properly.
Can I damage PEX pipes with air pressure?
PEX is flexible, but anything above 50 PSI can still cause long-term stress or leaks.
Additional Tips for Safe and Effective RV Winterization
Consistency and patience make all the difference during this process. Always start with lower air pressure and gradually increase it if necessary.
Inspect your compressor hose connections for leaks and ensure all fittings are tight. Even a minor air leak reduces efficiency.
If you plan to store your RV outdoors, cover the exterior water inlets to prevent dust and insects from entering.
Finally, label your water lines after each season to make the process faster next time. Keeping a checklist ensures nothing gets missed year after year.
Questions and Answers
How long does the whole process take?
Usually 20–30 minutes if done properly with the right tools.
Can I blow out the lines more than once?
Yes, especially if moisture is still visible in any fixtures.
Is antifreeze needed after air blowout?
Optional but smart — it adds extra protection in traps and P-traps.
Can professionals do this for me?
Yes. RV service centers offer winterization packages costing around $75–$150.
How often should I winterize my RV?
Before every freezing season or whenever you plan to store it for more than two months.
Conclusion
Blowing out your RV water lines is one of the most crucial winter maintenance steps. Done right, it prevents costly freeze damage and keeps your plumbing system in perfect condition for the next season.
Always maintain 30–50 PSI, use a regulator, and take time to clear every faucet and drain. Avoid rushing the process — precision saves you from future leaks and expensive repairs.
Whether you’re storing your RV for a few months or the entire winter, this simple routine ensures your vehicle is ready to roll when the weather warms up again.
So before the first frost hits, grab your air compressor, set the right PSI, and protect your RV the smart way.
I’m David R. Coleman, the founder, lead writer, and lifelong tool enthusiast behind GarageToolPro.com. With years of experience in automotive repair, woodworking, and home DIY projects, I created this platform to share practical tips, detailed tool reviews, and step-by-step guides that help mechanics, hobbyists, and homeowners get the job done right the first time.