How to Winterize an RV Water Pump Properly
Every winter, thousands of RV owners wake up to an unpleasant surprise — cracked water lines, frozen pumps, and costly plumbing repairs.
What seems like a small oversight in fall preparation can quickly lead to hundreds of dollars in damage once temperatures drop below freezing.
Knowing how to winterize an RV water pump properly isn’t just optional; it’s a critical step to safeguard your RV plumbing system.
When water freezes, it expands by nearly 9%, creating pressure that can rupture plastic pipes, fittings, and even the water pump housing.
According to the Recreational Vehicle Industry Association ,freeze-related damage is among the top insurance claims every winter for RV owners.
Even a few ounces of leftover water inside the pump or lines can harden into ice, cracking seals and causing leaks once thawed.
Fortunately, winterizing your RV’s plumbing system is straightforward when done methodically. Whether you use RV antifreeze or the compressed air blow-out method, the goal is the same — remove or displace all residual water to prevent freezing.
This comprehensive guide explains step-by-step how to winterize an RV water pump, what tools you’ll need, and how to avoid the most common mistakes.
By following these steps, you’ll ensure your RV remains protected all winter long and ready to roll when spring arrives.
Why You Need to Winterize the RV Water Pump
Winterizing your RV water pump isn’t just about protecting a single component; it’s about preserving your entire plumbing system. Cold temperatures can turn any trapped water into solid ice, leading to pressure buildup that damages pipes, fittings, and seals.
Proper winterization ensures that the pump, water heater, and all freshwater lines stay safe from freezing. Skipping this step may seem minor, but it can cost far more in repairs and downtime later.
What happens if the RV water pump freezes?
The internal housing and seals can crack, rendering the pump useless.
Is winterization needed in mild climates?
Yes, as sudden cold snaps or night freezes can still cause damage.
Can a single freeze ruin the plumbing system?
Absolutely — even one hard freeze can burst pipes and fittings.
Does antifreeze protect all plumbing parts?
Yes, if distributed correctly through every line and valve.
What if the RV is stored indoors?
Heated storage reduces risk, but winterization is still recommended for safety.
Main Methods to Winterize an RV Water Pump
There are two primary approaches to winterizing your RV’s plumbing system — the antifreeze method and the blow-out method. Both serve the same purpose but differ in materials and process.
The antifreeze method introduces non-toxic RV antifreeze into the plumbing system to replace water. The blow-out method uses compressed air to expel all remaining water, leaving the system dry.
Which method is most effective in extreme cold?
The antifreeze method provides better protection for temperatures below 0°F (-18°C).
Can both methods be combined?
Yes, many RV owners blow out the lines first, then add a small amount of antifreeze for extra safety.
What type of antifreeze is safe for RV use?
Only non-toxic propylene glycol or “pink RV antifreeze” — never automotive antifreeze.
Is the blow-out method faster?
It’s quicker but may leave small amounts of water in traps or valves.
Can you skip winterization if using the RV occasionally?
No — it only takes one cold night to cause costly damage.
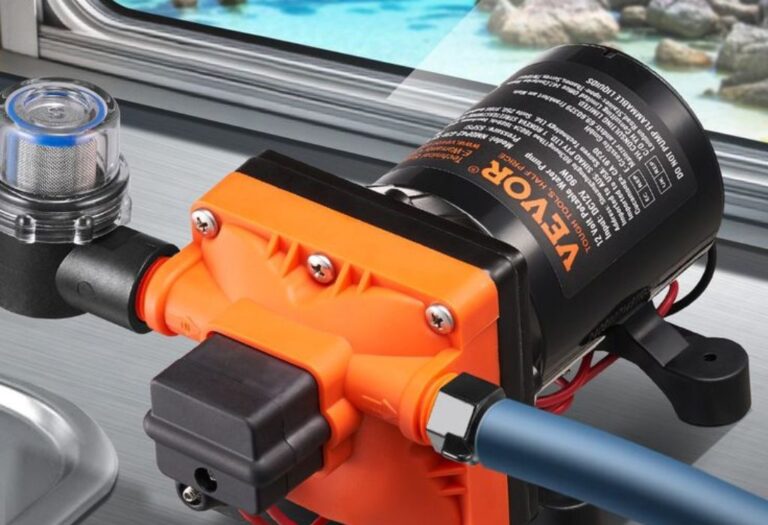
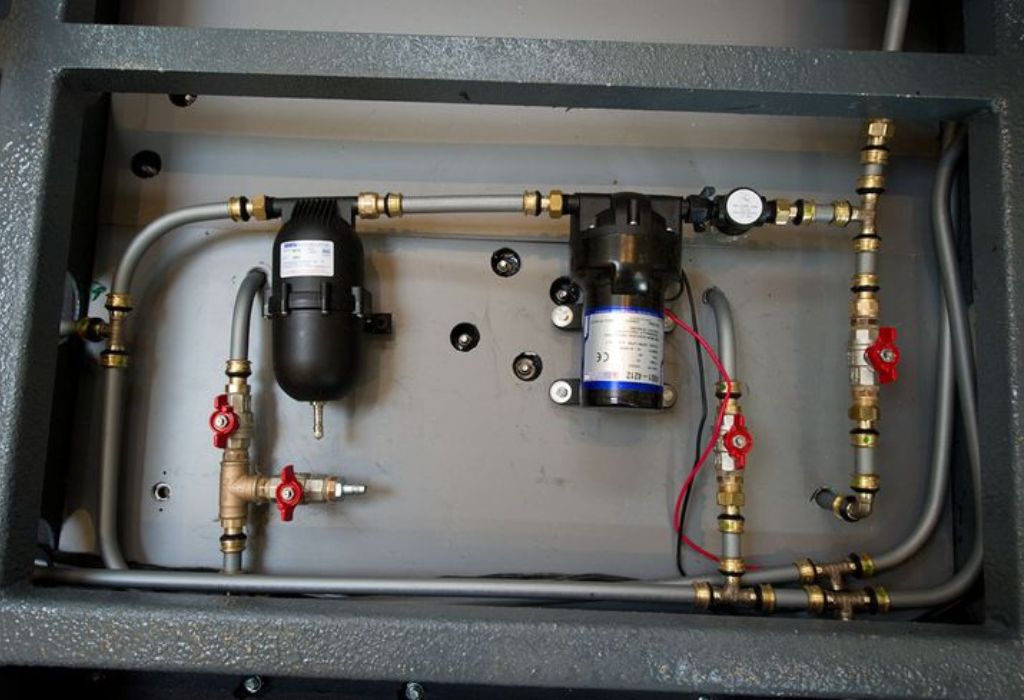
Tools and Materials You’ll Need
Gather your supplies before starting. Preparation helps avoid missing steps halfway through the process.
You’ll need RV antifreeze, an air compressor (for the blow-out method), a blow-out plug adapter, a water heater bypass kit, and basic tools such as a wrench and screwdriver. Keep shop towels, gloves, and a flashlight handy for visibility and cleanup.
How much antifreeze do I need?
Most RVs require between 1 and 3 gallons depending on size.
What pressure should be used for the blow-out method?
30–40 PSI is ideal for clearing lines without damaging fittings.
What if my RV doesn’t have a bypass system?
You’ll need to install one or allow antifreeze into the heater, which wastes more product.
Can I reuse leftover antifreeze next year?
No — always use fresh antifreeze for each season.
Are air compressors necessary?
Only if you choose the blow-out method.
Step-by-Step Guide: How to Winterize an RV Water Pump
Step 1: Drain the Freshwater System
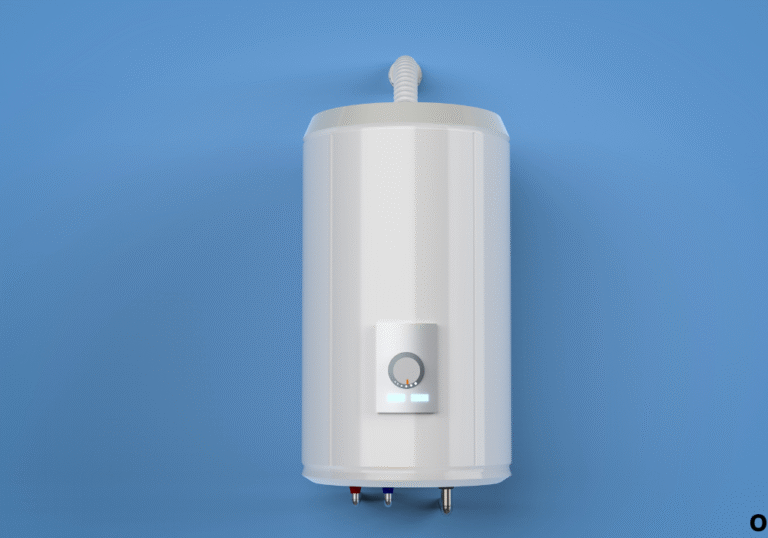
Turn off the water heater and pump. Open all faucets, showerheads, and low-point drains. Let the freshwater tank empty completely. Then, drain the water heater by removing the drain plug or anode rod. Allow it to cool before doing this to avoid burns.
Why open all faucets?
It allows air to enter and speeds up water drainage.
Should I drain the water heater every time?
Yes, it’s crucial — it holds several gallons that can easily freeze.
How long does draining take?
Typically 15–30 minutes, depending on tank size and slope.
Can I drain without removing the anode rod?
No, it’s the only way to completely empty the heater.
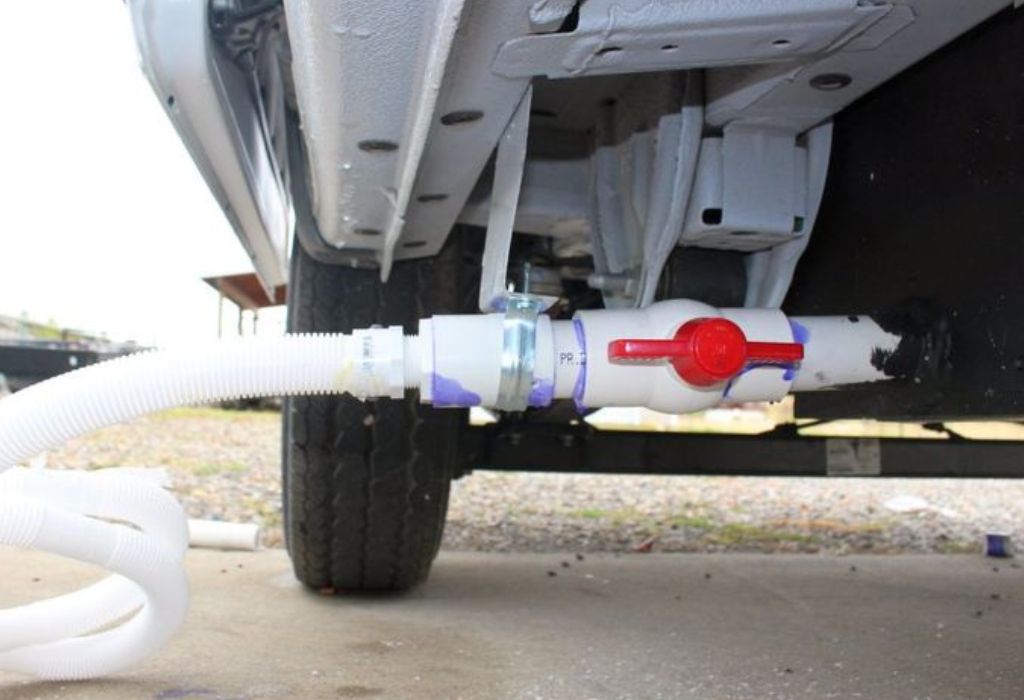
Step 2: Bypass the Water Heater
Close the inlet and outlet valves on the water heater and open the bypass valve. This prevents antifreeze from entering the tank and saves product.
Is bypassing mandatory?
Yes — otherwise, you’ll waste several gallons of antifreeze filling the heater.
How do I know which valves to turn?
The bypass valve connects the cold inlet and hot outlet lines; refer to your RV manual.
What if my RV doesn’t have a bypass?
You can install a simple bypass kit in minutes.
Does bypassing affect the pump?
No — it only redirects flow around the heater.
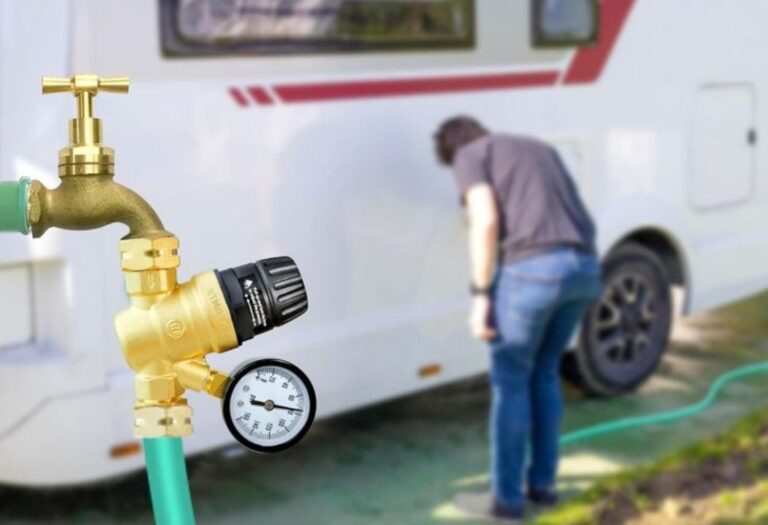
Step 3: The Blow-Out Method (Dry Winterization)
If you’re using compressed air, attach a blow-out plug to your RV’s city water inlet. Set the compressor to 30–40 PSI and blow air through the system. Open each faucet one at a time until no more water sprays out. Don’t forget outdoor showers, toilets, and washing machine lines if applicable.
Should faucets stay open while blowing air?
Yes — open one at a time to ensure complete drainage.
Is 40 PSI safe for all RV plumbing?
Yes, but never exceed that pressure.
What about low-point drains?
Keep them open during the process for full evacuation.
Can I skip the toilet line?
No — it’s often the first to freeze.
Do I need to run the pump?
Yes, briefly at the end to clear remaining water.
Step 4: The Antifreeze Method (Wet Winterization)
Reconnect your water pump intake to a jug of pink RV antifreeze using a winterizing kit or short hose. Turn on the pump and open faucets one by one until pink fluid appears. This ensures antifreeze has displaced all remaining water in the lines. Don’t forget the toilet, outdoor shower, and P-traps.
Why is the antifreeze pink?
The color distinguishes it from drinking water and signals protection.
Is it safe for freshwater systems?
Yes — it’s non-toxic and approved for potable plumbing.
How do I know when the system is protected?
When pink antifreeze flows consistently from every tap.
Should I add antifreeze to holding tanks?
Yes — pour 1–2 cups into each drain to protect traps and valves.
Can I mix antifreeze with water?
No — dilution reduces freeze protection effectiveness.
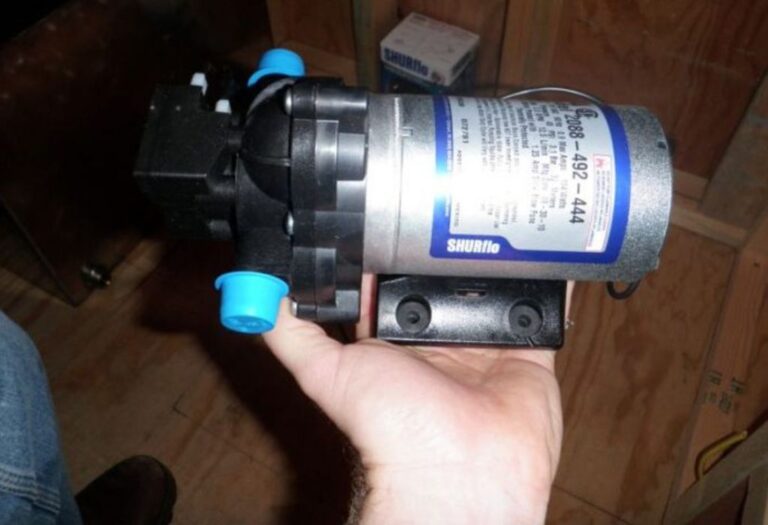
Step 5: Protect the Pump and Finish Up
Run the water pump until pink antifreeze appears in the outlet line. This ensures the pump itself is filled and safe. Then, close all faucets and valves. Wipe any spills and store your RV in a dry location. Label it as “Winterized” to remind yourself before spring use.
Why run the pump during antifreeze application?
It circulates antifreeze through internal seals and prevents freezing.
Should I remove the pump afterward?
No — just ensure it’s properly filled and turned off.
What about filters?
Remove and drain filters before storing to prevent cracks.
Can antifreeze stay in the pump all winter?
Yes — it protects seals and won’t cause harm.
Troubleshooting and Common Mistakes
Even a well-planned winterization can fail if small details are overlooked.
Why did my lines still freeze after winterizing?
You may have missed low-point drains or left water trapped in a bend.
My pump won’t prime after winter — why?
It may contain air pockets; run it with water until pressure builds.
Can leftover antifreeze cause taste or odor issues?
Slightly, but a full freshwater flush in spring removes it.
I used automotive antifreeze by mistake — what now?
Drain, flush repeatedly, and sanitize the system immediately.
Is over-pressurizing dangerous?
Yes — too much air pressure can rupture fittings or crack plastic pipes.
De-Winterizing and Spring Start-Up
When temperatures rise, it’s time to de-winterize your RV and flush out the antifreeze.
Refill the freshwater tank, open all faucets, and run clean water until no pink color remains. Sanitize with a mixture of ¼ cup bleach per 15 gallons of water, let it sit for several hours, then flush again.
When should I de-winterize?
After the last expected frost of the season.
How long to flush antifreeze?
Until the water runs clear and has no taste or odor.
Can antifreeze harm the environment?
RV antifreeze is non-toxic but should still be drained responsibly.
Should I inspect the pump after de-winterizing?
Yes — check for leaks or weak seals before pressurizing the system.
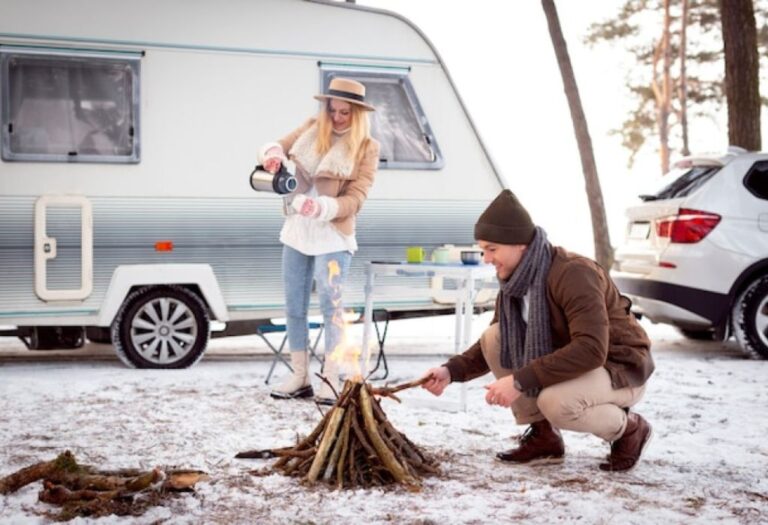
Long-Term Winter Storage Tips
Proper winterization extends beyond the water pump.
Clean the RV thoroughly, empty holding tanks, and disconnect the battery if stored for long periods. Use RV covers or insulated skirting for additional freeze protection.
Should I keep the RV plugged in all winter?
Only if using a temperature-controlled storage area.
Can I leave water in the tank heaters?
No — all tanks should be drained completely.
What about outdoor showers and spray ports?
Protect them with antifreeze or blow them out separately.
How often should I check the RV in storage?
Every few weeks to ensure no leaks or ice buildup.
Conclusion
Learning how to winterize an RV water pump is one of the smartest maintenance habits you can develop as an RV owner. A few gallons of antifreeze or a quick air blow-out can save you hundreds in repairs and keep your plumbing system working flawlessly year after year.
Remember — drain, bypass, protect, and check. Make sure every valve, line, and trap is either dry or filled with antifreeze. Once done, label your RV as “winterized” and store it confidently through the cold months.
When spring arrives, you’ll be ready to flush, sanitize, and hit the road again — with no leaks, no cracks, and total peace of mind.
I’m David R. Coleman, the founder, lead writer, and lifelong tool enthusiast behind GarageToolPro.com. With years of experience in automotive repair, woodworking, and home DIY projects, I created this platform to share practical tips, detailed tool reviews, and step-by-step guides that help mechanics, hobbyists, and homeowners get the job done right the first time.