How to Test an RV Water Pump Effectively
Picture this: you’ve just parked your RV at a beautiful campsite, ready to unwind after a long drive. You turn on the faucet for a quick rinse—only to find no water coming out or just a weak trickle. Frustration sets in instantly.
This common problem often points to one culprit: the RV water pump. Learning how to test RV water pump performance can help you solve the issue before it turns your trip into a headache.
Your RV’s water pump is the heart of its plumbing system, responsible for pushing water from the freshwater tank through every faucet, showerhead, and appliance. When it fails, even simple tasks like washing dishes or flushing the toilet become impossible.
In fact, according to RVIA data, nearly 65% of plumbing-related failures in RVs stem from pump or pressure issues.
The good news? Most of these problems can be diagnosed and fixed with simple testing—no professional tools or mechanic required.
Testing your RV water pump is not just about checking if it turns on. It’s about understanding how it performs under pressure, how steady the flow is, and whether any hidden leaks are reducing efficiency. By learning a few simple diagnostic techniques—like measuring PSI, checking flow rate, and listening for cycling sounds—you can pinpoint issues like worn diaphragms, electrical faults, or clogged strainers before they cause bigger damage.
In this guide, you’ll discover a step-by-step process for how to test RV water pump performance safely and accurately. From understanding how the pump works to measuring flow, pressure, and voltage, this guide will walk you through everything you need to keep your RV’s water system reliable, efficient, and road-ready for every adventure.
Understanding Your RV Water Pump System
Before diving into testing, it’s crucial to understand how the RV water pump actually works. Most RVs use a 12-volt diaphragm pump that automatically starts when pressure drops and stops once the system reaches a set PSI. It pulls water from the freshwater tank and distributes it throughout the plumbing lines.
RV water pumps vary in design. Some models are constant-speed, maintaining one flow rate, while others are variable-speed pumps that adjust output automatically. Typical pumps operate between 30 and 60 PSI and deliver around 2 to 4 gallons per minute (GPM).
A basic grasp of these specs helps you evaluate whether your pump is performing within range or showing signs of inefficiency.
What does a check valve do in an RV water pump?
It prevents water from flowing backward into the tank when the pump stops, maintaining system pressure.
How much PSI should a normal RV water pump produce?
Most models operate at 40–55 PSI, depending on the plumbing design and brand.
Why should flow rate matter as much as pressure?
Because consistent flow ensures even distribution; good PSI with low flow can still signal a partial blockage.
Do variable-speed pumps need special testing?
Yes, because their speed changes automatically to balance pressure—making performance measurement slightly different.
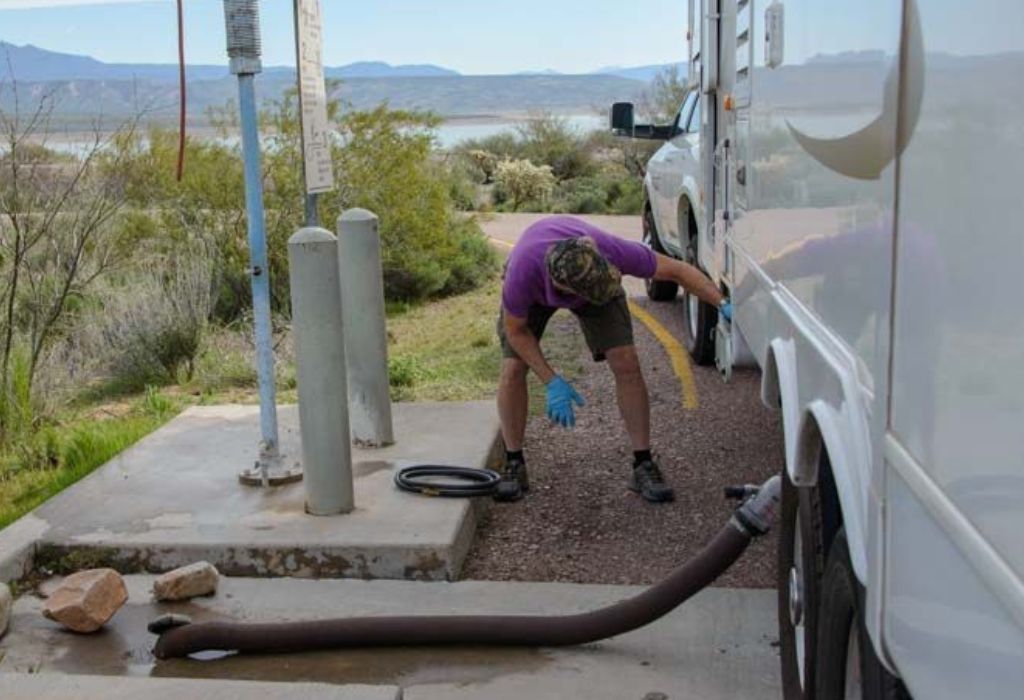
Safety and Preparation Before Testing
Testing an RV water pump involves both electrical and plumbing systems, so safety comes first. Start by turning off the power at the RV’s control panel and disconnecting any external power supply. Relieve water pressure by opening a faucet before testing or disconnecting any fittings.
You’ll need a few tools:
- Multimeter or voltmeter (for electrical testing)
- Pressure gauge (0–100 PSI range)
- Flow meter or container and stopwatch
- Bucket and hose clamps
- Inline tee fitting for connecting gauges
- Screwdriver and wrench set
These tools help you measure the key performance metrics — pressure, flow, voltage, and current draw — to determine whether the pump is working as it should.
Do you need to disconnect the pump from the water system?
Not always. Inline testing allows measurements without full removal.
Can the pump be tested while connected to city water?
No. City water pressure can hide pump performance issues.
Is it safe to run the pump without water?
Never. Running dry can damage the diaphragm or motor.
What voltage should the power supply show?
Around 12–13.5 V depending on your battery charge level.
Step-by-Step Guide to Testing an RV Water Pump
Now let’s dive into the complete testing process. Each step focuses on a specific area: power, pressure,flow, and leaks. Follow them in order to avoid confusion.
Step 1 – Verify Electrical Supply and Connections
Electrical problems are among the most common causes of water pump failure. Start by checking the fuse or breaker to ensure it hasn’t tripped. Then, use a multimeter to test voltage at the pump terminals.
If voltage is below 11.5 V, inspect for corroded wires or weak connections. A voltage drop greater than 0.5 V can indicate wiring resistance that limits performance.
What should the voltage be under load?
Ideally around 12 V while the pump is running.
Why does low voltage matter?
It can cause slow pump operation or intermittent cycling.
If the fuse blows during testing, what does that indicate?
Likely a short circuit, damaged wiring, or a failing motor.
Should you test the switch too?
Yes, a faulty switch can mimic pump failure.
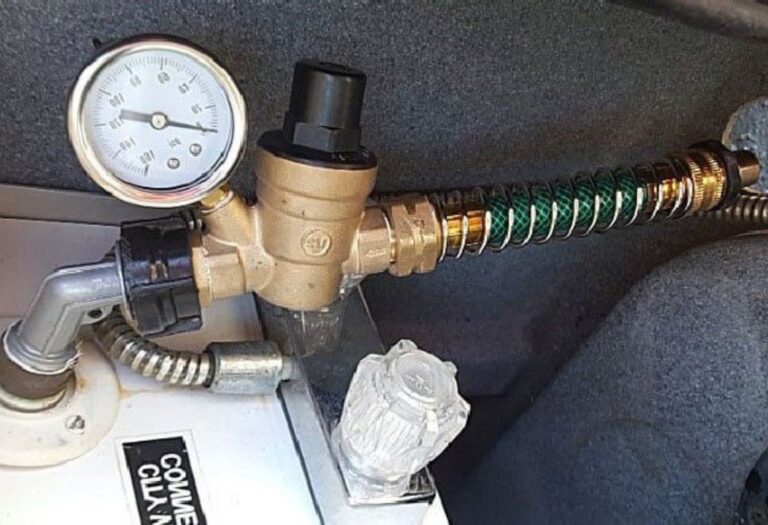
Step 2 – Measure Pressure Output
Attach a pressure gauge to the pump’s outlet line or tee it into the main supply pipe. Run the pump until it stops automatically. The pressure at that moment is your cutoff PSI.
Compare the reading to your pump’s rated pressure—usually marked on the label. A significant drop means wear or internal leakage. A pressure spike beyond the rating can stress fittings and hoses.
Why does the pressure fluctuate while running?
Air in the lines or a sticky pressure switch can cause variation.
What if the pressure is too low?
Check for clogged filters or worn internal seals.
Can high pressure damage plumbing?
Yes, it can cause leaks or burst hoses over time.
How to fix inaccurate readings?
Ensure gauge is air-free and properly sealed in the system.
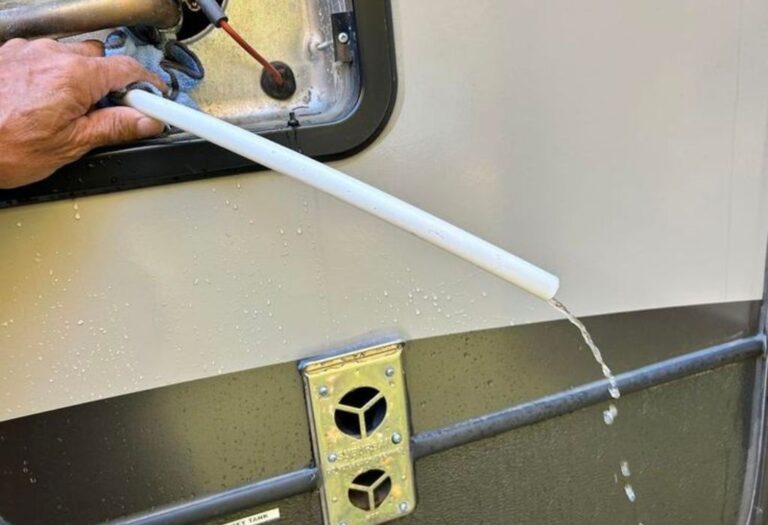
Step 3 – Test Flow Rate
A strong pressure reading doesn’t always mean good flow. To test flow rate, disconnect a line at a faucet or fixture, place a container underneath, and measure how long it takes to fill one gallon.
Convert that into GPM (gallons per minute). Compare it to manufacturer specs (usually 3–4 GPM for most RVs). Lower flow suggests blockages or worn diaphragms restricting volume.
What if flow is low but pressure is fine?
Likely an obstruction or internal leak.
Should you test multiple faucets?
Yes, because some lines may have localized restrictions.
Is it okay to use a stopwatch instead of a flow meter?
Absolutely. Manual measurement is accurate enough.
What causes uneven flow between fixtures?
Sediment buildup or partial line blockages.
Step 4 – Check Current Draw and Efficiency
Using an ammeter, measure how much current the pump draws under operation. Compare it to manufacturer ratings (often 4–8 A for standard pumps).
A higher-than-normal draw means the motor is straining or has internal friction. A lower-than-normal draw can indicate partial motor failure or weak windings.
Why is current draw important?
It shows how efficiently the motor converts electricity into mechanical force.
What if the current draw fluctuates rapidly?
Possible loose connections or worn brushes.
Can high current cause fuse blowing?
Yes, excessive amperage overheats the circuit.
Should you test with water running or closed valves?
Test both — to compare loaded vs idle current.
Step 5 – Inspect for Leaks and Pressure Hold
After confirming power, pressure, and flow, check whether your system maintains pressure after the pump shuts off. Leave the system sealed and watch the gauge for 5–10 minutes.
If pressure drops, inspect visible fittings, joints, and pump housing for drips. Internal leaks can occur in the check valve or diaphragm assembly. Use soapy water on connections to find micro-leaks.
How much pressure drop is acceptable?
Up to 2–3 PSI over 5 minutes is normal.
Where are leaks most common?
Fittings, inlet screens, and check valves.
What causes pump cycling on and off repeatedly?
Pressure loss due to leaks or internal valve damage.
Can leaks damage electrical components?
Yes, especially if water reaches connectors or terminals.
Interpreting Test Results and Diagnosing Faults
By now, you’ll have a full set of readings—voltage, current, pressure, and flow. Analyzing these together reveals what’s wrong.
If pressure is low and flow is weak, your pump may have worn diaphragms or internal blockages. If pressure is fine but the pump cycles frequently, look for leaks or a failing check valve. If current draw is excessive, internal resistance or bearing wear is likely.
Creating a quick comparison table helps:
| Observation | Likely Issue | Fix |
| Low pressure, low flow | Worn diaphragm / blockage | Clean or rebuild |
| Good pressure, fast cycling | Leak / faulty check valve | Replace O-rings |
| High current, normal pressure | Motor strain / friction | Clean or lubricate |
| Low current, weak pressure | Electrical loss / brush wear | Replace brushes |
Why does pump cycle even with faucets off?
Hidden leaks or bad check valve cause pressure loss.
Can low battery voltage mimic pump failure?
Yes, low voltage reduces torque and RPM.
When should you suspect internal damage?
When readings are inconsistent even after cleaning lines.
How to confirm blockage?
By removing outlet hose and testing flow directly from the pump.
Repair, Maintenance, and Re-Testing After Fix

Once you’ve identified the fault, fixing it is straightforward. Most RV water pump issues come from clogged filters, worn seals, or air trapped in lines.
Clean the inlet strainer and ensure it’s free from debris. Replace O-rings and tighten fittings. For older pumps, a rebuild kit with diaphragms and valves can restore full function.
After any repair, repeat all your tests—pressure, flow, and hold—to confirm the fix. Always re-prime the pump by letting water flow until air bubbles disappear.
How often should you test your RV water pump?
At least once per year or before every long trip.
Do rebuilt pumps perform like new ones?
Yes, if diaphragms and valves are replaced correctly.
Should you lubricate pump components?
No, most are water-lubricated and sealed.
Does cleaning the strainer really help?
Absolutely — even minor debris can restrict flow drastically.
When to Call a Professional or Replace the Pump
While many RV water pump issues can be handled DIY, some cases demand professional attention. If your pump makes loud grinding noises, overheats, or leaks from the motor housing, replacement is safer than repair.
Compare repair costs with a new pump. If repairs exceed 60% of replacement cost, upgrading is more cost-effective. A new pump ensures reliability and may include better efficiency or quieter operation.
When should you stop repairing and replace instead?
If the motor or diaphragm assembly is severely worn or corroded.
Can professionals pressure test the entire RV plumbing?
Yes, they use advanced gauges to detect micro-leaks quickly.
What warranty comes with a new pump?
Most RV pumps offer 1–3 years depending on brand.
How to choose a replacement pump?
Match GPM, PSI, and amperage with your existing model.
Preventive Maintenance Tips
Once your RV pump is back in shape, prevention keeps it running smoothly. Simple maintenance habits go a long way.
- Run the pump monthly to prevent seals from drying.
- Drain and flush the system before long storage periods.
- Keep your freshwater tank clean to avoid sediment buildup.
- Inspect hoses and clamps regularly for leaks.
- Use a pump strainer to catch debris before it reaches the diaphragm.
- Monitor voltage to prevent electrical wear.
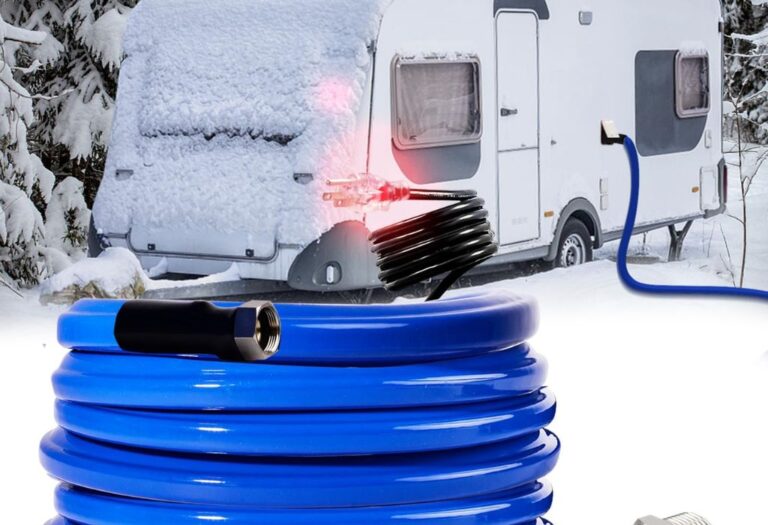
- Winterize the system properly if you live in cold climates.
How often should I clean the inlet strainer?
Every few trips or whenever you refill with new water sources.
Does hard water affect pump life?
Yes, mineral deposits can harden seals and restrict flow.
Should I leave water in pump during storage?
No, always drain to prevent freezing and bacteria growth.
Can overuse shorten pump lifespan?
Continuous running at high load wears components faster.
Conclusion
Testing your RV water pump doesn’t have to be complicated. With a multimeter, pressure gauge, and a few simple checks, you can quickly find out whether your pump needs repair, cleaning, or replacement.
By following these steps, you’ll understand exactly how to test RV water pump performance from every angle — electrical, mechanical, and hydraulic. Regular testing not only prevents surprise breakdowns but also extends your pump’s lifespan, saving you time and costly replacements.
Next time your faucets sputter or pressure drops, you won’t panic — you’ll diagnose, test, and fix it with confidence.
I’m David R. Coleman, the founder, lead writer, and lifelong tool enthusiast behind GarageToolPro.com. With years of experience in automotive repair, woodworking, and home DIY projects, I created this platform to share practical tips, detailed tool reviews, and step-by-step guides that help mechanics, hobbyists, and homeowners get the job done right the first time.