How to Hook Up RV Batteries: Step-by-Step Guide
RV batteries are the lifeblood of your mobile adventures. Whether you’re boondocking in the mountains, parked at a campground, or preparing for a long road trip, your batteries power everything from lights and fans to the water pump and fridge.
But hooking them up the wrong way can lead to poor performance, reduced battery life, or even dangerous electrical damage.
In this guide, you’ll learn how to hook up RV batteries the right way, whether you’re connecting a single battery, wiring in parallel for more capacity, or wiring in series for more voltage. We’ll cover:
- The basics of RV batteries
- Tools and safety gear you’ll need
- Step-by-step connection instructions for single, parallel, and series setups
- Common mistakes to avoid
- Maintenance tips for long battery life
1. Understanding RV Battery Basics
Before we grab tools and cables, it’s important to understand the types of RV batteries and how they work.
House Battery vs. Chassis Battery
- House Battery – Powers your living space: lights, fans, fridge, and electronics.
- Chassis Battery – Starts the engine and powers the vehicle’s driving systems.
This guide focuses on house battery connections since these are most commonly replaced or upgraded by RV owners.
Deep-Cycle vs. Starting Batteries
- Deep-Cycle Batteries – Designed to be discharged and recharged repeatedly. Ideal for RV house batteries.
- Starting Batteries – Provide quick bursts of power for starting engines. Used for chassis batteries.
Battery Voltages
- Most RV house battery banks are 12V systems.
- Many use two 6V batteries in series to make 12V.
- Some larger setups use multiple 12V batteries in parallel for extended capacity.
Series vs. Parallel Wiring
- Series Wiring – Increases voltage (e.g., two 6V batteries → 12V). Capacity (amp-hours) stays the same.
- Parallel Wiring – Increases capacity (amp-hours) while voltage stays the same.
2. Tools & Safety Gear You’ll Need
Before you start, gather these essentials:
- Insulated Gloves – Protect against shocks and acid burns.
- Safety Goggles – Protect eyes from sparks or battery acid.
- Battery Cables – Heavy-gauge, corrosion-resistant cables.
- Wrenches/Screwdrivers – For tightening connections.
- Multimeter – To check voltage before and after connecting.
- Battery Terminal Protectant – Helps prevent corrosion.
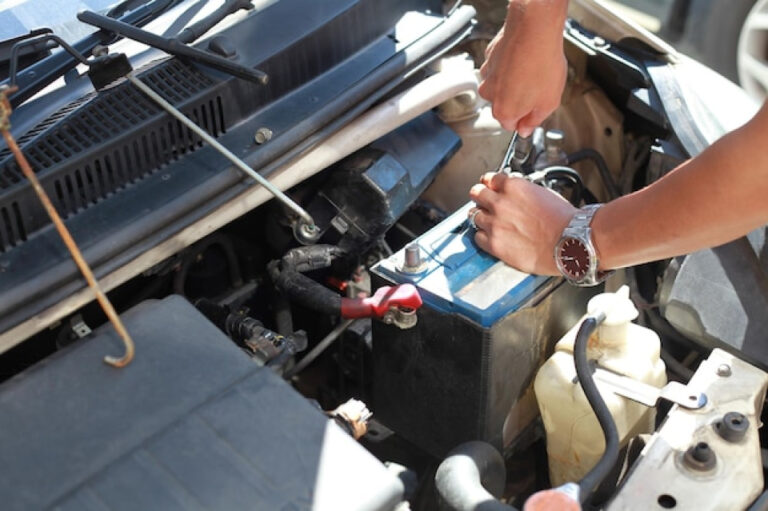
3. Preparing to Hook Up RV Batteries
- Turn Off All Power – Shut down the RV’s electrical system and unplug from shore power. Turn off the generator.
- Disconnect Old Batteries – Remove negative cable first, then positive.
- Inspect Battery Tray – Clean rust or debris.
- Check Cables – Replace any frayed or damaged cables.
- Wear Safety Gear – Gloves and goggles should be on before touching the battery.
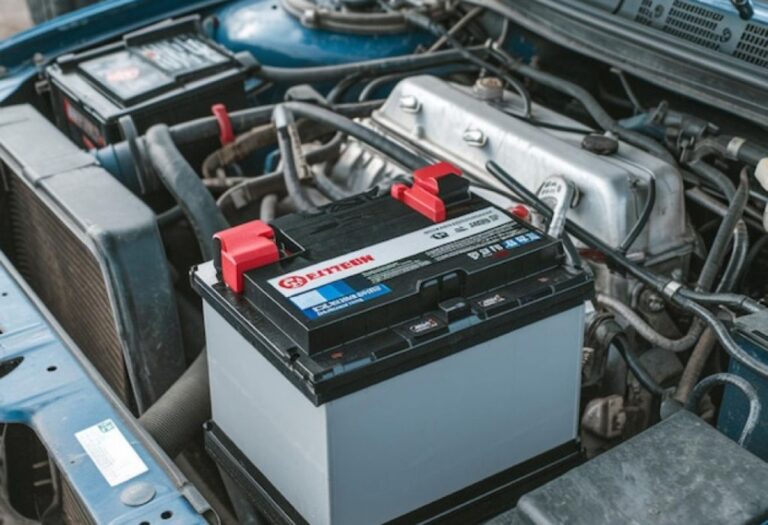
4. How to Hook Up a Single RV Battery
If you’re running a simple setup with one 12V battery:
- Place the battery in the tray with terminals positioned for easy cable reach.
- Connect the positive (red) cable from the RV to the battery’s positive (+) terminal.
- Connect the negative (black) cable to the battery’s negative (–) terminal.
- Tighten connections but don’t overtighten to avoid damaging posts.
- Apply terminal protectant.
- Turn on the RV’s 12V power to test.
5. How to Hook Up RV Batteries in Parallel
Parallel wiring is common when you want longer runtime without changing voltage.
When to use: You have two or more 12V batteries and want to keep the system at 12V but increase amp-hour capacity.
Steps:
- Position batteries close together to minimize cable length.
- Connect positive terminal of battery 1 to positive terminal of battery 2.
- Connect negative terminal of battery 1 to negative terminal of battery 2.
- Connect RV positive lead to one battery’s positive terminal and RV negative lead to the opposite battery’s negative terminal (for balanced charging).
- Test with a multimeter — voltage should read around 12.6–12.8V for a full charge.
Pros:
- Longer run time.
- Same voltage for all appliances.
Cons:
- If one battery fails, it can drag down the others.
6. How to Hook Up RV Batteries in Series
(More Voltage, Same Capacity)
Series wiring is used to connect two 6V batteries to make 12V for the RV.
When to use: You have two 6V deep-cycle batteries.
Steps:
- Position batteries close enough for short jumper cables.
- Connect the positive terminal of battery 1 to the RV’s positive cable.
- Connect the negative terminal of battery 1 to the positive terminal of battery 2 (this is the series link).
- Connect the negative terminal of battery 2 to the RV’s negative cable.
- Test with a multimeter — voltage should read around 12.6–12.8V for a full charge.
Pros:
- Higher voltage using smaller, lighter batteries.
Cons:
- If one battery fails, the system won’t work.
7. Testing Your Connections
- Use a Multimeter – Check voltage before powering up.
- Check for Heat – Warm cables may indicate a loose or faulty connection.
- Ensure Polarity is Correct – Positive to positive, negative to negative (parallel) or correct series link.
8. Common Mistakes to Avoid
- Mixing Battery Types – Always use the same type, capacity, and age in one bank.
- Reversing Polarity – Can damage electronics instantly.
- Loose Connections – Can cause sparks, heat, and power loss.
- Skipping Safety Gear – Risk of burns and injury.
- Not Testing Before Use – Always verify voltage before turning power on.
9. Maintenance Tips for Battery Connections
- Inspect Monthly – Look for corrosion or loose cables.
- Clean Terminals – Use baking soda and water for corrosion removal.
- Apply Terminal Protectant – Prevents corrosion buildup.
- Charge Regularly – Avoid deep discharges to extend life.
- Store Properly – Disconnect batteries during long-term storage or use a maintainer.
FAQs About Hooking Up RV Batteries
Can I mix 6V and 12V batteries in the same system?
No, voltages must match in the same bank.
Do I need special cables for series or parallel connections?
Use heavy-gauge cables rated for your system’s amperage.
How do I know if my RV batteries are connected correctly?
Test with a multimeter — series should read combined voltage, parallel should read single-battery voltage.
Which is better, series or parallel?
It depends on your needs — series for voltage increase, parallel for capacity increase.
Conclusion
Hooking up RV batteries isn’t complicated, but it must be done carefully. Whether you’re wiring a single battery, creating a parallel bank for more capacity, or wiring two 6V batteries in series, always follow proper steps, use the right tools, and wear safety gear.
Correct connections will ensure your batteries deliver maximum power and last longer — keeping your adventures going without unexpected power problems.
I’m David R. Coleman, the founder, lead writer, and lifelong tool enthusiast behind GarageToolPro.com. With years of experience in automotive repair, woodworking, and home DIY projects, I created this platform to share practical tips, detailed tool reviews, and step-by-step guides that help mechanics, hobbyists, and homeowners get the job done right the first time.