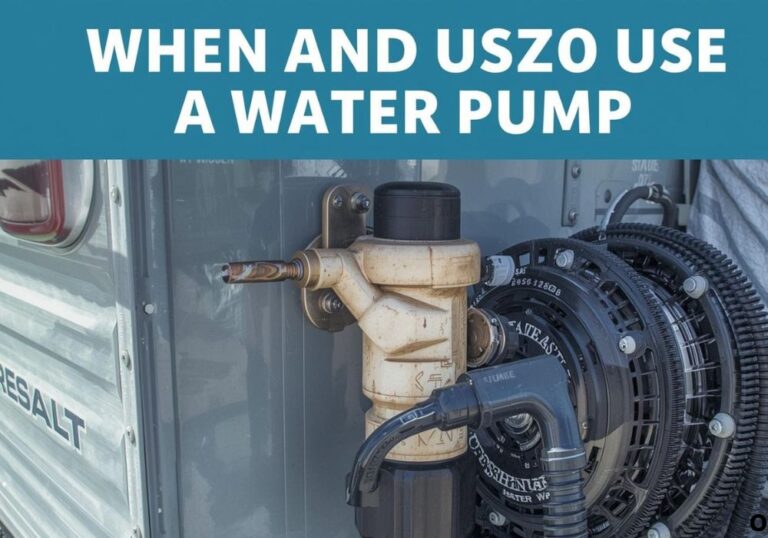
Do RV Water Pumps Have a Check Valve? Explained Clearly
Imagine starting your day on the road, opening the faucet in your RV, and only a weak stream of water comes out.
This sudden drop in water pressure can be frustrating and inconvenient. Often, the culprit is a small but crucial component: the check valve in your RV water pump.
Backflow in RV plumbing isn’t just a nuisance—it can allow bacteria or debris to enter your freshwater tank, leading to contamination and potential health risks.
Many RV owners overlook this tiny valve, yet it plays a vital role in keeping water flowing in the right direction.
Check valves are designed to allow water to flow one way, preventing it from moving backward into the tank or pump.
Without a properly functioning check valve, your water system may lose pressure, cause the pump to work harder, and even reduce the lifespan of your plumbing components.
Statistics show that about 20–30% of RV water system failures are linked to check valve malfunctions (RV Life).
Regular inspection and maintenance can prevent these issues and save you from costly repairs on the road.
Understanding how check valves work, where they are located, and how to maintain or replace them can save both time and money.
In this guide, we’ll explore everything you need to know about check valves in RV water pumps, from their definition and importance to signs of failure and step-by-step replacement instructions. By the end, you’ll be equipped to keep your RV water system flowing smoothly and efficiently.
Why Is a Check Valve Crucial for Your RV Water Pump?
A check valve is essential for preventing backflow in your RV water system. Without it, water could flow backward into the freshwater tank, causing contamination and potential health risks.
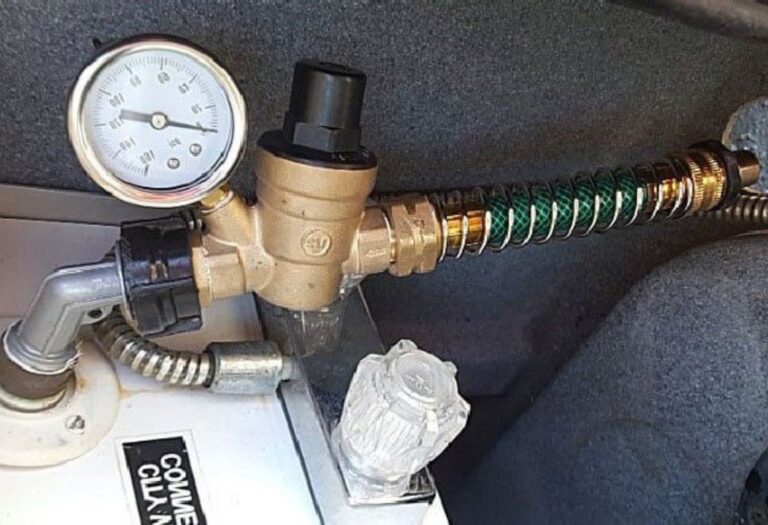
It also helps maintain consistent water pressure throughout your RV. When the check valve functions properly, faucets and showers receive steady water flow, avoiding frustrating drops in pressure.
In addition, check valves protect pump components from unnecessary wear. By ensuring water only flows in one direction, the pump does not overwork, which can extend its lifespan.
Check valves also contribute to the overall longevity of the water system. They prevent common plumbing problems that could lead to costly repairs or replacements over time.
What happens if the check valve fails?
It can cause backflow, reduce water pressure, and potentially contaminate the freshwater tank.
Can a faulty check valve damage the water pump?
Yes, it can cause the pump to overwork, which may lead to premature failure.
How often should the check valve be inspected?
At least once a year or more frequently if any water system issues appear.
Are there signs that a check valve is malfunctioning?
Yes, such as water backflow, pump cycling on and off rapidly, or decreased water pressure.
Can a check valve be cleaned or repaired?
Sometimes, but replacement is usually recommended to ensure optimal performance.
Signs of a Malfunctioning Check Valve
One of the first signs of a faulty check valve is water backflow. Water may flow backward into the freshwater tank when the pump is running, which can contaminate the tank and reduce system efficiency.
Pump short cycling is another common symptom. The pump may turn on and off rapidly without providing a steady flow of water, indicating that the check valve is not maintaining proper pressure.
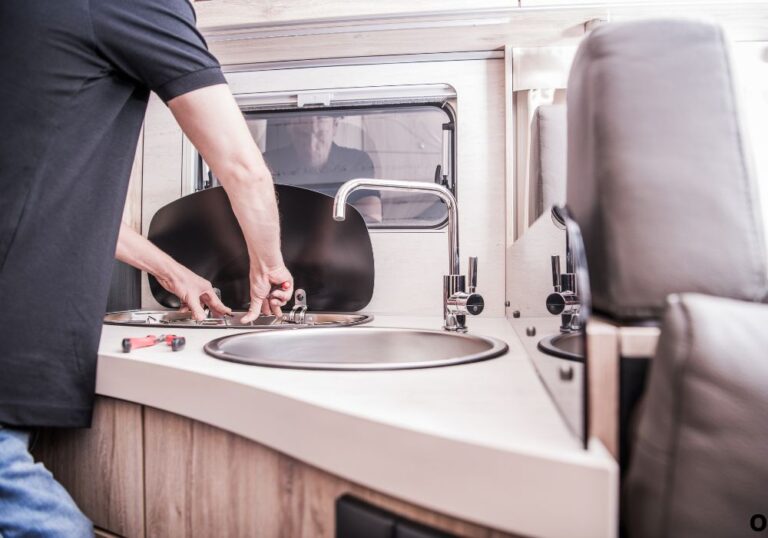
Decreased water pressure at faucets and showers can also signal a problem. If the water flow feels weak or inconsistent, the check valve could be partially blocked or worn out.
Unusual noises from the pump, such as clicking or rattling sounds, may indicate internal valve issues. These noises are often caused by debris or a misaligned valve component.
Changes in water taste or appearance can be a warning sign. Contaminated water can result from backflow due to a malfunctioning check valve.
How can I test if the check valve is working?
Observe water flow and pressure while the pump is running. If backflow occurs or pressure drops, the valve may be faulty.
Is a professional inspection necessary?
For accurate diagnosis and repair, professional assistance is recommended.
Can I replace the check valve myself?
If you are familiar with RV plumbing, it can be a DIY task. Otherwise, seek professional help to ensure correct installation.
What tools are needed for check valve replacement?
Basic plumbing tools such as wrenches and Teflon tape are usually sufficient.
How can I prevent check valve issues?
Regular maintenance, cleaning, and timely replacement of worn components help prevent common problems.
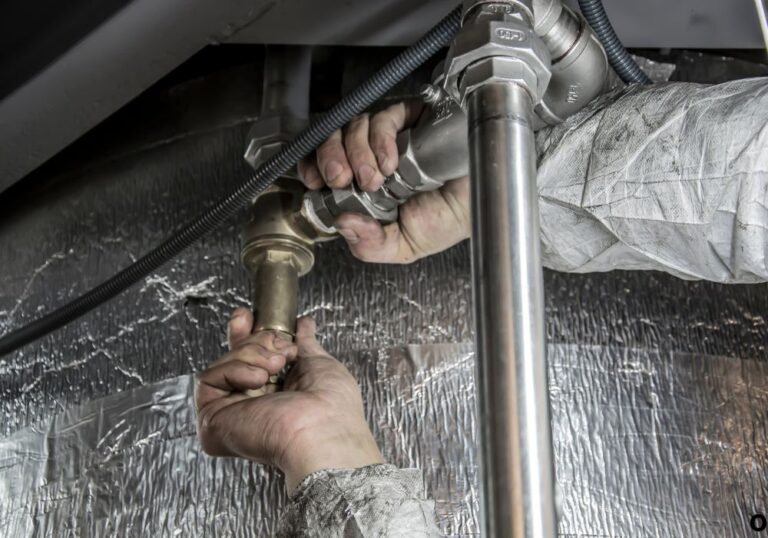
How to Replace an RV Water Pump Check Valve
Before starting, turn off the water supply and relieve system pressure. This ensures safety and prevents water from spilling during the replacement process.
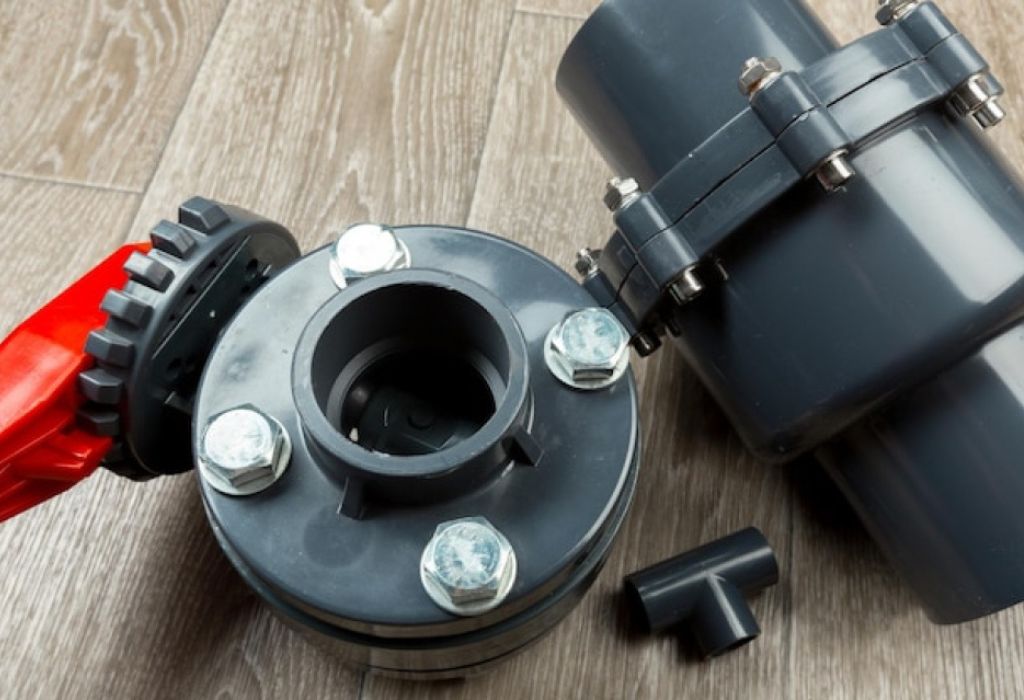
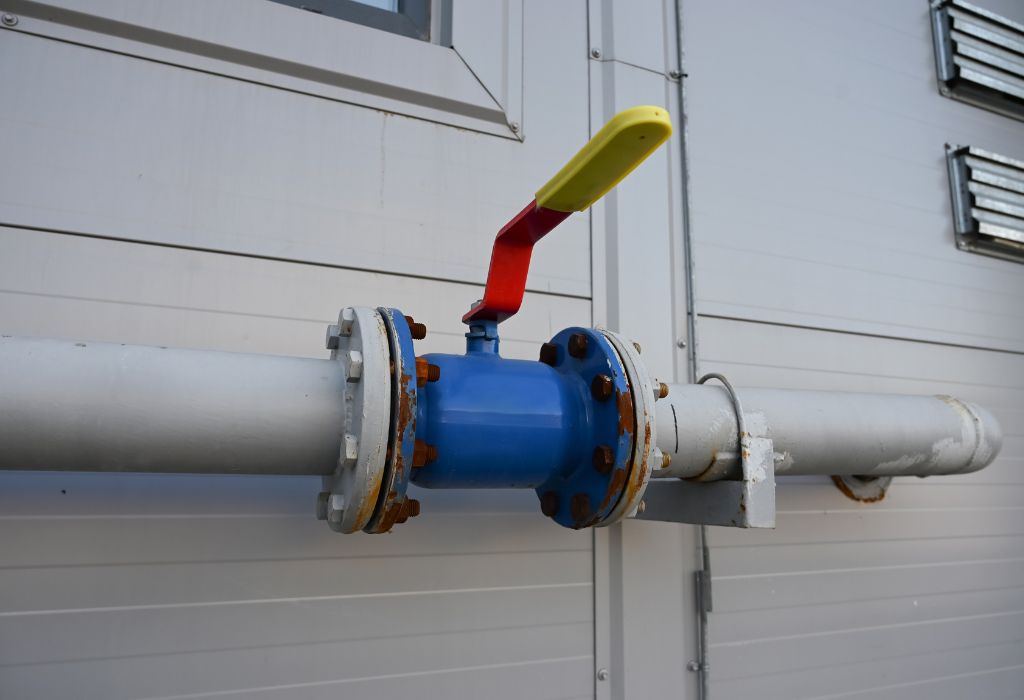
Locate the water pump and identify the check valve. It is typically found on the outlet side of the pump or at the city water inlet.
Disconnect the check valve from the pump outlet carefully. Remove any debris or buildup around the valve area to ensure proper installation of the new valve.
Install the new check valve, making sure it is oriented correctly for one-way water flow. Reconnect all fittings securely to prevent leaks.
Turn on the water supply and check for leaks around the connections. Verify that water flows properly and that the pump maintains consistent pressure.
Do I need to replace the entire pump if the check valve fails?
Not necessarily. Often, replacing just the check valve is sufficient.
How do I choose the right replacement check valve?
Select a valve that matches the specifications of your RV water pump and plumbing system.
Can I use any check valve for replacement?
No. Compatibility with your RV’s plumbing system is essential to ensure proper function.
Is professional installation recommended?
If unsure, professional installation ensures correct operation and avoids potential damage.
How can I maintain the new check valve?
Regular inspections and cleaning can extend the lifespan of the valve and maintain system efficiency.
Preventive Maintenance for RV Water Pump Check Valves
Regular inspections help identify early signs of wear or damage. Check for leaks, corrosion, or debris that could affect valve performance.
Cleaning the valve and surrounding components ensures smooth operation. Remove mineral buildup and any foreign material that could obstruct water flow.
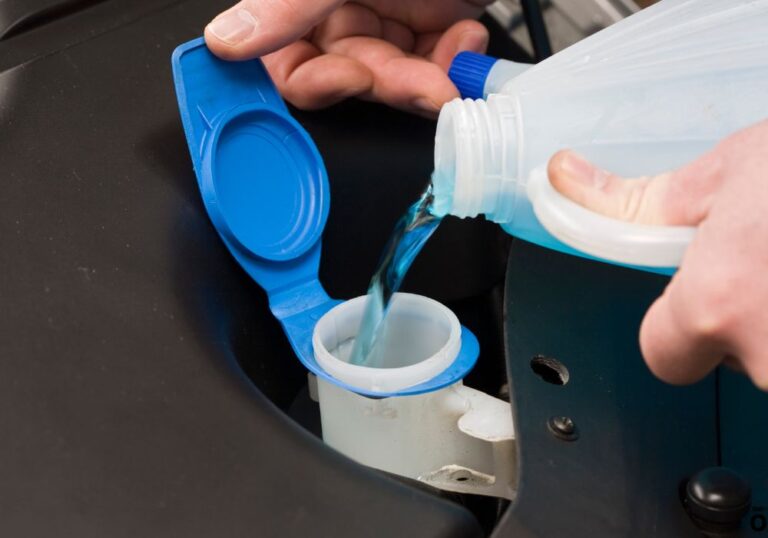
Proper storage of your RV during winter is essential. Winterizing the water system prevents freezing and damage to the check valve and other plumbing components.
Using filters in your water system can prevent debris from entering the pump and check valve. This reduces wear and keeps the water clean.
Periodic professional servicing can catch problems that may not be visible. A thorough inspection ensures all components, including check valves, are in optimal condition.
How often should I inspect the check valve?
At least once a year or before and after each trip to ensure proper function.
Can I clean the check valve myself?
Yes, with proper tools and instructions for your RV plumbing system.
What should I do if I find a problem during inspection?
Address minor issues immediately and consult a professional for major repairs or replacement.
Are there specific cleaning agents for check valves?
Use mild, non-corrosive cleaners recommended for RV water systems.
Should I replace the check valve proactively?
If it shows signs of wear or age, proactive replacement can prevent future problems.
Conclusion
Check valves play a vital role in maintaining the efficiency and cleanliness of your RV water system. They prevent backflow, ensure consistent water pressure, and protect the pump from unnecessary wear.
Regular inspection, cleaning, and timely replacement of check valves can prevent common plumbing issues. Maintaining these small but critical components helps avoid costly repairs and keeps your RV water system running smoothly.
Understanding how check valves work and recognizing the signs of malfunction allows RV owners to act before problems escalate. Proper maintenance ensures safe, reliable water flow throughout your RV.
For optimal performance, schedule routine checks and consider professional servicing when needed. Keeping your check valves in top condition guarantees a comfortable and trouble-free RV experience on every trip.
I’m David R. Coleman, the founder, lead writer, and lifelong tool enthusiast behind GarageToolPro.com. With years of experience in automotive repair, woodworking, and home DIY projects, I created this platform to share practical tips, detailed tool reviews, and step-by-step guides that help mechanics, hobbyists, and homeowners get the job done right the first time.