How Long to Charge an RV Battery from a Vehicle?
Imagine leaving camp after a night of running lights, fans, and a fridge only to see your RV battery monitor showing dangerously low power.
Many travelers assume that a long drive will quickly solve the problem by letting the alternator restore full charge.
The truth is that charging from a vehicle often takes longer than expected.
The reason is that charging speed depends on more than just running the engine.
Different setups provide different results, from a weak 7-pin connector that only maintains charge to a powerful DC-DC charger designed for fast recovery.
The difference can mean hours of extra driving or arriving at your next stop with reliable power.
Battery failures are more common than many realize. Studies show that nearly 60% of RV battery problems come from undercharging or chronic depletion source.
Understanding actual charge times not only saves frustration but also extends battery life and prevents costly replacements.
This guide explains how long to charge an RV battery from a vehicle under real-world conditions.
It covers simple math formulas, practical examples, and the best gear upgrades to shorten charging times. By the end, you will know exactly how to plan your drive for dependable power.
Quick Answer — Typical Charge Times While Driving
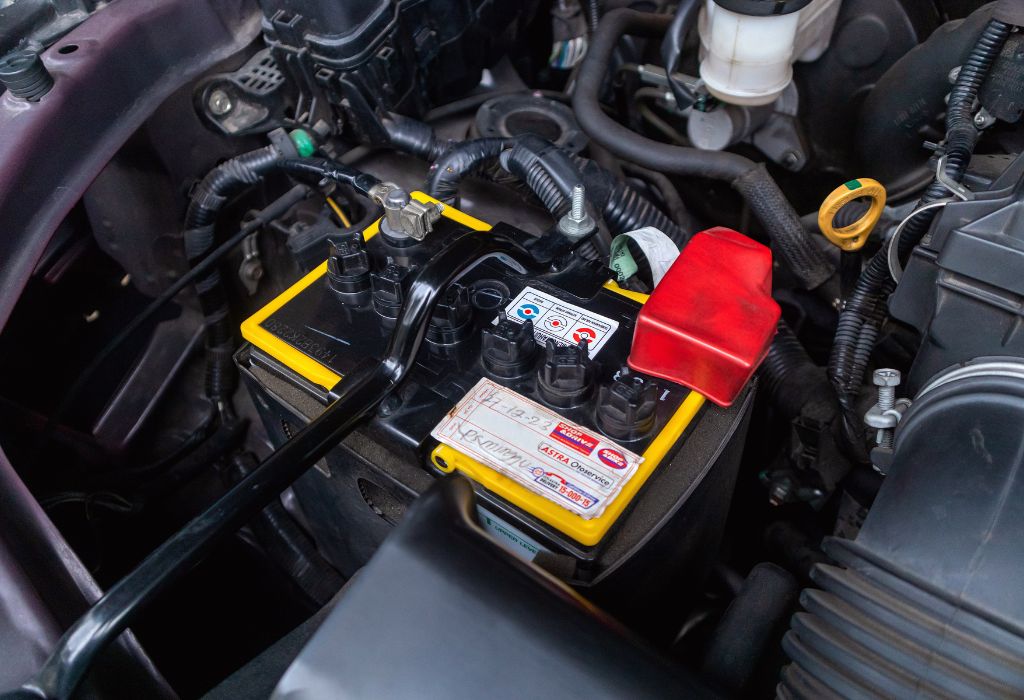
The time required to charge an RV battery while driving depends mainly on the method used. A factory-installed 7-pin connector usually delivers only a trickle of current, enough to keep a battery from discharging further but not enough to fully restore it. In contrast, a DC-DC charger provides a steady flow of controlled current that can recharge a house battery much faster.
With a 7-pin connection, it may take many hours to see a meaningful increase in battery capacity. Voltage drop through small-gauge wiring further limits how much power actually reaches the house battery. For many RV owners, this means a full day of driving may still leave the battery below full charge.
A 25A DC-DC charger adds around 80–90 amp hours in roughly 4 hours, while a 40–50A unit can deliver close to 100Ah in just 2–3 hours. Lithium batteries generally charge faster than lead-acid because they accept high current longer, while parasitic loads like fridges or fans reduce the net charging rate.
How long with a 7-pin?
It often maintains but rarely recharges, meaning hours of driving may leave the battery only slightly better.
How long with a 25A DC-DC charger?
About 4 hours to add 80–90Ah, considering inefficiency.
How long with a 40–50A DC-DC charger?
Around 2–3 hours to restore 100Ah before taper.
Does battery type change time?
Yes, lithium charges faster than lead-acid because it holds bulk current longer.
Do loads while driving matter?
Yes, appliances reduce net charge entering the battery.
The Simple Math — Convert Battery Size and Amps to Hours
Charging time can be estimated with a simple formula. Take the amp hours (Ah) you need to replace, divide by the charging current in amps, and then add 10–30% to account for losses. This extra buffer covers real-world inefficiencies like voltage drop, heat, and charge tapering.
For example, a 100Ah battery that is half empty needs about 50Ah replaced. If you are using a 25A DC-DC charger, the calculation would be 50 ÷ 25 = 2 hours, then multiply by 1.2 for efficiency loss, giving a total of about 2.5 hours. Larger banks or weaker charging systems scale that time up significantly.
Battery chemistry also affects the math. Lithium batteries can accept high current until nearly full, meaning they follow the calculation closely. Lead-acid batteries slow dramatically in the absorption stage, so their real charge time is often longer than the formula suggests.
What is Ah?
It is the measurement of total storage capacity in a battery, representing how many amps it can supply over an hour.
What amps should be used?
Use the charger’s rated output or the actual alternator-to-house battery current measured with a monitor.
Why add 10–30%?
Because charging is never 100% efficient, energy losses and tapering require extra time.
Does 100A charge 100Ah in one hour?
In theory, yes, but tapering and loads will make it take longer in practice.
Does chemistry matter?
Yes, lithium charges closer to the calculation, while lead-acid slows down as it nears full.
What Each Setup Delivers in the Real World
Charging results vary greatly depending on the system you use. Some methods only provide maintenance-level power, while others can recharge a depleted battery quickly. Understanding these differences helps set realistic expectations on the road.
Alternator output, wiring size, and battery chemistry all influence results. A weak connection may keep lights on but never restore full charge. Stronger systems, however, can bring a bank back to usable levels in just a few hours of driving.
Let’s explore the three most common setups: the standard 7-pin connector, a dedicated DC-DC charger, and high-output alternator systems. Each has clear advantages and limitations.
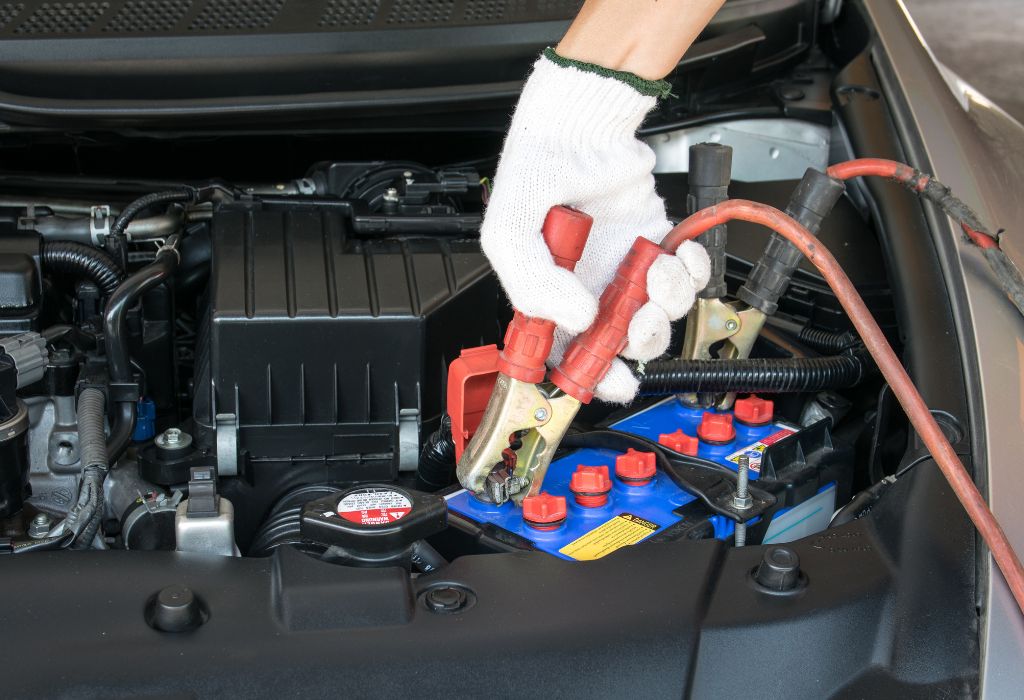
7-Pin Charge Line from Tow Vehicle
The 7-pin connector is the most common way to connect a trailer battery to the tow vehicle. While convenient, it uses small-gauge wires that restrict current flow and suffer from voltage drop. This limits how much energy actually reaches the house battery.
In most cases, the 7-pin provides only a few amps of charging. That may prevent the battery from dying completely but is rarely enough to recharge it after heavy use. Drivers often find that even after hours of travel, the battery remains undercharged.
Upgrades such as thicker wiring or improved connectors can help, but the system will still be limited compared to a DC-DC charger. For many RVers, the 7-pin is better for maintaining than recharging.
How many amps does a 7-pin provide?
Often only single digits to low teens, depending on wiring and alternator output.
Will it recharge a dead battery?
No, it generally cannot restore a deeply discharged house battery.
Can wiring upgrades help?
Yes, heavier gauge wire reduces voltage drop and improves performance.
Is an isolator required?
Yes, to protect the starting battery when parked.
DC-DC (Battery-to-Battery) Charger
A DC-DC charger is designed to regulate current and deliver proper multi-stage charging. Unlike the 7-pin, it ensures the house battery receives steady power regardless of alternator variations. This makes it a reliable choice for modern vehicles with smart alternators.
Most DC-DC chargers are rated between 25A and 60A. At these levels, they can restore large amounts of energy in just a few hours. This is enough to power fridges, lights, and inverters without long downtime.
They also extend battery life by matching charge profiles to chemistry. A lithium bank benefits from the consistent high current, while lead-acid gets the correct absorption and float stages.
What sizes are available?
Common ratings include 25A, 40A, 50A, and 60A models.
How quickly can they recharge?
A 40–50A charger can restore about 100Ah in 2–3 hours.
Do they support lithium batteries?
Yes, with dedicated lithium profiles for proper charging.
Do they protect the alternator?
Yes, by limiting draw and regulating voltage output.
High-Output Alternators and Dedicated Systems
Some RV owners invest in high-output alternators or secondary alternator systems. These setups deliver much higher charging current than a 7-pin or even a DC-DC charger. For large lithium banks, this is often the only way to keep up with demand.
High-output alternators can provide 100–200A directly to the house battery system. With that much current, large battery banks can be recharged in only a few hours. However, this power comes with risks of overheating and additional wear.
Because of complexity, many high-output systems are professionally installed. They require heavy wiring, strong connectors, and often extra cooling. The investment is significant, but the results can rival shore power charging speeds.
How fast can high-output alternators charge?
They can restore large banks in a few hours of driving.
Do they require cooling upgrades?
Yes, alternators risk overheating under continuous heavy load.
Who benefits most from these systems?
Owners with large lithium banks and high daily energy use.
Can they be installed DIY?
Possible, but most users choose professional installation for safety.
Battery Chemistry — Lithium vs AGM vs Flooded
Battery type plays a major role in determining charge times. Different chemistries accept current at different rates, and this changes how effectively driving can recharge them. Understanding these differences avoids unrealistic expectations.
Lithium batteries accept higher current deeper into their cycle. They continue charging efficiently until almost full, which means drive times are shorter. Lead-acid batteries slow down significantly in the absorption phase, dragging out the total charging time.
Flooded and AGM batteries are also more sensitive to temperature. They require proper voltage adjustments to avoid damage, while lithium batteries benefit from precise charge algorithms built into modern chargers.
What is the recommended lithium charging rate?
Around 50A per 100Ah battery is a common safe maximum.
How do AGM batteries behave?
They accept lower current and taper earlier than lithium.
What bulk voltage is needed for lithium?
Typically 14.4–14.6V is required.
Do you need a lithium-compatible charger?
Yes, correct profiles protect performance and lifespan.
The Hidden Variables That Change Your Time
Charging time is not only about battery size and charger rating. Small details in wiring, alternator output, and driving style can change results dramatically. These factors often explain why two similar setups give very different outcomes.
Wire gauge and length directly affect voltage drop. Long, thin wires reduce current flow and waste energy as heat. Upgrading to thicker cable minimizes this loss and delivers more usable power to the battery.
Other factors include alternator health, engine RPM, and even temperature. A weak alternator at idle may provide little charging, while highway speeds improve results. Hot conditions can reduce alternator efficiency and battery acceptance.
Does highway speed help?
Yes, higher RPM usually increases alternator output.
What about in-cabin loads?
They consume alternator current and reduce what reaches the house battery.
What is the best connector?
Anderson plugs are preferred because they handle higher current than a 7-pin.
Where should fuses be installed?
As close to the power source as possible for safety.
Example Drive-Time Scenarios
Worked examples make calculations easier to understand. Using the simple formula helps estimate realistic charging times for different setups. These scenarios assume average efficiency and no major loads running.
A 200Ah lithium battery charged with a 40A DC-DC unit takes about 4–5 hours to reach 90% state of charge. This calculation includes tapering and inefficiency, showing how quickly lithium can recover.
A 100Ah AGM charged with a 25A DC-DC charger may take 3–4 hours to reach 80%. Lead-acid slows near the top, so more time is needed compared to lithium. A 7-pin connection, by contrast, may struggle to add even 30Ah in the same period.
200Ah lithium at 40A to 90%?
About 4–5 hours including taper.
100Ah AGM at 25A to 80%?
Roughly 3–4 hours.
400Ah lithium at 60A to 80%?
Around 6–7 hours.
7-pin only adding 30Ah?
It is often impractical without very long drives.
Gear That Speeds Things Up Safely
The right equipment can dramatically shorten charge times. Upgrades like DC-DC chargers, heavy-duty wiring, and high-output alternators provide faster, safer charging. Choosing properly rated gear also protects both batteries and alternators.
A 40A or 50A DC-DC charger is a practical upgrade for most RVs. It balances charging speed with alternator safety while ensuring multi-stage profiles for lithium or AGM batteries. Many units also accept solar input for hybrid charging.
Cables, connectors, and fuses matter just as much. Thick wiring and Anderson plugs reduce voltage drop and prevent overheating. Proper fuse placement guards against shorts and electrical damage.
25A vs 40A charger?
A 25A unit may take 5 hours for 120Ah, while a 40A can do it in 3 hours.
Do some chargers accept solar input?
Yes, many dual-input models blend alternator and solar power.
Are they smart alternator compatible?
Yes, most DC-DC chargers are designed for modern vehicles.
Do they replace an isolator?
Yes, they include built-in battery separation.
Safety, Warranty, and Battery Health
Safe charging protects both your RV and your investment in batteries. Overcharging or using the wrong equipment can shorten lifespan and void warranties. Following manufacturer recommendations ensures long-term reliability.
Lithium batteries often specify a maximum charge rate of 0.5C, or about 50A per 100Ah. Exceeding this limit may damage cells and reduce capacity over time. Lead-acid batteries also need proper temperature compensation to avoid overheating.
Fuses, thermal sensors, and correct charger profiles add another layer of protection. By matching the charging system to battery chemistry, you maximize performance while staying within safe limits.
What is the max lithium charge rate?
Typically 0.5C, or 50A per 100Ah battery.
Can overcharging damage alternators?
Yes, continuous heavy loads can overheat alternators.
What is float voltage?
Around 13.3V once the battery is fully charged.
Are temperature sensors needed?
Yes, especially for lead-acid systems.
Step-by-Step: Estimating Your Drive Time
A simple checklist helps estimate how long charging will take during a drive. The first step is to calculate how many amp hours (Ah) you need to replace based on your battery’s state of charge. This number forms the foundation for the calculation.
Next, identify the actual charging current your system delivers. This may be the rating of a DC-DC charger or the measured alternator-to-battery flow using a monitor. Subtract any loads running while driving to find the net charging current.
Finally, apply the formula: Ah needed ÷ net amps × 1.1–1.3. Adding this buffer ensures you account for tapering and real-world inefficiency. The result is a realistic estimate of drive time required.
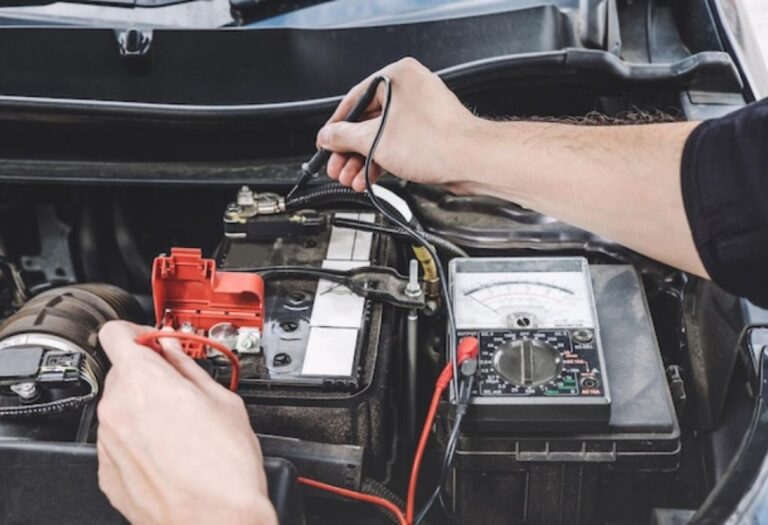
How to measure current?
Use a battery monitor with a shunt for accurate readings.
How to estimate loads?
List devices like fridges and lights, then add their amp draws.
How much buffer should be added?
Typically 10–30% depending on battery type and wiring quality.
What if the result seems slow?
Upgrade wiring, use a DC-DC charger, or consider a high-output alternator.
When to Add Solar or Shore Power
Alternator charging alone may not always be enough. Adding solar or shore power creates a hybrid system that restores batteries more quickly and ensures a full charge. This combination is often the best strategy for off-grid camping.
Solar panels provide steady power during the day, reducing the load on alternator charging. Many modern DC-DC chargers accept solar input, blending both sources for faster charging. Even portable panels can make a meaningful difference.
Shore power remains the most reliable method for reaching 100% state of charge. A quality converter or charger connected to mains power can finish the absorption and float stages that alternator charging may miss. This helps extend battery lifespan.
Is solar useful while driving?
Yes, dual-input DC-DC chargers can combine solar and alternator power.
How long with shore power?
A 200Ah battery at 10A may take up to 20 hours to fully charge.
What is the best quick upgrade?
A 40–50A DC-DC charger provides the best balance of speed and safety.
Can solar replace alternator charging?
No, but it is excellent as a supplement.
Conclusion
How long to charge an RV battery from a vehicle depends on many factors. Battery capacity, charger type, wiring quality, and chemistry all play critical roles in determining actual times. A small 7-pin connection may barely maintain charge, while a strong DC-DC system can restore power in a few hours.
The simple formula of amp hours divided by net amps, plus a buffer for inefficiency, provides a reliable estimate. This calculation helps RV owners plan drive times with confidence and avoid surprises on the road.
Combining alternator charging with solar or shore power creates the most effective setup. With the right upgrades and careful planning, your RV batteries will stay ready for every trip, ensuring comfort and reliability wherever you travel.
I’m David R. Coleman, the founder, lead writer, and lifelong tool enthusiast behind GarageToolPro.com. With years of experience in automotive repair, woodworking, and home DIY projects, I created this platform to share practical tips, detailed tool reviews, and step-by-step guides that help mechanics, hobbyists, and homeowners get the job done right the first time.