How to Install RV Water Heater Door Latch the Right Way
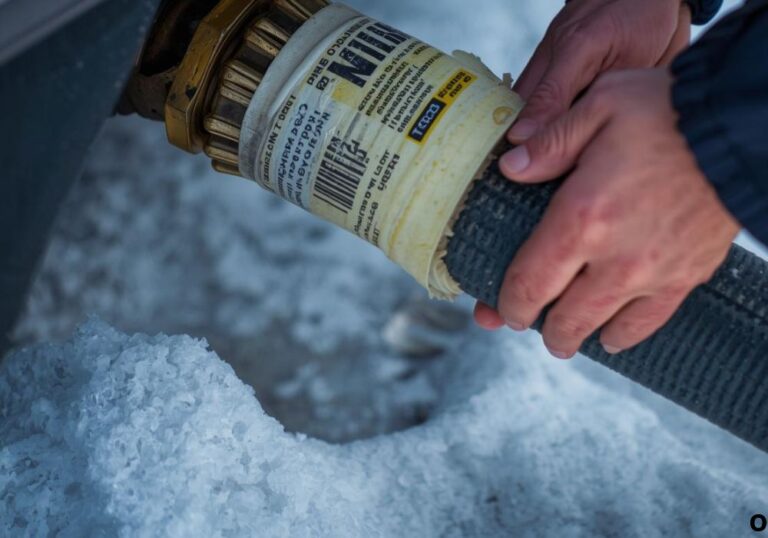
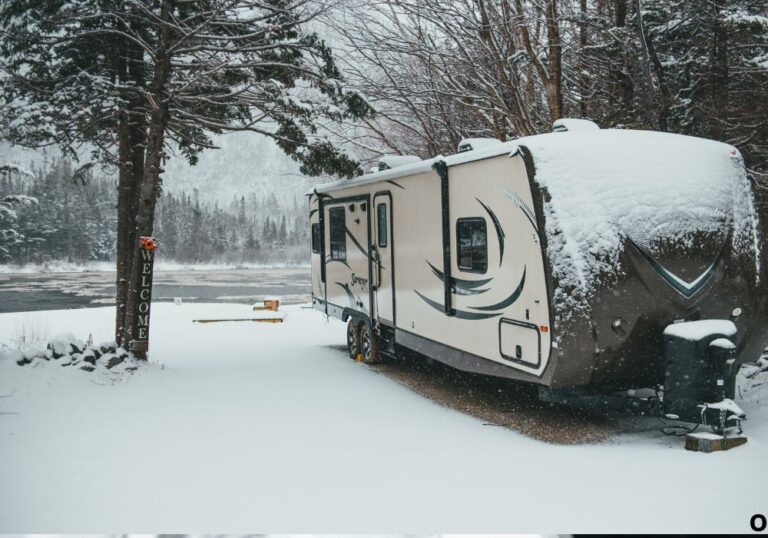
You’ve just finished setting up camp, and as you do a quick walk-around inspection of your RV, you notice your water heater door hanging loose or rattling in the wind. A missing or broken latch might seem like a small issue, but it can lead to bigger problems — from road vibration damage to pests and dirt getting inside your water heater compartment.
Installing a new RV water heater door latch is one of the simplest and most affordable repairs you can do yourself, yet it plays a big role in keeping your water heater safe and secure.
Whether you own a Suburban or Atwood unit, this quick fix will take only a few minutes once you know the right steps.
According to RV maintenance experts, over 40 percent of water heater access door failures happen due to worn-out latches or improper installation.
In this guide, you’ll learn exactly how to install an RV water heater door latch correctly, what tools you’ll need, and how to ensure a tight, long-lasting fit.
Why the RV Water Heater Door Latch Matters

The latch on your RV’s water heater door isn’t just for looks — it serves an important protective purpose.
It keeps the access panel securely closed, shielding your heater from road debris, dust, insects, and rainwater.
A broken latch can cause the door to flap open while driving, risking damage to the hinges or even losing the entire panel.
It also helps maintain a proper seal for ventilation and safety when your water heater operates.
Replacing a worn latch is a simple maintenance step that keeps your RV’s systems protected and functioning properly.
Types of RV Water Heater Door Latches
There are two main types of latches commonly used on RV water heaters: twist-style and spring-style latches.
Twist-style latches are the most common and feature a small metal or plastic handle that turns 90 degrees to secure the door.
Spring-style latches use a push-and-click mechanism, making them faster to open but slightly more complex to install.
Most modern RVs use universal twist-style latches that fit both Suburban and Atwood water heaters.
Knowing which type you have ensures you buy the right replacement part for a seamless fit.
Tools and Materials You’ll Need
Before starting, gather the necessary tools for an easy installation.
- Replacement water heater door latch (compatible with your model)
- Screwdriver (Phillips or flathead depending on screw type)
- Adjustable wrench or pliers
- Drill (if old holes are stripped)
- Screws or nuts (if not included with the latch)
- Silicone sealant (optional for weather protection)
Having all your materials ready makes the job smoother and prevents mid-task interruptions.
Step-by-Step: How to Install RV Water Heater Door Latch
Step 1: Turn Off the Water Heater and Ensure Safety
Before you begin, make sure your RV water heater is turned off and completely cool.
Unplug shore power and shut off the propane supply if your heater runs on gas. This ensures no accidental ignition or electrical hazards.
Clear the area around the access panel to give yourself space to work.
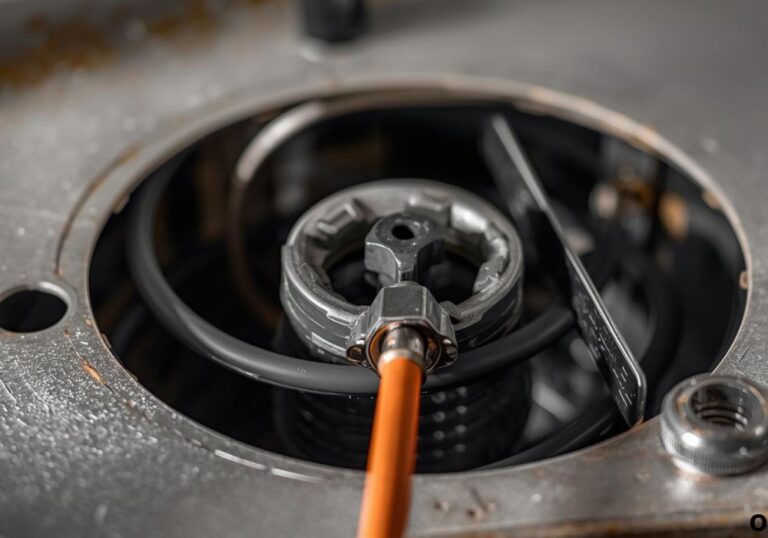
Step 2: Remove the Old or Broken Latch
Locate the screws or nuts securing the old latch to the door.
Use a screwdriver or wrench to remove them carefully. If the latch is stuck due to rust or corrosion, spray a small amount of lubricant like WD-40 to loosen it.
Once removed, clean any remaining debris or adhesive from the mounting area.
Inspect the door surface for cracks or dents before installing the new latch.
Step 3: Align and Install the New Latch
Hold the new latch in place, aligning it with the pre-drilled holes from the old one.
Insert the screws through the latch base and tighten them evenly. Avoid overtightening, which could strip the threads or crack the plastic housing.
If your new latch includes a backing nut, secure it from the inside using pliers or a wrench.
Check that the latch moves smoothly and aligns properly with the strike plate or locking tab on the heater body.
Step 4: Adjust for Proper Fit
Close the door and test the latch operation. It should hold firmly without wobbling or requiring excessive force to close.
If the latch feels loose, slightly tighten the screws or adjust its position.
For twist latches, make sure the handle aligns perfectly when locked at a 90-degree angle.
If your door vibrates while driving, add a small rubber washer under the latch for a tighter grip.
Step 5: Seal and Protect (Optional)
If you want extra protection against moisture or dust, apply a thin bead of silicone sealant around the latch base.
This helps prevent water intrusion into the heater compartment during rain or washing.
Allow the sealant to dry for at least 30 minutes before closing the door.
Once done, your new latch should look clean, fit snugly, and be ready for travel.
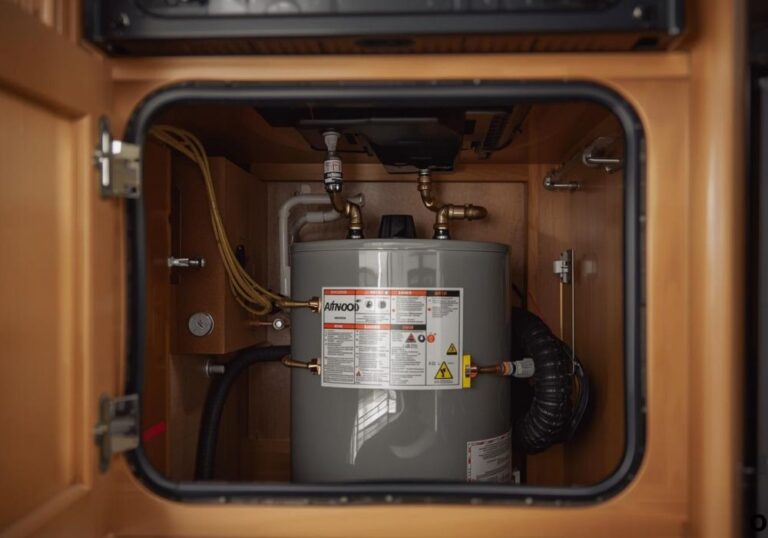
Checking Door Alignment and Seal
After installation, inspect the entire water heater door for proper alignment.
The door should close flush with the RV wall without gaps or bending.
Ensure the latch engages evenly and does not strain the hinges.
If the door doesn’t close properly, adjust the hinge screws slightly or reposition the latch plate.
Proper alignment keeps your heater sealed from outside elements and extends the life of your latch.
Common Mistakes to Avoid During Installation
One common mistake is using the wrong size latch, which can cause misalignment and poor sealing.
Avoid overtightening screws, especially in thin metal or fiberglass doors.
Do not install the latch without checking compatibility with your RV model.
Neglecting to check door alignment after installation can cause premature latch wear.
Finally, never use adhesive alone to secure the latch — it must be mechanically fastened for safety.
Maintenance Tips for Longevity
To extend the life of your new latch, inspect it regularly for signs of rust, wear, or looseness.
Lubricate moving parts with silicone spray or light machine oil once every few months.
Tighten screws if you notice vibration or rattling while driving.
Clean the latch and door area during routine RV washes to prevent dirt buildup.
Replacing the latch every few years ensures consistent performance and prevents roadside surprises.
RV Water Heater Door Latch Replacement Cost
Replacing an RV water heater door latch is one of the most cost-effective maintenance tasks.
A standard latch costs between $5 and $20, depending on material and brand.
If you choose professional installation, expect to pay around $50 to $75 for labor.
Most RV owners prefer DIY installation since it takes only about 10–15 minutes with basic tools.
It’s a small repair that delivers big peace of mind during your travels.
Brand-Specific Notes: Suburban vs. Atwood Latches
Suburban water heaters typically use metal twist latches that lock into a rectangular slot. They’re sturdy and easy to replace with universal parts.
Atwood/Dometic water heaters often feature spring-style or plastic latches that snap into place. These may require different mounting holes.
Always check your heater model number before purchasing a new latch.
Some aftermarket kits include both latch styles with adapters to fit either brand.
Matching the correct type ensures perfect fit and long-term durability.
Market and Usage Insights

As more RVers shift toward full-time travel, maintenance awareness has increased dramatically.
Replacement RV water heater latches rank among the top 10 most-purchased hardware parts on RV accessory websites.
Metal latches last up to five years, while plastic models may need replacing every two to three years.
The good news is that universal latches now fit most RV brands, simplifying replacements for DIY owners.
This small part continues to play a vital role in protecting expensive water heater systems from external damage.
FAQs
1. What causes an RV water heater latch to break?
Constant vibration, UV exposure, and metal fatigue are the most common causes.
2. Can I use any latch, or do I need one specific to my brand?
Choose a latch that matches your RV water heater brand for a proper fit.
3. Are metal latches better than plastic ones?
Metal latches are more durable, but plastic ones resist rust and are easier to replace.
4. How do I know which latch size fits my RV?
Measure the old latch or check your heater’s model number for compatibility.
5. What tools do I need for installation?
A screwdriver, wrench, and possibly a drill are all you need.
6. How tight should the latch be?
It should hold the door firmly closed without bending the panel.
7. Do I need to seal around the latch?
It’s optional but helps prevent moisture and rust buildup.
8. Can I replace the latch without removing the entire door?
Yes, most latches can be replaced while the door remains mounted.
9. How often should I replace my water heater latch?
Inspect yearly and replace every 2–5 years depending on material and usage.
10. Is universal latch installation safe?
Yes, as long as it fits snugly and aligns with the strike plate.
11. Can a loose latch affect the water heater’s performance?
Yes, if the door doesn’t close properly, it can affect ventilation and safety.
12. What’s the easiest latch to install for beginners?
Twist-style metal latches are easiest for first-time DIY installers.
13. Can I paint over the latch to match my RV color?
Yes, use rust-resistant spray paint suitable for metal or plastic.
14. Why does my new latch feel stiff to turn?
Apply a small amount of lubricant or loosen the screws slightly.
15. Where can I buy replacement RV water heater door latches?
They’re available online from Amazon, Camping World, or directly from Dometic and Suburban.
Conclusion
Learning how to install an RV water heater door latch is an easy yet valuable maintenance skill that protects your water heater for the long haul.
It prevents damage from debris, ensures proper sealing, and keeps your access panel secure during travel.
With just a few simple tools and the right latch, you can complete the entire job in minutes.
This small upgrade not only improves safety but also adds to your RV’s overall durability and appearance.
Regular inspections and timely replacements will keep your RV water heater running smoothly and securely for many adventures ahead.
I’m David R. Coleman, the founder, lead writer, and lifelong tool enthusiast behind GarageToolPro.com. With years of experience in automotive repair, woodworking, and home DIY projects, I created this platform to share practical tips, detailed tool reviews, and step-by-step guides that help mechanics, hobbyists, and homeowners get the job done right the first time.