How to Insulate a Water Hose for Your RV in Winter
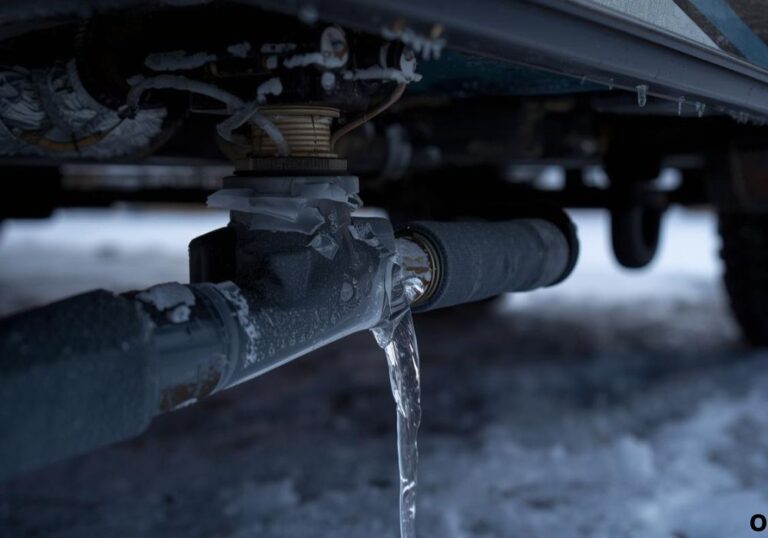
You wake up in your RV on a frosty morning, turn on the faucet, and… nothing happens. The water line is frozen solid, and suddenly your cozy getaway turns into a chilly headache.
This is one of the most common problems RVers face during winter camping. The culprit? A standard water hose left unprotected in freezing temperatures.
Learning how to insulate a water hose for your RV is the difference between frozen pipes and a steady water supply all season long.
According to the RVIA (Recreational Vehicle Industry Association), nearly 30 percent of cold-weather RV issues come from improperly insulated hoses or water lines.
In this guide, you’ll learn exactly how to insulate, wrap, and protect your RV water hose with affordable materials, practical steps, and maintenance tips to keep your water flowing even in subzero weather.
Why You Need to Insulate Your RV Water Hose
When temperatures drop below 32°F, the water inside your hose can freeze. As ice expands, it blocks flow and can burst your hose or fittings.
An insulated water hose keeps the temperature inside stable by trapping warmth and blocking cold air.
It also prevents energy loss if you’re using a heated water source, ensuring more efficient use of power.
Insulating your hose saves money on repairs, keeps your plumbing safe, and ensures you have running water for cooking, cleaning, and showers.
Even if you’re not camping in deep snow, overnight temperature dips can still freeze unprotected hoses—so insulation is essential.
Materials You’ll Need
Before starting, gather everything you’ll need to properly insulate your hose:
- Standard RV drinking-water hose (white, food-grade)
- Foam pipe insulation (¾” or 1″ inner diameter)
- Aluminum tape or heavy-duty duct tape
- Heat cable or heat tape (UL-rated for water lines)
- Zip ties or Velcro straps
- Weatherproof extension cord (for heated tape)
- Plastic wrap or outdoor-rated insulation wrap
- Gloves and scissors
Having all materials ready ensures a clean, effective installation without missing steps midway.
These supplies are inexpensive and available at most hardware or RV stores.
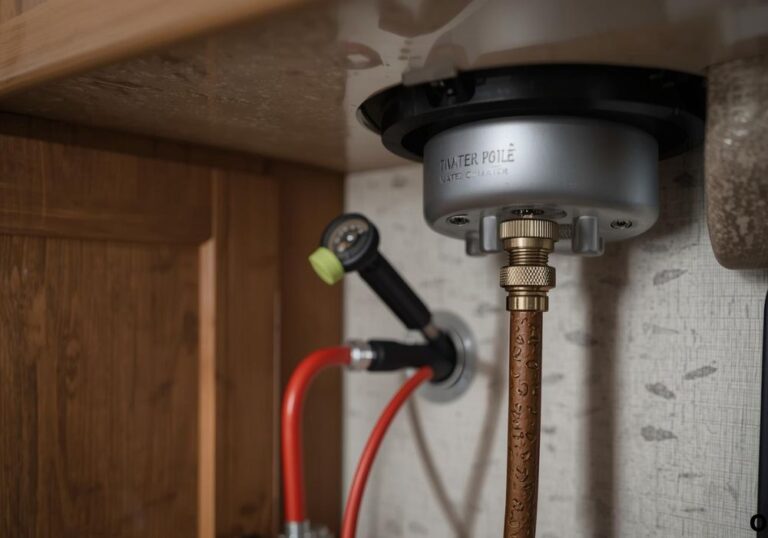
Step 1: Disconnect and Drain the Hose
Start by turning off your RV’s water supply and disconnecting the hose completely.
Drain any remaining water by holding one end higher than the other and allowing gravity to empty the line.
Wipe it dry with a towel to prevent trapped moisture from freezing later.
Inspect the hose for cracks, kinks, or weak spots—replace if damaged before insulation.
A clean, dry hose provides the best base for proper insulation and heating.
Step 2: Wrap the Hose with Heat Cable
A heat cable (or heat tape) is the key to keeping your hose from freezing in extreme cold.
Lay your hose flat and tape the heat cable along its length. Most cables are self-regulating, meaning they heat only when temperatures drop.
Start at the male end (the one that connects to the spigot) and wrap evenly to the RV end. Avoid crossing or overlapping the cable—it can overheat.
Use small strips of tape or zip ties every 12 inches to keep the cable in place.
Make sure the plug end of the cable is near your power outlet for easy connection.
Step 3: Add Foam Pipe Insulation
Next, slide foam pipe insulation sleeves over the hose and heat cable.
These pre-slit foam tubes easily snap over the hose and provide the first layer of thermal protection.
Ensure the foam fits snugly along the entire length, covering both hose and cable.
Seal each seam with aluminum or duct tape to block cold air from seeping in.
Foam insulation keeps the heat inside and prevents cold spots where freezing might start.
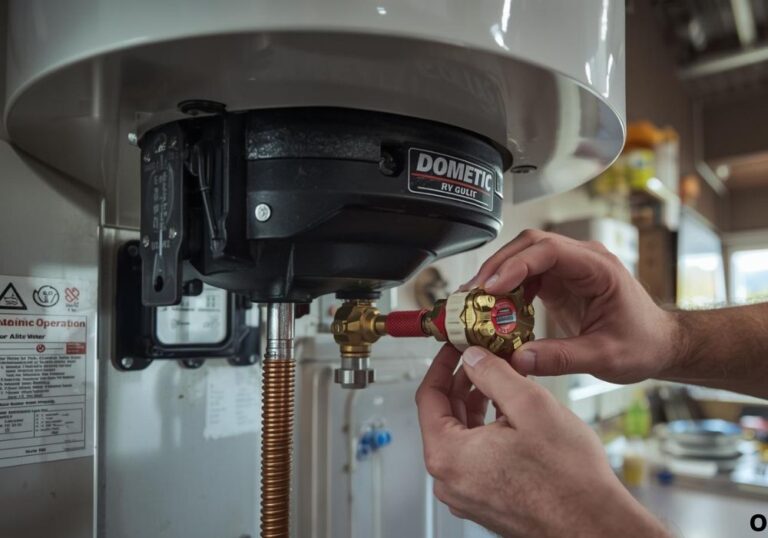
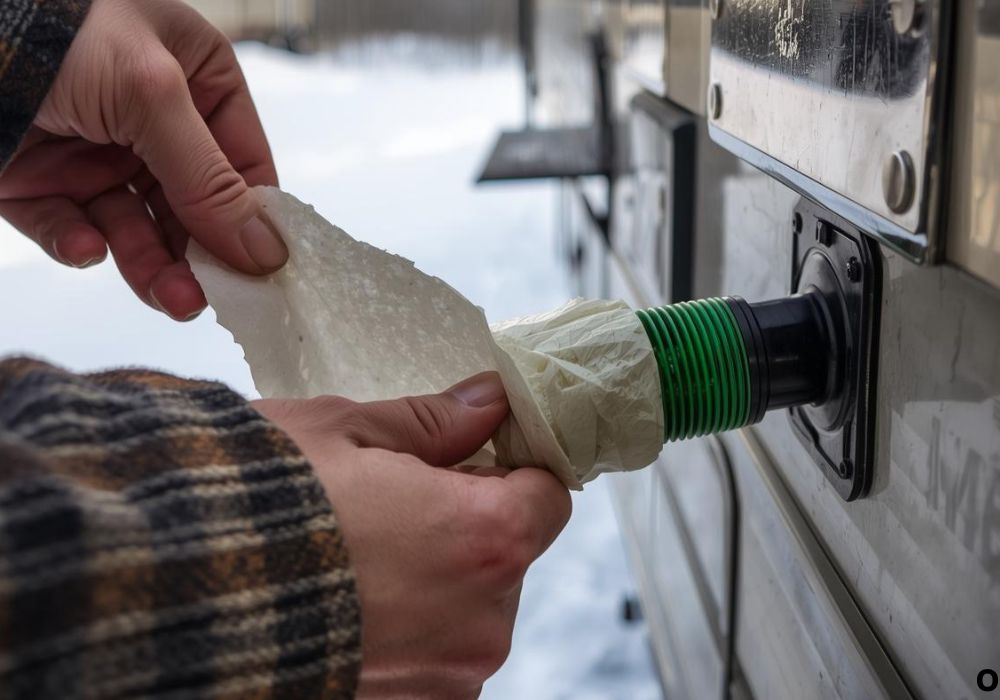
Step 4: Seal All Connections and Ends
Cold air can still enter through open joints or fittings if not properly sealed.
Use tape or rubber caps to cover both ends of the insulation, especially near the connectors.
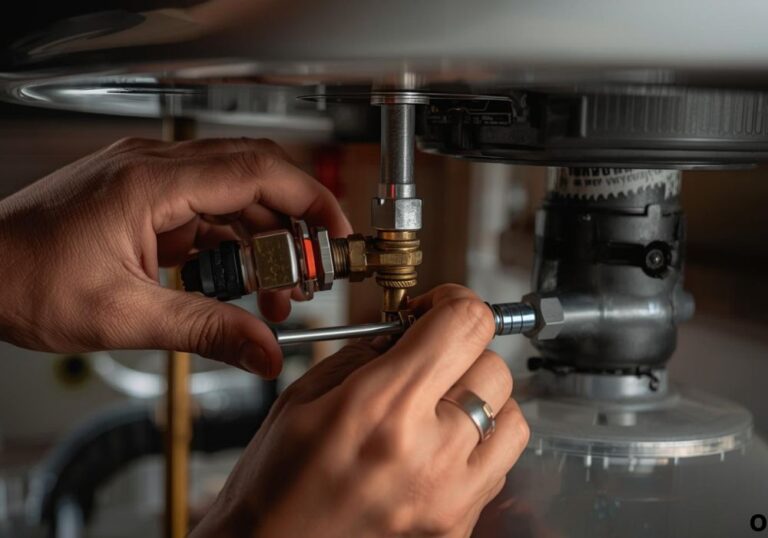
Wrap the fittings themselves with small strips of insulation or heating tape if they’re exposed.
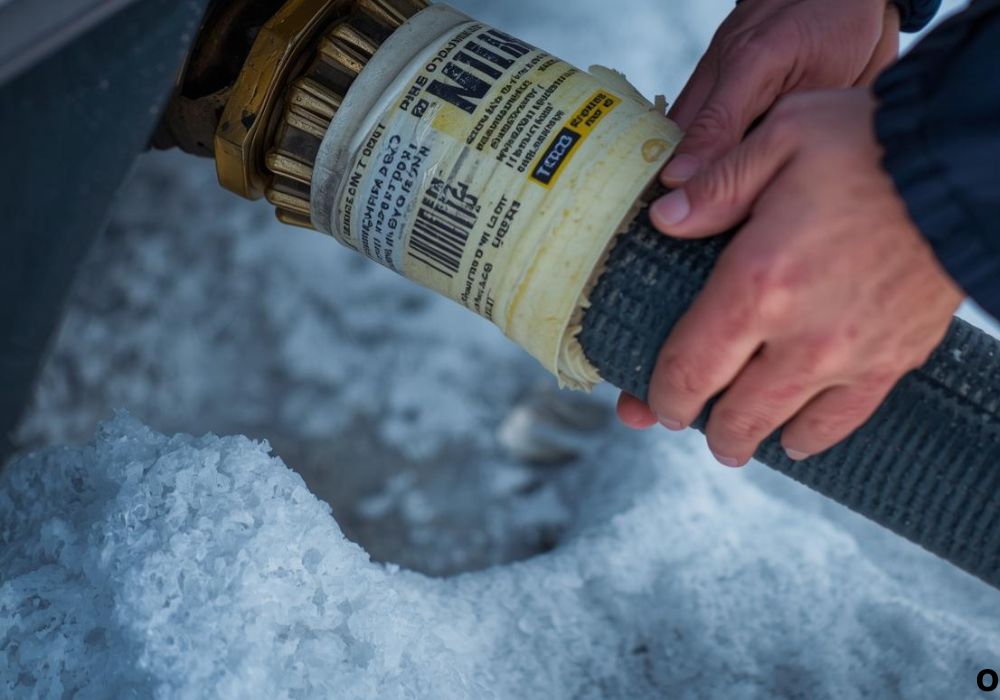
If your RV has a hose-to-hose connection, insulate that section thoroughly—it’s often the first to freeze.
A fully sealed hose creates a continuous barrier against the cold.
Step 5: Plug in and Test the Heat Cable
Once everything is wrapped, plug in the heat cable to a GFCI-protected outdoor outlet.
You should feel gentle warmth along the length of the hose after a few minutes.
Run water through the line to check for leaks and ensure the flow remains consistent.
If temperatures drop sharply, leave a small drip in the faucet overnight to keep water moving.
This combination of movement and heat prevents freezing even in below-zero conditions.
Step 6: Add an Outer Layer for Extra Protection
For added durability, wrap the entire hose with plastic wrap, reflective insulation, or waterproof tape.
This shields the foam from rain, snow, and UV rays, extending its lifespan through multiple seasons.
If you frequently camp in subzero regions, consider adding an additional foam or fiberglass layer for extreme insulation.
You can also use a pre-made hose sleeve designed for RV winterization.
An extra layer ensures your insulation remains effective through the harshest weather.
Step 7: Secure and Store the Hose Properly
Once your hose is insulated and heated, keep it slightly elevated off the ground using brackets or supports.
This prevents ice from forming underneath and damaging the insulation.
When not in use, coil it gently and store it in a dry, insulated compartment.
Avoid sharp bends or compression, which can crack the foam or break the heat cable.
Proper handling guarantees your insulated hose lasts season after season.
Optional: Use a Pre-Heated RV Hose
If you prefer a plug-and-play option, purchase a heated RV water hose instead of building one yourself.
Brands like Camco, Valterra, and Pirit make pre-insulated hoses with built-in heating elements and thermostats.
These plug directly into a power outlet and maintain a constant temperature.
While more expensive, they’re durable, reliable, and require minimal maintenance.
For full-time winter RVers, a pre-heated hose can be worth the investment.
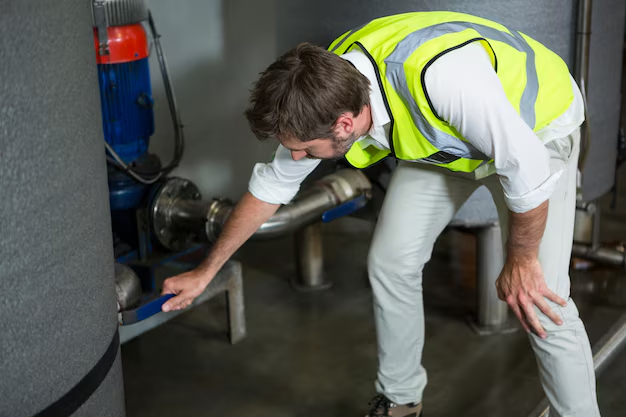
Maintenance Tips for Your Insulated Hose
- Check your insulation and heat cable regularly for cracks or wear.
- Always plug into a GFCI outlet to prevent electrical hazards.
- Keep connectors dry and protected from direct snow or rain.
- Unplug the heat cable when not needed to save power.
- Replace damaged insulation sections immediately to maintain performance.
Consistent upkeep keeps your water supply secure throughout winter travel.
Safety Tips During Installation
- Never use heat tape not rated for water lines—it can overheat and cause damage.
- Avoid wrapping the cable too tightly or crossing it over itself.
- Keep all electrical plugs away from puddles or wet surfaces.
- Use heavy-duty outdoor extension cords rated for low temperatures.
- Always test your setup before freezing weather arrives.
A few safety checks can prevent costly accidents or damage to your RV.
15 Frequently Asked Questions
1. Why does my RV water hose freeze?
Because water inside expands when frozen, blocking flow and damaging fittings.
2. What’s the best insulation for RV hoses?
Closed-cell foam insulation combined with heat tape provides the best protection.
3. Can I just use a heated hose?
Yes, but it’s more expensive. DIY insulation works just as effectively with proper setup.
4. How cold can it get before I need insulation?
Anything below 35°F can begin freezing your hose, especially overnight.
5. How long does it take to insulate a hose?
About 30–45 minutes for a standard 25–50-foot hose.
6. Do I need power for heat tape?
Yes, most heat cables plug into 120V power and regulate automatically.
7. Can I leave the heat tape plugged in all the time?
Yes, most self-regulating cables are designed for continuous use.
8. How do I know if the heat tape is working?
It should feel slightly warm to the touch when plugged in and the temperature drops.
9. Is aluminum tape better than duct tape?
Yes, aluminum tape handles temperature changes better and lasts longer outdoors.
10. What if I can’t use a heat cable?
Wrap the hose in multiple layers of foam and reflective insulation for passive protection.
11. Can I bury my hose for extra insulation?
Yes, but ensure it’s in a waterproof sleeve to prevent condensation and freezing.
12. How do I prevent freezing at the spigot connection?
Wrap the faucet and connector with foam and cover it with an insulated pouch or box.
13. How much electricity does heat tape use?
Most models use about 6–9 watts per foot—roughly 100–150 watts per hose.
14. Can I use my hose setup year-round?
Yes, just unplug the heat tape in warm months to avoid unnecessary power use.
15. How long will my insulated hose last?
Usually 3–5 years, depending on material quality and exposure to weather.
Conclusion
Knowing how to insulate your RV water hose is essential for any winter traveler.
A frozen hose can shut down your water system, but a properly insulated one ensures steady flow and warm comfort even in icy conditions.
By combining heat cable, foam insulation, and weatherproof wrapping, you create a reliable cold-weather barrier for your water line.
Regular maintenance and testing before freezing weather will keep your setup in top shape.
With these steps, you can relax in your RV knowing that hot showers and running water are guaranteed—no matter how cold it gets outside.
I’m David R. Coleman, the founder, lead writer, and lifelong tool enthusiast behind GarageToolPro.com. With years of experience in automotive repair, woodworking, and home DIY projects, I created this platform to share practical tips, detailed tool reviews, and step-by-step guides that help mechanics, hobbyists, and homeowners get the job done right the first time.