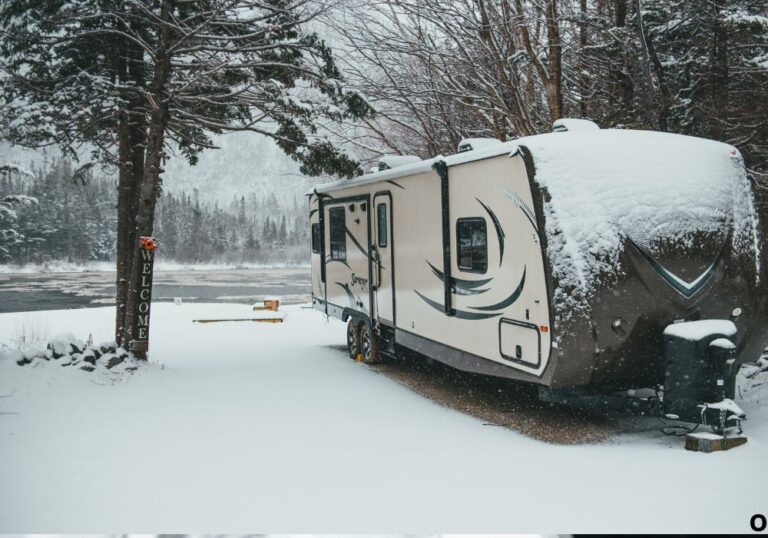
How to Keep RV Water Pipes from Freezing in Cold Weather
You wake up on a frosty morning in your RV, ready to make coffee, but when you open the faucet—nothing comes out. You check under the sink and realize your water pipes have frozen overnight.
It’s one of the most common and frustrating problems RV owners face during winter camping. Frozen pipes can burst, causing expensive repairs and ruining your trip.
The good news is that with a few smart precautions, you can prevent this from ever happening again.
According to RVIA winter-travel data, over 30 percent of RV plumbing issues come from cold-related pipe damage, most of which are preventable.
In this complete guide, you’ll learn exactly how to keep RV water pipes from freezing, even in sub-zero temperatures, using proven heating, insulation, and setup techniques.
Why RV Water Pipes Freeze
Water expands as it freezes, which puts pressure on the plastic or PEX pipes running through your RV.
When the temperature drops below 32°F (0°C), the standing water inside pipes begins to solidify.
Most RV plumbing runs along the underbelly or through unheated storage compartments, leaving it exposed to the cold.
If your RV isn’t insulated or heated properly, these sections freeze first, blocking flow and sometimes bursting pipes.
Knowing why it happens helps you apply the right prevention methods before damage occurs.
The Risks of Frozen RV Pipes
Frozen water lines can cause more than just inconvenience. When the ice expands, it can crack fittings, burst hoses, and split water pumps.
Even if the pipe doesn’t burst immediately, repeated freeze-thaw cycles weaken plastic over time.
Leaks inside walls or under floors can go unnoticed for days, leading to rot, mold, and electrical hazards.
Replacing broken pipes or fittings can cost hundreds of dollars and several hours of repair work.
Preventing freezing is far easier—and cheaper—than repairing a damaged plumbing system.
Tools and Supplies You’ll Need
Gathering the right materials ahead of time makes winter prep much easier.
You’ll need foam pipe insulation, heat tape, insulating spray foam, skirting materials, electric space heater, thermostat-controlled heat cable, and weatherproof tape.
A digital thermometer and infrared heat gun are useful for checking temperatures in compartments.
If camping off-grid, consider a 12-volt heating pad or propane heater designed for RV use.
Having these tools ready allows you to winterize your RV plumbing efficiently before the temperature drops.
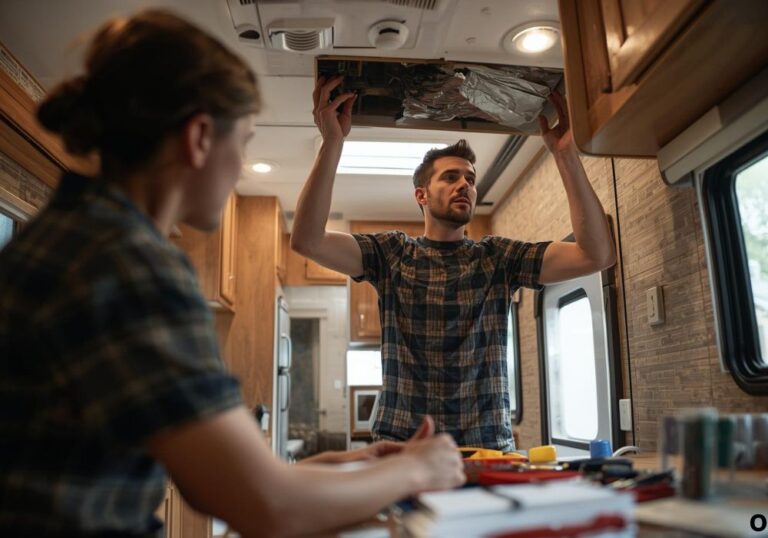
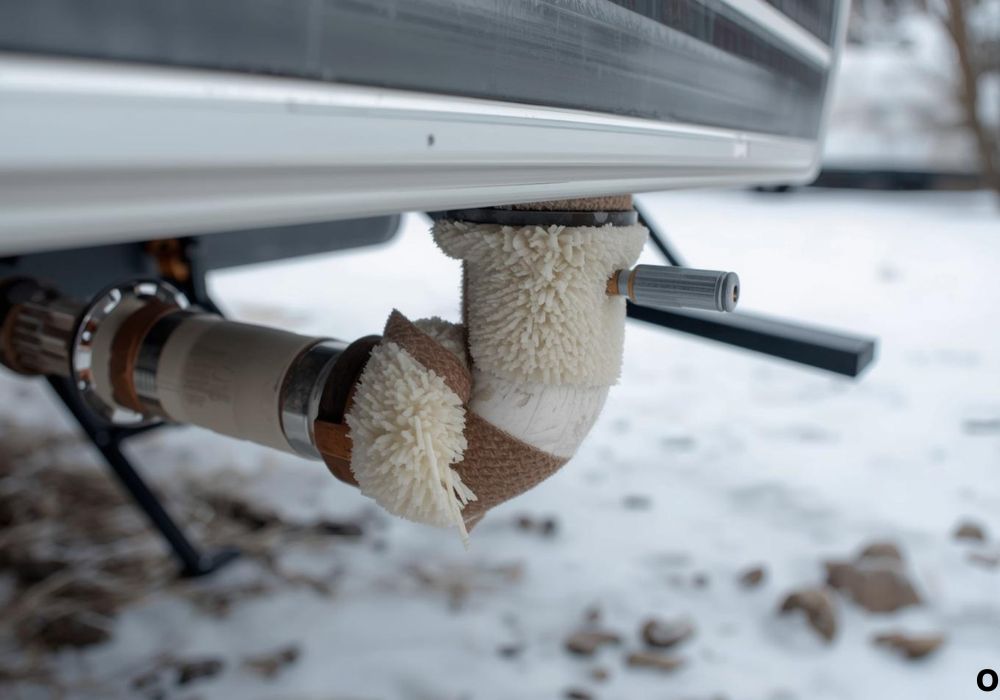
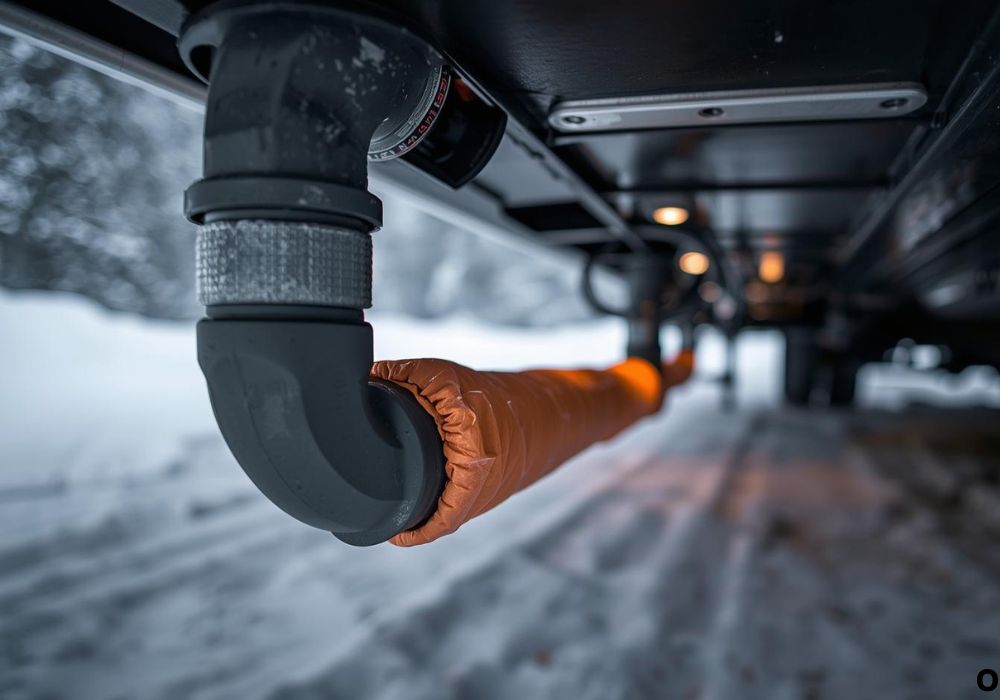
Step 1: Insulate Exposed Water Pipes
Start by locating every section of pipe that runs outside or under the RV floor.
Wrap each exposed section with foam pipe insulation or fiberglass sleeves, sealing seams with weatherproof tape.
Pay special attention to elbows, fittings, and valves since they freeze faster than straight sections.
For extreme climates, add an outer layer of reflective foil insulation to improve heat retention.
Properly insulating your water lines is the foundation of freeze prevention.
Step 2: Use Heat Tape on Vulnerable Sections
Heat tape or heat cable is one of the most effective ways to protect pipes in sub-freezing conditions.
Wrap the cable directly around the pipe according to the manufacturer’s instructions.
Plug it into a GFCI-protected outlet and check that it activates only when temperatures drop below 40°F (4°C).
Avoid overlapping cables to prevent overheating.
Using thermostat-controlled heat tape keeps your pipes safely above freezing all winter long.
Step 3: Add RV Skirting to Trap Warmth
Cold air circulating beneath your RV is a major cause of frozen pipes.
Adding RV skirting around the base helps trap heat underneath and blocks wind exposure.
You can buy insulated vinyl skirting kits or make DIY panels from rigid foam board.
Ensure the skirting reaches the ground fully to stop cold drafts from entering.
A properly skirted RV can raise underbelly temperatures by 10–20 degrees, greatly reducing freeze risk.
Step 4: Keep the Interior Warm
Maintaining a steady internal temperature helps protect water lines inside cabinets and walls.
Use a small electric heater or your RV’s furnace to keep interior temps above 45°F (7°C).
Open cabinet doors under sinks to allow warm air to circulate around pipes.
Avoid turning off the heat at night; instead, set it to low to maintain warmth consistently.
Even minimal heating inside can prevent freezing in hidden plumbing runs.
Step 5: Heat the Holding Tanks and Compartments
If your RV doesn’t already have heated tanks, install 12-volt heating pads or heat blankets on the freshwater and gray tanks.
These pads keep the water from freezing even in severe cold.
Use insulated foam board to line the walls of the tank compartments for added protection.
You can also place a small space heater (on a safe, non-flammable surface) in the service bay when hooked up to shore power.
Keeping tanks warm ensures your pipes and pump remain functional all winter.
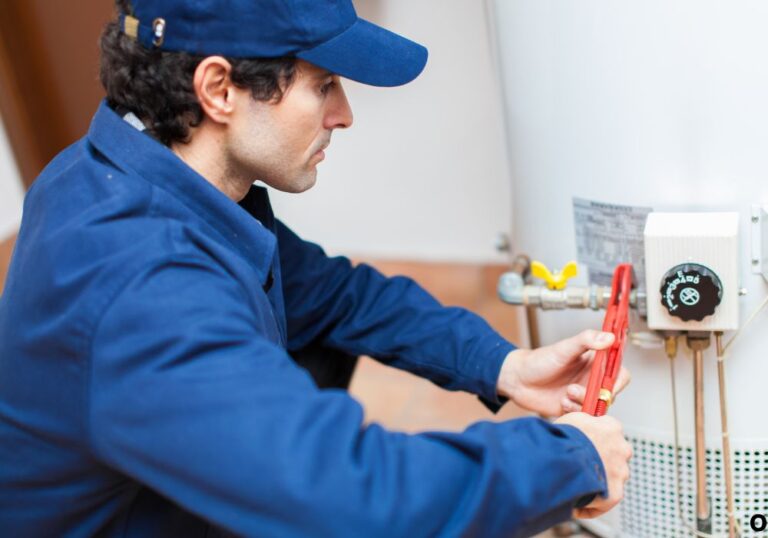
Step 6: Use Your Water Pump Wisely
Your RV water pump can be vulnerable to freezing since it often sits in an exterior compartment.
If possible, wrap it with insulation or a heat pad designed for pumps.
During freezing nights, keep the pump running occasionally to circulate water—it helps prevent ice buildup in static sections.
Avoid leaving the system dry for too long, as air gaps allow frost to form more easily.
Circulating water keeps the lines flexible and ice-free.
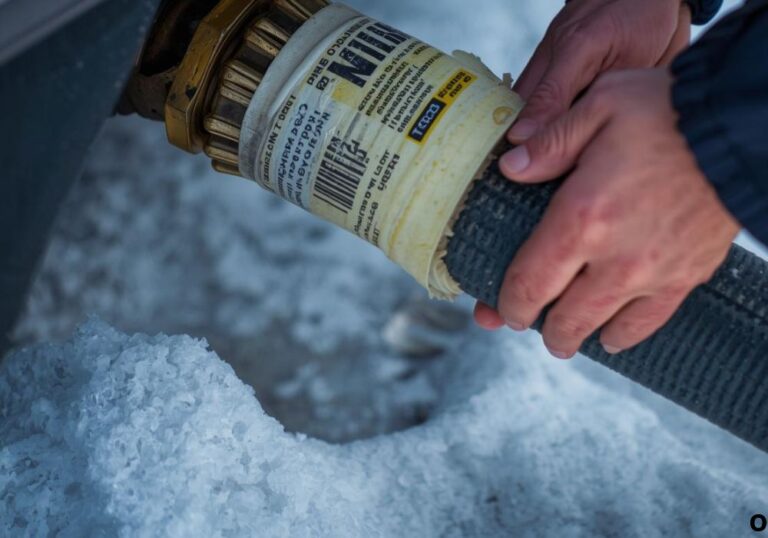
Step 7: Use a Heated Freshwater Hose
If you’re connected to a city water supply, use a heated RV water hose instead of a standard one.
These hoses have built-in electrical heating elements that prevent freezing along their entire length.
Make sure both ends are tightly connected and insulated where they attach to the spigot and RV inlet.
Use foam covers or heat tape on the fittings for added protection.
A heated hose ensures consistent water flow no matter how cold it gets outside.
Step 8: Drain and Winterize When Necessary
If you won’t be using your RV in freezing weather, it’s best to drain and winterize the system entirely.
Empty all tanks, open low-point drains, and blow out remaining water with compressed air.
Add RV-specific antifreeze to the plumbing system, following the manufacturer’s guidelines.
Don’t use automotive antifreeze—it’s toxic and unsafe for potable systems.
Proper winterization prevents internal freezing and protects your pipes for next season.
Step 9: Monitor and Maintain Regularly
Prevention doesn’t stop once you’ve prepared your system.
Check temperature forecasts and inspect your insulation weekly during winter.
Listen for irregular pump sounds or slow water flow, which could signal partial freezing.
Keep a wireless temperature sensor near your pipes or underbelly to monitor conditions remotely.
Regular maintenance ensures your RV stays protected through long cold spells.
Step 10: Add Backup Heat Sources
For extra protection in extreme conditions, consider dual heat systems.
Small ceramic heaters or incandescent bulbs (safely placed) can warm compartments effectively.
Battery-powered heating wraps and 12-volt heat fans are excellent for boondocking situations.
Solar panels can offset power use when running heating devices.
Having multiple heat sources ensures your RV’s water system remains reliable in any weather.
Professional Tips for Extreme Winter Camping
RV technicians recommend installing PEX piping, which is more flexible and resistant to bursting than rigid PVC.
Upgrade to dual-zone thermostats that automatically activate underbelly heating when temps drop.
Add a reflective moisture barrier under your flooring to retain warmth inside.
Use a tankless water heater if you camp frequently in freezing temperatures—it heats water on demand and eliminates large tanks that can freeze.
Professional modifications like these turn your RV into a four-season rig capable of handling even sub-zero climates.
Market Insights and Statistics
According to the RV Industry Association (RVIA), winter camping in the U.S. has grown by 18 percent over the past three years.
However, 4 out of 10 new RV owners experience at least one freeze-related issue in their first year.
Installing skirting, heat tape, and insulation can reduce freezing risk by up to 90 percent.
RV accessory sales data shows a 25 percent annual increase in heated hose purchases, reflecting how vital these upgrades have become.
These numbers prove that prevention is now an essential part of winter RV life.
FAQs
1. What temperature will RV water pipes freeze?
Typically around 32°F (0°C), but pipes can freeze faster if exposed or uninsulated.
2. How long does it take for RV pipes to freeze?
In below-freezing weather, exposed pipes can freeze within 6–8 hours.
3. Do all RVs come with heated pipes?
No, only four-season or Arctic-package models include factory heating systems.
4. Can I pour antifreeze into my fresh water tank?
No, only non-toxic RV antifreeze should go into plumbing during full winterization.
5. Will leaving faucets dripping help?
Yes, a small trickle keeps water moving, reducing the chance of ice forming.
6. How can I tell if my pipes are frozen?
No water flow, strange pump noises, or partial pressure indicate freezing.
7. Can frozen pipes burst inside an RV wall?
Yes, trapped ice expansion can crack hidden plumbing and cause leaks.
8. Should I use space heaters in storage bays?
Yes, but use them with caution and only if they have tip-over protection.
9. How do I thaw frozen pipes safely?
Turn off the water, use gentle heat from a hair dryer or heating pad, never open flames.
10. How much does it cost to repair burst pipes in an RV?
Depending on damage, repairs range from $200 to over $1,000.
11. Is RV skirting really effective?
Yes, it’s one of the best low-cost ways to prevent freezing under the rig.
12. Can I travel in freezing weather without hookups?
Yes, but use heated hoses, insulated tanks, and limit water usage.
13. How often should I check insulation?
Before each winter trip and monthly during cold weather.
14. Does running the furnace keep pipes from freezing?
Yes, as long as ducts deliver heat to underbelly or plumbing compartments.
15. Should I insulate the water pump too?
Absolutely, pumps freeze easily and should be wrapped or heated in cold conditions.
Conclusion
Learning how to keep RV water pipes from freezing is one of the most important skills for safe and comfortable winter camping.
With insulation, heat tape, skirting, and consistent temperature control, you can travel through freezing climates confidently.
A few hours of preparation can save you thousands in repair costs and keep your RV plumbing running smoothly.
Whether you’re camping in the mountains or parking through a cold front, these steps ensure your water system stays warm, efficient, and ready for every adventure.
I’m David R. Coleman, the founder, lead writer, and lifelong tool enthusiast behind GarageToolPro.com. With years of experience in automotive repair, woodworking, and home DIY projects, I created this platform to share practical tips, detailed tool reviews, and step-by-step guides that help mechanics, hobbyists, and homeowners get the job done right the first time.