How to Install an Electric Water Heater in an RV
You pull into the campsite after a long day of travel, ready for a hot shower in your RV, but your water heater sputters and fails to deliver. That moment reminds you it’s time to install a new electric water heater in your RV.
Upgrading or installing an electric water heater might feel like a major project, but with the right tools and precautions it’s quite manageable for a competent DIYer.
Choosing the correct size unit, preparing your RV’s electrical and plumbing systems, and following safe installation steps makes the difference between a successful upgrade and a costly mistake.
In this guide you’ll learn exactly how to install an electric water heater in an RV: from planning and tools, through mounting and wiring, to testing and maintenance.
Once complete, you’ll be enjoying reliable hot water every time you pull into a hookup — no cold surprises.
Understanding What an Electric RV Water Heater Is
An electric water heater in an RV is a tank-style or tankless unit that uses 120-volt or 240-volt AC power to heat the water inside the RV water system.
Unlike propane heaters, electric models simplify installation since they do not require venting for combustion gases and many newer units are compact for RV use.
These units still need proper wiring, circuit protection and correct water plumbing connections to operate safely and effectively.
Understanding the electrical load, amperage draw, heater size and available space in your RV is key before beginning installation.
This foundational knowledge ensures you choose the right electric water heater and avoid troubleshooting later.
What You’ll Need: Tools and Materials
Before starting the install you’ll want to gather all the essential tools and materials to make the job smooth.
You will need an electric water heater unit rated for RV use, mounting hardware, properly sized electrical wiring and circuit breaker or fuse protection.
Plumbing fittings such as Teflon tape, hose clamps, shut-off valves, and a bypass kit (for winterizing) are also recommended.
Prepare safety gear: gloves, goggles, and ensure your RV is disconnected from shore power and battery negative terminal to prevent accidental shock.
Having everything ready ahead of time cuts down on work interruptions and helps you avoid missed steps or improper connections.
Step-by-Step Installation: How to Install an Electric Water Heater in an RV
1. Turn Off Power and Drain Existing System
Disconnect the RV from shore power and switch the battery negative cable to “off” or removed. Ensure the water system is drained or shut off so you don’t get flooded while working.
2. Remove the Old Water Heater (if applicable)
Remove the mounting screws, disconnect the electrical wiring and water lines, and lift the old unit out carefully. Inspect the access area for corrosion or damage that needs repair before mounting the new heater.
3. Mount the New Electric Water Heater
Position the new heater in the same location or a location rated for heater weight and heat clearances. Secure it with the mounting brackets, ensuring it is level, stable and sealed against external access or venting issues.
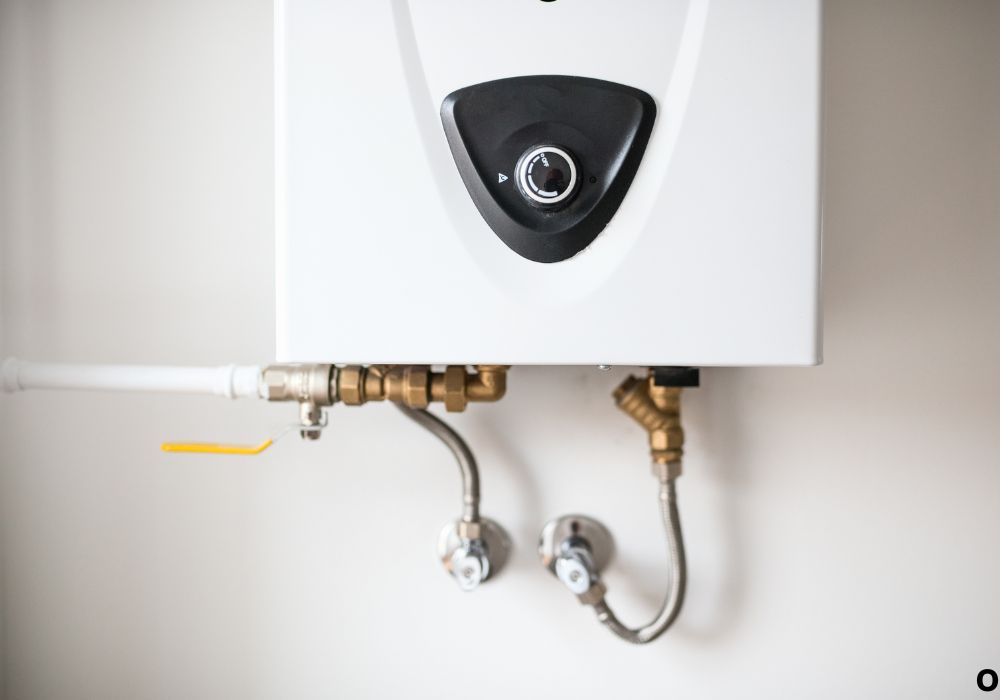
4. Connect Plumbing Lines
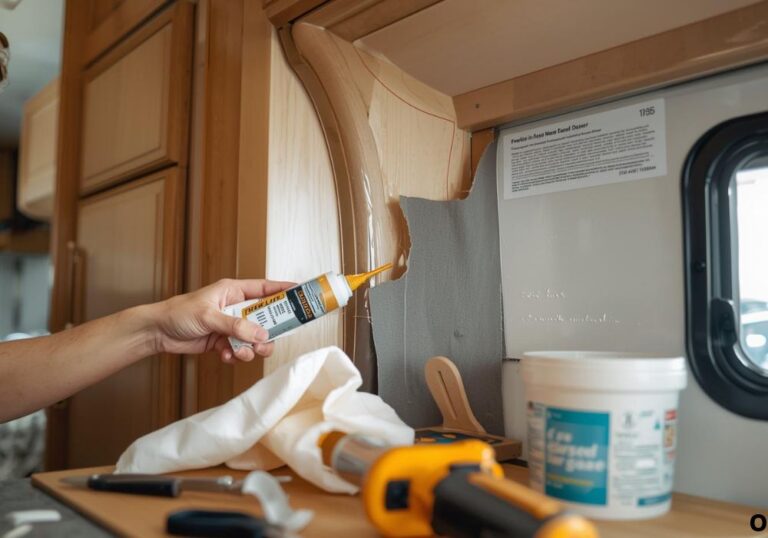
Apply plumber’s tape to threaded fittings, connect the cold water inlet and hot water outlet, install shut-off valves if needed, and integrate a bypass kit for winter use. Ensure all connections are tight and leak-free.
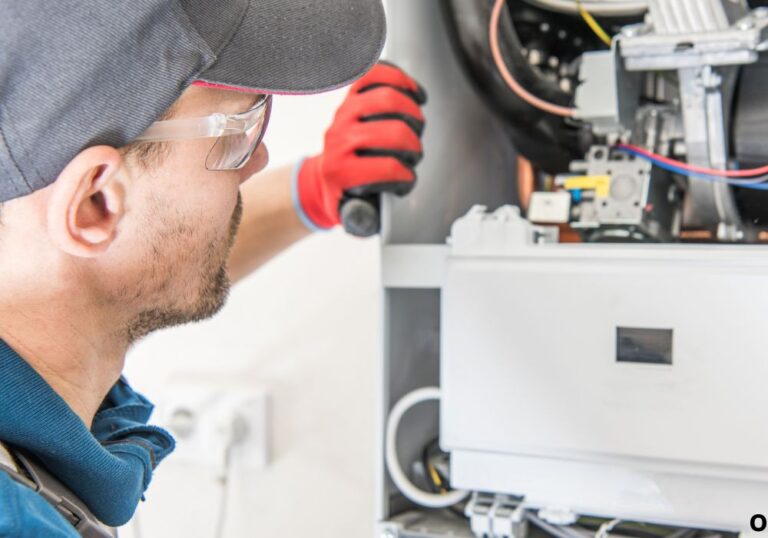
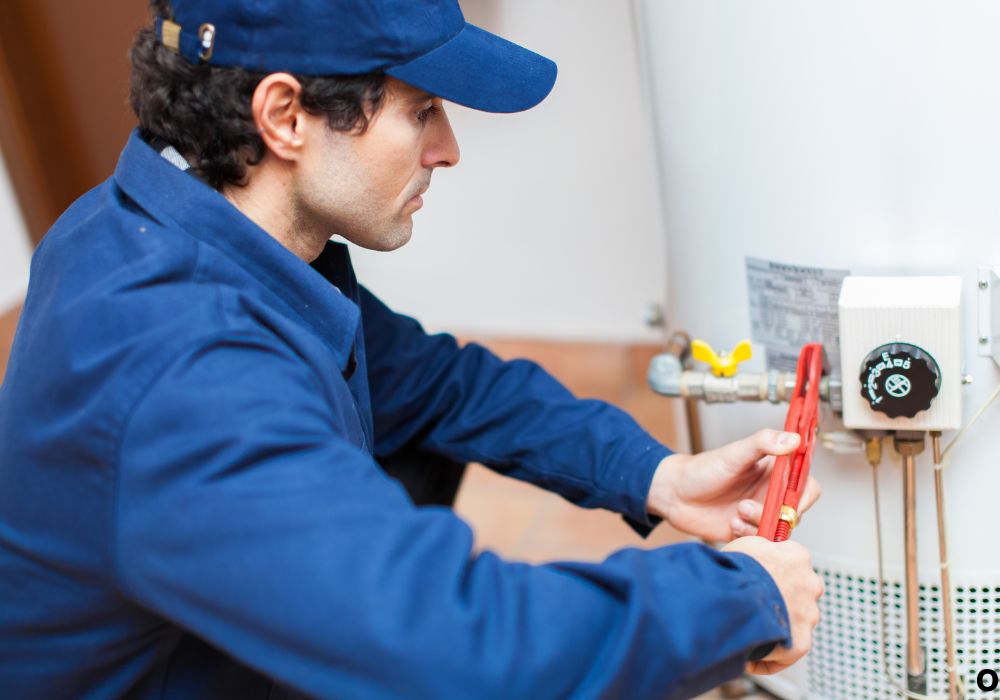
5. Connect Electrical Wiring
Install appropriately sized wiring (per manufacturer specs) to the heater’s junction box. Connect the unit to a dedicated circuit breaker or fuse and ensure ground wiring is properly installed. Make sure power remains off until everything is secured.
6. Fill and Test the System
Turn on the water supply and fill the heater tank, open a hot water faucet to purge air until water flows steadily. Then restore shore power/battery, switch on the heater, and verify hot water output and correct operation. Check for leaks, wiring heat issues or unusual behavior.
Safety Considerations and Electrical Requirements
When installing an electric water heater in an RV you must treat the job like any other high-amperage appliance installation.
Ensure the circuit breaker size matches the heater’s rated current draw and that wiring meets or exceeds the gauge requirement for that amperage.
Always ensure the unit is properly grounded and that bonding wires are intact in the RV’s chassis and wiring system.
Never work on live wiring. Double-check power is off before touching terminals and inspect for insulation damage or loose connections.
Failing to meet electrical requirements may cause tripped breakers, melted wires or fire hazards — so safety adherence is absolutely crucial.
Maintenance and Troubleshooting Tips
After installation your work is not quite done: ongoing maintenance ensures your electric water heater in the RV functions reliably.
Flush the tank annually (if a tank style) to remove mineral deposits and improve efficiency. Check anode rods (if present) and inspect wiring for signs of wear or damage.
If you experience no hot water, check breaker, wiring connections, thermostat settings and verify the unit is actually energized. If you experience leaks, check fittings, valves and ensure the heater mounting is not stressing plumbing connections.
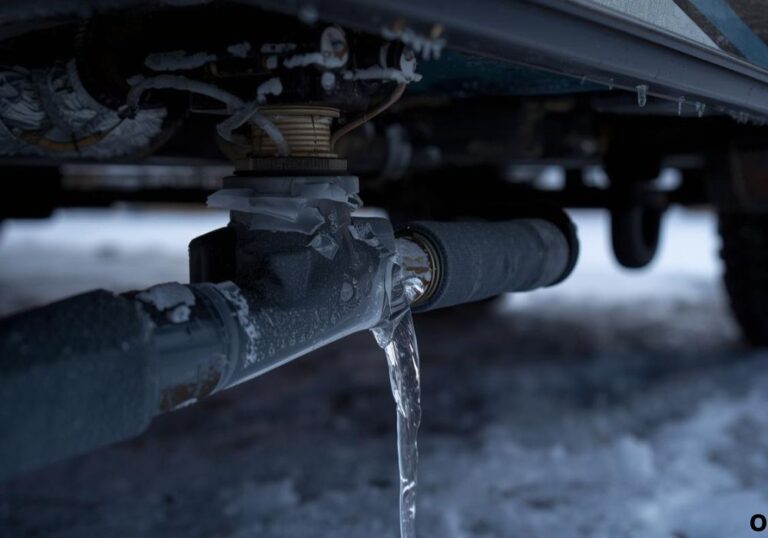
Winterizing and bypassing the heater when storing the RV prevents freezing damage and extends its lifespan.
Regular inspections and preventive steps prevent small issues from turning into major repair jobs.
FAQs
1. Can I install a standard home electric water heater in an RV?
No, most home units are too large, heavy and draw too much power for standard RV electrical systems. Use one rated for RV use.
2. What size electric water heater should I pick for an RV?
Choose based on usage: for 2-4 people a 6-10 gallon tank or equivalent tankless unit is adequate. Check RV space, power supply and hot water needs.
3. Do I need a separate circuit for the electric water heater?
Yes, most units require a dedicated circuit breaker sized per manufacturer specification to avoid tripping other circuits.
4. Can I leave the electric water heater on when boondocking (no shore power)?
Only if you have sufficient battery bank and inverter capacity — otherwise shut it off to conserve power.
5. How long does it take to install an electric water heater in an RV?
With proper preparation it can be done in 2-4 hours for a DIYer competent with plumbing and wiring.
6. Is venting required for an electric water heater in an RV?
Typically no, electric units don’t require combustion venting, but install location must still meet clearances and access requirements.
7. What if I also use propane to heat water?
Dual-fuel units exist, but if you’re purely installing electric check manufacturer compatibility and wiring for dual-fuel conversion.
8. How do I winterize an electric water heater in an RV?
Drain the tank, bypass heater lines, and add antifreeze to the system per RV winterization procedure.
9. Why is my new water heater not producing hot water?
Check power supply, breaker, thermostat settings, whether tank is filled, and verify wiring connections are correct.
10. Can I upgrade from a small electric tank to a larger one in the same space?
Only if the electrical system and mounting structure can support the larger unit; otherwise choose a tankless or compact model.
11. What tools should I have for this installation?
Adjustable wrench, screwdriver set, wire cutters/crimpers, torque wrench, thread seal tape, multimeter, and safety gear.
12. Should I hire a professional install?
If you’re unfamiliar with 120/240 VAC wiring, or must modify plumbing or RV structure, professional help is recommended.
13. How often should I inspect the heater after installation?
Check fittings, wiring and operation at least once each camping season and after long storage.
14. Will installing a larger heater increase my electrical bill dramatically?
Only slightly — the heater runs only when hot water is needed, so usage patterns matter.
15. What warranties should I look for?
Choose units with 1-3 year warranties, check element and tank warranty separately, and keep receipt and installation proof for warranty claims.
Conclusion
Installing an electric water heater in an RV is a rewarding upgrade that brings more comfort and convenience on the road. With careful planning, proper tools, safe wiring and precise plumbing you’ll achieve reliable hot water for showers, dishes and everything in between.
Ensure you meet electrical requirements, mount the unit securely, connect plumbing properly, and test thoroughly before use. Then commit to regular maintenance and inspections so the heater serves you trouble-free for years.
Whether you’re upgrading your RV’s hot water system or doing your first install, taking the time to do it correctly pays off in comfort, reliability and peace of mind.
I’m David R. Coleman, the founder, lead writer, and lifelong tool enthusiast behind GarageToolPro.com. With years of experience in automotive repair, woodworking, and home DIY projects, I created this platform to share practical tips, detailed tool reviews, and step-by-step guides that help mechanics, hobbyists, and homeowners get the job done right the first time.