How to Install an Electric Tankless Water Heater in Your RV
Imagine ending a long day on the road with a relaxing hot shower—only to run out of hot water halfway through. It’s a common frustration for RV owners who rely on small traditional water heaters.
That’s why many travelers are upgrading to electric tankless water heaters. These compact, energy-efficient units heat water instantly, providing an endless supply without bulky storage tanks.
Installing one may sound intimidating, but with the right tools and steps, it’s completely manageable for most RV owners.
According to RV Living Magazine, over 45 percent of new RVs now include tankless systems because they reduce weight, save energy, and eliminate waiting times for reheating.
In this guide, you’ll learn exactly how to install an electric tankless water heater in your RV, from preparation and wiring to plumbing connections and testing—so you can enjoy instant hot water anywhere your wheels take you.
Understanding Electric Tankless Water Heaters for RVs
An electric tankless water heater heats water on demand instead of storing it in a tank. When you open the hot-water faucet, cold water passes through an electric heating element that instantly raises its temperature.
This design saves energy since power is used only when water is flowing. It also frees up storage space and reduces overall weight.
Most RV-compatible tankless heaters are compact, using either 120V or 240V power depending on your setup. Some high-end models include digital temperature control and freeze protection.
Because RVs have limited electrical capacity, choosing the right model is essential for safe and efficient operation.
Before installation, confirm that your power system can support the heater’s amperage draw.
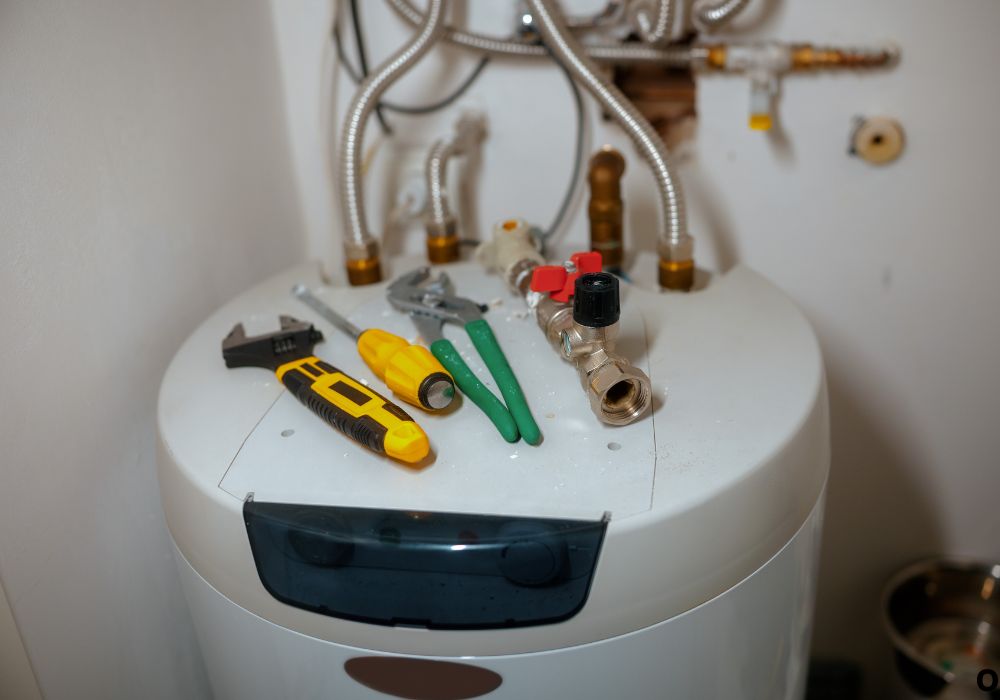
Tools and Materials You’ll Need
Before starting, gather the following tools and parts:
- Adjustable wrench and screwdrivers
- Teflon tape and pipe sealant
- Hose clamps and water fittings
- Electrical wire strippers and connectors
- Drill with hole saw (for new vent or access ports)
- Circuit breaker (as rated for your model)
- Wire (10 or 12 gauge, depending on amperage)
- Shutoff valves and flexible water hoses
Having these ready ensures a smooth installation process from start to finish.
Always double-check your heater’s manual for model-specific tools or fitting sizes.
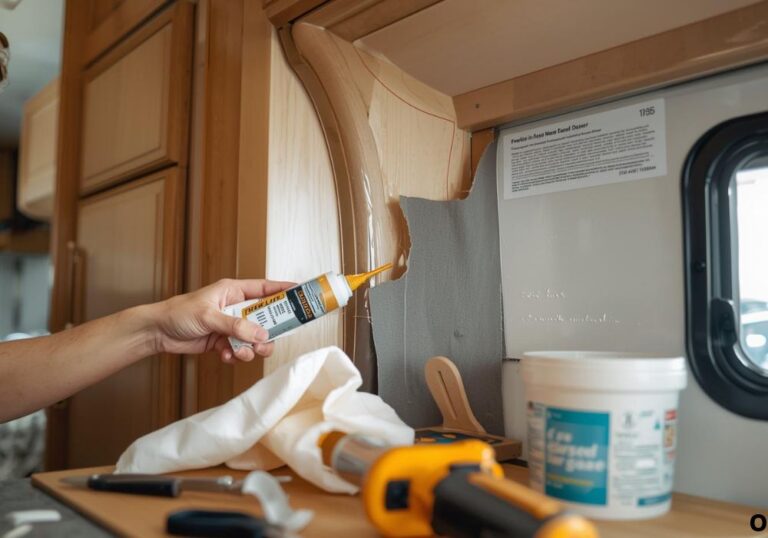
Step 1: Choose the Right Location
Selecting the correct location is crucial for both performance and safety.
Choose a spot near your main water line and electrical panel, ideally where your old water heater was installed.
The area should have adequate ventilation, minimal vibration, and easy access for maintenance.
Avoid mounting the unit near flammable materials or areas exposed to freezing temperatures.
Measure carefully—tankless models are compact but still require clearance for wiring and plumbing connections.
If replacing a gas unit, cap off the gas line safely and seal the old vent.
Step 2: Turn Off Power and Drain the System
Before touching any wires or plumbing, disconnect all electrical power to your RV. Turn off the breaker at the power panel and unplug from shore power.
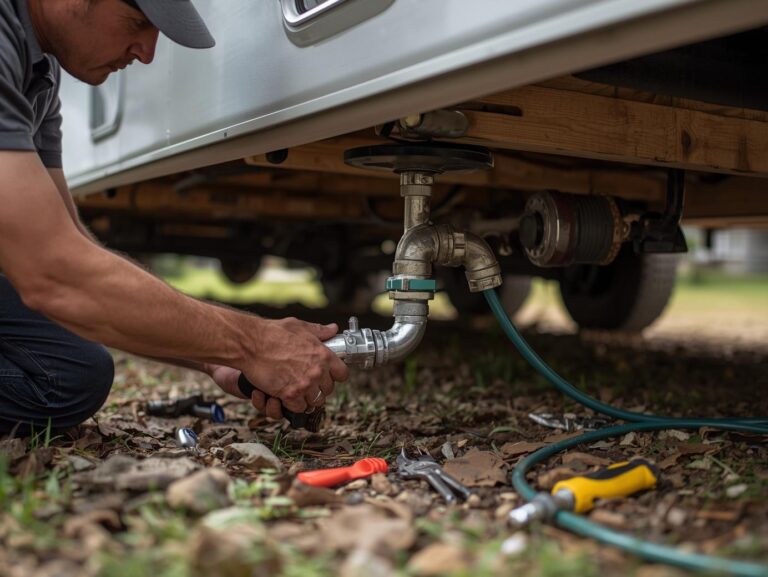
Next, shut off your RV’s water supply and open a faucet to relieve pressure. Drain your old water heater completely by opening the pressure relief valve and removing the drain plug.
Once the tank is empty, disconnect the water and power lines from the old unit.
Removing the old heater first makes space for the new installation and prevents water from entering the electrical lines.
Always double-check that the system is fully drained before continuing.
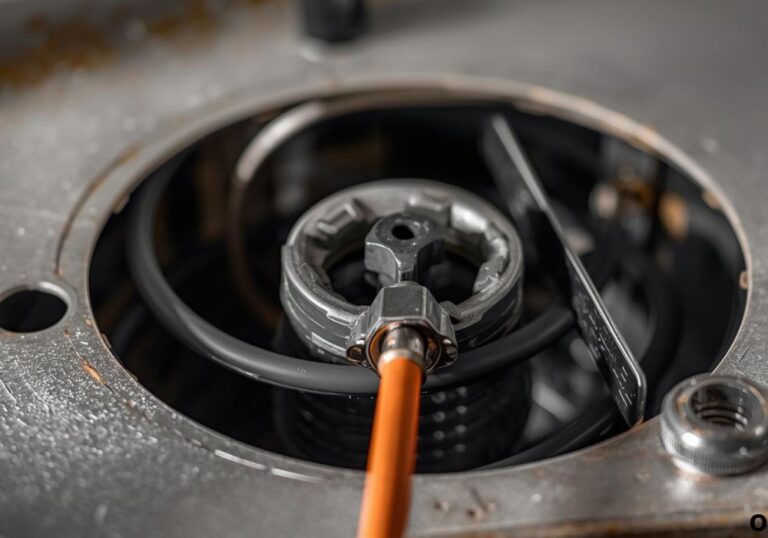
Step 3: Remove the Old Water Heater
Carefully unscrew the mounting frame around your old heater and pull it out of the compartment.
Disconnect any remaining plumbing and electrical connections. If it’s a propane heater, remove the gas line and cap it securely with a fitting designed for LP systems.
Clean the area thoroughly and inspect for signs of corrosion or water damage.
Seal any unused holes or vents to prevent drafts or moisture from entering.
You now have a clean, open space ready for your electric tankless system.
Step 4: Mount the New Electric Tankless Water Heater
Position the new unit according to the manufacturer’s template or mounting bracket.
Mark and drill pilot holes for the screws, ensuring it’s level and secure.
If the model requires wall mounting, fasten it using heavy-duty anchors that can withstand road vibrations.
Make sure the unit is accessible for service and the water inlets are oriented correctly.
Leave at least 6 inches of clearance around the heater for ventilation and wiring access.
Once mounted, verify that it’s stable and aligned before connecting plumbing or power.
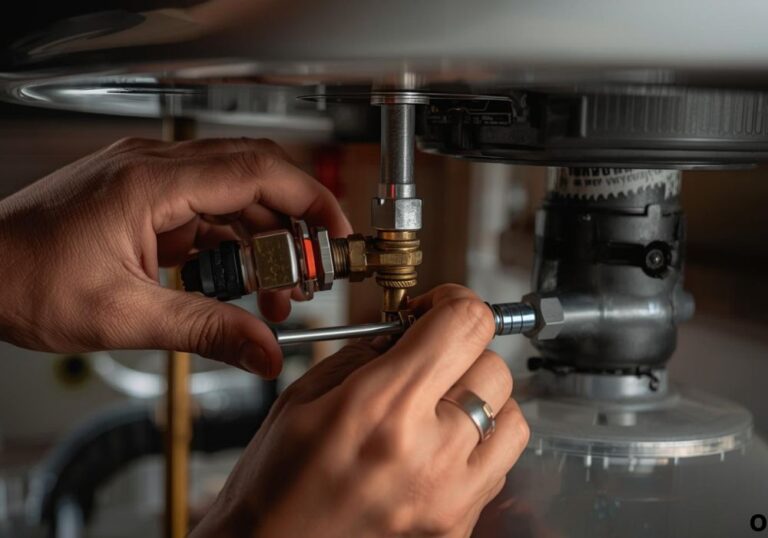
Step 5: Connect the Water Lines
Most electric tankless water heaters have labeled cold water inlet and hot water outlet ports.
Use flexible water hoses or PEX tubing to connect these lines. Apply Teflon tape on all threaded fittings to prevent leaks.
Install a shutoff valve on both sides to allow easy maintenance in the future.
If your RV plumbing uses quick-connect fittings, ensure they match the heater’s threading.
After connecting, check for tightness but avoid over-tightening, which can damage plastic fittings.
A secure water connection ensures consistent flow and prevents drips during travel.
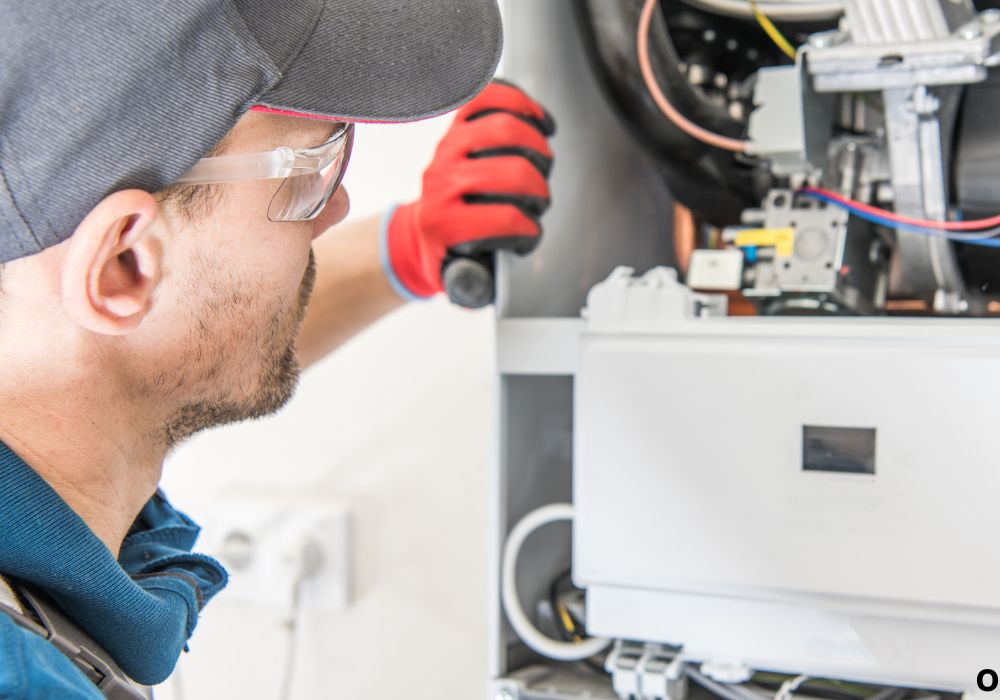
Step 6: Wiring the Electric Tankless Heater
Electrical setup is the most important step, so proceed carefully.
Locate your RV’s breaker panel and ensure it has capacity for the new heater. Most 120V RV tankless models draw 30 to 50 amps, while 240V units can require 60 amps or more.
Run the appropriate gauge wire from the breaker panel to the heater location.
Connect the wires to the heater’s terminals—typically labeled L1, L2, and Ground. Tighten connections firmly, and never twist wires without approved connectors.
Finally, install a dedicated circuit breaker to protect your RV’s electrical system.
If you’re unsure about wiring, it’s always best to have a certified RV electrician verify your setup.
Step 7: Prime and Test the Water System
Once everything is connected, open your water supply valve and check for leaks.
Turn on a faucet and allow water to run through the heater for a few minutes to remove air bubbles.
Inspect every joint and connection closely—no dripping should occur.
Once the system is full, restore electrical power and switch on the heater.
Run hot water for 2–3 minutes while monitoring temperature and flow consistency. Adjust the digital thermostat if your model includes one.
A smooth, steady flow of hot water means your installation was successful.
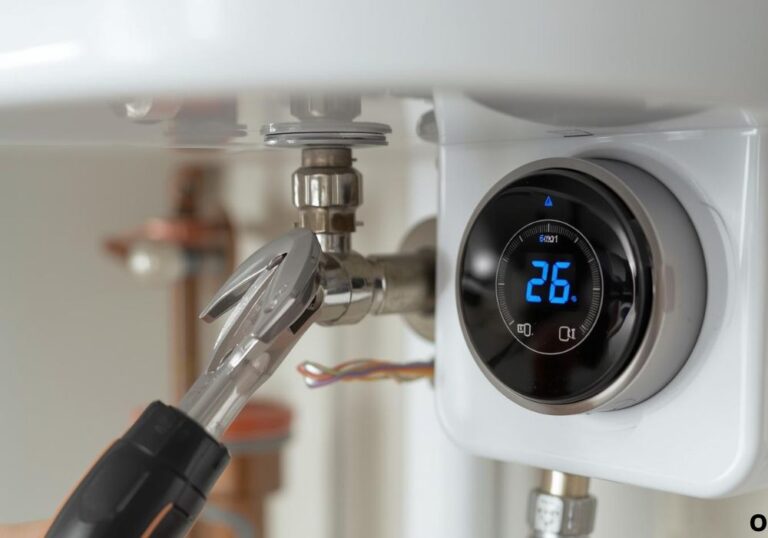
Step 8: Adjust Temperature and Flow Settings
Most modern RV tankless heaters let you control temperature digitally or via a small knob.
Set your preferred temperature between 105°F and 120°F for comfort and energy savings.
If water temperature fluctuates, adjust the flow rate slightly—slower flow gives hotter water, faster flow cools it down.
Avoid setting it above 125°F to prevent scalding, especially if children are onboard.
Once optimized, your heater will deliver consistent, instant hot water every time you turn the tap.
Safety Tips During Installation
- Always disconnect electrical power before wiring.
- Use only RV-rated wiring and connectors for vibration resistance.
- Never install the heater near propane lines or fuel tanks.
- Keep wiring away from water lines to prevent shorts.
- Install a GFCI breaker for extra protection in wet areas.
Following safety precautions ensures your installation runs efficiently and securely for years.
Maintenance Tips for Longevity
Electric tankless water heaters require minimal upkeep but still benefit from regular checks.
Flush the system every 6–12 months to remove mineral buildup, especially if you use hard water.
Inspect fittings, hoses, and wires at least twice a year for wear or corrosion.
Clean the inlet screen filter monthly to maintain steady water flow.
A little maintenance keeps your heater performing like new for the long haul.
15 Frequently Asked Questions
1. Can I install an electric tankless water heater myself?
Yes, if you’re comfortable with plumbing and wiring. Otherwise, hire a professional for the electrical portion.
2. What power source does it need?
Most RV tankless heaters use 120V AC; larger models may require 240V.
3. Do I need a dedicated breaker?
Yes, each heater should have its own circuit breaker to handle the load safely.
4. Can I replace a propane heater with an electric one?
Yes, but you must cap the gas line and ensure your electrical system supports the wattage.
5. How much power does an electric tankless water heater use?
Typical RV models use between 1,500W and 5,500W depending on size and temperature rise.
6. Does it work while boondocking?
Only if your RV has an inverter and generator strong enough to handle the wattage draw.
7. How long does installation take?
Usually 2–4 hours for experienced DIYers.
8. How do I winterize a tankless water heater?
Drain it completely and run RV antifreeze through the lines if storing in freezing conditions.
9. Is a water pressure regulator required?
Yes, maintaining 40–60 PSI ensures stable operation and prevents leaks.
10. What temperature should I set it to?
Keep it between 105°F and 120°F for safety and energy efficiency.
11. Can I use my old wiring from a tank heater?
Only if it meets the new heater’s amp requirements—verify before reusing.
12. Why does the water temperature fluctuate?
Flow rate may be too high; reduce flow for steadier heating.
13. Do tankless heaters need ventilation?
Electric models don’t, but propane units do.
14. How often should I flush the unit?
Every 6 months in hard water areas or annually otherwise.
15. What’s the lifespan of an electric tankless RV heater?
Typically 8–12 years with proper care and regular flushing.
Conclusion
Upgrading to an electric tankless water heater in your RV is one of the best decisions you can make for comfort and efficiency.
It eliminates waiting time, saves space, and provides endless hot water on demand—no matter where you travel.
By following this guide step by step, you can safely install your unit, wire it correctly, and enjoy reliable performance for years.
Always prioritize safety, double-check your electrical connections, and flush your system regularly to keep it running smoothly.
Once it’s installed, you’ll wonder how you ever lived without endless hot water on the open road.
I’m David R. Coleman, the founder, lead writer, and lifelong tool enthusiast behind GarageToolPro.com. With years of experience in automotive repair, woodworking, and home DIY projects, I created this platform to share practical tips, detailed tool reviews, and step-by-step guides that help mechanics, hobbyists, and homeowners get the job done right the first time.