How to Fix an RV Toilet That’s Not Holding Water Properly
You step into your RV bathroom, press the flush pedal, and watch the water drain away—only to realize it doesn’t come back. The bowl stays dry, and that familiar seal at the bottom looks suspiciously open.
Few things are more frustrating on the road than an RV toilet not holding water. It’s not just inconvenient; it can cause odors, leaks, and unsanitary conditions inside your rig.
The good news? Most of the time, this problem is easy to fix with a little cleaning, lubrication, or adjustment—no plumber required.
According to RV maintenance specialists, over 70 percent of toilet seal problems come from debris, worn-out gaskets, or mineral buildup around the blade valve.
In this guide, you’ll learn exactly how to fix an RV toilet that’s not holding water, from identifying the cause to applying simple, step-by-step solutions that restore your toilet’s proper seal and function.
How an RV Toilet Holds Water
An RV toilet doesn’t rely on a large tank like a home unit. Instead, it uses a blade valve and rubber seal to keep a small amount of water in the bowl between flushes.
When you press the foot pedal, the valve opens to release waste into the black tank below, then closes again to seal the bowl.
That thin layer of water serves as a barrier to block odors from rising up from the tank.
If your toilet isn’t holding water, it usually means the seal isn’t closing properly or has lost its ability to hold pressure.
Understanding this mechanism helps pinpoint where the problem starts before you start taking things apart.
Common Reasons Your RV Toilet Won’t Hold Water
Several simple issues can cause this problem. Here are the most common ones:
- Debris or buildup on the seal: Hair, paper, or mineral deposits can prevent the valve from closing fully.
- Worn or cracked rubber seal: Over time, seals dry out or deform, causing leaks.
- Low water pressure or malfunctioning pedal: If the flush pedal isn’t working correctly, the bowl won’t refill.
- Improper lubricant: Some products can actually damage seals instead of preserving them.
- Temperature or storage issues: Heat and dryness can cause the seal to shrink or stiffen during long-term storage.
Identifying the exact cause is the first step toward a lasting repair.
Step 1: Clean the Toilet Seal Thoroughly
The most common fix is simply cleaning the seal.
Turn off the water supply to your RV and empty the bowl. Hold the flush pedal down to open the blade valve.
Using a soft sponge or toothbrush, gently clean around the rubber seal and valve opening. Avoid sharp tools that can damage the rubber.
Apply a mild cleaner or vinegar solution to dissolve mineral buildup and rinse thoroughly.
Once the seal is clean, close the valve and check if the bowl now holds water.
Many times, this basic cleaning is all it takes to restore a tight seal.
Step 2: Lubricate the Seal for Better Contact
If cleaning doesn’t work, the seal may be dry or stiff. Use an RV-safe lubricant made for toilet seals, such as Thetford Seal Conditioner or Dometic Valve Lube.
Pour a small amount directly into the bowl and let it sit for several hours. You can also apply a thin layer with a gloved finger around the seal’s edge.
This rehydrates the rubber and helps it conform tightly to the blade valve.
Never use petroleum-based products like Vaseline; they degrade rubber and cause faster wear.
After lubricating, add water to the bowl to test the seal again.
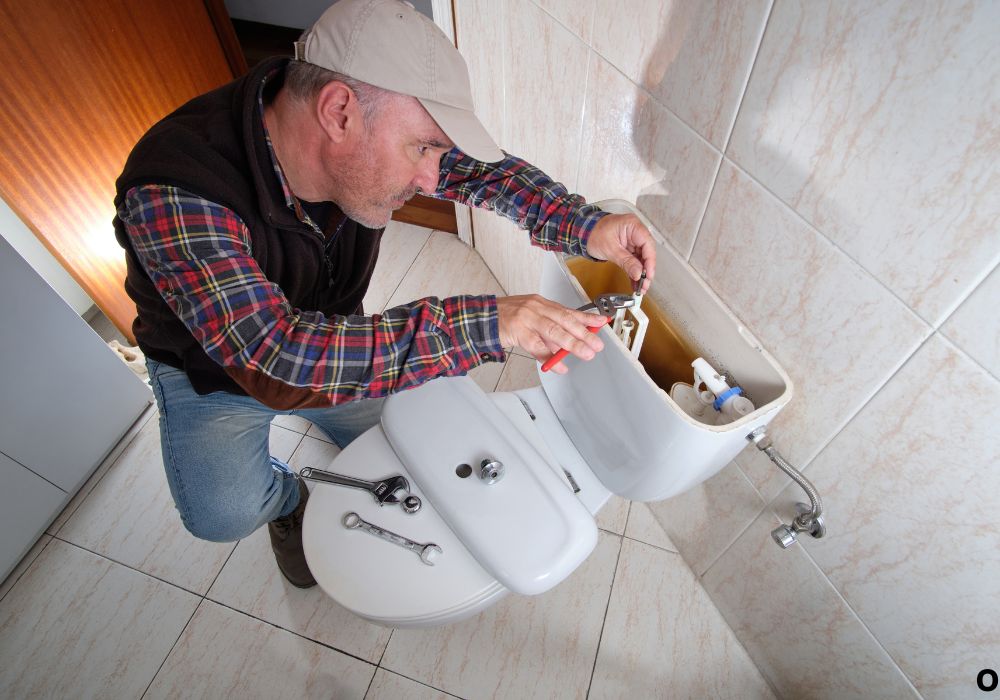
Step 3: Inspect the Blade Valve
If the water still leaks away, you may need to inspect the blade valve itself.
Remove the plastic shroud or access cover near the toilet base to view the mechanism.
Press the foot pedal slightly to open the valve and check if the blade moves smoothly.
If it sticks or appears misaligned, loosen the mounting screws slightly and re-center the valve. Tighten again evenly to ensure a snug fit.
A damaged or corroded valve may need replacement, which most RV owners can do with a screwdriver and seal kit.
Step 4: Replace the Toilet Seal
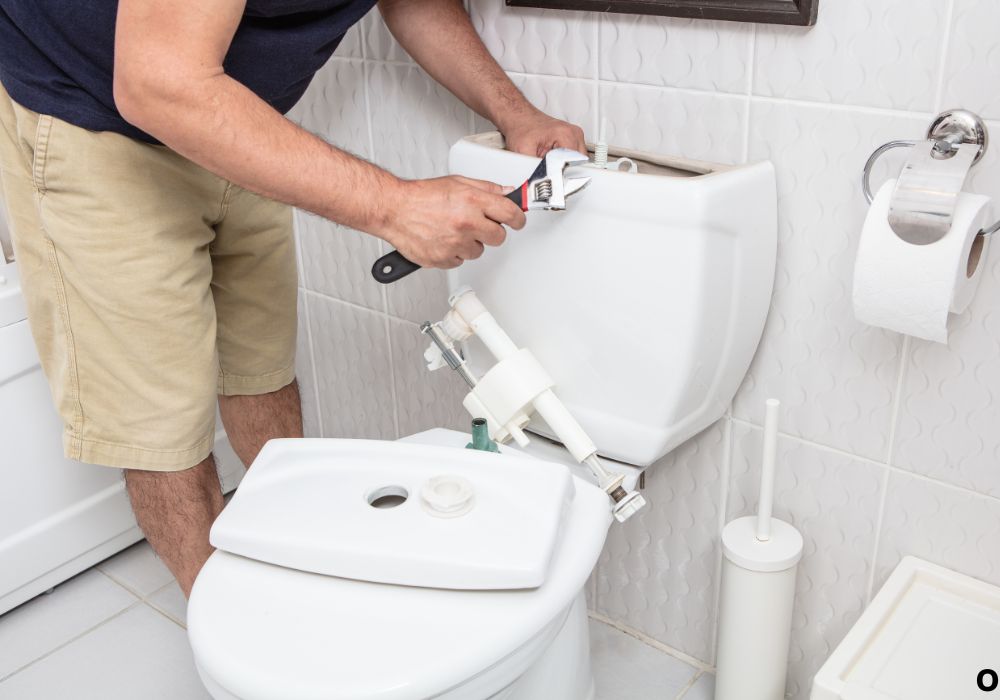
When cleaning and lubrication don’t work, the rubber seal likely needs replacement.
Buy a replacement seal designed for your toilet brand (Thetford, Dometic, or Sealand). Turn off the water, drain the bowl, and remove the toilet from its base.
Flip it upside down on a towel and gently pry out the old seal. Clean the groove and insert the new one evenly, pressing it into place.
Reinstall the toilet, reconnect the water line, and test by filling the bowl.
A fresh seal often restores the toilet’s ability to hold water perfectly.
Step 5: Check Water Pressure and Pedal Function
If your seal is fine but the bowl still won’t refill properly, the issue may be with the flush pedal or water supply line.
Press the pedal halfway down—this should add water without opening the valve. If nothing happens, the pedal mechanism or valve may be jammed.
Inspect the spring and linkage under the toilet for signs of rust or stiffness. Spray with a silicone lubricant if needed.
Also, check the RV’s water pump and ensure the supply valve is open.
Once restored, you should see a steady flow of water refilling the bowl after each flush.
Step 6: Sanitize and Rinse the Black Tank
Sometimes, residue from the black tank can back up and affect the toilet’s lower seal.
Use a tank cleaning wand or built-in flush system to rinse the tank thoroughly. Fill it halfway with clean water and add an RV tank treatment chemical.
Flush multiple times to circulate the solution, then drain completely.
Keeping your tank clean reduces buildup and extends the life of your toilet seals.
Make this part of your monthly RV maintenance routine.
Preventing Future Toilet Seal Problems
Prevention is the easiest fix. Keep your toilet clean, lubricate seals regularly, and never leave it dry for long periods.
Before storing your RV, pour a cup of water mixed with seal conditioner into the bowl to keep the rubber hydrated.
Avoid harsh cleaners that can strip the seal’s protective coating.
If you’re in freezing weather, winterize your toilet properly to prevent cracking or shrinkage.
Regular care ensures your toilet always holds water and stays odor-free.
Common Mistakes RV Owners Make
- Using petroleum jelly or grease instead of RV-safe lubricants.
- Ignoring a small leak until the seal completely fails.
- Using hard water without filtering—it accelerates mineral buildup.
- Leaving the blade valve open during storage.
- Using household bleach or ammonia cleaners, which destroy rubber parts.
Avoiding these mistakes will keep your toilet functioning like new for years.
15 Frequently Asked Questions
1. Why isn’t my RV toilet holding water?
Usually, debris or a worn seal prevents the blade valve from sealing tightly.
2. Can I fix it without removing the toilet?
Yes, cleaning and lubricating the seal often solves the problem without disassembly.
3. What cleaner should I use?
Use mild dish soap, vinegar, or an RV-safe toilet cleaner—avoid bleach or petroleum products.
4. How often should I lubricate the seal?
Every 2–3 months or after every long trip.
5. What does a bad seal look like?
It may appear cracked, flattened, or dry with visible gaps.
6. Why does the water drain out slowly after flushing?
The seal may be partially closing due to dirt or stiffness.
7. Can hard water damage my RV toilet seal?
Yes, it leaves mineral deposits that prevent a tight seal.
8. How long does a toilet seal last?
Usually 2–3 years with proper care.
9. Is it safe to use silicone spray on the seal?
Yes, silicone-based lubricants are ideal for rubber components.
10. Why does my RV toilet smell bad after losing water?
The missing water layer allows black tank odors to escape into the RV.
11. Should I always keep water in the bowl?
Yes, it maintains the seal and prevents drying.
12. What brand has the most reliable replacement seals?
Thetford and Dometic offer long-lasting, model-specific seals.
13. Can I use vinegar to clean the seal?
Yes, vinegar safely dissolves buildup without harming rubber.
14. Why does my foot pedal stick when flushing?
It may be dirty or the spring may need lubrication.
15. What if cleaning and replacing the seal doesn’t work?
Then the valve assembly or flange gasket may need professional inspection or replacement.
Conclusion
A toilet that won’t hold water may seem like a big problem, but it’s one of the easiest RV maintenance issues to fix.
By cleaning, lubricating, or replacing the seal, you can restore full function and eliminate odors quickly.
Regular maintenance, proper products, and keeping water in the bowl will prevent the issue from coming back.
Remember, your RV’s toilet is built for reliability—it just needs a little care to stay that way.
So next time your RV toilet isn’t holding water, grab a brush and a seal conditioner. With a few simple steps, you’ll have it sealing tight and ready for the road again.
I’m David R. Coleman, the founder, lead writer, and lifelong tool enthusiast behind GarageToolPro.com. With years of experience in automotive repair, woodworking, and home DIY projects, I created this platform to share practical tips, detailed tool reviews, and step-by-step guides that help mechanics, hobbyists, and homeowners get the job done right the first time.