How to Install a Suburban RV Water Heater Step by Step
Imagine pulling into your campsite after a long day on the road, only to discover your water heater isn’t working. No hot shower, no warm dishwater, and a lot of frustration. That’s when knowing how to install a Suburban RV water heater becomes a real game-changer.
The Suburban brand is trusted by RV owners for its reliability, long lifespan, and easy maintenance. Installing one might seem intimidating, but with the right tools and careful steps, it’s a task most RV owners can handle confidently.
Whether you’re upgrading an old unit or replacing a failed one, the process is straightforward once you understand how the electrical, plumbing, and gas systems connect.
According to RV maintenance experts, proper installation not only improves efficiency but also prevents leaks, ignition issues, and early component failure.
This guide will walk you through everything — from preparation to testing — so you can install your Suburban RV water heater safely and correctly the first time.
Understanding the Suburban RV Water Heater
Suburban water heaters are among the most popular models in the RV industry. They’re available in both gas-only and gas/electric combination versions, offering flexibility for on-the-road living.
These heaters typically come in 6-gallon and 10-gallon sizes, built with a porcelain-lined steel tank that resists corrosion and ensures long service life.
Each model uses an anode rod to protect the tank from mineral buildup and corrosion — one reason Suburban heaters last longer than many competitors.
They also include safety features like automatic shutoff valves and pressure-relief systems to prevent overheating.
Before you install one, it’s essential to identify your model type and match it with your RV’s available gas and electrical connections.
Tools and Materials You’ll Need
Before starting, gather all the necessary tools and supplies to make installation smooth and safe.
You’ll need:
- Screwdrivers (Phillips and flathead)
- Adjustable wrench or socket set
- Teflon tape or thread sealant
- Butyl tape or RV sealant
- Gas leak detector spray or soapy water
- Electrical tester
- Replacement Suburban RV water heater (size and type matched)
Optional but helpful: a cordless drill, gloves, flashlight, and a small pry tool for sealant removal.
Having everything ready will save time and prevent mistakes once the installation begins.
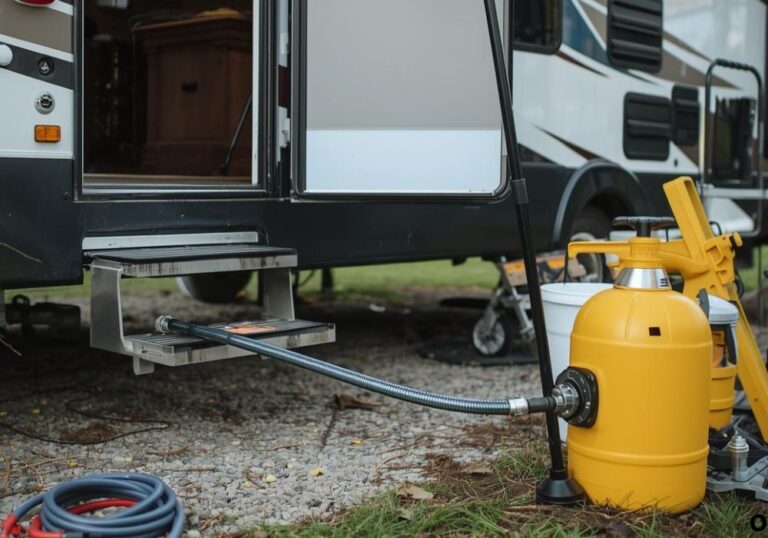
Step 1: Turn Off All Power and Water Sources
Safety is your first priority. Turn off shore power, disconnect the RV battery, and close both the propane and water supply valves.
Open a hot water faucet inside the RV to relieve pressure from the old water heater. Then, let the water in the tank cool completely before removing it.
Drain the existing heater using the plug or anode rod at the bottom of the tank. This prevents accidental burns or water spills during removal.
A clean and depressurized system ensures a safe work environment for the next steps.
Step 2: Remove the Old Water Heater
Access your water heater compartment from the outside of your RV. Remove the screws holding the frame or door in place.
Carefully disconnect the gas line using a wrench, then detach the water lines from the back of the heater. Have a towel ready for any remaining water.
Next, disconnect the electrical wires (if your old heater has an electric element). Label them with tape for easier reconnection later.
Once everything is disconnected, slide the old water heater out of its compartment. Clean the area around the opening and inspect for rust or damage.
Removing debris ensures the new unit will sit securely and seal properly against the RV wall.
Step 3: Prepare the Opening for the New Heater
Measure the opening to confirm it matches your new Suburban unit’s dimensions. Most 6- and 10-gallon models are standard sizes, but it’s good to double-check.
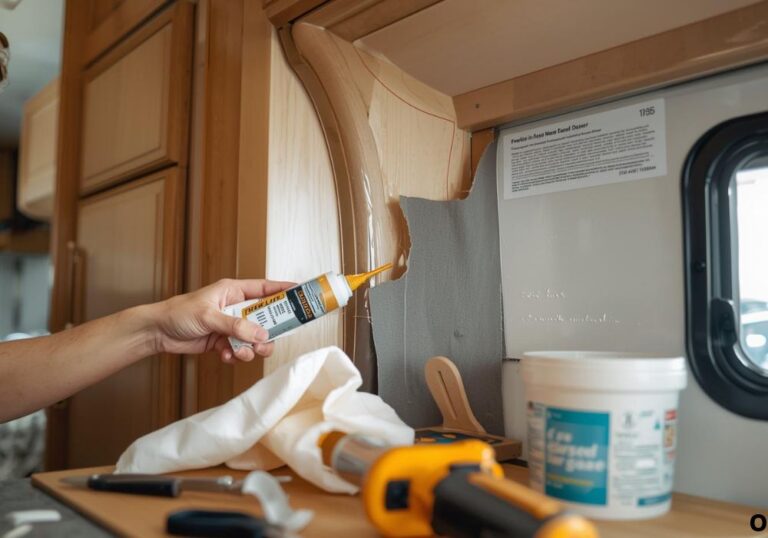
Clean off old sealant and residue using a plastic scraper. Apply a fresh layer of butyl tape around the mounting flange on the new water heater.
This creates a watertight seal between the heater and RV wall, preventing future leaks.
Ensure the RV’s gas line and water connections are accessible before sliding the new unit into place.
A properly prepped surface is key to long-term durability and leak prevention.
Step 4: Install the New Suburban RV Water Heater
Carefully slide the new water heater into the opening, aligning it evenly with the outer frame.
Once in position, secure it with screws through the mounting holes on the flange. Tighten each screw evenly to avoid warping the frame.
Next, reconnect the water lines — cold water to the inlet, hot water to the outlet. Apply Teflon tape or sealant to all threaded fittings.
If your model includes bypass valves, make sure they’re oriented correctly for operation and winterization.
This step sets the foundation for smooth water flow and reliable heating performance.
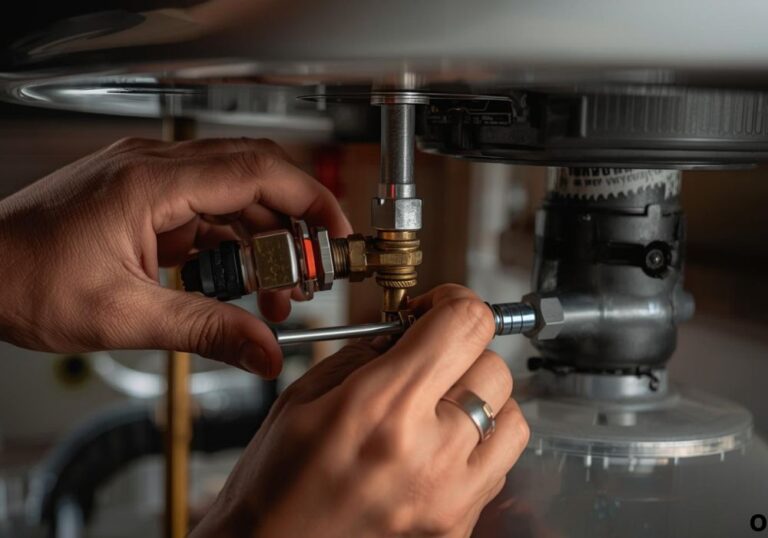
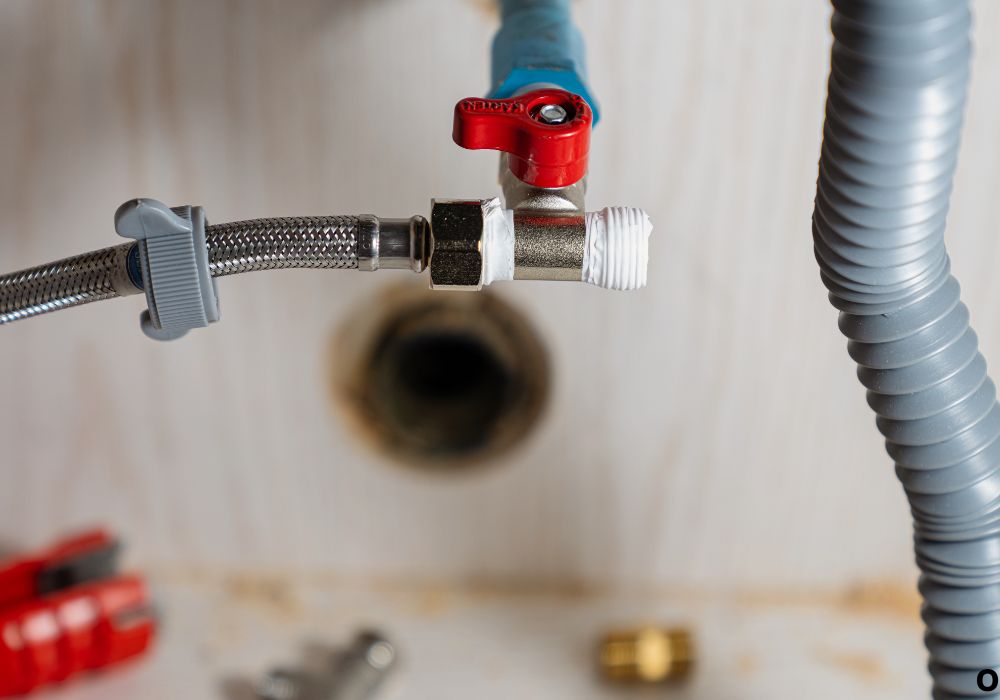
Step 5: Reconnect the Gas Line
Before attaching the gas line, apply Teflon tape rated for propane connections to the threads.
Tighten the line connection snugly, but don’t overtighten to avoid stripping threads.
Once connected, open the propane valve slightly and use leak detector spray or soapy water around the fitting. If bubbles appear, tighten or reseal immediately.
Propane leaks are dangerous, so take extra care to verify a secure and airtight connection.
After confirming safety, close the propane valve again until final testing.
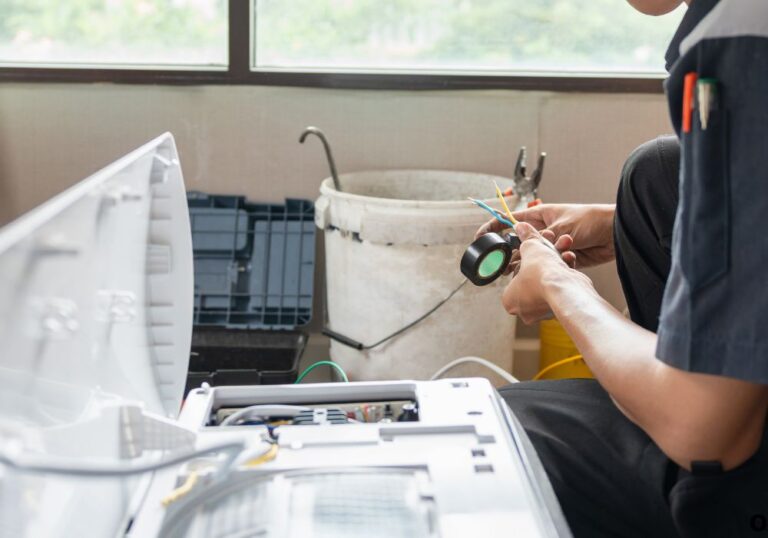
Step 6: Reconnect the Electrical Wiring (If Applicable)
If your Suburban model includes an electric heating element, reconnect the 120V power wires exactly as they were before removal.
Black is typically hot, white is neutral, and green is ground. Always verify with a voltage tester before connecting.
Make sure connections are tight and insulated properly to prevent shorts or sparks.
Reattach any fuse or circuit breaker to restore power once the installation is complete.
This step enables dual-mode operation — propane for fast heating and electricity for energy efficiency.
Step 7: Seal and Secure the Exterior
Apply a bead of RV sealant or lap sealant around the exterior flange to ensure a watertight seal.
Reinstall the access door or vent panel using the original screws. Wipe away any excess sealant for a clean, professional finish.
Check that the door closes properly and the ventilation screen is free of debris.
This protects your new heater from rain, dust, and road vibration.
A properly sealed installation keeps your RV water system leak-free for years to come.
Step 8: Fill and Test the System
Close the drain plug or insert the anode rod securely at the bottom of the tank.
Turn on the RV’s water pump or connect to city water, then open a hot faucet to allow air to escape as the tank fills.
When water flows smoothly from the faucet, your tank is full. Check all connections for leaks around fittings, valves, and hoses.
Once confirmed, open the propane valve and light the pilot or switch on the gas ignition. Wait for the burner to ignite and heat the water.
For electric models, flip on the 120V water heater switch and verify heating through both power sources.
Testing ensures your new Suburban heater operates safely and efficiently.
Step 9: Check for Proper Operation and Safety
Monitor the first heating cycle carefully. The water should reach about 120°F to 140°F within 20–30 minutes depending on size and power source.
Listen for consistent burner ignition and even heating. No sputtering, leaks, or unusual noises should occur.
Check the pressure-relief valve by slightly lifting the lever — a steady stream of hot water should flow briefly.
If everything looks and sounds normal, your installation is complete.
A quick inspection after heating confirms that your Suburban water heater is functioning perfectly.
Maintenance Tips After Installation
Regular maintenance keeps your new heater running smoothly for years.
Drain and flush the tank every six months to remove mineral deposits and sediment. Replace the anode rod once it’s 75 percent worn.
Inspect the exterior vent and gasket annually to prevent leaks and airflow blockages.
During winter storage, always drain the water heater to prevent freeze damage.
These simple steps can double your heater’s lifespan and ensure consistent hot water on every trip.
Market Insights and Expert Statistics
According to RV industry reports, Suburban water heaters hold nearly 45 percent of the U.S. RV market share.
Their average lifespan is 8–12 years with regular maintenance, compared to 5–7 years for budget models.
RV owners report a 20 percent increase in energy efficiency when switching to newer Suburban dual-mode heaters.
With proper installation and care, a Suburban water heater is one of the best long-term investments for comfort and reliability.
FAQs
1. Can I install a Suburban water heater myself?
Yes, if you’re comfortable working with gas and electrical connections and follow all safety steps.
2. What size Suburban heater do I need for my RV?
Most small RVs use 6-gallon units, while larger models use 10-gallon heaters.
3. Can I replace an Atwood heater with a Suburban model?
Yes, but some modifications to the cutout and fittings may be needed.
4. How do I know if my gas line is leaking?
Use soapy water or a leak detector spray on the connection — bubbles indicate a leak.
5. Should I use Teflon tape or pipe dope for fittings?
Use propane-rated Teflon tape or approved sealant for threaded gas connections.
6. What power source does a Suburban heater use?
Models run on propane, 120V electricity, or both for hybrid use.
7. How long does it take to heat water?
Usually 20–30 minutes for a 6-gallon tank and up to 45 minutes for a 10-gallon one.
8. Can I run the heater without water in the tank?
No. Running it dry can permanently damage the heating element or tank.
9. What’s the function of the anode rod?
It prevents corrosion by attracting minerals that would otherwise damage the tank.
10. How do I drain the water heater for winterization?
Remove the drain plug or anode rod and open the pressure valve to let water flow out.
11. Can I leave the water heater on while driving?
It’s best to turn it off during travel for safety, especially when using propane.
12. How often should I flush the heater?
Every six months or after long trips to remove mineral buildup.
13. Why does my heater keep shutting off?
It could be a thermostat issue, airflow blockage, or low gas pressure.
14. Is there a reset button on Suburban water heaters?
Yes, it’s located on the control panel near the thermostat housing.
15. What’s the warranty on a Suburban RV water heater?
Typically 2–3 years, depending on the model and installation date.
Conclusion
Installing a Suburban RV water heater might seem complicated at first, but with patience and the right steps, it’s a manageable DIY project.
You’ll gain the satisfaction of knowing your system is properly connected, leak-free, and ready to deliver hot water whenever you need it.
A well-installed water heater not only enhances comfort but also boosts your RV’s efficiency and resale value.
By following this guide, you can confidently complete the installation and enjoy worry-free camping for years to come.
I’m David R. Coleman, the founder, lead writer, and lifelong tool enthusiast behind GarageToolPro.com. With years of experience in automotive repair, woodworking, and home DIY projects, I created this platform to share practical tips, detailed tool reviews, and step-by-step guides that help mechanics, hobbyists, and homeowners get the job done right the first time.