How to Connect City Water to Your RV Safely and Easily
You’ve just pulled into a cozy RV park after hours on the road. You park, level your rig, and all you want is a cool shower and a glass of clean water. But before that, you need to connect your RV to the city water supply.
Getting this step right is crucial. A poor connection can lead to leaks, low pressure, or even damaged plumbing. On the other hand, a proper hookup gives you steady, pressurized water just like at home.
Learning how to connect city water to your RV ensures you always have safe, reliable access to clean water—whether you’re at a luxury RV resort or a basic campsite.
According to RV maintenance surveys, over 35 percent of plumbing issues in RVs come from improper water hookups or missing pressure regulators.
This guide will show you exactly how to make the connection, what tools you need, and how to avoid common mistakes that can cost you time and comfort.
Understanding the City Water Connection in Your RV
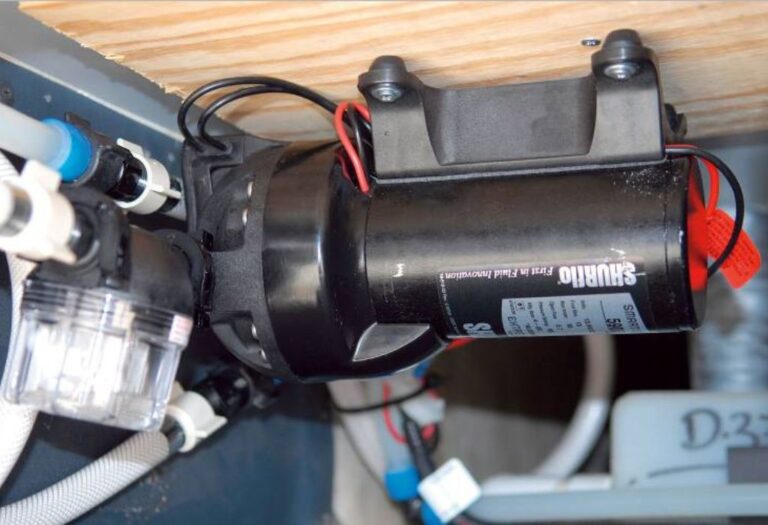
Every RV with a water system has two ways to access water: the fresh water holding tank and the city water connection.
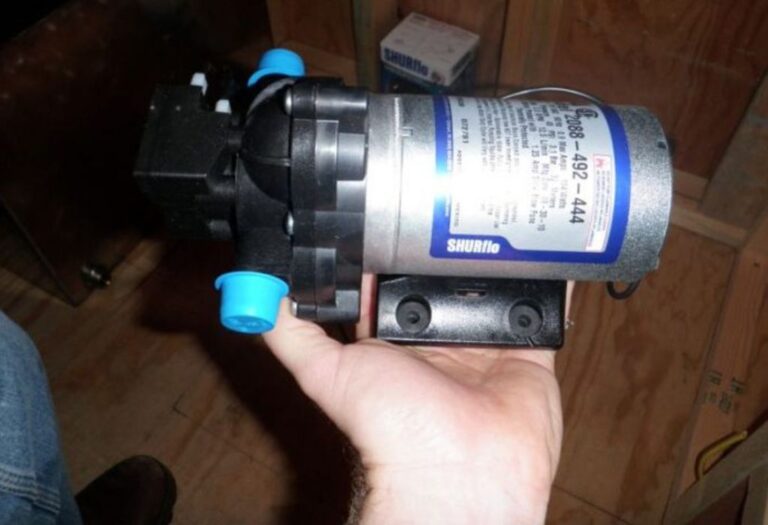
The city water hookup connects your RV’s plumbing directly to an external water source, bypassing your onboard tank and pump. This means water flows through your faucets with steady pressure whenever the external supply is turned on.
The connection point is usually located on the outside wall of your RV and labeled “City Water Inlet.” It’s equipped with a one-way check valve to prevent backflow.
When connected properly, this system gives you unlimited running water without relying on your internal tank.
It’s simple, convenient, and the most common setup in campgrounds and RV parks.
What You’ll Need Before You Connect
Before you hook up city water to your RV, gather these essential tools and accessories:
- White potable water hose: Designed for drinking water and prevents chemical contamination.
- Water pressure regulator: Controls incoming pressure and protects your RV plumbing from over-pressurization.
- Inline water filter: Removes sediment, chlorine, and odors from campground water.
- 90-degree elbow adapter: Reduces hose strain at the RV inlet.
- Rubber washers: Prevent leaks at both ends of the hose.
Having this setup ready ensures you’ll get clean water with consistent pressure while extending the lifespan of your plumbing system.
Investing in these small tools can save hundreds in future repair costs.
Step-by-Step: How to Connect City Water to Your RV
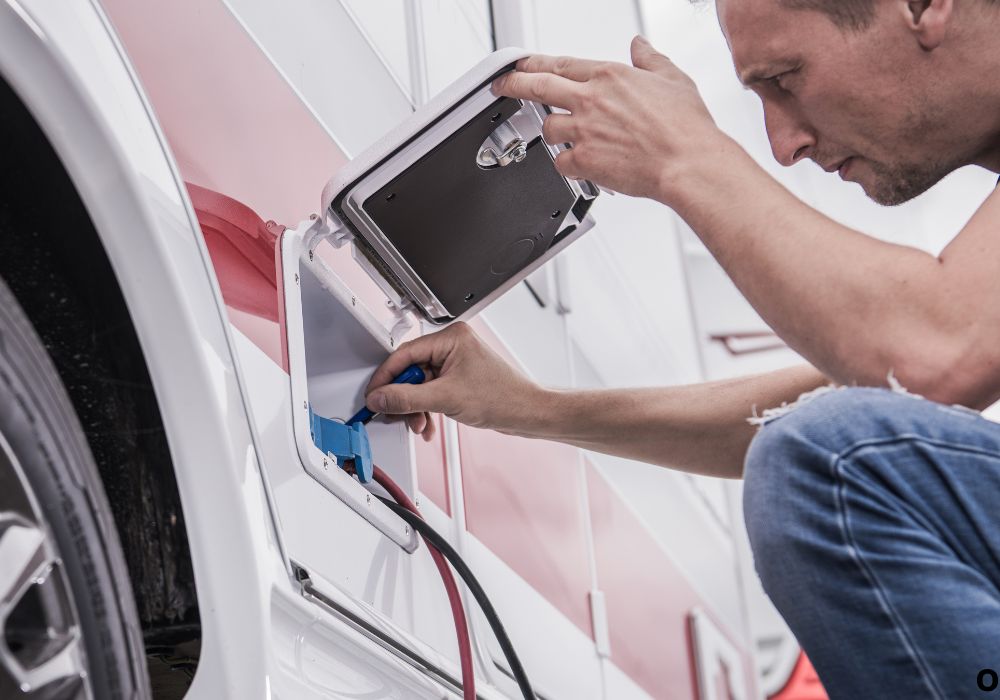
Step 1: Locate the City Water Inlet
Find the exterior connection labeled “City Water” or “Pressurized Water.” It’s typically near your other utility hookups.
Step 2: Attach the Pressure Regulator
Connect your water pressure regulator to the campground spigot first. This device prevents high pressure from damaging your RV’s plumbing.
Step 3: Add the Inline Water Filter (Optional but Recommended)
Attach a water filter between the regulator and your hose. It improves taste and removes impurities from local water supplies.
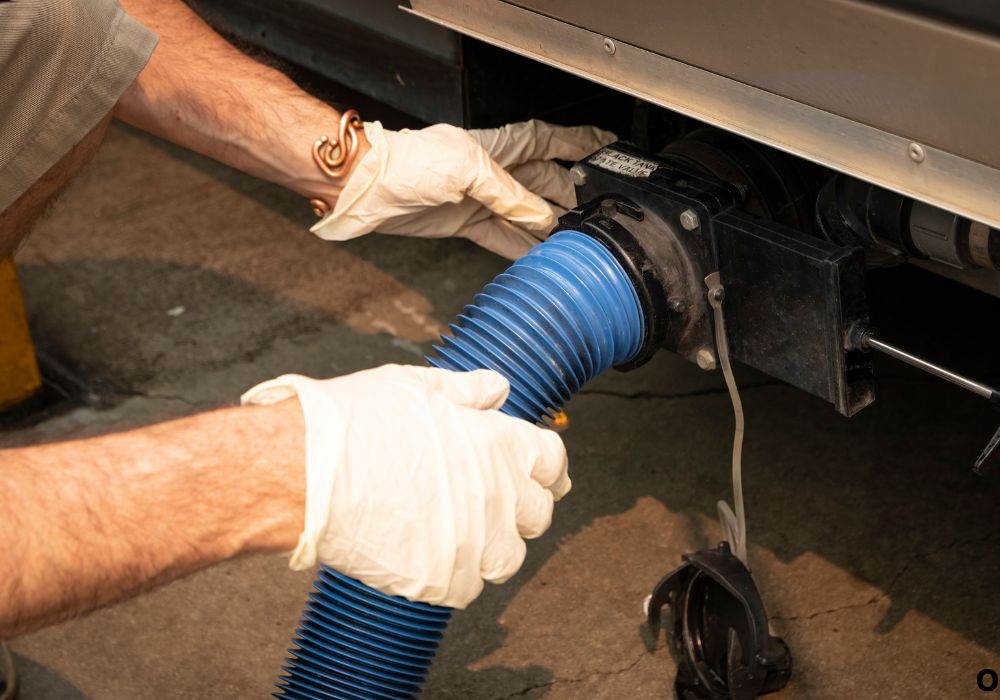
Step 4: Connect the Hose to the Spigot and RV
Attach one end of the white hose to the filter or regulator and the other end to your RV’s city water inlet. Tighten by hand—never use pliers.
Step 5: Turn on the Water Slowly
Open the spigot slowly to let water flow through. Check for leaks at both ends. Once stable, test your RV faucets to confirm good pressure.
This simple process gives you running water inside your RV in under five minutes.
Why You Should Always Use a Pressure Regulator
City water sources often have higher pressure than your RV can safely handle. Some campgrounds reach 80–100 PSI, while most RV systems are designed for 40–60 PSI.
A water pressure regulator prevents damage to your pipes, faucets, and water heater. Without it, seals can burst, causing leaks behind your walls or under sinks.
You can choose between fixed regulators (pre-set around 45 PSI) or adjustable ones with gauges for more control.
Attach it directly to the spigot before your hose connection.
This small device is your first line of defense against plumbing disasters.
Using a Water Filter for Safe Drinking Water
Not all campground water is created equal. It can contain chlorine, minerals, or even rust from old pipes.
An inline RV water filter improves taste and prevents sediment from clogging your faucets or heater.
Attach the filter between the pressure regulator and the hose. Replace cartridges every 3–6 months or after heavy use.
For long-term travel, consider a two-stage filtration system for even cleaner results.
Clean water not only protects your health but also keeps your RV fixtures lasting longer.
Common Mistakes When Hooking Up City Water
1. Forgetting the pressure regulator – This is the most common mistake and the fastest way to damage your plumbing.
2. Using a garden hose – Garden hoses are not rated for potable water and can leach harmful chemicals.
3. Over-tightening connections – Too much force can crack fittings or strip threads. Hand-tighten only.
4. Skipping leak checks – Always inspect for drips when turning on the water.
5. Leaving water on when traveling – Always disconnect and turn off the spigot before hitting the road.
Avoiding these errors ensures a leak-free and sanitary system every time you connect.
Troubleshooting Low or No Water Pressure
If water flow is weak or uneven, the issue could be in several areas:
- Check if the campground water pressure is low—this is common at busy parks.
- Ensure your pressure regulator isn’t clogged or set too low.
- Inspect your water filter for sediment buildup.
- Examine the hose for kinks or pinched sections.
- If water pressure is still low, your RV’s check valve may be stuck partially closed.
Flushing your system and cleaning filters usually restores full pressure.
What to Do If Water Leaks at the Connection
Leaks are usually caused by worn washers or cross-threaded fittings.
Turn off the spigot and disconnect the hose. Check both ends for damaged O-rings and replace them if needed.
Inspect the threads on the regulator and inlet for debris. Hand-tighten the connections firmly but avoid tools.
If leaks persist, apply Teflon tape to metal fittings only (not plastic).
A small leak may seem harmless, but over time it can cause rust, mold, or wasted water.
How to Disconnect City Water Properly
When it’s time to leave your campsite, turn off the water at the spigot first.
Open your RV faucet briefly to relieve pressure in the line. Then, disconnect the hose from the RV side first, followed by the spigot.
Drain the hose completely and coil it neatly for storage.
Store your potable hose separately from sewer hoses to prevent contamination.
Finally, close your RV’s city water cap to keep dust and insects out.
Seasonal Tips for City Water Hookups
During summer, store hoses in the shade to prevent algae growth inside.
In freezing weather, use heated hoses or wrap your hose in insulation tape to prevent bursts.
Always disconnect hoses during overnight freezes. Frozen water can expand and crack fittings.
In humid conditions, dry hoses thoroughly before storage to prevent mildew.
A few seasonal habits will extend the life of your RV water system.
How to Switch Between City Water and Tank Water
Many RVs have a bypass valve or selector switch that lets you choose between city water and your fresh tank.
When connected to city water, set the valve to “City” mode. If you want to fill your fresh water tank instead, turn the valve to “Tank Fill.”
Always read your RV’s manual for your model’s specific setup.
Switching modes properly prevents backflow and ensures the right water source for each situation.
Frequently Asked Questions
1. Do I need a pressure regulator every time I connect to city water?
Yes, it protects your RV plumbing from high-pressure damage.
2. Can I use any hose for my RV?
No. Only use white, food-grade hoses marked “potable water.”
3. Where do I connect the city water hose on my RV?
To the labeled inlet usually found on the sidewall near the utility hookups.
4. Should I turn off city water when leaving my RV?
Yes. Always turn off the water and relieve pressure before leaving.
5. What pressure should I set my regulator to?
Between 40–55 PSI for most RVs.
6. Why is my water pressure too low after connecting?
Your regulator or filter may be clogged, or the campground supply may be weak.
7. Can I fill my fresh water tank using the city connection?
Some RVs have a valve to allow that—check your manual.
8. How long can I stay connected to city water?
Indefinitely, as long as fittings are secure and pressure is regulated.
9. What happens if I skip the water filter?
Sediment can clog fixtures and affect water taste and odor.
10. Why does my connection leak?
Worn washers or cross-threaded fittings are the usual causes.
11. Is it safe to leave water pressure on overnight?
Yes, if all fittings are secure and no leaks are present.
12. What if my water smells bad after connecting?
Flush the hose and filter; stagnant water may have bacteria buildup.
13. Can I use a Y-adapter for multiple water uses?
Yes, but make sure each line has its own shutoff valve.
14. What if the campground water source is dirty?
Use a filter and consider filling your onboard tank with clean water instead.
15. How do I store my water hose properly?
Drain, coil loosely, and store it in a clean, dry bin separate from other hoses.
Conclusion
Knowing how to connect city water to your RV is one of the simplest yet most important parts of RV life.
It provides constant water pressure, keeps your tank full, and makes every trip feel just like home.
By using a pressure regulator, water filter, and proper hoses, you’ll ensure clean, consistent water flow without damaging your plumbing.
Always double-check connections for leaks and keep your setup clean and organized.
With these steps, you can relax knowing your RV’s water system is safe, efficient, and ready for every adventure ahead.
I’m David R. Coleman, the founder, lead writer, and lifelong tool enthusiast behind GarageToolPro.com. With years of experience in automotive repair, woodworking, and home DIY projects, I created this platform to share practical tips, detailed tool reviews, and step-by-step guides that help mechanics, hobbyists, and homeowners get the job done right the first time.