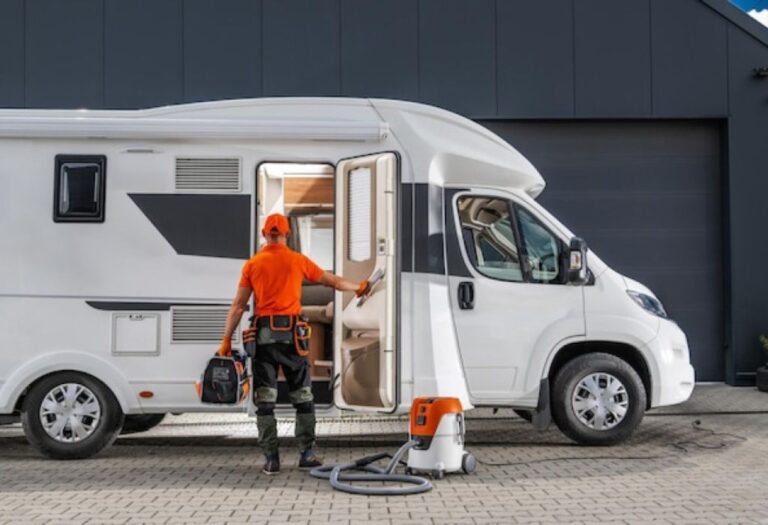
How to Bleed Air from RV Water Lines Easily and Safely
Imagine turning on your RV faucet after de-winterizing or refilling your tank, only to hear sputtering, hissing, and uneven water flow. The pressure is inconsistent, and your lines shake as air pockets travel through them.
That’s a classic sign of trapped air inside your RV water system. It happens after storage, maintenance, or anytime the lines are emptied and refilled.
Bleeding the air from your RV water lines is a simple but essential step to restore steady water pressure and protect your plumbing.
According to RV service experts, trapped air can cause pump strain, uneven flow, and even damage seals or fittings over time.
In this guide, you’ll learn exactly how to bleed air from RV water lines, why it matters, and how to keep your system running quietly and efficiently year-round.
Why Air Gets Trapped in RV Water Lines
Air can enter your water system anytime the plumbing is drained or disconnected. This usually happens after winterization, maintenance, or refilling an empty freshwater tank.
When water first refills the lines, air pockets form and get trapped in high points or bends in the system.
These bubbles block water flow, causing sputtering, noise, and inconsistent pressure when you open faucets.
In some cases, the water pump may run continuously or pulse unevenly, struggling to push water through air gaps.
Knowing why air builds up helps you take the right steps to remove it safely.
Signs There’s Air in Your RV Water Lines
You’ll know air is trapped in your RV water system when you notice these symptoms:
- Faucets sputter or spit water instead of flowing smoothly.
- You hear hissing or gurgling sounds from pipes or the pump.
- Water pressure fluctuates rapidly between strong and weak.
- The water pump runs longer than usual or cycles irregularly.
- Hot water takes longer to reach faucets or appears bubbly.
These are early signs that your system needs to be bled before normal operation can resume.
Ignoring them can wear out your pump and waste water unnecessarily.
Why It’s Important to Bleed the Air
Trapped air affects your entire RV plumbing system. It causes uneven flow, pressure surges, and unnecessary strain on your water pump.
Over time, the pump’s internal diaphragm and seals may wear out due to dry running or excessive vibration.
Air pockets can also create noisy pipes that vibrate or rattle behind walls and cabinets.
If you have a water heater, air bubbles may cause sputtering when the tank refills, leading to inconsistent hot water delivery.
Bleeding the lines ensures smooth flow, quiet operation, and prevents mechanical stress on your plumbing.
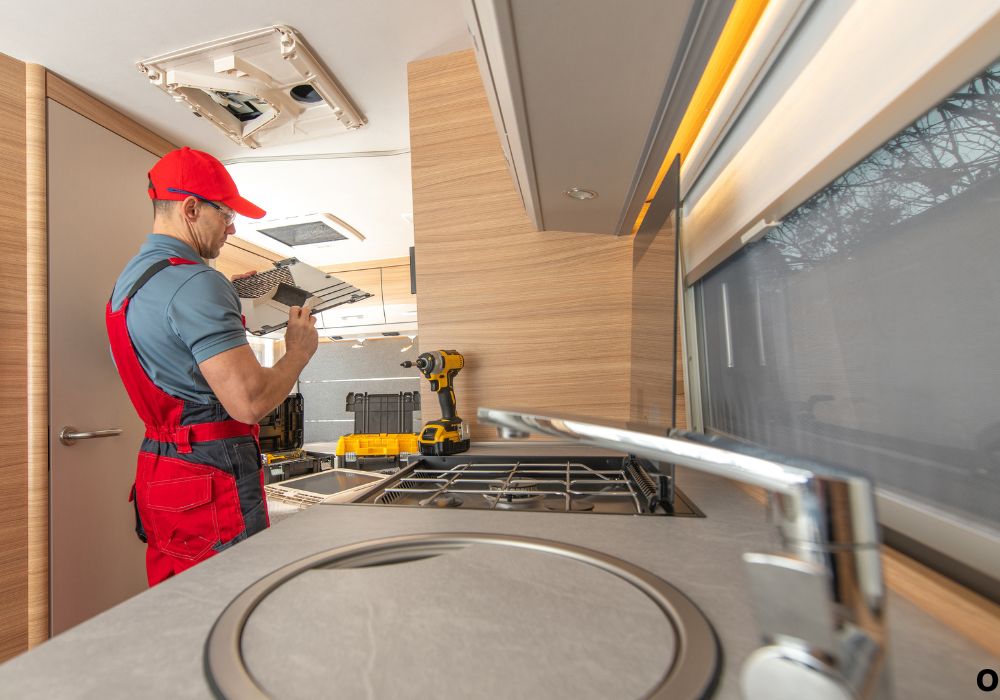
Tools You’ll Need Before You Begin
You don’t need specialized tools, just a few essentials to get started safely.
Have your RV water hose, freshwater supply, and RV water pump ready to operate normally.
If you have a water filter or softener, make sure it’s connected correctly before starting.
Keep a towel or rag handy in case of minor splashes, and ensure your water heater is turned off during the process.
Having everything prepared before you start makes the bleeding process faster and more effective.
Step-by-Step: How to Bleed Air from RV Water Lines
Follow these steps carefully to remove all trapped air from your water system.
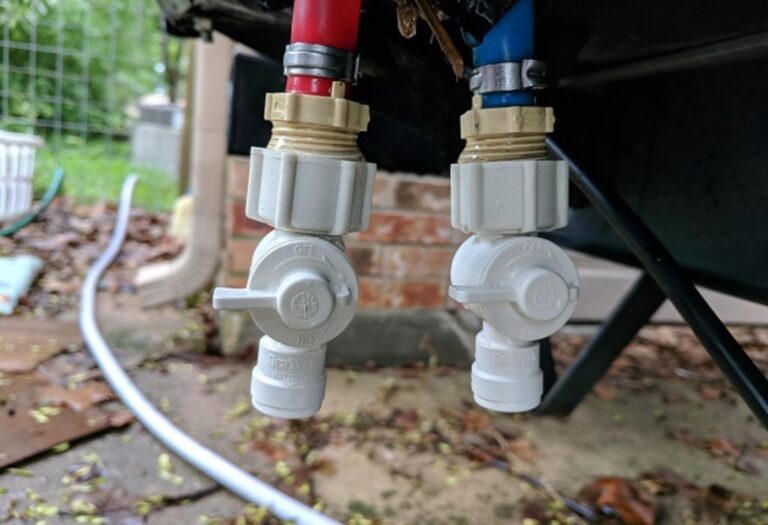
- Connect Your RV to a Water Source
Attach your water hose to a clean freshwater supply or use your onboard tank and pump if boondocking. - Fill the Freshwater Tank
Make sure the tank is at least halfway full to prevent the pump from sucking more air into the lines. - Turn On the Water Pump or City Water Connection
If you’re using city water, open the valve. If you’re using the pump, switch it on and let the pressure build for a few seconds. - Start with the Closest Faucet
Open the nearest cold-water faucet first. Let it sputter and run until the water flows smoothly without air bursts. - Repeat with Hot Water
Once cold water runs steady, switch to hot water on the same faucet. This clears air from both hot and cold lines connected to that fixture. - Work Through All Faucets and Fixtures
Move systematically through your RV, bleeding air from every sink, shower, and outdoor spigot. Start from the nearest to the farthest from the water pump. - Flush the Toilet and Shower
Open these briefly to remove trapped air. Run them until the sputtering stops. - Check the Water Heater and Outdoor Shower
Turn on the hot water tap until you see steady flow. Then check the exterior shower if your RV has one. - Inspect for Leaks or Air Noise
Once all lines flow smoothly, listen for any hissing or pump cycling that might indicate lingering air.
After you finish, your RV’s water system should flow quietly and evenly across all outlets.
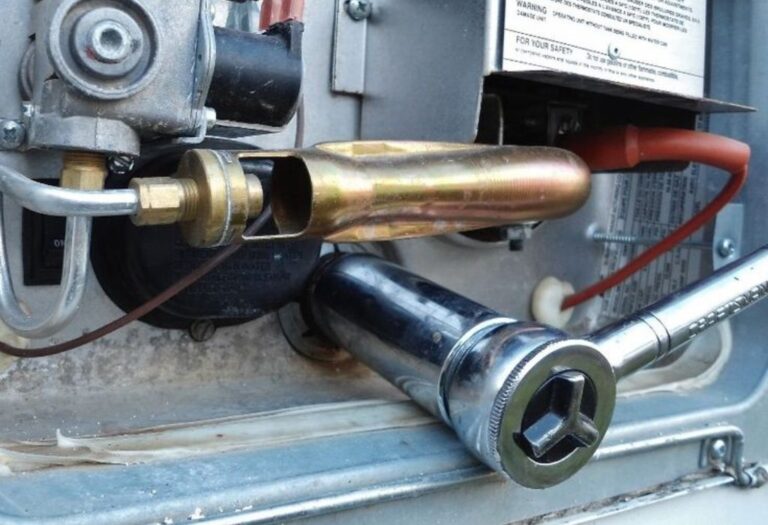
How to Bleed Air from RV Water Heater Lines
Your water heater can also trap air when refilled, especially after winterization or draining.
Make sure the bypass valves are set to “normal” and open the hot water faucet closest to the heater.
Allow it to run until you hear the sputtering stop and a steady stream of water flows.
If you have a Suburban or Atwood water heater, check that the air relief valve (usually near the top) releases trapped air safely.
Once the water heater fills completely and stops gurgling, it’s ready for heating.
How to Bleed Air After Winterizing
After removing antifreeze or de-winterizing, bleeding the system is the final step before regular use.
Reconnect your freshwater system and flush all faucets thoroughly to remove leftover air and antifreeze residue.
Start with the cold water taps, then switch to hot water to clear the lines completely.
Don’t forget to bleed the shower, outdoor sprayer, and toilet valves.
Run each fixture until water flows steadily, signaling that all air has escaped the lines.
Common Mistakes to Avoid
The most common mistake is trying to bleed air with the water heater turned on. Always keep it off until the system is full.
Avoid running the pump dry for too long, as it can overheat or burn out.
Don’t forget to open every fixture — even one air pocket can cause pressure problems later.
Never assume one faucet running smoothly means the whole system is clear.
Lastly, check for leaks around fittings after bleeding, as air pressure changes can loosen connections.
Maintenance Tips to Prevent Air in the Future
To minimize trapped air, always fill your freshwater tank slowly and keep the hose submerged while refilling.
Check hoses and fittings for cracks or loose clamps that could allow air to enter during pumping.
When storing your RV, drain the system completely and close all faucets to reduce air entry points.
After long trips, briefly run all faucets to verify consistent pressure and purge minor bubbles.
Routine maintenance keeps your RV plumbing efficient and quiet all season long.
Troubleshooting Persistent Air Problems
If air keeps returning even after bleeding, it may indicate a deeper issue.
A loose fitting or cracked suction line on the pump’s intake side can allow air to enter the system.
Inspect all hose clamps and connectors between the tank and pump for leaks.
If your water pump vibrates excessively or won’t hold pressure, check for worn valves or a faulty pump diaphragm.
Replacing damaged components usually resolves recurring air intrusion.
Quick Tips for Faster Bleeding
- Start from the closest faucet to the water pump.
- Open both hot and cold taps at once for quicker purging.
- Use a clear water hose to see when bubbles stop.
- Keep the water pump running at steady speed.
- Allow the system to run for a few minutes after steady flow begins.
Following these tips helps ensure complete air removal on the first try.
Market and Maintenance Insights
The U.S. RV maintenance market continues to grow as owners adopt preventive practices for water systems.
Around 85 percent of RVs in use today rely on standard freshwater systems that require periodic bleeding.
Experts say improper water-line maintenance is one of the top five causes of plumbing damage in RVs under five years old.
Routine air bleeding, along with water filter checks and winterization, can double the lifespan of your RV plumbing components.
Taking care of your system keeps both comfort and efficiency high during every trip.
FAQs
1. Why does air get trapped in RV water lines?
It usually happens after draining or refilling the system, which introduces air pockets.
2. How often should I bleed my RV water lines?
After every de-winterization, refill, or anytime you notice sputtering and uneven flow.
3. Can air in water lines damage the RV pump?
Yes, running the pump dry or under pressure strain can shorten its lifespan.
4. Should I keep the water heater on during bleeding?
No, always turn it off until the lines are fully filled with water.
5. How long does it take to bleed the system?
Usually between 10 to 20 minutes depending on RV size.
6. Can I use city water instead of the pump for bleeding?
Yes, both methods work — city water may clear air faster due to higher pressure.
7. Why is my faucet still sputtering after bleeding?
Some air may remain trapped in high points or long horizontal lines. Run it longer.
8. Do I need to bleed hot and cold lines separately?
Yes, both systems hold air independently and must be cleared individually.
9. Should I open all faucets at once?
No, open them one at a time starting from the closest to the farthest.
10. Can air in the lines affect water heater performance?
Yes, it can delay heating and cause uneven water temperature.
11. Is it safe to run the water pump while bleeding?
Yes, but don’t let it run dry for more than a few seconds.
12. Why does my water pressure fluctuate after bleeding?
It may indicate lingering air or a weak pump diaphragm.
13. Can I bleed air from RV lines without connecting to water?
No, you need a continuous water source to push air out effectively.
14. Should I check for leaks after bleeding?
Always — air pressure changes can expose weak seals or fittings.
15. Can I bleed the lines while using the RV?
It’s best done when stationary to avoid pump cycling and uneven results.
Conclusion
Knowing how to bleed air from RV water lines keeps your plumbing system running smoothly and quietly. It prevents pressure issues, protects your pump, and ensures consistent water flow for every trip.
The process takes just a few minutes but saves you from costly repairs or frustrating water problems later.
By following simple maintenance steps and checking your lines regularly, you’ll keep your RV’s water system in perfect working condition year-round.
Smooth water flow means a smoother adventure — wherever the road takes you.
I’m David R. Coleman, the founder, lead writer, and lifelong tool enthusiast behind GarageToolPro.com. With years of experience in automotive repair, woodworking, and home DIY projects, I created this platform to share practical tips, detailed tool reviews, and step-by-step guides that help mechanics, hobbyists, and homeowners get the job done right the first time.