How to Adjust the Pilot Light on Your RV Water Heater Properly
Imagine a chilly morning at your campsite, and you turn on the tap expecting warm water—but all you get is cold. You check your RV water heater and notice a weak or flickering pilot light.
This tiny flame might seem insignificant, but it’s the key to keeping your water heater running efficiently. If it’s too low, your heater won’t ignite properly. If it’s too high, it could waste propane or cause overheating.
Learning how to adjust the pilot light on an RV water heater ensures your system burns safely and consistently during every trip.
According to RV repair statistics, nearly 40 percent of water-heating issues come from improper pilot light adjustment or buildup in the burner assembly.
In this guide, you’ll learn how to locate, inspect, and fine-tune your pilot light like a pro so you can always enjoy reliable hot water on the road.
Understanding the RV Water Heater Pilot Light
The pilot light is a small flame that stays lit inside your RV’s water heater. Its job is to ignite the main burner when you turn on the water-heating system.
It burns continuously in propane-powered models, keeping the system ready for instant heating. If the flame is too weak, it won’t trigger the burner; if it’s too large, it can cause soot buildup or uneven heating.
Modern RV water heaters may have electronic ignitions, but many still rely on manual pilot lights.
Recognizing how it works helps you make precise adjustments safely. The goal is a clean, blue flame—not yellow or flickering.
Tools and Safety Precautions
Before adjusting the pilot light, gather the following tools:
- Long lighter or igniter stick
- Small adjustable wrench or screwdriver
- Flashlight for visibility
- Work gloves
- Carbon monoxide detector (for safety check)
Safety first: turn off the propane supply and allow the heater to cool completely before starting.
Ensure proper ventilation to prevent gas buildup. Always check for leaks using a soapy-water solution on fittings after adjustments.
Never perform pilot light work indoors or near open flames without good airflow.
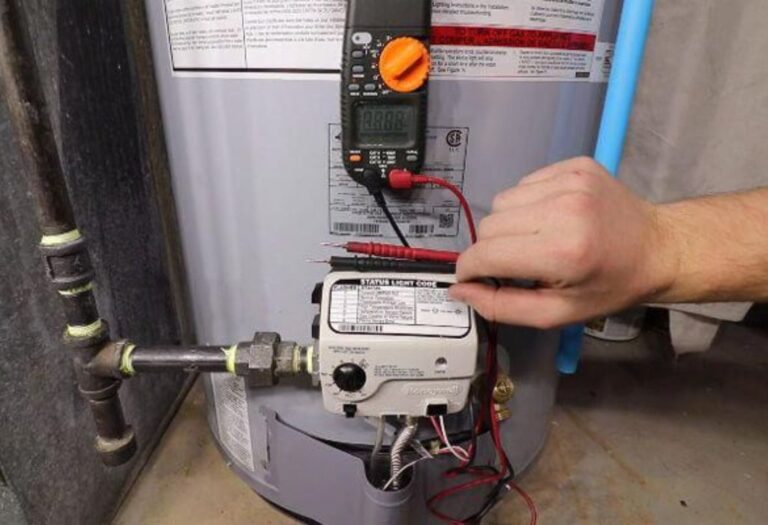
Locating the Pilot Light Adjustment Assembly
Most RV water heaters (Suburban, Atwood, or Dometic) have the pilot light assembly located behind the exterior access panel.
Open the small metal door on your RV’s sidewall. You’ll see the burner tube, gas valve, and a small pilot flame area.
The adjustment screw is typically found on the gas control valve, labeled “Pilot Adj” or “Pilot Flame.”
Use your flashlight to inspect the area and confirm that the pilot light is accessible. If your heater uses electronic ignition, you’ll see a spark electrode instead of a standing flame.
Knowing your model’s layout is key before making any adjustments.
How to Light the Pilot Before Adjusting
- Turn the gas control knob to the Pilot position.
- Hold down the knob to allow gas flow to the pilot assembly.
- Ignite the flame using a long lighter while holding the knob for 20–30 seconds.
- Once the flame stays steady, release the knob and turn the control to On.
If the flame goes out immediately, the thermocouple may be misaligned or dirty. Clean it with a soft brush and relight the pilot.
Always ensure the flame surrounds the thermocouple tip properly—this confirms the safety sensor is heated and functional.
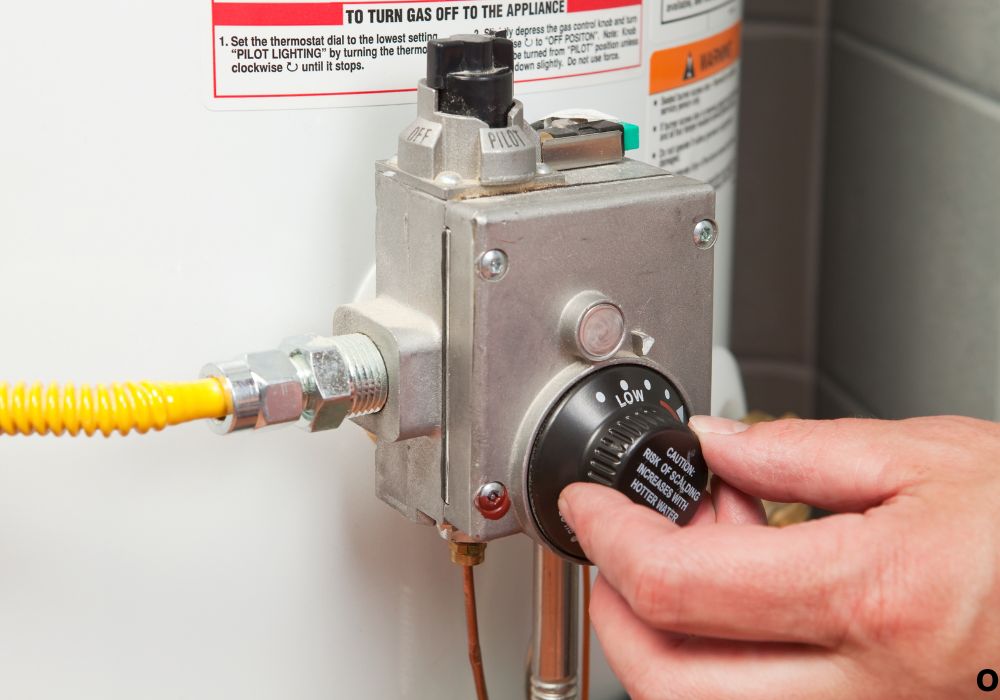
Adjusting the Pilot Light on an RV Water Heater
Once the pilot is lit, locate the pilot adjustment screw on the gas valve.
Using a small screwdriver, turn the screw clockwise to decrease the flame or counterclockwise to increase it.
The ideal pilot flame should be steady, blue, and about ½ to ¾ inch high. It should gently touch the thermocouple tip without flickering or producing yellow tips.
Adjust in small increments, waiting a few seconds between turns to observe the change.
If the flame sputters or burns unevenly, shut off the gas, clean the assembly, and relight before continuing adjustments.
Checking Flame Color and Stability
A properly adjusted pilot flame should burn solid blue with no yellow or orange tint. Yellow flames indicate incomplete combustion and carbon buildup.
If the flame wavers or whistles, you may have air in the gas line or debris inside the burner tube.
Blow compressed air gently into the burner orifice to clear dust and insects before relighting.
The flame should remain stable even if the wind blows lightly across the access panel.
A consistent flame ensures your RV water heater ignites instantly and operates efficiently.
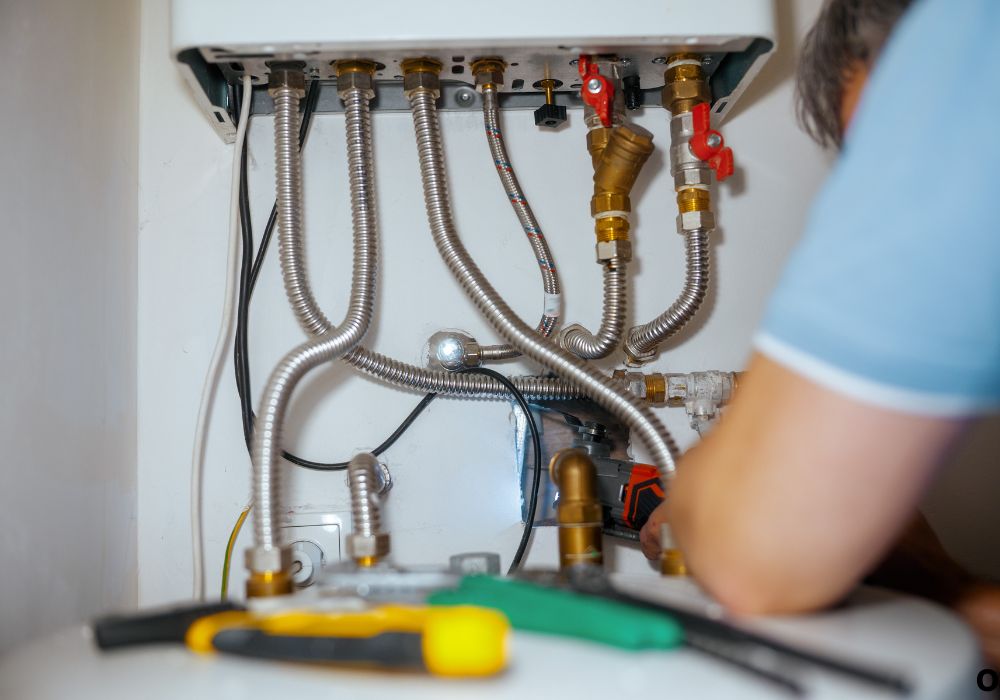
Cleaning the Burner and Pilot Assembly
Dirt, spider webs, and soot often accumulate inside the burner tube, affecting pilot performance.
Turn off the propane and disconnect the gas line before cleaning. Remove the burner assembly and gently brush it with a small wire brush or use compressed air.
Inspect the orifice for blockage—never poke it with metal tools, as this can enlarge the opening.
Reassemble the parts carefully and test the flame again.
Routine cleaning every 3–6 months ensures smooth ignition and extends your water heater’s lifespan.
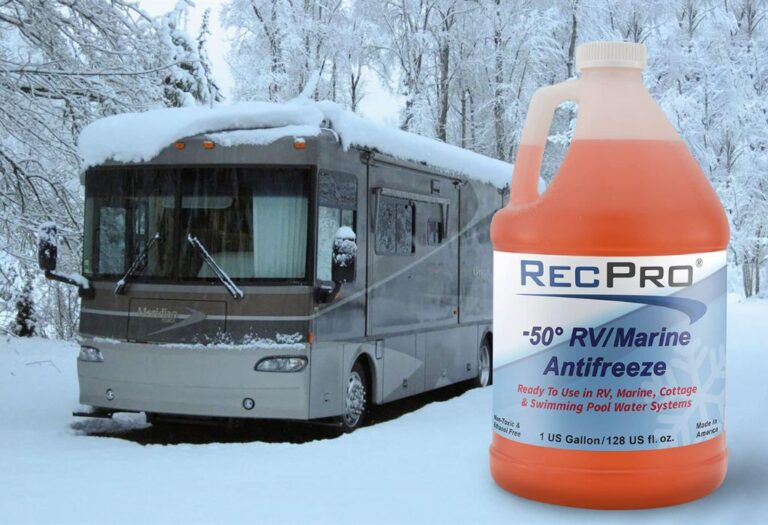
Adjusting After Long Storage or Cold Weather
If your RV has been stored for months or exposed to freezing temperatures, gas pressure or residue can affect pilot behavior.
Before lighting, open the propane valve slowly to equalize pressure in the line. Purge any air by lighting the stove for a few seconds first.
Cold weather can also cause condensation in the gas line, leading to unstable flames. Use a propane filter to prevent moisture buildup.
After winter, always inspect the pilot assembly for rust or corrosion before lighting.
Seasonal maintenance helps your pilot light stay reliable year-round.
Common Pilot Light Problems and Solutions
| Problem | Possible Cause | Solution |
| Flame won’t stay lit | Dirty thermocouple | Clean or replace thermocouple |
| Weak or yellow flame | Low gas pressure or blockage | Adjust pilot screw, clean burner |
| Clicking but no ignition | Air in gas line | Purge line and relight |
| Strong smell of gas | Leak at valve or line | Shut off propane, test with soapy water |
| Pilot lights but burner won’t start | Faulty gas control valve | Replace control valve assembly |
Most issues come from poor maintenance, not the pilot itself. Regular inspection prevents larger, costlier repairs.
How to Test for Proper Function After Adjustment
Once you’ve adjusted the pilot light, relight it and observe for at least two minutes.
Turn on the water heater to see if the main burner ignites smoothly. The transition should be immediate and steady.
If you notice popping, sputtering, or delayed ignition, the pilot flame may still be too weak.
Make fine adjustments until you get consistent ignition without noise or fluctuation.
Finally, close the access door and check for warmth at the water tap after 10–15 minutes.
Safety Tips When Working with Propane
Propane is highly flammable and requires strict safety awareness. Always work outdoors or in a ventilated area.
Use a gas-leak detector spray or soapy water to check all connections before relighting.
If you smell gas, turn off all appliances and the main supply immediately, then ventilate the area.
Never attempt to fix a leaking valve or cracked gas line yourself—contact a certified RV technician.
Keeping a carbon monoxide alarm inside your RV ensures extra protection while the water heater runs.
15 Frequently Asked Questions
1. Why won’t my pilot light stay lit on my RV water heater?
A dirty or misaligned thermocouple is the most common cause. Clean or replace it if necessary.
2. What color should my RV pilot light be?
A healthy flame should be blue with a stable shape and no yellow tips.
3. How do I adjust the pilot flame height?
Turn the adjustment screw slightly counterclockwise to increase and clockwise to decrease the flame.
4. Where is the pilot adjustment screw located?
It’s found on the gas control valve near the “Pilot” label.
5. Can I use the water heater without a pilot light?
Only if your RV has an electronic ignition model; otherwise, the pilot is essential for heating.
6. What does a yellow pilot flame mean?
It indicates incomplete combustion or dirt in the burner tube. Clean the orifice.
7. How often should I clean the pilot assembly?
Every 3–6 months, or before each camping season.
8. Why does my pilot light blow out in the wind?
The flame shield may be missing or damaged; replace or adjust the panel cover.
9. Can I relight the pilot immediately after it goes out?
Wait a few minutes for gas to dissipate before relighting.
10. What tools do I need to adjust the pilot?
A small screwdriver, wrench, and lighter are usually enough.
11. Can I use compressed air to clean the burner?
Yes, but do so gently to avoid damaging the orifice.
12. How long should the pilot stay lit?
It should stay on continuously until you shut off the gas supply.
13. What if my pilot keeps going out while driving?
Use an exterior shield or ensure the access door is properly sealed against wind.
14. Is adjusting the pilot safe for beginners?
Yes, if done carefully and according to manufacturer instructions.
15. When should I call a technician?
If the pilot still won’t stay lit or the flame color doesn’t stabilize after cleaning.
Conclusion
The pilot light may be small, but it plays a big role in keeping your RV water heater dependable.
Learning how to adjust the pilot light on your RV water heater helps maintain consistent performance and safety wherever your travels take you.
Keep your flame clean, blue, and stable by inspecting it regularly and cleaning the burner assembly.
A few minutes of maintenance can prevent hours of frustration when you need hot water most.
So before your next trip, check that little blue flame—it’s the spark that keeps comfort alive inside your rolling home.
I’m David R. Coleman, the founder, lead writer, and lifelong tool enthusiast behind GarageToolPro.com. With years of experience in automotive repair, woodworking, and home DIY projects, I created this platform to share practical tips, detailed tool reviews, and step-by-step guides that help mechanics, hobbyists, and homeowners get the job done right the first time.