How to Add Fresh Water to Your RV the Right Way
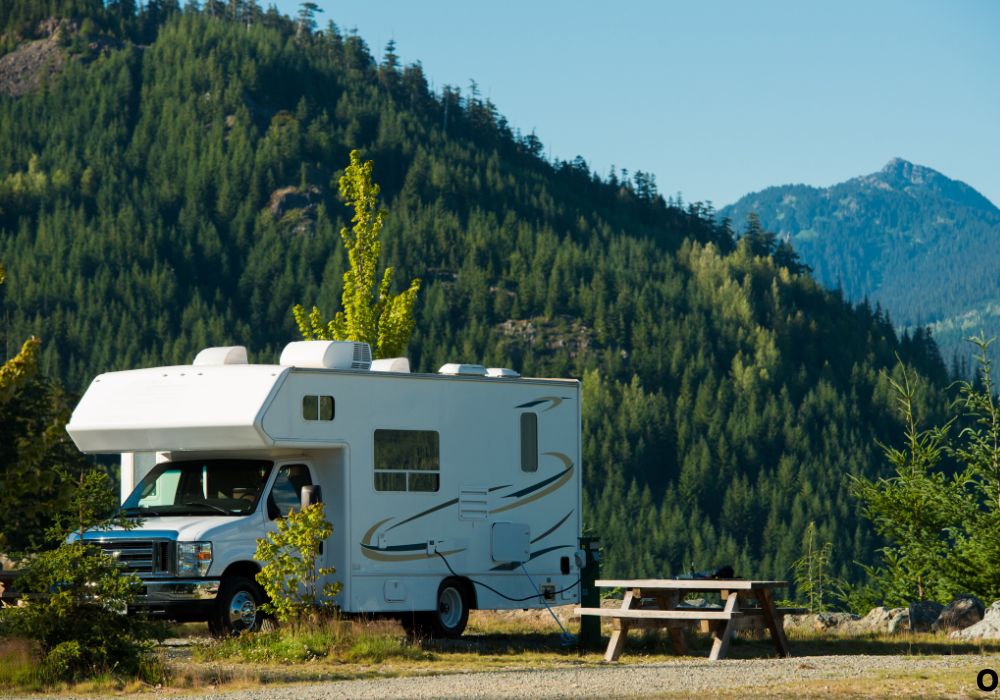
Picture this: you’ve parked your RV beside a quiet lake, the evening breeze is perfect, but when you turn the faucet—no water flows. It’s a situation every traveler dreads, especially after a long drive.
Keeping your RV’s fresh water tank filled is one of the most essential parts of a comfortable trip. From cooking and showering to cleaning and hydration, every drop counts.
Knowing how to add fresh water to an RV isn’t just about filling a tank; it’s about keeping your system clean, preventing contamination, and ensuring steady water flow wherever you go.
According to RV maintenance experts, over 60 percent of water-system problems happen due to improper filling or lack of sanitation.
In this detailed guide, you’ll learn exactly how to add water to your RV, what equipment you need, how to keep it clean, and how to avoid common mistakes that ruin a great trip.
Understanding Your RV Fresh Water System
Your RV’s plumbing system is designed to deliver clean water on demand, similar to a home. It consists of a fresh water tank, a pump, and a network of pipes that supply faucets, showers, and toilets.
There are two primary ways to supply water: through the city water connection or by filling the fresh water holding tank.
The city water inlet connects directly to an external water supply, such as a campground hookup. The fresh water tank, on the other hand, is your onboard reservoir when hookups aren’t available.
Most RVs include a 12-volt pump that draws water from the tank whenever you open a tap. Understanding both methods helps you stay self-sufficient wherever you travel.
Equipment You Need to Add Fresh Water
Before you begin, gather the right tools to keep your water clean and safe.
You’ll need:
- A white potable-water hose (never use a garden hose, which can leach chemicals)
- A water pressure regulator to protect your pipes from campground over-pressure
- A water filter to remove impurities or odors
- A funnel or fill adapter if your tank requires manual filling
- Optional: A tank gauge monitor to check water levels easily
Having these ready ensures a smooth filling process without leaks or contamination.
A clean setup means your family gets safe drinking water every time you turn the faucet.
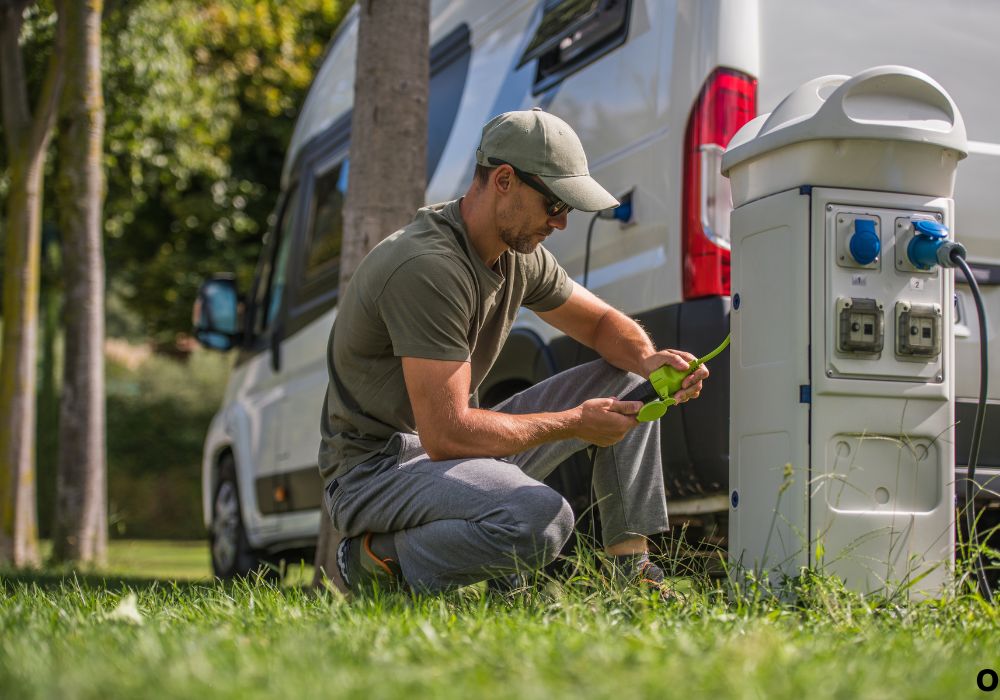
Method 1: Filling from a City Water Connection
When your RV is parked at a campsite or RV park, the easiest method is using the city water connection.
Locate the labeled inlet on the exterior of your RV—usually marked “City Water” or “Pressurized Inlet.” Attach your pressure regulator to the spigot, then connect your white potable hose from the faucet to the RV inlet.
Turn on the water slowly to avoid pressure spikes. Once connected, your RV’s plumbing system bypasses the fresh water tank and uses water directly from the external source.
Always check for leaks inside your RV after connecting to ensure fittings are tight.
If you plan to stay connected for long periods, shut off the water before disconnecting to release pressure safely.
Method 2: Filling the Fresh Water Tank Manually
If you’re camping off-grid or in areas without hookups, you’ll rely on your RV’s onboard fresh water tank.
Find the gravity-fill port—it’s usually labeled “Fresh Water Fill.” Remove the cap and insert your clean hose or funnel.
Turn on the water gently and monitor the fill level using your tank gauge or by watching the overflow outlet. Avoid overfilling, which can cause leaks or pressure issues.
Once full, replace the cap securely and turn off the spigot. Now, your RV pump can pull water from the tank whenever needed.
This method keeps you completely self-sufficient, ideal for boondocking or remote camping.
Method 3: Adding Water with Portable Containers
Sometimes, you’ll need to add water when no hose connection is available. Portable jugs or collapsible containers are the solution.
Use a clean, food-grade water jug and a funnel to pour water into the gravity-fill port. You can also use a transfer pump or hand siphon for easier filling.
Many RVers carry 5- or 10-gallon jugs for emergencies or long dry-camping trips.
Before transferring, make sure containers are rinsed with a mild bleach solution and thoroughly dried.
Though slower, this method ensures you never run out of water even when far from services.
How to Keep the Fresh Water System Clean
Clean water means healthy travel. Bacteria and algae can grow inside tanks if not maintained properly.
At least every three months, sanitize your system with a bleach solution (1/4 cup of household bleach for every 15 gallons of tank capacity).
Fill the tank with the mixture, run it through all faucets, then let it sit for 8–12 hours. Drain and flush the system until no bleach odor remains.
Always use filtered water during filling to reduce sediment buildup.
Keeping your hoses and inlets capped when not in use prevents contamination from dust or insects.
Avoiding Common Mistakes When Adding Water
The most common mistake is using the wrong hose. Garden hoses contain harmful chemicals not meant for drinking water. Always use hoses labeled “potable”.
Another frequent error is skipping the pressure regulator, which can burst pipes if campground water pressure is too high.
Never overfill the tank. Once water starts coming out of the overflow tube, stop immediately.
If you notice weak water flow after filling, check for airlocks in the pump line and run faucets briefly to purge the system.
A few simple precautions prevent costly repairs and contamination.
Troubleshooting Water Fill Problems
If water spills out during filling, your overflow valve may be stuck open or the vent line clogged.
Low pressure or gurgling from faucets could mean air pockets in the system or a faulty pump.
If you see debris in the water, check your hose filter and tank cap for dirt.
Sometimes, slow filling is caused by kinks in the hose or buildup in the fill neck.
Regular inspection and cleaning eliminate most of these issues before they become major headaches.
Seasonal Tips for Adding Fresh Water
During summer, avoid leaving hoses in direct sunlight, as heat can breed bacteria and soften fittings.
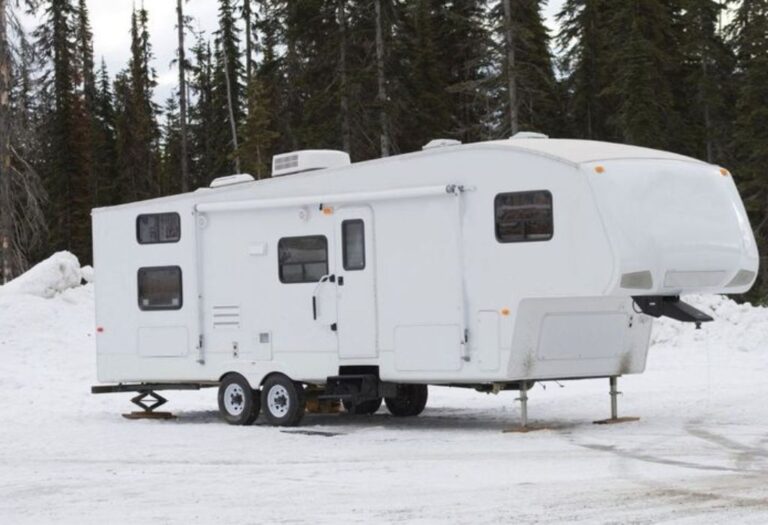
In cold weather, always use a heated hose or fill your tank before freezing temperatures set in.
After winter storage, flush and sanitize the entire system before use.
When boondocking, fill your tank the night before you leave, and carry extra jugs if you’ll be far from refilling stations.
These habits keep your RV’s water system running smoothly in every season.
Understanding Water Capacity and Conservation
Most RV fresh water tanks range between 30 and 100 gallons, depending on size and class. Knowing your capacity helps plan trips efficiently.
A family of two can expect to use around 6 to 10 gallons per day for drinking, cooking, and basic washing.
To conserve water, use low-flow showerheads, turn off taps while brushing teeth, and reuse gray water where permitted.
Install a tank monitor to track levels and avoid running dry or overfilling.
Smart water management keeps you off-grid longer without sacrificing comfort.
RV Fresh Water Safety Best Practices
Always fill your tank with potable water only. Avoid questionable sources like lakes, rivers, or unmarked wells.
Inspect hoses for cracks or mildew regularly. Replace them every one to two years.
Use filters at both the spigot and entry point to remove sediment and chlorine.
After filling, drain hoses completely and store them in a clean, sealed container.
These simple practices guarantee clean, safe water wherever your journey takes you.
15 Frequently Asked Questions
1. How do I know if my RV fresh water tank is full?
Most RVs have a level monitor or overflow outlet that indicates when the tank is full.
2. Can I fill my fresh water tank with a garden hose?
No. Use a white potable-water hose designed for safe drinking water.
3. How often should I sanitize my water system?
Every 2–3 months or after long storage periods.
4. Can I add water from a public tap?
Yes, as long as it’s potable. Always use a filter and pressure regulator.
5. How much water does a typical RV tank hold?
Between 30 and 100 gallons, depending on the RV model.
6. What happens if I overfill the tank?
Water will spill from the overflow, but excess pressure can damage fittings.
7. Can I use bottled water for filling?
Yes, but it’s impractical for large tanks. Use bottled water for drinking instead.
8. Why does my water taste bad after filling?
Contamination from hoses or an unsanitized tank. Flush and sanitize thoroughly.
9. Can I add water while using city water connection?
Some RVs have a valve to switch between filling and direct supply. Check your owner’s manual.
10. How do I prevent freezing in my water tank?
Use heated hoses and insulation during winter, or fill only when needed.
11. Why is water leaking under my RV after filling?
Likely from the overflow tube or a loose connection. Inspect fittings immediately.
12. Can I fill my tank with a water jug?
Yes, use a clean jug and funnel or a small transfer pump for convenience.
13. How do I know if the water is safe to drink?
Use a filter and test strips to check for chlorine and bacteria levels.
14. Should I drain my tank after every trip?
Yes, if you won’t use the RV for several weeks, to prevent stagnation.
15. How do I speed up the filling process?
Ensure the vent line is clear and use full water pressure through a wide-diameter hose.
Conclusion
Learning how to add fresh water to your RV is one of the simplest but most important maintenance skills you can master.
Whether filling from a city hookup, a campground spigot, or portable jugs, clean water keeps your adventure running smoothly.
Always use potable hoses, filters, and regulators to protect your health and your plumbing system.
Regular sanitation, careful monitoring, and smart water use will keep your RV ready for every journey.
After all, a well-filled tank isn’t just water — it’s comfort, hygiene, and freedom on the open road.
:
I’m David R. Coleman, the founder, lead writer, and lifelong tool enthusiast behind GarageToolPro.com. With years of experience in automotive repair, woodworking, and home DIY projects, I created this platform to share practical tips, detailed tool reviews, and step-by-step guides that help mechanics, hobbyists, and homeowners get the job done right the first time.